How Do You Make A Small Earthen Pot?
Pottery making dates back over 20,000 years to some of the earliest human civilizations. Archeologists have found primitive clay figurines and basic functional pots made during the Paleolithic era. As techniques advanced, pottery became an important artform across cultures for both decorative and practical uses.
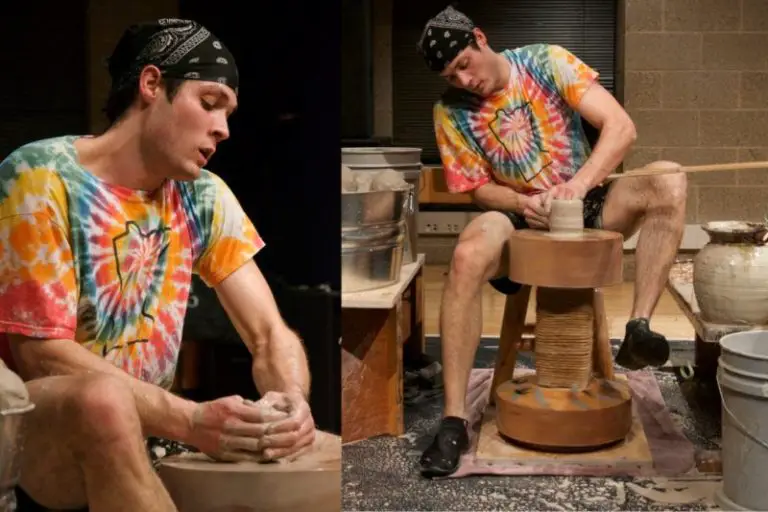
The basic process of making a small earthen pot involves choosing and preparing the clay, shaping it into the desired form, decorating or glazing if desired, and then drying and firing the pot. With some clay, basic tools, and a kiln or other heat source, it’s possible to handcraft your own pottery at home.
The essential supplies needed are clay, a potter’s wheel or mold, modeling tools, glazes or decorations, and a kiln. Optional materials include a work surface like a canvas or board, slip, grog, and specialized decorating tools.
Choosing Clay
When making a small earthen pot, the type of clay you choose is an important first step. There are three main types of clay used in pottery:
- Earthenware – This clay contains impurities and is porous when fired at lower temperatures. It’s easy to work with and good for beginners.
- Stoneware – Denser and less porous than earthenware, stoneware is fired at higher temperatures. It provides greater durability for functional pottery.
- Porcelain – The purest and most refined type of clay. Porcelain requires very high firing temperatures but produces a smooth, strong finish.
Key properties to consider when selecting clay are plasticity and shrinkage. Plasticity refers to how easily the clay can be shaped and molded without cracking or warping. Highly plastic clays are ideal for throwing on the potter’s wheel. Shrinkage is the amount of contraction as clay dries and fires. Understanding shrinkage rates allows proper planning of the pot’s size and shape.
Clay can be purchased from craft stores, pottery supply vendors, or directly from clay manufacturers. If digging your own clay, test it thoroughly as homemade clays vary greatly in properties. For small earthen pots, a stoneware or earthenware clay is a good choice.
Preparing the Clay
Properly preparing the clay is a crucial step in making a small earthen pot. The goals of clay preparation are to evenly distribute moisture, remove air pockets, and knead the clay into a uniform consistency. There are two main techniques used:
Wedging
Wedging involves cutting the clay in half, slamming it back together, and repeating. This process evenly distributes moisture and removes air pockets. Do this on a flat, non-porous surface like concrete or plastic. Repeatedly fold the clay over onto itself and compress it together.
Kneading
Much like kneading bread dough, you can knead clay by pressing and folding it over itself repeatedly. Use your palms and fingers to push outward from the center, folding the edges back in. This softens stiff clay and further removes trapped air.
Continue wedging and kneading until the clay is smooth, pliable, and has an even consistency with no cracks or air pockets. Now it’s ready to be shaped into your pot.
Shaping the Clay
Once the clay has been wedged and kneaded into a uniform consistency, it’s time to start shaping it into a pot. There are several techniques that can be used to form the basic shape:
Pinching is one of the most basic and ancient methods. Take a ball of clay and create an opening by pushing your thumb into the center while squeezing the clay between your fingers and thumb. Rotate the ball while pinching the clay to gradually form the desired shape. Pinching works well for making small pots, bowls and vases.
Coiling involves rolling out “snakes” or coils of clay and stacking them on top of each other in a spiral pattern. Blend the coils together from the inside using your fingers, a spoon or other tools. Coiling enables building taller, larger vessels with thinner walls.
Slab building uses flattened “slabs” of clay assembled together to form the pot’s shape. Roll out the clay into even sheets using a rolling pin then cut and join the pieces using the score and slip method. Slab building is great for making flat items like tiles or plates.
As you shape the basic form, continually smooth the surface and blend seams together from both the interior and exterior to get rid of cracks and gaps in the clay. Use your fingers, a wet sponge, or specially shaped modeling tools. Let the clay firm up slightly between stages to avoid overly distorting the shape.
Decorating
One of the most enjoyable parts of making small earthenware pots is decorating them. There are many creative ways to add beautiful designs and textures to your finished piece.
A common decorating technique is incising, which involves using a sharp tool to cut decorative patterns into the surface of the leather-hard clay. Geometric patterns like lines, dots, and zigzags work well for incising. You can use anything from a knitting needle to a butter knife to incise lines.
Another option is stamping, where you press a patterned tool into the clay to leave an imprint. Stamped designs can include repetitive shapes or images like flowers, animals, or landscapes. You can carve your own stamp sticks and printmaking blocks to get customized designs. Use thicker slip trailed over the surface to get deep, crisp stamped impressions.
In addition to incising and stamping, you can decorate your pottery by adding textures directly to the clay. Roll or press decorative materials like lace, burlap, leaves, or coils of clay against the surface to transfer their textures. You can also use your fingers, sponges, and modeling tools to produce effects like smoothing, brushing, paddling, etc.
To further embellish your pottery, consider applying colored slips or washes. A slip is liquefied clay that can be tinted with natural pigments like iron oxide or cobalt carbonate. Brush or sponge vibrant slips onto the leather-hard pot to add color. Similarly, washes made from clay, pigments, and water can be painted on for decoration.
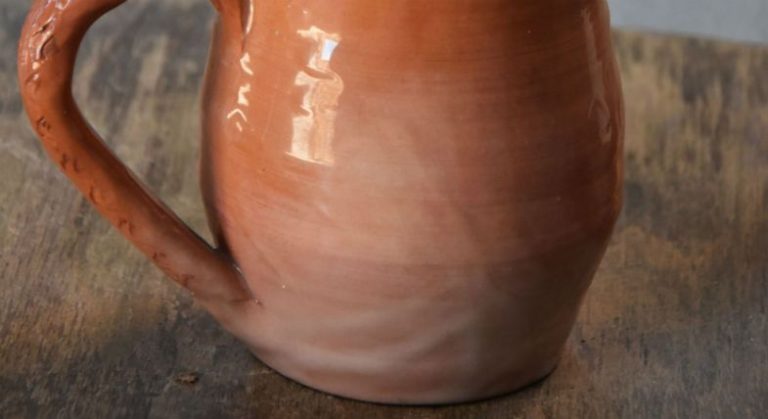
Finally, glazes offer the most colorful and glossy means of decorating earthenware pots. Glazes consist of silica, fluxes, and colorants that fuse to the clay body during firing. The possibilities are endless with mixing your own glaze recipes and applying them using techniques like brushing, dipping, dripping, and pouring to get desired aesthetic effects.
Drying the Pot
After shaping your pot, it’s important to let it dry slowly and thoroughly before firing. Any moisture left in the clay can cause cracking or even explode your pot in the kiln.
Air drying is the most common technique. Place the pot in a warm (not hot), dry, well-ventilated area out of direct sunlight. Drafty areas should be avoided as they can dry the pot unevenly. Cover the pot with plastic, a cloth, or an upside-down box to slow the drying. Check it periodically and allow several days to a week or more for drying, depending on factors like size, shape, thickness, and environment.
You can quicken drying time in a food dehydrator or electric kiln with the heat off. However, never dry clay in a microwave or conventional oven – this dries unevenly and causes cracking. The goal is slow, even drying throughout.
When your pot is dried and hardened, do a “bisque firing” in a kiln before applying any glazes. Bisque firing further hardens the clay and prepares it for glazing. After glazing, a higher temperature glaze firing will melt and fuse the glazes to the bisqueware pot.
Firing the Pot
Properly firing the pot is essential for ensuring it is durable and usable. There are two main methods for firing pottery – using an electric or gas kiln, or pit firing.
Kilns allow for more control over the firing temperature and process. Common types of kilns used for pottery include electric, gas, wood-fired, and raku kilns. Electric kilns are probably the most common for home potters. The optimal firing temperature depends on the type of clay used, but is often around 1800-2200°F.
Pit firing involves burying pots in a bed of combustible material like sawdust, then lighting the material on fire. This more primitive firing method can produce interesting effects on the pottery, like spotty discoloration. However, pit firing offers less control over the temperature and consistency.
No matter what firing method you choose, it’s important to slowly increase the temperature to allow volatiles to burn out of the clay before reaching peak heat. A rapid temperature climb can cause pots to crack or explode. Carefully monitoring the kiln or pit fire is key to getting beautiful, functional finished pottery.
Applying Glazes
Glazes are applied to earthenware pots before the final firing to give the pot a glassy, decorative finish. There are many ingredients that can be used in glaze recipes, but most contain 3 main components:
- A glass former – This is usually silica, which comes from minerals like quartz, sand, or flint. The silica melts during firing to give the glaze a glassy quality.
- A flux – This lowers the melting temperature of the glaze so it vitrifies at kiln temperatures. Common fluxes include soda ash, borax, lead, and calcium carbonate.
- An alkali – Oxides like sodium, potassium, and lithium act as fluxes and stabilize the glaze. They are added in the form of various carbonates or feldspars.
A glaze recipe must be tested to ensure it melts, flows, and adheres properly at the desired temperature. The ingredients are weighed, mixed, and usually suspended in water to form a liquid glaze.
There are several techniques for applying glaze to pots:
- Dipping – The entire pot is dipped into a container of glaze suspension.
- Pouring – Glaze is simply poured over the surface of the pot.
- Brushing – A brush is used to brush glaze over the pot.
- Spraying – Glaze is sprayed onto the pot using an airbrush tool or spray bottle.
Glazes are fired in the kiln along with the pottery at temperatures usually between 2,000°F to 2,300°F. The glaze melts during firing and fuses with the clay body to form a glossy, non-porous surface. Different firing temperatures and kiln atmospheres can create varied visual effects in the finished glaze.
Final Firing
After the pot has been decorated with glazes, it must undergo a second firing to harden and set the glazes. This final firing is done at an even higher temperature than the first bisque firing, usually between 2,200°F and 2,400°F. The firing time can range from 6-12 hours depending on the size and thickness of the pieces.
It’s critical to fire the pottery to the adequate temperature for the glazes used. Underfired glazes will fail to harden completely and the colors may be dull or washed out. Overfired glazes may become too melted or burnt. monitored using pyrometric cones that melt at specific temperatures to indicate when the ideal firing temperature has been reached.
The kiln is heated gradually, often over 8-10 hours, until it reaches the peak temperature. It’s held at this peak heat for 1-2 hours to fully mature the glazes. Then the kiln is cooled slowly over another 8-12 hours. Careful control over the firing schedule helps prevent cracking or exploding pottery.
After this final firing, the finish glazed pottery is ready to be removed from the kiln and enjoy for years to come. The hard vitreous glaze coating will make the pot durable and water-resistant while bringing out the beautiful colors and textures created by the potter.
Conclusion
And there you have it – with some clay, hand tools, and access to a kiln, you can make your own small earthen pot! We walked through the key steps of choosing and preparing clay, shaping it into a pot form, decorating, drying, bisque firing, glazing, and glaze firing. While the basics are straightforward, it takes practice to master the techniques and artistry of pottery making.
There are many variations on this process. You can try sculpting more intricate or detailed shapes beyond a simple pot. Decorating offers endless options, from carving patterns to painting designs. The glazing stage also allows for lots of creativity in colors and textures. Finally, you can experiment with firing temperatures and times to achieve different effects. As you gain experience, you’ll find what works best for your style.
Now that you’re familiar with the foundation, you can keep practicing and take your pottery skills to the next level. The possibilities are endless when you make small earthen pots yourself.


