How Do You Make Your Own Doh?
Dough is a thick mixture made from flour, water, and other ingredients that serves as the basis for various foods like breads, pizza, pasta, and pastries. Making dough at home allows you to create fresh, delicious baked goods using your choice of ingredients and flavors.
The basic process of making dough involves mixing together flour, liquid, and other ingredients to form a cohesive ball that can be kneaded, leavened, shaped, and baked. With some simple ingredients, basic equipment, and a bit of technique, anyone can make a variety of doughs at home for homemade bread, pizza crust, pretzels, cookies, and more.
Ingredients
The main ingredients in homemade dough are:
Flour
The flour provides structure and gluten development in dough. Common types of flour used include:
- All-purpose flour – A blend of hard and soft wheat flours, all-purpose flour provides the right balance of structure and tenderness.
- Whole wheat flour – Made from the entire wheat berry, whole wheat flour adds fiber, nutrients and earthy flavor.
- Bread flour – Higher in gluten-forming protein than all-purpose, bread flour makes chewy, sturdy loaves.
- Cake flour – Low protein content creates tender, delicate baked goods like cakes and pastries.
Liquids
Liquids hydrate the flour to form the dough structure. Water is most common, but milk, juice or other liquids may also be used.
Leaveners
Leaveners give lift and volume to dough. Yeast and baking powder are typical leaveners.
Salt
A small amount of salt enhances flavor and strengthens gluten development.
Fats/Oils
Fats like butter, oil or shortening help make dough tender and add richness of flavor.
Equipment
Making your own dough at home requires just a few basic pieces of equipment that you likely already have in your kitchen:
-
Mixing bowls – You’ll need at least one large bowl to mix together the dough ingredients. Stainless steel or glass work best.
-
Mixer/spoon – A stand mixer makes kneading dough easy, but you can also mix and knead by hand using a large spoon or spatula.
-
Rolling pin – A basic wooden or marble rolling pin is essential for rolling out the dough to the desired thickness before baking.
-
Baking sheets – Nonstick baking sheets allow the dough to easily release after baking. Line them with parchment for even easier release.
Dough Types
There are several main types of dough commonly used in baking:
Yeast doughs
Yeast doughs use active yeast to rise. The yeast feeds on sugars in the dough and produces carbon dioxide gas, which causes the dough to expand. Examples include bread dough, pizza dough, and sweet dough for pastries. Yeast dough takes time to rise and develop flavor.
Quick breads
Quick breads use baking powder or baking soda to rise quickly. They include muffins, biscuits, pancakes, and banana bread. You can make them without waiting for the dough to rise.
Pie dough
Pie dough is a simple dough made from flour, fat, and water. It can be savory for meat pies or sweet for fruit pies. Pie dough often uses butter or shortening to create a tender, flaky crust.
Pizza dough
Pizza dough is a yeast-leavened dough made from flour, water, salt, and olive oil. It has a chewy, stretchy texture that can be flattened and baked into crust. The dough rises slowly over several hours to develop flavor.
Measuring Ingredients
When making dough from scratch, it’s important to accurately measure both dry and wet ingredients. For dry ingredients like flour or sugar, you’ll want to use a dry measuring cup and level it off with a knife. Scooping helps pack in more dry ingredients than the recipe calls for. For wet ingredients like milk or oil, use a clear liquid measuring cup with markings on the side. View the meniscus or curved top surface at eye level to get an accurate reading.
It’s also key to properly scale recipe ingredients. If a bread recipe yields two loaves and you want to make four loaves, simply double all the ingredient amounts. Pay close attention to yeast, which may not double perfectly, and salt, where you may want to increase by less than double to avoid over-salting. Use a digital kitchen scale for the most accurate ingredient portions. Weighing ingredients like flour gives more reliable results than volume measuring, since flour can pack down differently. Follow the recipe’s percentages if scaling by weight.
Mixing Methods
There are a few different ways you can mix and knead dough for homemade dough. The three main options are by hand, using a stand mixer, or with a food processor.
Hand Mixing
Mixing dough by hand is the most traditional method. Add your dry and wet ingredients to a large bowl and stir with a wooden spoon or spatula until combined. Once the dough starts to come together, it’s time to knead it by hand on a lightly floured surface until smooth and elastic. Hand kneading takes some elbow grease but gives you the most control over the process.
Stand Mixer
Using a stand mixer affixes with a dough hook attachment makes kneading dough much easier. Let the mixer do the hard work of kneading for 5-10 minutes. Stand mixers are ideal for larger batches of dough. Just be careful not to overmix, which can cause the gluten to break down.
Food Processor
A food processor with a dough blade is another option that makes quick work of kneading. Add the ingredients to the bowl and let the machine knead it into a ball. Food processors are best for smaller one-loaf batches. Just pulse in short bursts so you don’t overmix.
Kneading
Kneading is a crucial step in making dough because it develops gluten, the protein that gives dough its elasticity and structure. Gluten is formed when the proteins in flour combine with the water in the dough. Here are some key tips for effective kneading:
Developing Gluten
Kneading stretches and aligns the gluten strands to create an elastic network that can trap the gases produced by yeast during rising. Knead long enough to develop this gluten structure. It takes about 8-12 minutes of kneading by hand.
Techniques
The most common kneading method is to press into the dough with the heel of your hand and push it away from you, then fold the dough over and rotate it 90 degrees. Repeat this pushing and folding motion rhythmically to fully knead. Alternatively, you can use a stand mixer with a dough hook to automate kneading.
Timing
Knead until the dough becomes smooth, elastic, and tacky but not overly sticky. Test by poking it – it should slowly spring back. Over-kneading can make dough tough, so stop once the gluten is sufficiently developed.
Rising the Dough
Rising the dough is one of the most important steps for achieving a fluffy, flavorful dough. During this step, the yeasted dough will double in size as the yeast feasts on the sugars in the flour and releases carbon dioxide.
Proofing
Proofing refers to the initial rise of the dough after it’s been mixed and kneaded. This usually takes about 1 hour. During proofing, the dough should be covered in an oiled bowl and placed somewhere warm – between 75-85°F is ideal. The dough is ready for the next step when it’s puffy and has doubled in size.
Fermentation
After proofing, the dough is shaped, placed in the pan or baking dish, and left to rise again. This second rise is the fermentation stage. As the dough ferments, gas bubbles expand, causing the dough to puff up. Proper fermentation gives bread its airy texture.
Timing
Rising time depends on factors like dough temperature, humidity, and yeast levels. On average, total rising time is 1-2 hours. Keep an eye on the dough – when it’s doubled in size and holds an indentation when poked, it’s ready to bake.
Shaping
There are a few techniques for shaping play dough into fun creations.
Rolling
Use a rolling pin to roll out dough into a flat, even sheet for cutting shapes like cookies or making pizza crusts. Start by lightly flouring the work surface and rolling pin to prevent sticking. Gently roll from the center outward, turning the dough a quarter turn after each roll to maintain an even thickness.
Molding by Hand
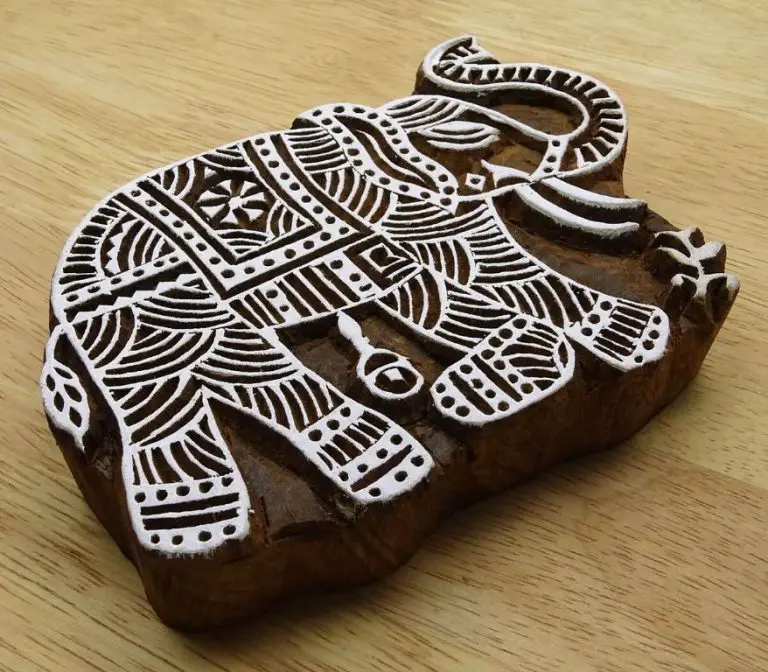
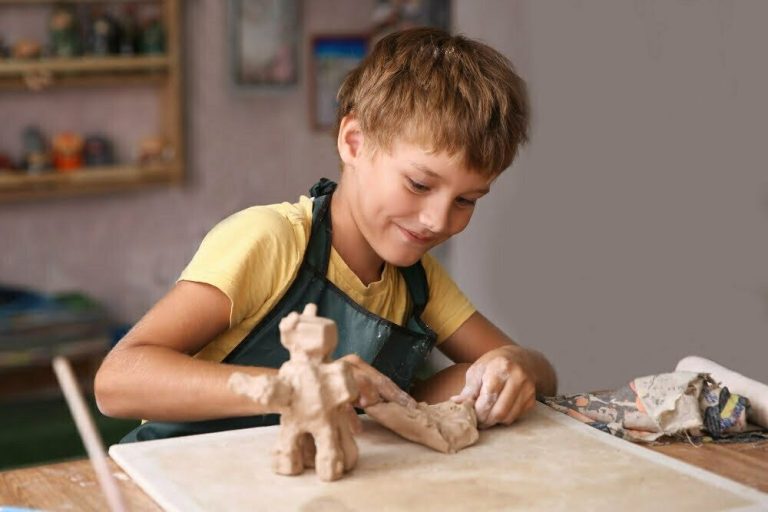
Kids love using their hands to mold dough into shapes and characters. Pinch off small pieces of dough and roll them into balls for decorating, press into molds and stamps, or sculpt freehand into animals, letters, or anything they imagine.
Cutting
Once dough is rolled out, use cookie cutters, a knife, or even household objects to cut out fun shapes. Dip cutters in flour first for easy release. Gather dough scraps and reroll to use up all the dough. Let shapes air dry before decorating if desired.
Baking
Baking your homemade dough is the final and most important step in creating delicious baked goods. Here are some tips for perfect baking:
Oven Tips:
Make sure your oven is fully preheated before baking. The temperature should be 350-400°F for most dough recipes. Avoid opening the oven door frequently while baking, as this can cause the temperature to fluctuate.
Baking Times:
Baking times will vary based on the size and thickness of the dough pieces. Smaller items like cookies may take 8-12 minutes while larger loaves of bread may bake for 25-40 minutes. Look for the surface to turn golden brown when done.
Cooling:
It’s important to allow baked goods to cool before serving. This helps set the structure and prevents a soggy texture. Things like cookies can be cooled on baking sheets while breads and cakes should be cooled on racks to allow air circulation. Allow at least 15-30 minutes of cooling time.


