How Do You Smooth Hardened Clay?
Introduction
Hardened clay is clay that has dried out and become rigid, making it difficult to manipulate and smooth. There are a few reasons you may need to smooth hardened clay:
– If you let your clay sculpture or project dry out too long before finishing it.
– If you want to reuse leftover hardened clay from a previous project.
– If you dropped a sculpted clay piece and need to smooth out cracks or rough edges.
– If you want to blend fresh clay into an existing hardened clay sculpture.
While hardened clay can be more challenging to work with, there are several techniques you can use to rehydrate and smooth it out again.
Gather Your Supplies
To smooth hardened clay, you’ll need some basic supplies on hand:
- Water – Have clean water available to rehydrate the clay. Room temperature water works best.
- Clay sculpting tools – Items like clay scrapers, loop tools, and rubber ribs can help smooth clay.
- Apron and gloves – Wear an apron to protect your clothing. Gloves keep your hands clean.
Rehydrate the Clay
One of the easiest ways to soften hardened clay is to rehydrate it by adding moisture back into the clay. To do this:
- Cover the hardened clay completely with a clean, damp cloth. An old t-shirt or towel works well.
- Mist the clay and cloth lightly with water. Use a spray bottle for the most even coverage.
- Allow the clay to sit for 10-15 minutes, letting it fully absorb the moisture from the cloth.
As the clay hydrates, it will begin softening and becoming more pliable. The longer you let it sit, the more supple it will become. Just be careful not to over-saturate the clay or let it sit in standing water, as too much moisture can make the clay sticky and difficult to work with.
Use Your Fingers
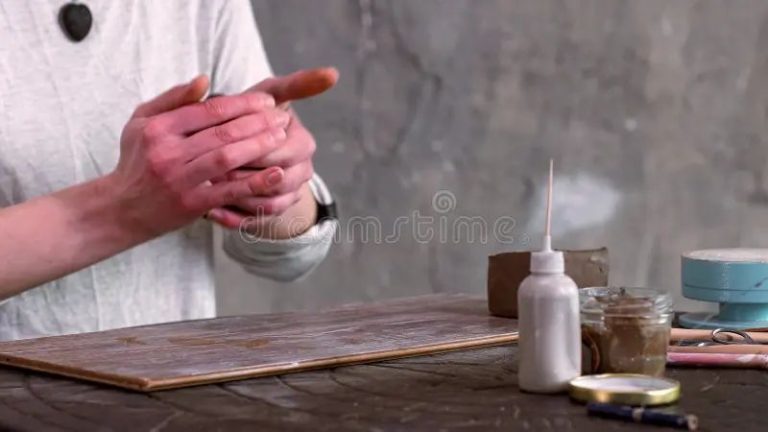
One of the easiest ways to smooth hardened clay is to simply use your fingers. The warmth and friction from your hands can help soften and manipulate the clay. Start by rubbing your hands over the surface of the clay to warm it up. Apply firm pressure as you rub to massage out any cracks or imperfections. Focus on smoothing over rough areas and bonding any seams back together. The palms of your hands can flatten surfaces, while your fingers can get into detailed areas. Take care not to over-rub any one area as too much friction can further harden the clay. Finger smoothing works best on small pieces of clay. For larger sculptures, you may need to use additional smoothing techniques in combination with your fingers.
Try a Clay Scraper
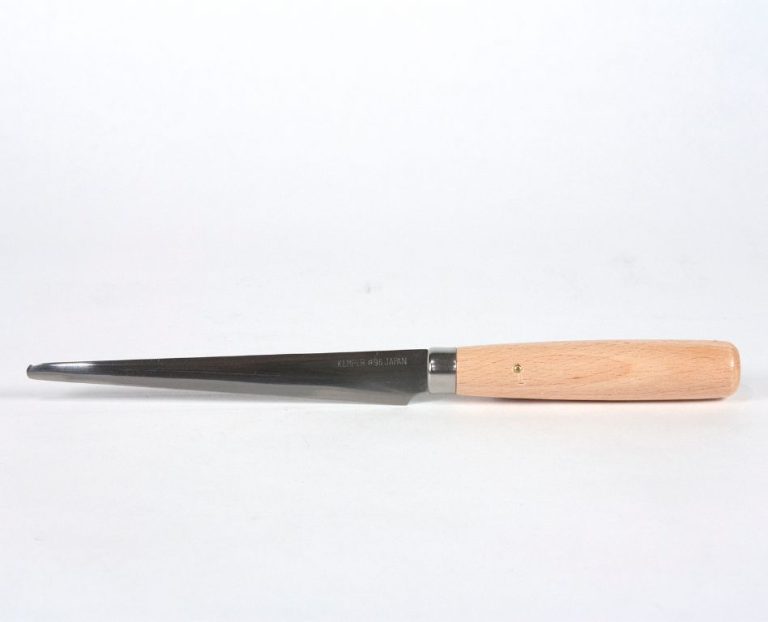
Clay scrapers can be an effective tool for smoothing and leveling hardened clay surfaces. When using a scraper, hold the tool at a 90 degree angle to the clay. Apply even, gentle pressure as you scrape across the surface in straight, smooth strokes. This helps shave down any bumps or ridges, creating a more uniform texture. Be careful not to dig or gouge the clay, which can leave unwanted marks. Scraping works best on flat, hard clay rather than soft or rounded surfaces. Slow, methodical strokes with minimal pressure are key for getting the smoothest results. Scrapers with a wide, flat blade work better than ones with a narrow edge. Make sure to carefully wipe away any clay residue that accumulates on the blade as you work. With patience and practice, a clay scraper can help give your projects a polished, professional finish.
Use Clay Tools
Clay tools like loop tools and ribbon tools can help smooth and refine hardened clay surfaces.
Loop tools have a rounded edge and come in various sizes. Use them to gently smooth curves and rounded edges on your clay sculpture. Apply light, even pressure as you slide the loop tool over the clay to soften contours.
Ribbon tools have a thin, flat edge that tapers to a point. They excel at detailing fine lines and edges in clay. Use a ribbon tool to define borders, etch patterns, and enhance intricate shapes in your clay work.
Applying too much pressure with clay tools can remove too much clay. Take a delicate approach, and scrape away thin layers at a time to gradually refine the surface.
Consider Sandpaper
If you have hardened clay with rough or uneven textures, consider gently sanding it. Start with a fine grit sandpaper around 320 or 400 grit. Gently buff any uneven or rough areas, being careful not to rub too hard or you may scrape away more clay than intended.
Work in small circular motions and check your progress frequently. Switch to a higher grit sandpaper, like 600 or 800, for a smoother finish. The finer the grit, the smoother sanded texture you’ll achieve. Just take care not to over-sand, as you don’t want to remove too much material or detail from your clay sculpture.
Sanding can be a great way to smooth bumps and irregularities for a polished look. But go slowly and carefully to avoid damaging your clay artwork in the process.
Avoid Overworking
When smoothing dried clay, it’s important to avoid overworking the clay. Taking breaks is key to prevent damaging the clay’s structure. Over-manipulating clay can cause it to become weak and cracked.
Try working on the clay for 10-15 minutes at a time, then letting it rest for at least 10 minutes. This gives the clay time to absorb moisture and prevents overhandling. Only resume smoothing once the clay has had time to relax.
Also be sure to keep your fingers, tools, and work surface lightly moistened with water while smoothing. Letting clay dry out too much while working it can lead to cracking and damage. The moisture helps keep clay pliable.
By taking breaks and keeping clay moist, you can smooth it without overworking and damaging the structure. Avoid marathon sculpting sessions and let the clay rest periodically.
Let Clay Rest
Allowing your clay to firm up slightly before smoothing can make the process easier. When clay is very soft and moist, trying to smooth it can distort the shape. Letting it rest for a bit gives the clay time to absorb some of the moisture and become more firm. The amount of time needed will depend on the type and thickness of the clay.
As a general guideline, let the clay sit for 15-30 minutes after kneading and shaping before attempting to smooth. Thicker pieces may require longer. Check the clay periodically by touching it lightly. When it is cool to the touch and holds its shape but still gives slightly with pressure, it is ready for smoothing.
Letting the clay rest avoids overworking it. Excessive kneading and smoothing while the clay is very soft can cause air bubbles that lead to cracking and breakage once baked. Giving it time to firm up prevents this. The surface will smooth out nicely with less effort once the clay has had a chance to stabilize.
Next Steps
Once you have finished smoothing your hardened clay, there are a few more steps to complete the process:
Allow clay to dry fully – After smoothing, let your clay sit out to air dry completely. This ensures any moisture added during smoothing has fully evaporated before moving to the next steps.
Fire or bake as needed – Follow the manufacturer’s instructions for proper firing or baking temperatures and times. Firing helps harden and set the clay.
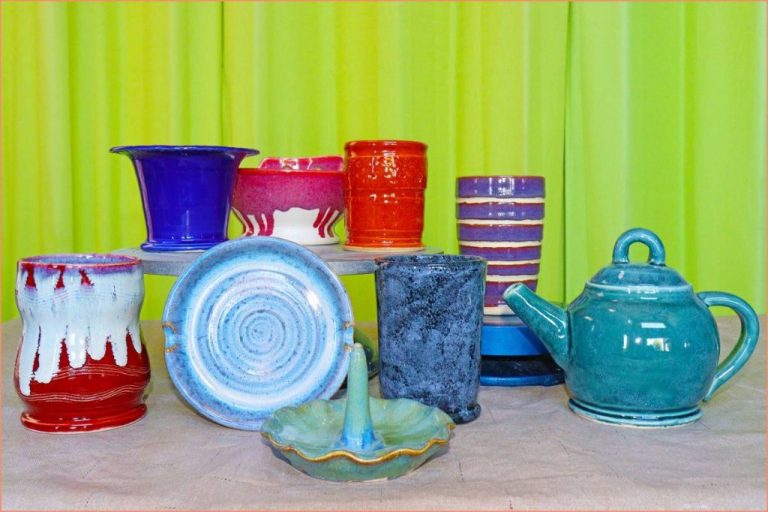
Seal/finish smoothed clay – After firing, consider adding a sealant or finish like varnish, glaze or paint. This protects the surface and can add color and shine.


