What Are The Required Material For Clay Work?
Types of Clay
There are four main types of clay used for pottery and art: earthenware, stoneware, porcelain, and modeling clay. Earthenware clay is very porous and can be fired at lower temperatures. It is soft, requiring no baking before usage. Common earthenware types include terracotta and red clay. Stoneware clay is less porous than earthenware and can be fired at higher temperatures up to 2200°F. It is smooth with moderate plasticity. Porcelain clay is highly refined and non-porous. It fires at very high temperatures up to 2400°F. Porcelain is smooth, fine, and thin. Lastly, modeling clays like polymer clay remain malleable and do not require firing. They harden via baking or exposure to air.
Clay Tools
Essential clay tools include items for use on the pottery wheel as well as sculpting and decorating.
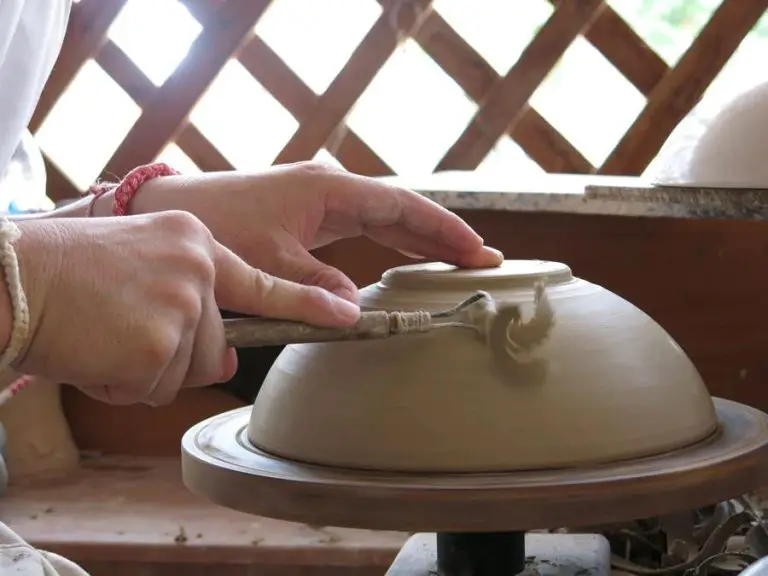
For working on the pottery wheel, a basic set of tools includes ribbon tools, loop tools, sponges, and cutters. Ribbon tools have thin flexible metal blades and are used to trim and shape clay on the wheel. Loop tools have a wire loop on the end and are helpful for scraping and smoothing clay surfaces. Sponges can soften rough edges and absorb excess water from clay. Various shaped cutters and wires allow potters to neatly trim away excess clay.
Sculpting tools like paddles, ribs, and loop tools enable potters to shape clay off the wheel by scraping, smoothing, burnishing, and indenting surfaces. These tools can create texture and design effects. Clay sculpting knives provide an additional means of cutting, trimming, and shaping handbuilt or sculpted clay prior to firing.
Glazes and Underglazes
Glazes and underglazes are essential for finishing and decorating clay pieces. Glazes provide a glossy, glass-like coating that makes the clay waterproof and durable. Underglazes are used to add color and design before applying a clear glaze on top.
There are two main types of glaze – clear and colored. Clear glaze provides a transparent, glossy finish that maintains the natural clay color underneath. Colored glazes come in a wide variety of colors and finishes like gloss, satin, matte, metallic, etc. They are used to completely change the look and color of the bare clay.
Underglazes are applied before glazing to add decorative colors and textures. Underglaze pencils allow for fine details and crisp lines. Underglaze paints are available in tons of colors and can be brushed or sponged on. Since underglazes are not waterproof, they require a layer of clear glaze on top.
Both glazes and underglazes must be fired in a kiln to melt and fuse them to the clay permanently. Firing temperatures vary based on the type of clay body and glaze used. Always check manufacturer instructions for proper firing guidance. For more details see: https://www.unexpectedlullaby.com/blog/how-to-paint-ceramics
Kilns
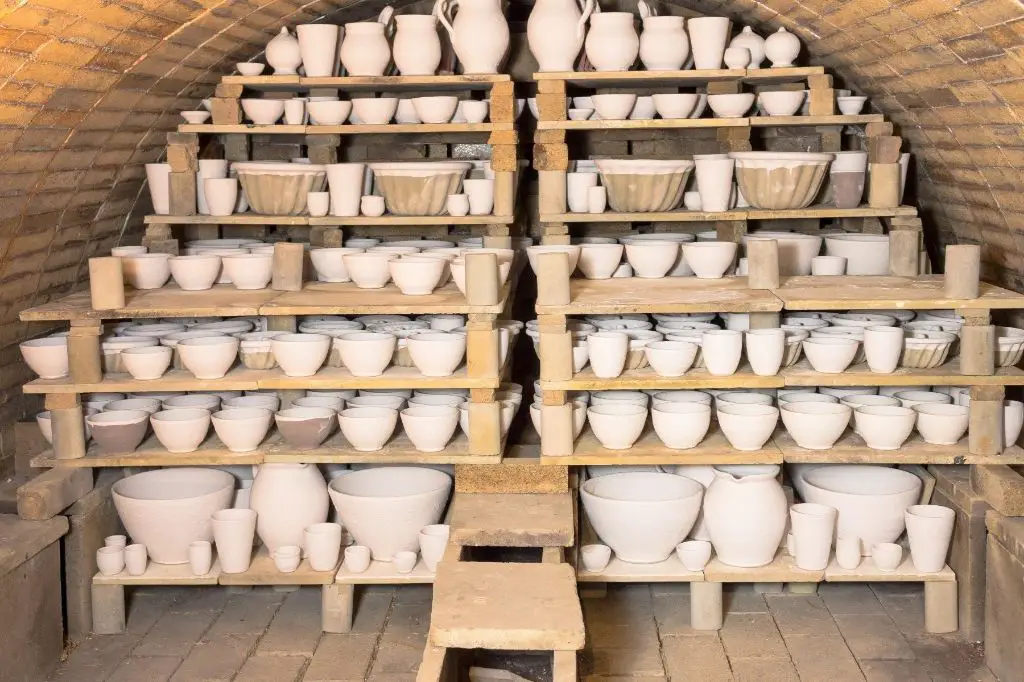
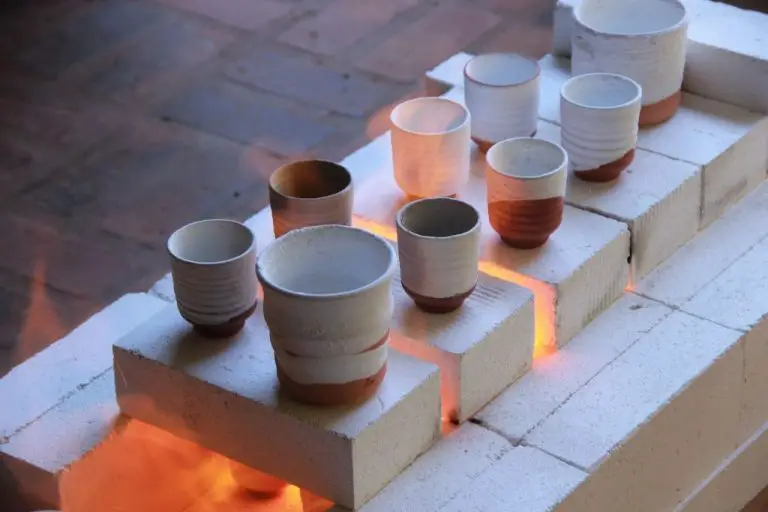
Kilns are an essential piece of equipment for firing clay and ceramic work. There are several types of kilns used in pottery and ceramics:
Electric Kilns – Electric kilns are very popular for firing ceramics and clay work. They provide a consistent and programmable heat, allowing for precise control over the firing. Electric kilns heat up faster and are easier to use than gas or wood-fired kilns. They can be expensive to purchase but are generally low maintenance. Popular types of electric kilns include top loading and front loading.[1]
Gas Kilns – Gas fired kilns use natural gas or propane for fuel. They are appreciated for providing atmospheric effects not achievable in electric kilns, like flame effects. However, they can be more difficult to precisely control. Gas kilns take longer to heat up than electric kilns. Raku kilns are a type of gas kiln used for raku firing.
Raku Kilns – Raku kilns are a type of gas fired kiln used specifically for raku firing. Raku firing involves removing pots from the kiln while still red hot to achieve unique crackled glaze effects. Raku kilns allow rapid heating and cooling needed for raku.[2]
Pit Firing – Pit firing involves placing pots in a pit dug into the ground and covering them with combustible material like sawdust, then lighting the material on fire. This primitive firing technique uses the earth as its kiln. It produces irregular, natural effects on the clay.
[1] https://www.potterycreative.com/types-of-kiln-for-firing-ceramics/
[2] https://www.kilncontrol.com/blog/types-of-kilns/
Clay Working Surfaces
Having the right surface to work clay on is essential for proper wedging and handbuilding. The main options for clay working surfaces are:
Wedging Tables
Dedicated wedging tables provide an ideal hard, non-porous surface for wedging and kneading clay. They are specially designed with a slightly angled surface and smooth finish to work clay without it sticking. Wedging tables come in various sizes to accommodate small or large amounts of clay.
Canvas
Canvas works well as an inexpensive and portable surface for handbuilding and sculpting clay. The fabric texture prevents the clay from sticking too much. Canvas drop cloths can be used on tables or floors. Some people also use canvas-covered boards designed for clay work.
Wood
Wood surfaces like butcher block can be suitable for working with clay if properly prepared and sealed. Raw wood often absorbs too much moisture from the clay. Wood surfaces work best when covered in canvas (Source 1) or a smooth finish like acrylic medium.
Safety Equipment
Working with clay requires using proper safety equipment to avoid health hazards. The key safety gear includes:
-
Apron – Wearing an apron keeps clay dust off your clothes. Choose a water-resistant apron that covers your torso and lap. Aprons can be cloth, plastic, or rubber.
-
Gloves – Gloves protect your hands from clay dust and provide grip when handling wet clay. Choose latex, nitrile, or rubber gloves that fit snugly.
-
Mask – A mask filters out clay dust particles and prevents inhalation, which can lead to silicosis. N95 rated masks offer effective protection from clay dust which contains silica.
-
Goggles – Goggles shield your eyes from clay splatter and debris when mixing, wedging, or throwing clay. Look for shatter-resistant goggles that seal around the eyes.
Consistently using proper protective gear greatly reduces the health risks associated with clay work. Safety equipment helps ceramic artists work comfortably without worrying about short-term or long-term hazards.
Cleaning and Care
Proper cleaning and care of your clay working surfaces is crucial for keeping your studio tidy and your clay workable. Using the right supplies like sponges, scrapers, slip trailers, and banding wheels can streamline the cleaning process.
Large, absorbent sponges are essential for wiping down work tables, counters, pottery wheels, and floors. Use a damp sponge to pick up loose clay particles and water to wash away clay residue. Change out dirty sponge water frequently. According to Goshen College, repeated sponging with fresh sponges helps remove stubborn clay haze and dust.
Plastic and metal scrapers help remove dried clay from surfaces. Hold the scraper at a 45 degree angle against the surface and push firmly to lift off clay debris. Slip trailers with rubber edges are also useful for scraping clay from counters and wheels.
Banding wheels quickly clean throwing bats, pottery boards, and wheel heads. Simply hold the spinning wheel against the surface to scrub off leftover clay. The abrasive surface grinds away dried clay clumps.
Proper cleaning right after working helps keep clay workable and surfaces pristine. Sponges, scrapers, slip trailers, and banding wheels all make the cleaning process more efficient.
Clay Storage
Properly storing clay is crucial for keeping it moist and workable over time. Here are some tips for clay storage:
Wrap blocks or slabs of clay in plastic wrap or a plastic bag. This prevents moisture loss. You can add a damp paper towel to provide extra moisture (1).
Place wrapped clay in an airtight plastic container or ziplock bag. Force out excess air and seal the container to lock in moisture (2). Avoid storing clay in a humid environment, as excess moisture can affect clay properties.
Store clay in a cool, dark place like a basement or cabinet. Avoid sunlight and heat, which will cause clay to dry out faster.
If storing clay for prolonged periods, check it periodically and re-wrap in plastic or add moisture if needed. With proper storage techniques, clay can be kept workable for months.
Decorative Materials
There are many different decorative materials that can be used to embellish and enhance clay surfaces. Some popular options include:
Oxides – These are compounds of metals that come in powdered form and can be mixed into clay or applied to the surface for color. Common oxides used in pottery include iron, cobalt, copper, and manganese which produce reddish, blue, green, and brown hues respectively. Oxides react with the clay at high temperatures to produce vibrant and stable colors (source).
Stains – Ceramic stains contain metal oxides suspended in a flux medium and are used to quickly and evenly color clay surfaces. They can be applied with a brush or sponge before or after firing. Common colors include blue, green, yellow and red (source).
Mica – This flaky mineral comes in various particle sizes and can be sprinkled onto wet clay or mixed into slip trailing for a sparkly effect. Mica is available in colors like silver, gold, copper and black (source).
Feathers – Real feathers can be gently pressed into soft clay to leave delicate impressions. This nature-inspired technique adds beautiful organic texture to pottery (source).
Seashells – Seashells pressed into or rolled over clay result in imprints with intricate natural designs. They work best on soft leather-hard clay (source).
Finishing Supplies
Properly finishing clay work helps protect it and gives it a polished look. Some common finishing supplies include:
Clear coat: Applying a clear acrylic sealant or varnish helps protect clay from moisture and prevents colors from fading. According to The Blue Bottle Tree, multiple thin coats are better than one thick coat for durability. Allow each coat to fully dry before adding the next. Popular options are Liquitex Satin Varnish and Golden MSA Spray Varnish.
Wax: Wax enhances the look and feel of clay, providing a smooth, non-tacky finish. It’s especially useful for finishing jewelry and small decorative items. Apply wax with a soft cloth and buff gently. Multiple thin coats allow the wax to fully cure.
Coloring agents: Pigments, mica powders, metal powders, and paints can be applied to add color and effects. Use acrylic paints formulated for clay or mix pigments with a liquid clay medium. Work in thin layers and cure each layer before adding the next.
Polishing compounds: Fine polishing compounds help smooth rough areas and remove light scratches. Apply with a soft cloth and rub gently in a circular motion. Start with a coarser compound and switch to finer grits to achieve a high-gloss finish. Let the clay cure fully before polishing.

