What Do Potters Do To Clay?
Gathering Clay
Potters obtain clay from various sources depending on their location and needs. Some of the main ways potters gather clay include:
From clay deposits or mines – Many potters get their clay from commercial clay mines or deposits where clay is abundant. These clay deposits may exist locally or need to be shipped from other regions. According to https://ancientpottery.how/where-is-clay-found/, clay deposits are often found along floodplains of rivers and streams or at the bottom of ponds, lakes and seas.
From riverbeds or land – Potters may gather clay themselves from riverbeds or certain land types where natural clay exists. https://ancientpottery.how/how-to-find-clay/ provides a guide on identifying clay in the wild for potters to dig up and use.
Leftover clay from other potters – Some potters will get recycled or leftover clay from other pottery studios or ceramics suppliers. This reclaimed clay has already been processed and is ready to use.
Purchasing prepared clay – Many potters choose to simply purchase processed and prepared clay from craft stores or pottery suppliers rather than gathering it themselves. Prepared clay mixes are ready to use.
Preparing the Clay

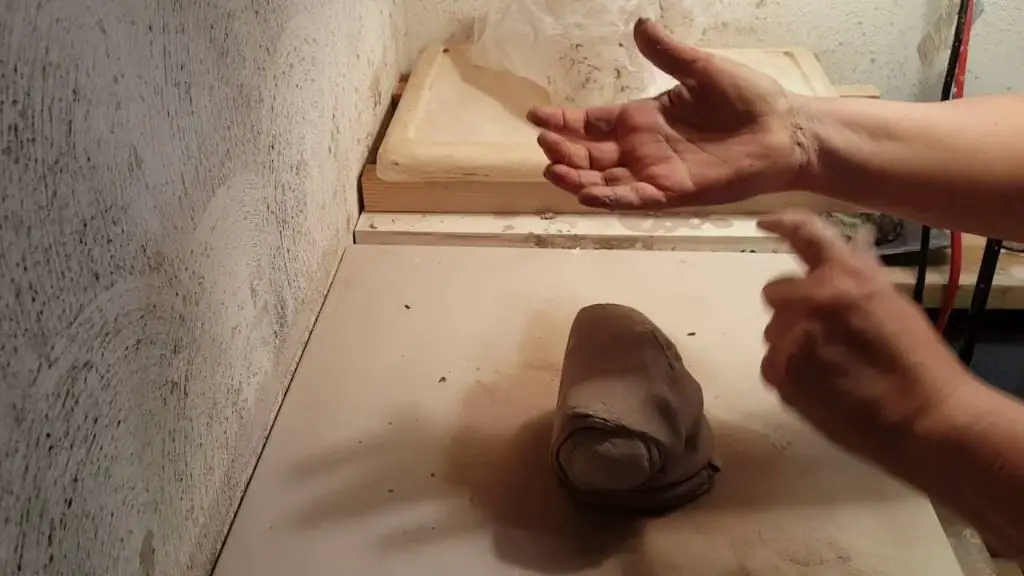
Before clay can be worked into a piece of pottery, it must be properly prepared. This involves wedging, kneading, and slamming the clay to remove air bubbles and create a uniform consistency. According to The Pottery Wheel, wedging involves repeatedly cutting the clay in half, slamming it down, and reforming it into a ball shape. This process squeezes out air bubbles and makes the clay uniformly pliable. Kneading is done by vigorously working the clay between your hands. You may also need to blend different types of clays together to achieve the desired consistency and workability. Be sure to break up any clumps and remove debris before wedging. Well-prepared clay should be smooth, elastic, and devoid of cracks or air pockets.
Centering the Clay
Centering the clay on the potter’s wheel is one of the most important steps before beginning to shape a piece of pottery. Proper centering allows the clay to be uniformly thick and balanced as the potter works to open up the form.
To begin centering, the ball of clay is secured onto the wheel head either through throwing it forcefully or gently laying it down and applying pressure. The wheel is then started to begin slowly rotating. Centering involves using the fingers, palms, and edge of the hands to apply pressure and compress the clay downward and inward toward the wheel head.
There are a few techniques potters use to center the clay according to The Spruce Crafts:
- Pulling the clay toward you, exerting firm pressure with both hands to force it into the middle
- Pushing the clay away from you, compressing it between your hands
- Applying pressure on the sides to form it into a cone shape before collapsing it down
The goal is to end up with a centered cylinder of uniform thickness ready to be shaped into the desired pottery form.
Opening the Clay
Once the clay is centered on the pottery wheel, potters can begin shaping it into the desired form. This process is referred to as “opening” the clay. The most important tools for opening clay are the potter’s hands and fingers. By gently pressing into the centered clay mound, potters can create an opening and shape the walls of the emerging vessel. Using the thumbs allows potters to widen the opening, while cupping the hands around the outside guides the clay gently upwards. Fingers can indent designs or smooth seams where the clay has been joined.
Pottery tools like ribs, loops, and scrapers can aid in opening and refining the shape as well. A pottery rib is used inside the cylinder to refine the lip and compress the clay. A loop tool can curve the clay outwards from within the cylinder. A metal scraper on the outside can thin the clay walls and even out undulations. However they choose to open the clay, potters must work gently and deliberately to raise the forms from a humble lump into elegant works of art.
Trimming
Trimming is an important step in the pottery making process. It involves using metal loop tools to refine the shape of a thrown pot and smooth away any excess clay on the base or sides. Trimming is done when the clay is leather hard – not too wet or dry. The goal is to achieve a uniform thickness and pleasing silhouette.
To trim a pot, you first center it on the pottery wheel and get it spinning at a steady speed. Using a metal loop tool, gently scrape away excess clay, working from top to bottom. Trimming requires a delicate touch so you don’t cut too deep into the clay. The loop tools come in various sizes and angles to allow both general smoothing and detailed refinements. As you trim, you can also compress the clay which eliminates tiny air pockets and weak points in the structure.
Trimming takes practice to master, but it enables potters to craft balanced, symmetrical pieces with clean lines. Getting the thickness even means the clay will dry and fire evenly as well. Well-trimmed pots have a professional, finished look. With the right skills, trimming can transform a simple thrown form into a work of art.
Source: https://ceramicartsnetwork.org/daily/article/Tips-for-Trimming-Bowls-on-the-Pottery-Wheel
Decorating
There are several techniques potters use to decorate bisqueware before the final firing. One common method is applying colored glazes, slips, or engobes to the raw bisque surface. According to this article, potters can use overlapping, dipping, pouring, and other techniques to apply these liquid decorations. Allowing areas of the bare bisque to show through can create decorative effects. Another approach is using wax resist – applying wax to areas you want to remain undecorated. When the slip or glaze is applied, it won’t adhere to the wax. The wax is later removed to reveal the contrasting designs.
In addition to glazes and slips, potters also use underglazes to hand-paint intricate designs on bisqueware. Underglazes are applied using brushes, pens, and other tools directly on the unfired clay. The colors become permanent when sealed under a transparent glaze before firing. Some potters also use techniques like sgraffito where surface layers are scratched away to reveal underlying colors, or mishima where inlaid designs are carved into the leather-hard clay before firing. These approaches add beautiful embellishments to pottery.
Drying
After a piece of pottery has been shaped, it must be thoroughly dried before firing. Drying pottery correctly is an important step, as uneven drying can cause cracks, breakage, and warping.[1] Pottery should be dried slowly to prevent cracking and damage. Air drying is the most common method. Pieces are left out at room temperature out of direct sunlight and airflow. Larger pieces may take weeks to air dry fully. Placing pieces on wire racks allows airflow all around the piece for even drying.[2]
Fans and dehumidifiers can help accelerate the drying time. Low temperature ovens or commercial pottery dryers may also be used, taking care not to dry the clay too quickly. The rate of drying should be controlled carefully to allow moisture to evaporate from the interior and exterior at the same rate. Covering pieces with plastic wraps or damp cloths while they dry can help slow the process and prevent surface cracks.
Firing
Firing is one of the most important steps in the pottery making process. The clay must be fired at extremely high temperatures in a kiln to fully harden and finish the ceramic ware.
There are typically two firings in the pottery making process – the bisque firing and the glaze firing. The bisque firing is the first firing and serves to harden the clay body. During bisque firing, the clay objects are heated to approximately cone 04-06 which is around 1800-2100°F. This temperature range vitrifies the clay, making it permanently hard and durable. The bisque firing prepares the clay for the application of glazes and decorations. According to Soul Ceramics, it is crucial not to underfire clay at this stage, as it will remain too fragile for decorating.
The second firing is the glaze firing. At this stage, the bisque fired objects are decorated with glazes, underglazes, and other surface treatments. The pottery is then fired again to around cone 6 which is about 2200°F. At these high temperatures, the glazes will melt and fuse with the clay body to form a glassy coating. This creates a sealed, waterproof finish. The glaze firing brings out the full colors, textures, and effects from the glazes and decorations. After the glaze firing, the pottery is fully vitrified and ready to be used. According to Ceramic Arts Network, glaze firing is all about achieving the ideal temperature to mature the glazes without ruining the pottery.
Unloading and Cooling
After the pottery has been fired in the kiln, it is time to unload and cool the finished pieces. However, this stage requires care and patience. Removing pottery from a kiln before it has adequately cooled can lead to cracks or breakage.
Most experts recommend waiting until the kiln has cooled to 200°F or below before beginning to unload. This may take anywhere from 8-12 hours for an electric kiln to fully cool down after firing, though larger gas kilns may take up to 24 hours to cool sufficiently [1]. Attempting to speed up the cooling process by opening the lid early often does more harm than good. It is best to exercise restraint and wait for the kiln to cool on its own.
Once the kiln has cooled adequately, the door can be opened and the post-firing ventilated. Some kilns will have peepholes that allow monitoring of the cooling process and ventilation. The peepholes should remain closed until the kiln has cooled below 150°F [2]. Slow cooling is key for preventing stresses on the pottery.
When removing fired pieces, caution is still necessary. Thermal shock can occur if cool air hits extremely hot pottery. Wearing protective gloves, gently remove each piece and set it somewhere safe to finish cooling. Going slowly here reduces the risk of damaging fired pottery at the very last step.
Final Steps
After firing, potters will make any final refinements or additions before considering a piece complete. This may involve sanding or smoothing any rough edges, cleaning off ash or debris from the kiln firing, and making any last fixes or touch ups. Many potters will also sign or mark their finished pieces, either by incising their name/mark into the clay or using a special ceramic marker or glaze pen. Signing work is an important tradition in pottery and allows potters to identify their unique creations. According to the article on firebirdstudios.com.au, “Once cool, the pottery pieces can be unloaded, cleaned and signed ready for sale or exhibition.”[1] Finishing these final steps results in completed pottery pieces that are ready to be sold, displayed, or used as originally intended.


