Can I Make A Clay Pot At Home?
Making pottery at home is a fun and rewarding hobby that lets you express your creativity through clay. With some basic materials and techniques, you can craft beautiful ceramic pieces like vases, bowls, and sculptures using clay you make or purchase yourself. The process of pottery making allows you to connect with an ancient artform while producing lasting items for your home. Though it requires practice and patience, creating pottery is an accessible craft for all skill levels.
Pottery dates back over 20,000 years to some of the earliest human civilizations that figured out how to shape clay into vessels for storing food and water. Over time, clay crafts evolved into an artistic medium for creating figurines, dishes, tiles, and decorative objects. Pottery remains a popular craft today, with many options for working with clay at home without an artistic background or training. If you’re looking for a hands-on hobby that lets you make unique items for personal use or as gifts, making your own pottery is creative, fulfilling way to spend your spare time.
Benefits of Making Pottery at Home
Pottery making is a rewarding hobby with many benefits. Here are some of the top reasons to try your hand at clay crafts:
Creative Outlet
Working with clay allows you to tap into your creative side. Shaping clay into beautiful, functional objects is a calming yet energizing artistic process. You can sculpt anything you can envision.
Fun Hobby
Playing with clay is simply fun for both kids and adults. The textures and flexibility of clay make it enjoyable to handle. Achieving your vision by crafting an item out of a shapeless lump is deeply satisfying.
Make Gifts
Handmade pottery makes heartfelt, unique gifts for loved ones. Mugs, bowls, jewelry, and decorative pieces – the possibilities are endless. Homemade gifts show how much time and care you put into the item.
Types of Clay
There are three main types of clay that are commonly used for pottery and ceramics:
Earthenware
Earthenware clay contains lower levels of silica and fluxes than stoneware or porcelain. It has a coarse texture and is porous when fired at lower temperatures ranging from 1,800°F to 2,100°F. Earthenware is easier to work with and dries quickly, making it good for beginners. However, it is more fragile and absorbent unless glazed.
Stoneware
Stoneware clay has higher amounts of fluxes and silica, giving it a denser, nonporous finish when fired between 2,100°F to 2,300°F. The higher firing temperature makes stoneware stronger and more durable than earthenware. It resists moisture absorption and is commonly used for functional pottery like mugs, dishes, and crockery.
Porcelain
Porcelain clay is made from the finest kaolin clay and fires to a hard, vitrified glass-like finish. It’s fired between 2,200°F and 2,400°F. Porcelain is highly nonporous and has excellent translucency. However, it requires great skill to work with due to its high shrinkage rate during drying and firing. Porcelain is ideal for decorative objects and tableware.
Clay Tools and Equipment
To make pottery at home, you’ll need some basic tools and equipment. The most essential items are:
Kiln
A kiln is necessary for firing and hardening pottery. There are electric and gas kilns available for home use. Look for a small hobby kiln that reaches at least cone 6 firing temperatures. Make sure your kiln is well-ventilated.
Pottery Wheel
A pottery wheel allows you to throw and center clay into symmetrical shapes. Opt for an electric wheel with variable speed control. Consider the wheel’s weight capacity and size of the wheel head.
Cutters
Loop tools, ribbon cutters, and fettling knives are useful for trimming excess clay from pottery forms. Cutters help refine shapes and smooth surfaces.
Molds
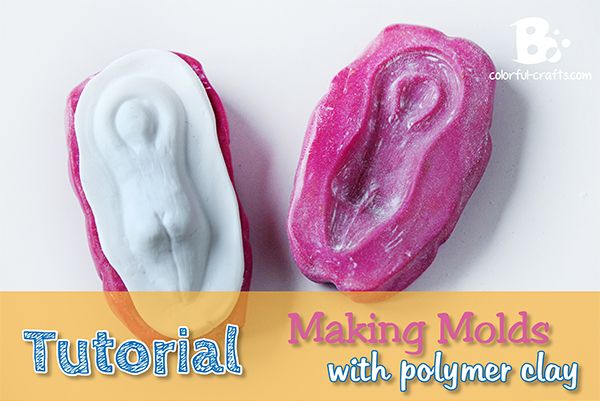
Plaster, clay, resin, and rubber molds can be used to create uniform shapes and designs. Press clay into the mold cavity to easily make multiple identical pieces.
Preparing the Clay
Before you can start shaping and molding clay into a pot, you need to properly prepare the clay by wedging and kneading it. This process serves several important purposes:
Kneading – Working the clay by pushing, folding, and pressing removes air bubbles that can cause cracking or breaking during drying and firing. Knead clay for a few minutes until it has an even consistency.
Wedging – Cutting and reforming the clay over and over in a process called wedging aligns the clay particles and removes air bubbles. Fold the clay over itself several times until smooth.
Achieving proper consistency – Add water incrementally if the clay is too stiff. Let the clay rest if it becomes sticky. The correctly prepared clay should be smooth, flexible, and moldable without sticking too much or cracking.
Taking the time to properly wedge, knead, and achieve the ideal consistency makes the clay respond better during throwing, handbuilding, sculpting, and shaping. Well prepared clay results in fewer flaws in the final fired pottery pieces.
Pottery Techniques
There are four main techniques used in handbuilding and shaping clay pots at home:
Pinch
The pinch technique is one of the most basic methods of handbuilding. It involves taking a ball of clay and manipulating it by pinching and pulling the material to form the desired shape. Pinch pots tend to have a rustic, organic look with finger indentations adding texture.
Coil
Coil building is done by rolling out “snakes” or coils of clay and stacking them on top of each other in a spiral pattern. The coils can be smoothed together from the inside using a finger, spoon, or paddle tool. Coiling allows you to gradually build up thicker walls and is great for making vases, bowls, cups, and pitchers.
Slab
The slab technique involves rolling out flat “slabs” of clay and cutting shapes that can be assembled into box-like forms or curved into cylinders. Slabs are often used to make rectangular pots or decorative wall plaques. The clay can be textured by pressing designs into the surface before joining the slabs together.
Wheel
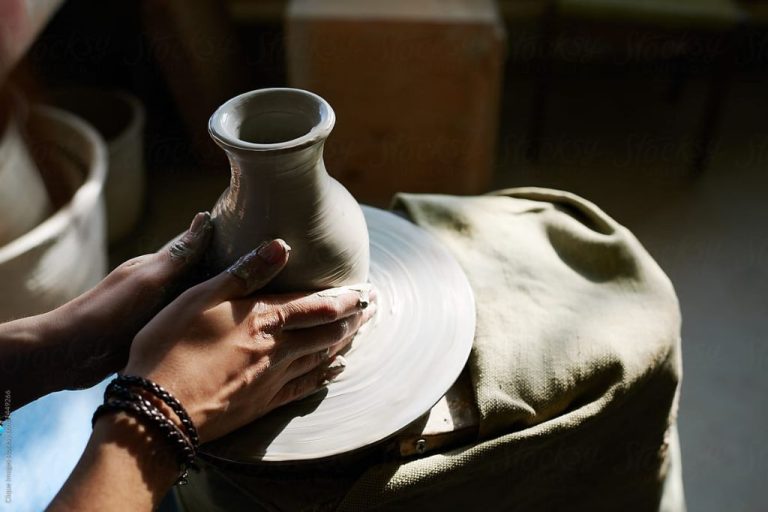
Using a potter’s wheel allows you to throw symmetric rounded shapes like bowls, mugs, and vases. This takes practice as you need to center the clay on the wheel and maintain an even pressure with your hands as it spins. Throwing on the wheel requires an investment in the wheel itself, but offers the most flexibility in forming seamless pottery.
Creating Basic Shapes
There are several basic shapes that are perfect for beginning potters, like bowls, vases, cups and plates. These shapes allow you to learn fundamental techniques while creating functional items for everyday use.
Bowl
Bowls are one of the simplest and most versatile shapes to create. Start with a round or oval-shaped clay base. Then use your thumbs to press into the center while smoothing the sides out and up to form the bowl shape. The depth and width can vary based on your preference. Make indentations for a finger hold on each side if desired.
Vase
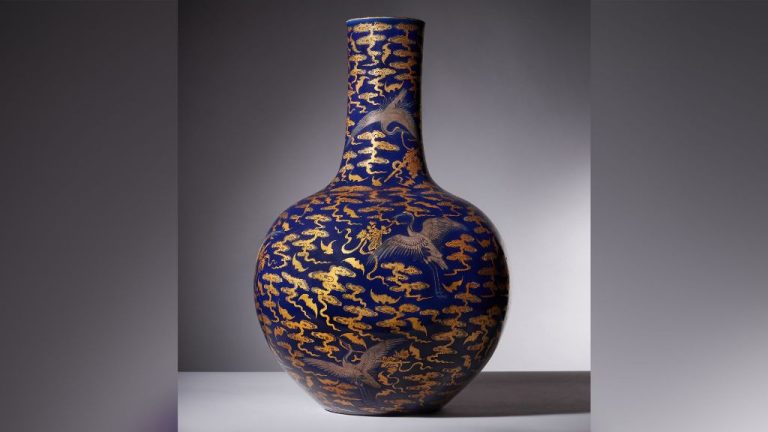
Vases involve forming a narrow cylindrical or tapered shape. Roll a piece of clay into a long cylinder, then gently squeeze in and pull up to create the neck. Use your fingers to refine the shape, smoothing out any imperfections. Pinch or pull the bottom narrower to make the base. Add decorative elements like ruffles, handles or patterns.
Cup
Cups start similar to bowls, with a round clay base. Press your thumbs in the center but not as deep. Then pull the sides up vertically before gently curving outward to create the open cup shape. Leave thick walls for stability. Create a handle by rolling a piece of clay into a long cylinder and attaching it to the sides.
Plate
For plates, roll out a flat round clay base, approximately 1/4 to 1/2 inch thick. Use your palms to smooth the edges and create a neat, even rim. Make the surface decoration as desired. Let the clay slightly harden before carefully shaping the raised sides to prevent slumping. Plates can have straight, flared or curved sides.
Decorating and Glazing
Glazes are an essential part of finishing pottery pieces. They serve both decorative and functional purposes. Glazes provide color, shine, and texture to the final piece. They also create a smooth, non-porous surface that makes pottery waterproof. This prevents absorption and makes items suitable for holding liquids.
There are many options when it comes to glazing clay. Different colors, finishes, and application techniques allow endless creativity. Typical glaze types include gloss, matte, crystalline, metallic, and underglazes. Glazes can be mixed to create custom colors. Unique effects are possible like crackle finishes and lava glazes with erupting spots of color.
Textures can be made by impressing objects into the soft clay or carving designs by hand or with tools. Sponges, textured rollers, and brushes add interest when applying glazes. Contrasting colored slips and engobes under a clear glaze also generate visual depth. Stamped patterns and resist techniques like wax resist accentuate the glaze.
Glazes come premixed for convenience in powder, liquid, and paste forms. With care, they can also be mixed from raw materials at home. Proper mixing, application thickness, and firing schedule are key for vibrant glaze results without defects like running, crawling, or crazing.
Firing the Kiln
Firing the kiln is one of the most important steps in creating lasting pottery. The pottery must be fired at the proper temperature for the correct duration to harden the clay permanently. Here are some key tips when firing your homemade pottery in a kiln:
First, ensure the kiln reaches the appropriate temperature based on the type of clay used. For example, stoneware clay requires firing at around 2,200°F while earthenware clay only needs about 1,830°F. Check the packaging or description of your clay to determine the right firing temperature.
Next, slowly ramp up the kiln at a rate of no more than 300°F per hour until reaching the target temperature. This gradual heating helps prevent cracks in the clay from moisture evaporating too quickly. Once the kiln reaches the maximum temperature, hold that heat for the length of time recommended by the clay manufacturer, such as several hours.
After the allotted firing duration, turn off the power to the kiln and allow it to cool down completely before opening the lid and removing the pieces. The total firing cycle can take 6-12 hours or longer depending on the size of the kiln, clay type, etc. Patience is required for proper firing!
With the right firing time and temperature, the clay will vitrify and harden into a permanent ceramic material. Enjoy your beautifully fired homemade pottery creations!
Conclusion
Making your own pottery at home can be a fun and rewarding hobby. With some basic materials, equipment, and techniques, anyone can shape clay into beautiful, functional pieces.
We looked at the different types of modeling and firing clays you can use, as well as essential tools like pottery wheels, kilns, clay cutters, and decorating tools. While molding clay by hand is the simplest starting point, you can move on to using the wheel or molds to achieve more uniform shapes and thin walls.
Decorate your finished pieces with glazes, paints, or textures before the final firing. With some practice at centering clay on the wheel, basic shapes, and glazing, you’ll be creating gorgeous pottery to keep for yourself or give as gifts.
For more in-depth guidance on at-home pottery, check your local ceramic stores for classes. You can also find a wealth of tutorials online and in books at your library or bookstore. The world of pottery is creative and limitless – get your hands dirty and make something meaningful today!


