Can You Hand Stamp Wood?
Hand stamping wood is a fun and creative way to decorate and personalize wooden objects. It involves carving a custom design into a stamp, then pressing the stamp onto a wood surface with ink to transfer the pattern. Hand stamped wood projects make great DIY gifts, home decor items, jewelry, and more.
The technique allows you to add customized designs, names, dates, monograms, phrases, and shapes to your woodworking projects. Hand stamping creates a distressed, vintage look that works well for shabby chic, rustic, and farmhouse styles. It’s an easy way to personalize and add character to plain wood items without specialized artistic skills.
Some common uses for hand stamped wood include signage, wall art, coasters, bookmarks, boxes, furniture, utensils, and wooden jewelry. It’s suitable for stamping soft woods like basswood or pine, but harder woods may require an electric stylus for carving intricate designs. With a little creativity, hand stamping opens up many possibilities for DIY wood crafts and gifts.
Tools Needed
To get started hand stamping wood, you’ll need a few essential tools to create and apply your stamps. The main tools are:
Rubber Stamps – Rubber stamps with custom designs are the easiest way to transfer your artwork onto wood. They have the stamp design engraved in relief so it will leave an impression when stamped. Choose mounted stamps for easier handling.
Ink Pads – Ink pads are used to ink the rubber stamps before stamping. Choose fast-drying inks like acrylic, pigment, or dye-based inks. Make sure the pad is large enough for your stamps.
Metal Stamps (optional) – For deeper stamping into wood, metal hand stamps are an option. Handheld steel stamps can create stamped designs up to 3/8” deep.
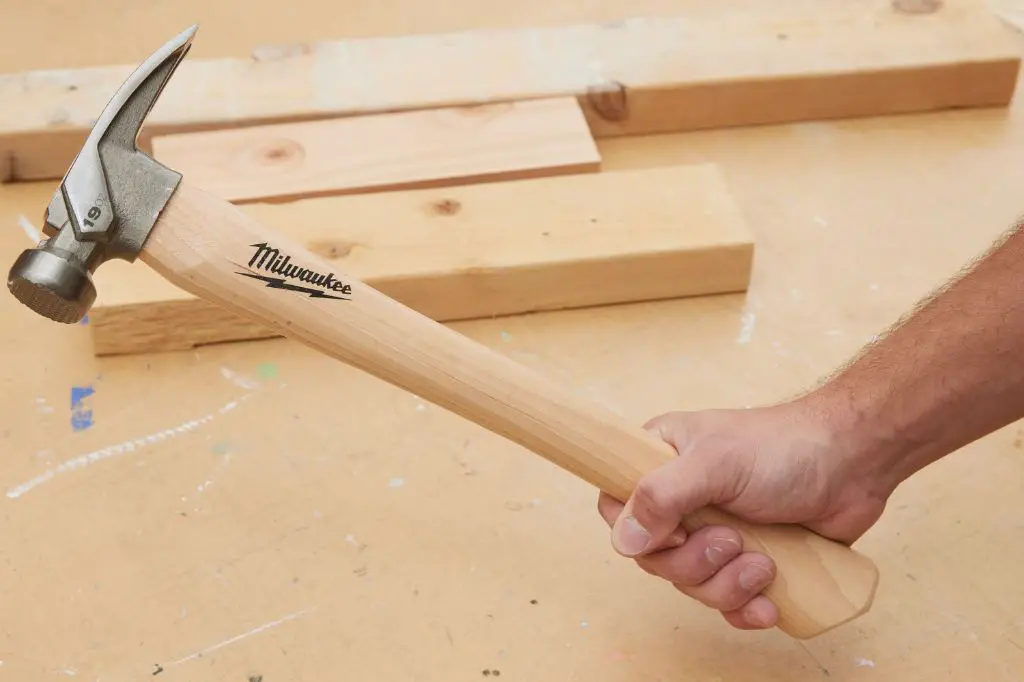
Hammer/Mallet – Use a rubber mallet or hammer to firmly press the mounted rubber stamps or strike metal hand stamps.
Other helpful tools include a carving/linocut tool for cleaning up stamped images, fine grit sandpaper, a craft knife, and sealant.
Type of Wood
When selecting the type of wood for hand stamping, it’s important to choose a soft wood that can easily accept the imprint of the stamp. Some of the most commonly recommended woods for hand stamping include:
Pine – Pine is an inexpensive softwood that stamps well. It has a smooth, consistent grain that allows for crisp impressions. Pine is readily available at most hardware stores.
Poplar – Poplar is another budget-friendly option. It has a fine, even grain and stamps cleanly. Poplar is a soft hardwood that’s easy to work with.
Basswood – Basswood is a favorite for hand stamping and woodcarving. It has a tight, uniform grain and few knots. Basswood softness allows for intricate stamp detail.
Other woods like birch, aspen, and alder also work well for hand stamping. The key is choosing wood with a smooth, soft grain without knots. Hardwoods with an open grain like oak stamp inconsistently. Avoid resinous woods like pine.
Wood Preparation
Properly preparing the wood surface is an essential step before stamping to ensure the ink adheres well and the image transfers cleanly. According to The Spruce Crafts, you’ll want to start by sanding the wood to remove any existing finish or sealant and create a smooth surface for stamping (1). Use fine grit sandpaper (at least 220 grit) and sand in the direction of the wood grain. Wipe away any dust with a dry cloth after sanding.
Next, consider applying a wood stain or sealer if you want to achieve a certain color on your wood before stamping. Allow any stain to fully dry as directed on the product instructions before stamping. Using a prestain wood conditioner can help the stain absorb evenly. Finally, seal the wood with a thin layer of polyurethane or water-based sealer and let dry completely before stamping (1). This helps protect the wood while allowing the ink to transfer cleanly.
With the wood sanded smooth, stained if desired, and sealed, it is now ready for the stamp design.
Sources:
(1) https://www.thesprucecrafts.com/how-to-stamp-on-wood-4145722
Designing Your Stamp
When designing a custom stamp for wood, you have two main options – ordering a premade stamp or having one fully customized. Premade stamps come in a variety of styles you can choose from, like initials, phrases, shapes, and icons. These offer a quick and affordable option if you want a simple design. However, they limit your creative freedom and ability to personalize. For a fully bespoke stamp, you can provide your own unique artwork and text. Services like Stamp Connection allow you to upload a file or provide instructions to design something one-of-a-kind. Custom stamps give you total creative control over the style, size, text, images, layout, and more. This is recommended if you want a stamp that reflects your artistic vision or captures a special memory or person’s name. The downside is the higher cost and longer production time versus premade stamps. When considering custom vs premade, weigh factors like your budget, timeline, and how much personalization you desire for the project.
Inking the Stamp
The type of ink pad you use is important when hand stamping wood. Oil-based inks like pigment ink tend to absorb into porous surfaces like wood so they don’t work as well. Instead, you’ll want to use a permanent ink that dries on the surface.
Dye-based inks like StazOn ink are a popular choice for stamping wood. StazOn ink dries quickly, bonds to non-porous surfaces, and produces a crisp image. This makes it ideal for stamping wood, metal, plastic, acetate, and glass.
It’s also important to properly re-ink your stamps after each impression. Start by pressing the stamp firmly onto the ink pad and rocking it back and forth to distribute the ink. Next, tap the stamp onto a piece of scrap paper to remove any excess ink. This will help create a clean stamped image on your wood surface.
Stamping the Wood
Proper hammering technique is important for getting a clean and clear imprint of your stamp design. Hold the stamp perpendicular to the wood surface. Use light taps at first to make a guide imprint, then increase force for deeper, more defined impressions. Avoid hitting too hard or at an angle as this can cause the stamp to slip or skid on the surface.

For the best results, stamp in a straight line and stamp each impression right next to the previous one with no gaps in between. Carefully aligning each strike will create a professional, high-quality look. Work slowly and methodically. Rushing through the stamping increases the chance of misaligned or crooked stamps.
Check stamp alignment periodically as you work across the surface. Place a straightedge like a ruler across finished stamps to spot any uneven stamping. Adjust and re-stamp spots that are noticeably off.
Be patient and willing to re-do areas if needed for a quality stamped design. With care and practice, you can achieve beautiful hand stamped woodworking projects.
Sealing the Stamp
After spending time creating your hand-stamped wood design, you’ll want to seal it to protect the stamp and make it last. Sealing adds a protective barrier to the stamped image and prevents smearing, fading, and damage from moisture.
The most common sealers for wood stamps are:
- Polyurethane – A popular water-based sealer that dries clear and protects wood from moisture, discoloration, and scratches. 2-3 coats are recommended for wood stamps.
- Acrylic sealer – Acrylic polymer sealers like Mod Podge can be used to seal stamped wood. They dry clear and protect the wood.
- Natural oils – Food-safe oils like mineral oil or walnut oil can be rubbed into the wood to seal and condition it.
- Wax – Products like paste wax or beeswax can seal and protect stamped wood designs.
When applying a sealer, do so in a well-ventilated area and allow ample drying time between coats. Once fully cured, the sealer will protect your wood stamp from moisture, fingerprints, and fading for years to come.
For an in-depth look at recommended sealers for wood signs, check out this helpful guide: https://www.creativeramblingsblog.com/how-to-seal-a-wood-sign/
Troubleshooting
If you run into issues while hand stamping wood, there are a few troubleshooting tips to try:
Light stamps: If your stamp impressions are faint, first make sure you are applying enough pressure. Handmade stamps require firm pressure for the best image transfer. Also check that your stamp is fully inked. Re-ink and press harder for darker impressions.
Smudging: Let the ink dry fully before rubbing or sealing your wood stamp. Quick-dry inks can help avoid smudging. You can also gently heat set the ink with a hair dryer on a low setting before sealing.
Uneven stamping: Make sure your wood surface is smooth and your stamp base is evenly sanded. Any unevenness in the wood or stamp can cause patchy ink transfer. Try stamping on a test material first to check for even contact.
Fixing errors: If you make a stamping mistake, quickly blot the error with a paper towel or rag. You may be able to sand away any remaining ink residue once dry. Consider incorporating “imperfections” into your design for a handmade look.
For other issues, check that your materials are of good quality and your techniques are correct. With practice, your stamping skills will improve. Don’t be afraid to experiment on test pieces first.
Project Ideas for Hand Stamped Wood
Wood stamping allows for many creative and personalized project ideas that make great homemade gifts or home decor. Some simple project ideas to try with hand stamped wood include:
Coasters – Stamp names, monograms, or decorative patterns onto round slices of wood to create one-of-a-kind coasters. Personalize them for each family member or make sets as gifts. See this idea at https://www.pinterest.com/pin/4348085392283455/.
Signs – Make customized signs for the home by stamping letters, words, or phrases onto wood boards or planks. Change them out seasonally or for different occasions. Get sign project inspiration at https://www.pinterest.com/pin/564865705589064280/.
Decorations – Stamp patterns, shapes, or designs onto wooden decor like ornaments, boxes, frames, or plaques. Wood stamping is great for holiday decorations. See Christmas ornament ideas at https://www.pinterest.com/pin/59677097802492510/.
Gifts – Make unique stamped gifts like jewelry, trays, coasters, keychains, and more. Customize them with names initials or meaningful words. Get hand stamped gift ideas at https://www.pinterest.com/pin/59677097802481565/.


