Can You Put Tiles On A Table Top?
Tiling a table top can give an old or worn table a fresh, updated look. It allows you to customize the surface with unique, artistic tiles that reflect your personal style. Tile is durable and water-resistant, making it a practical choice for table tops that will see a lot of use, especially outdoors. However, tiling a table top is also a more labor-intensive project that requires careful preparation, patience, and the right materials. It’s important to consider the pros and cons before deciding if this is the right DIY project for your needs.
The main benefits of tiling a table top are the ability to create a customized, artistic look that is also practical and durable. The smooth tile surface is easy to clean, stain-resistant, and waterproof if properly sealed (Source 1). Tiled table tops work well indoors or outdoors. On the downside, installing tile on a table top requires more skill and labor compared to other surface options. The surface needs to be prepared properly or the tiles may crack or come loose over time. Tiling has an upfront cost for supplies and tools. Grout also requires periodic sealing and maintenance.
Types of Table Tops
There are several common materials used for table tops, each with their own unique properties and considerations.
Wood
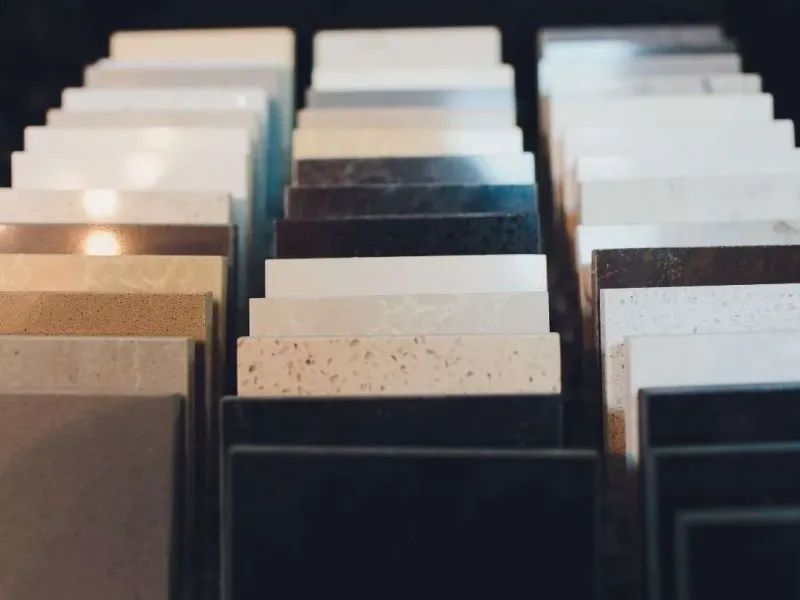
Wood is a classic table top material that comes in many varieties like oak, maple, walnut, and mahogany. Solid wood tops offer natural beauty and durability. According to Room & Board, solid wood can withstand scratches and dents while developing a lovely patina over time. Popular options are walnut for its rich color and maple for a lighter look.
Metal
Metal table tops like stainless steel, copper, or brass provide an industrial, sleek look. As noted by Glass Genius, metals like stainless steel are extremely durable, scratch resistant, and easy to clean. However, metal can show fingerprints and be noisy when objects are placed on it.
Glass
Glass offers a modern, transparent table top material. Tempered glass tops are very durable and scratch-resistant. Glass can be paired with metal legs or bases for a light and airy aesthetic. The downside is glass shows fingerprints and requires frequent cleaning, according to Grain & Frame.
Choosing Tiles
When selecting tiles for a table top, you’ll want to consider the material, size, and shape that best suits your needs and design aesthetic. Some of the most common options include:
Ceramic
Ceramic tile comes in a wide variety of styles, colors, shapes, and sizes. It’s an affordable option that’s easy to cut to size. Ceramic tiles are durable but can chip or crack if subjected to heavy impact [1].
Porcelain
Porcelain tile is less porous than ceramic and resists moisture, stains, and scratches. It’s a great option for table tops in kitchens or outdoor spaces. Porcelain tiles are also available in many colors and designs [2].
Glass
Glass tile can create a sleek, modern look. It comes in clear, colored, and frosted styles. Glass tile is prone to chipping if subjected to impact. Use a porcelain or ceramic border to help protect glass tile table edges [1].
Mosaic
Mosaic tiles come in small uniform sizes that form a pattern when placed together. Popular options are 1-inch, 2-inch, or 3-inch squares. The small tile size allows shaping mosaic designs to furniture contours [2].
Size and Shape
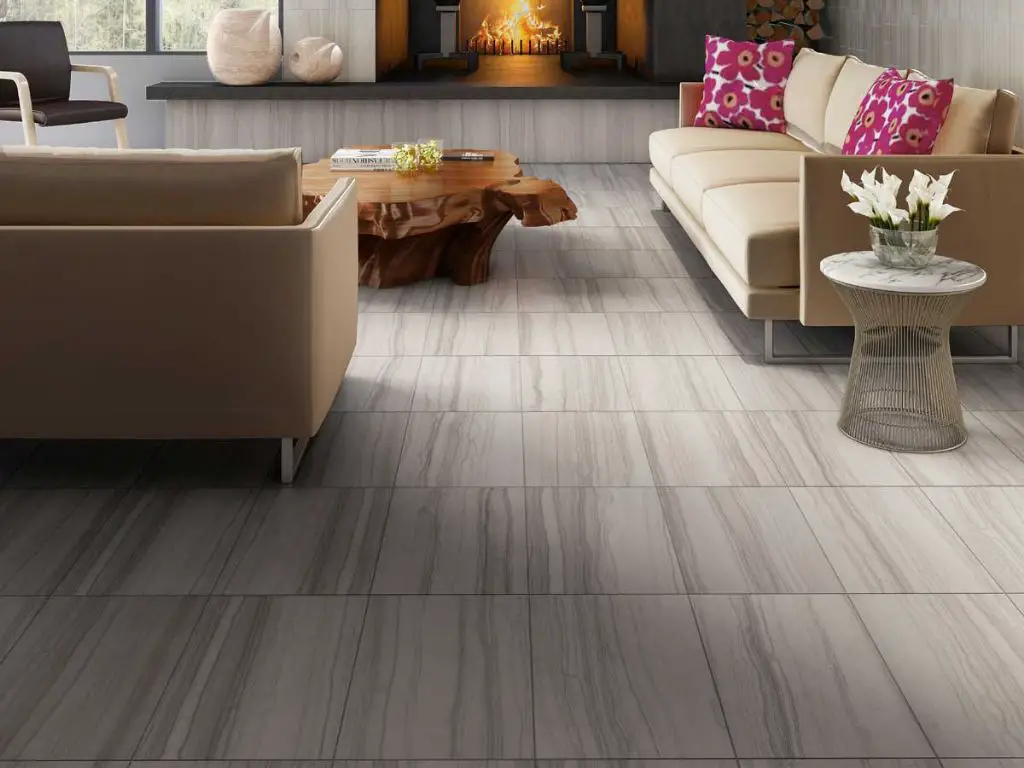
Standard tile sizes range from 1-inch to 18-inches square. Rectangular subway tiles are also popular options. Choose smaller tiles for shaping detailed mosaic patterns or larger tiles to cover table tops faster. Mixing multiple sizes can also create interest [3].
Preparing the Table
Properly preparing the table surface is crucial for the tiles to adhere correctly. The first step is to sand the table thoroughly, using progressively finer grit sandpaper, up to at least 220 grit. This removes any existing finish or gloss and roughens the surface to help the adhesive grip. Be sure to sand evenly across the entire tabletop.
After sanding, clean the surface thoroughly to remove any dust, oils or other debris left behind. Use a cloth dampened with a cleaning solvent like mineral spirits. Allow the surface to fully dry after cleaning. Then apply a primer if needed – oil-based primers work best for minimizing absorption into the wood. Allow the primer coat to dry fully before moving onto the next step. Some woods like oak may not need a primer. Your surface is now ready for tiling once fully prepped.
Proper preparation is well worth the effort to ensure your tiles adhere strongly to the table and last for years to come. Be patient and don’t rush through this crucial step. Refer to tile manufacturer guidelines for any additional recommended steps when prepping a wood tabletop for tiling.
Adhesives
When tiling a table top, it’s important to choose the right adhesive. The adhesive is what bonds the tiles to the table surface. There are a few options to consider:
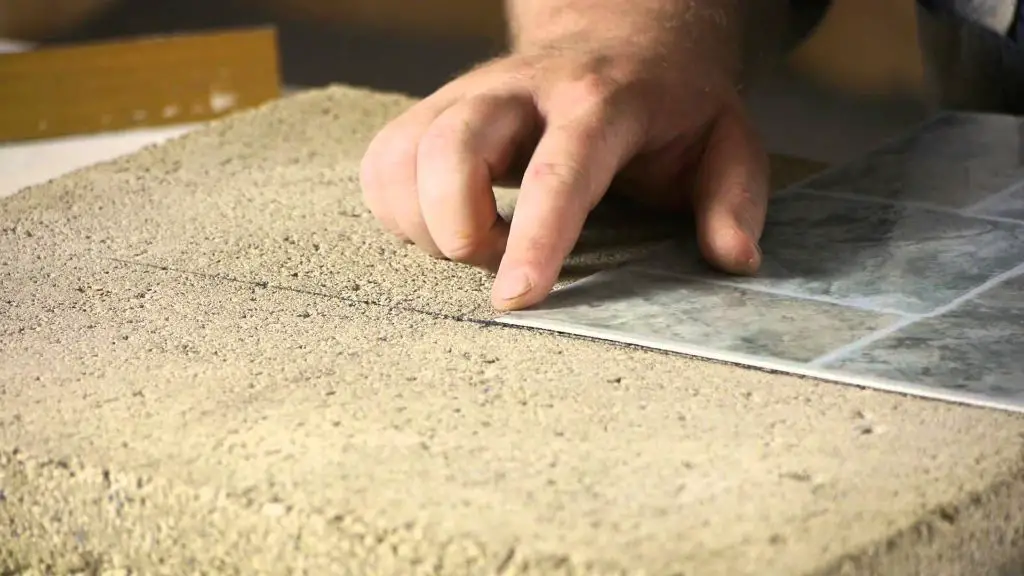
Epoxy adhesive is often recommended for tiling table tops, especially if the back of the tiles are smooth and flat. Epoxy creates a strong, permanent bond and allows a bit of time to adjust the tiles before it fully sets. A popular choice is Rust-Oleum EpoxyShield.
Another option is construction adhesive or liquid nails. Products like Loctite Power Grab provide a long-lasting bond. Make sure to choose a version that specifically says it can bond ceramic or porcelain.
For natural stone tiles, a white thinset mortar adhesive is recommended. SimpleSet Thin Set Mortar is a good choice for a strong bond with natural stones like marble or granite.
When selecting any adhesive, be sure to choose a product designed for the specific materials you are working with. Follow the manufacturer’s instructions for best results.
Grouting
Grouting is an important step when tiling a tabletop. The grout fills in the spaces between the tiles and seals them together. There are a few things to consider when grouting:
Grout Types
The most common grout types for tabletop tiling are unsanded and epoxy grout. Unsanded grout is best for grout joints 1/8″ or smaller, while epoxy grout is more durable and stain resistant. Epoxy grout requires special application techniques. Make sure to choose the appropriate grout for the tile and project.
Grout Application
It’s crucial to have a consistent thickness of grout lines between tiles. Hold the grout float at a 45 degree angle and firmly press the grout into the joints. Remove excess grout by holding the grout float edge at a 90 degree angle and scraping diagonally across the tiles. After the grout firms up, use a damp sponge in a circular motion to smooth and clean the tile surface.
Grout Sealing
Sealing the grout will protect it from stains and moisture. Allow the grout to fully cure first, usually 24-72 hours. Apply a penetrating grout sealer according to manufacturer instructions. Reapply sealer periodically for continued protection.
Sealing
Sealing the grout between the tiles after installation is an important final step. The sealer forms a protective barrier that prevents stains from being absorbed into the porous grout. Unsealed grout may rapidly become dirty, stained, and difficult to clean. It’s recommended to use a penetrating sealer specifically designed for grout.
Some top options for grout sealers include:
-
Aqua Mix Sealer’s Choice Gold – Provides maximum stain protection and has an invisible finish.
-
Miracle Sealants 511 Impregnator – Repels dirt, grease, oils and stains from grout joints.
-
Custom Building Products TileLab SurfaceGard Penetrating Sealer – Water-based formula that resists water, oil, and acid-based contaminants.
-
Grout Refresh by Granite Gold – Contains antimicrobial agents to inhibit mold and mildew growth.
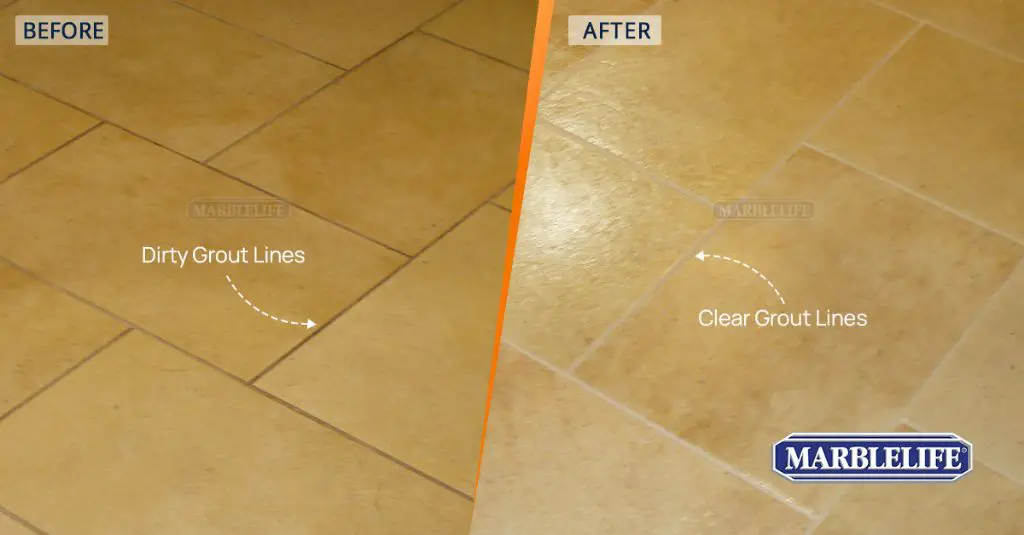
Be sure to choose a nontoxic, low-odor sealer made for grout and ceramic or porcelain tiles. Follow the product instructions carefully. Allow the sealer ample time to fully cure and avoid heavy use of the tile surface for at least 72 hours.
Maintenance
Properly maintaining your tiled tabletop is crucial for keeping it looking beautiful for years to come. Here are some tips for cleaning and protecting the tiles:
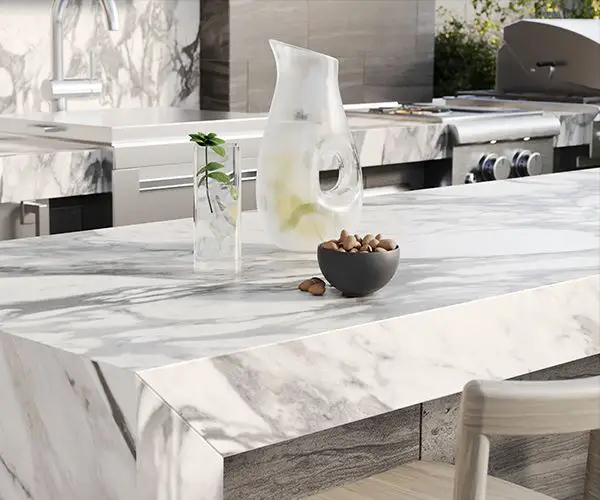
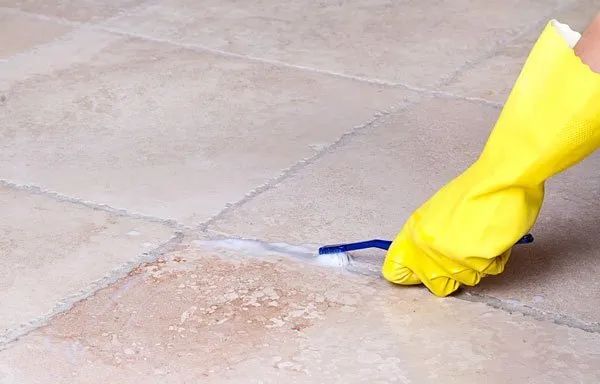
Use a damp microfiber cloth to gently wipe down the tiles. Avoid abrasive cleaners or scrubbing pads which can scratch the surface. A mild detergent like dish soap diluted in water is sufficient for most cleaning. Rinse well and dry with a soft towel.
Sealants should be reapplied periodically per the manufacturer’s instructions. This protects the grout and acts as a barrier against stains. Choose a sealant specifically made for the tile material.
Spills should be cleaned up immediately before they have a chance to set. For dried-on messes, a cleaning gel designed for natural stone can help lift off grime. Take care not to let moisture sit under drinks or decor.
Harsh cleaners like bleach, ammonia, acids, or abrasives should always be avoided as they can etch or dull the tile over time. Do not use vinegar, lemon juice, or other acidic products.
Inspect the grout lines occasionally and re-grout if needed. Cracks allow moisture and grime to seep underneath.
Use trivets, tablemats or placemats under hot dishes to prevent thermal shock cracking. Avoid dragging cookware across the surface to prevent scratching.
Pros and Cons of Tiling Table Tops
There are several advantages and disadvantages to consider when deciding whether to tile a table top:

Some pros of using tile on table tops include:
- Tiles come in a wide variety of styles, colors, shapes, and textures to fit any design aesthetic (Country Living, 2019). This allows for lots of customization.
- Tiles are very durable and withstand heat, scratches, and stains quite well (Forbes, 2023). This makes them ideal for kitchen tables or craft tables.
- Tiles can be easier to clean than other table top materials like wood. The grout between tiles allows spills and messes to be wiped away (Stock Cabinet Express, 2015).
Some cons to consider:
- The grout between tiles can stain and be difficult to clean over time (Forbes, 2023). Grout needs regular sealing.
- The surface is not completely flat and even due to grout lines. This can make sliding or rolling items across the surface more difficult (Stock Cabinet Express, 2015).
- Tiles can chip or crack if subjected to a very heavy impact. Replacing a damaged tile is more complex than resurfacing a wood or laminate table (Country Living, 2019).
Overall, tiles can be a great option for table tops in the right setting. The durability and customization potential are major advantages. But the grout maintenance and uneven surface are downsides to weigh.
Conclusion
Tiling a tabletop can add a unique, custom look to any dining or work space. With some planning and preparation, it is a doable DIY project for many homeowners. Be sure to choose an appropriate tile for the table usage, properly prepare the surface, use a flexible adhesive suited for the material, grout carefully, and seal and maintain the tiles. Tiling a tabletop has both advantages and disadvantages to weigh. It can be prone to chipping or staining, but also creates a one-of-a-kind focal point full of visual interest. If the proper steps are taken, tiling a tabletop can result in a stunning transformation and stylish new surface. Just be realistic about the regular sealing and maintenance required. With reasonable expectations going in, a tiled tabletop can be a successful weekend project that adds personality and flair to any room.


