31+ Diy Rustic Organizing And Storage Projects For A Beautiful Home
Rustic decor has become a beloved style in recent years, and for good reason. It’s not just a fleeting trend, but a way to bring warmth and comfort into our homes. At its core, rustic design is all about embracing the natural world and celebrating its beauty. This philosophy extends beyond aesthetics, as it also encourages us to get creative and DIY-oriented. Storage projects are a perfect example of how rustic decor can serve multiple purposes.
Not only do they provide essential storage solutions, but they also add a unique touch that enhances the overall ambiance of our space. And let’s not forget the sense of accomplishment that comes with creating something beautiful and functional with your own hands. By making your own storage solutions, you’ll not only save money, but also tap into the satisfaction of knowing you’ve created something truly special.
In this article, we’ll delve deeper into what makes rustic decor so appealing, from its natural, earthy feel to its emphasis on functionality and creativity. We’ll explore how to plan and execute your own rustic storage project, including selecting the right materials, considering space and functionality, and finding design inspiration. Plus, we’ll dive into some innovative DIY projects that will have you creating your own unique rustic storage solutions in no time.
Understanding Rustic Decor
Rustic decor is an interior design aesthetic that celebrates the beauty of the outdoors by bringing its essence indoors. The approach emphasizes a cozy and character-filled atmosphere, often achieved through the strategic use of natural materials such as wood and stone. This style’s charm lies not only in its visual appeal but also in the handmade craftsmanship that lends itself to subtle imperfections.
By embracing these qualities, rustic decor creates an inviting space that feels authentic and warm.
What Makes Rustic Decor Special?
Rustic design is often misunderstood as simply being about aesthetics, but at its core, it’s deeply rooted in sustainability and the idea of repurposing. This approach celebrates the use of reclaimed materials, which not only reduces waste but also adds a layer of history and depth to your decor. The result is a space that feels warm, welcoming, and richly lived-in – something new materials can rarely achieve.
This emphasis on sustainability isn’t just good for the planet; it’s also incredibly rewarding for those who take part in crafting rustic storage projects themselves. By engaging directly with the materials and making process, DIY enthusiasts can experience a sense of achievement that’s hard to find elsewhere. The end result is a functional piece that’s exactly to their taste, adding texture and interest to any room.
Rustic decor has the unique ability to seamlessly blend into various interior styles – from modern to traditional, and everything in between. This versatility makes it an excellent choice for those looking to add a touch of warmth and personality to their space.
Ultimately, understanding what rustic decor truly is can help you better appreciate its beauty and how it can transform your home.
It’s not just a style; it’s a way of making your space feel uniquely yours – warm, welcoming, and full of character.
Planning Your Rustic Storage Project
Crafting a rustic ambiance in your space through DIY storage solutions requires careful consideration of materials and design. By making informed decisions, you can create a functional piece that authentically embodies the rustic aesthetic. The perfect blend of form and function is crucial to achieving this goal.
Selecting the Right Materials
When it comes to crafting a rustic look, the materials you select are the backbone of your project’s success. To genuinely evoke the essence of nature and history, focus on elements that exude a sense of age and imperfection. This could include reclaimed wood with its unique patina and character-defining flaws, or metal accents in the form of wrought iron or copper, which lend a warm, earthy feel to your design.
Stone, too, can be a powerful component, offering a natural, organic foundation that grounds your project in the here and now. By incorporating these materials into your design, you’re not just adding visual interest – you’re also infusing your storage solution with character and a sense of timelessness, making each piece truly one-of-a-kind.
Space and Functionality
Before embarking on your project, take a moment to assess the available space and contemplate what you require from your storage solution. To avoid overcrowding, it’s crucial to measure the area accurately, ensuring your new storage unit seamlessly integrates into its surroundings.
Gain clarity on your storage requirements: What will be stored within this space? This fundamental understanding will guide your decision-making process, as different items demand distinct storage solutions.
For instance, a spacious cabinet might be the perfect fit for linens, whereas open shelves would be better suited for showcasing decorative pieces or collectibles.
Design Inspiration
Transforming a simple storage solution into a stunning statement piece requires careful consideration of design elements. Think beyond mere functionality and incorporate features that delight the senses. By combining practicality with aesthetic appeal, you can turn a basic project into a showstopper.
Key components like barn doors, vintage knobs, and distressed finishes bring more than just function to your rustic storage solution.
They add layers of texture, visual interest, and even emotional connection. These unique details can elevate a simple piece of furniture into a room-defining focal point.
To ensure your project is both beautiful and practical, plan with intentionality. Consider the space, your needs, and the materials you’ll use. By doing so, you can create a piece that not only serves its purpose but also enhances your home’s rustic charm.
DIY Rustic Storage Projects
Infusing your living space with a sense of personal character is effortless when crafting rustic storage solutions from scratch. In this instance, our attention turns to wall-mounted shelves and racks that not only serve as functional staples but also beautifully complement the rustic ambiance of any room, further elevating its charm.
Wall-mounted Shelves and Racks
When it comes to creating rustic wooden shelves, the journey begins with gathering the right materials – reclaimed wood, brackets, screws, and essential tools like a drill and saw. Before you start building, take some time to prepare the wood by sanding it to smooth out any rough edges while preserving its natural texture. Next, measure and cut your wood to the desired length for your shelves.
Once that’s done, finish the wood with a stain or leave it in its natural state, then seal it with a clear coat for added durability. With your wooden planks ready, move on to installing the brackets – mark the wall carefully to ensure they’re level, and drill them into place. Finally, attach your shelf to the bracket using screws, and you’ll be left with a sturdy, rustic piece that’s sure to add charm to any room.
Of course, there are many ways to customize your shelves and racks to fit your unique style. For instance, you could use metal holders attached to a rustic wood plank for an elegant wine bottle display, or install vintage hooks on a reclaimed wood base for a functional coat rack with character. You can even create a kitchen utensil rack by attaching small baskets or hooks to a wooden board – the possibilities are endless!
And that’s not all – wall-mounted shelves and racks aren’t just about adding storage; they’re also a way to showcase your creativity. By following these steps and ideas, you can create functional and beautiful pieces that reflect the rustic charm of your home.
Rustic Cabinets and Chests
DIY Bathroom Cabinet with Mirror
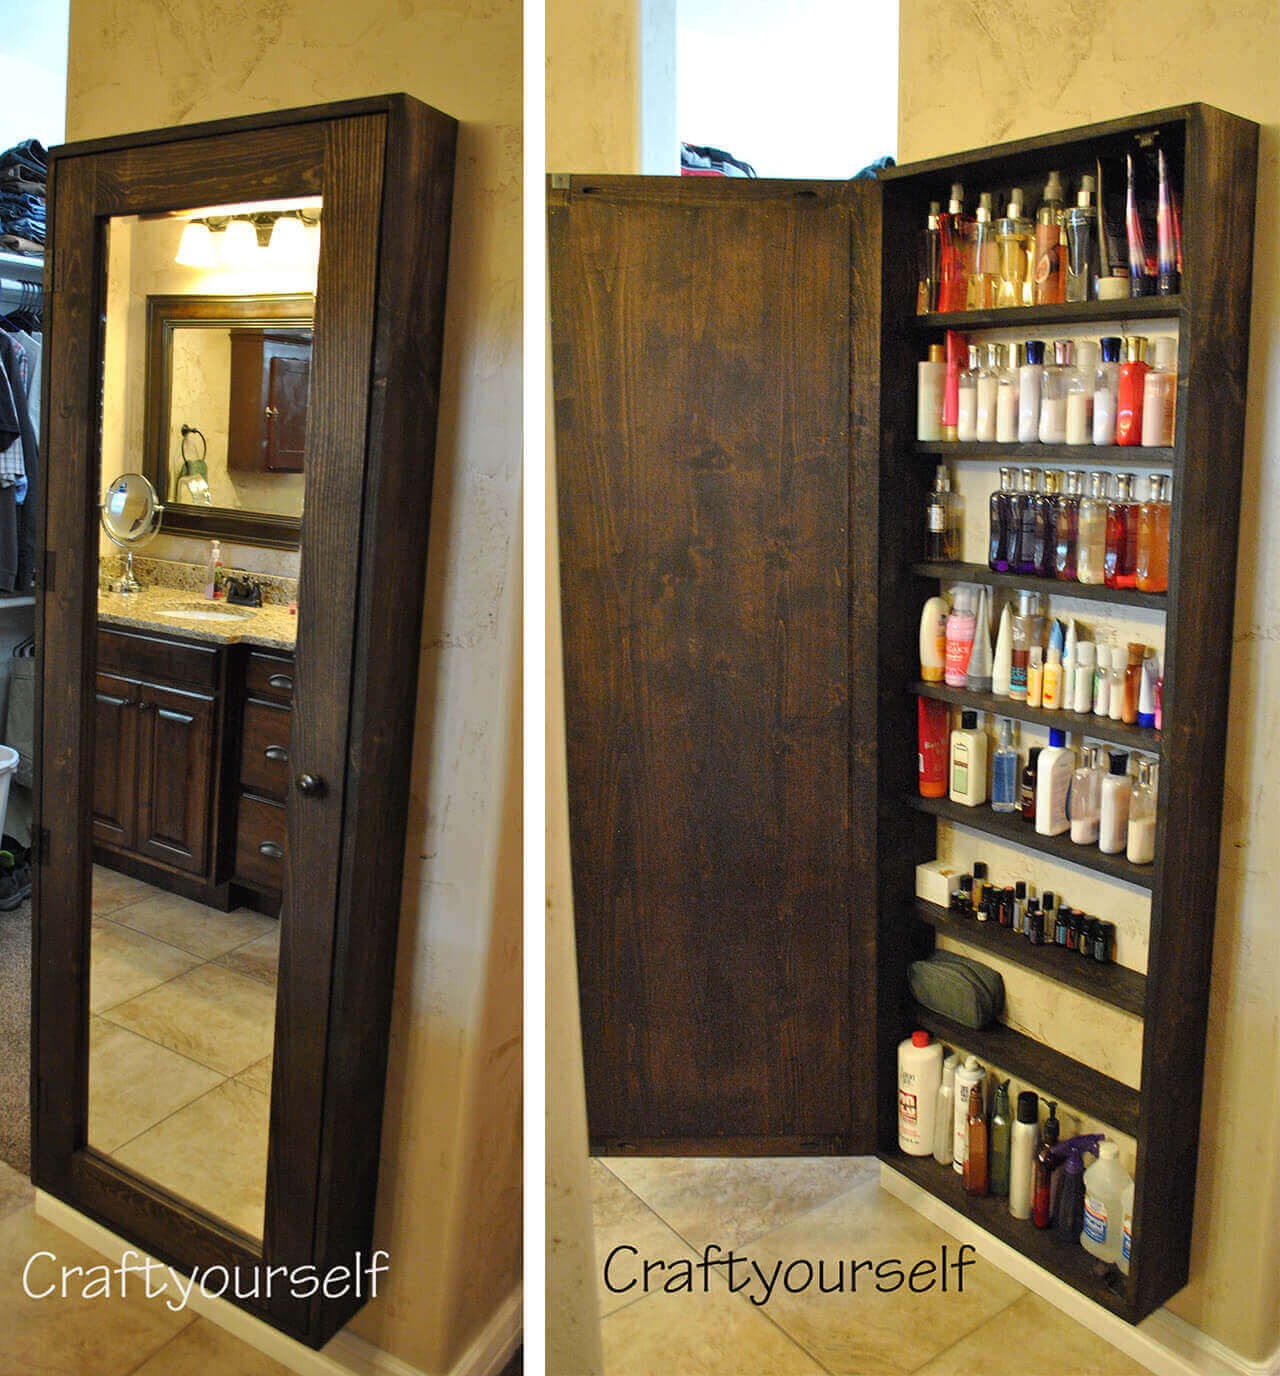
Creating a rustic cabinet or chest from the ground up can be an incredibly fulfilling DIY project that not only offers functional storage solutions but also introduces a one-of-a-kind decorative piece to your home. By following this comprehensive guide, you’ll gain insight into the essential materials and tools required to bring your vision to life, as well as expert tips for tailoring the design to suit your personal style.
Instructions for Building a Rustic Cabinet or Chest
To create a rustic cabinet or chest, you’ll need the right materials and tools to bring your design to life. Here’s a comprehensive list of what you’ll need:Reclaimed Wood: This will be the main material for constructing your piece, providing an authentic and unique look. Look for pieces with character, such as old marks and interesting grain patterns. Screws and Hinges: These will allow you to assemble your parts and give your doors a rustic charm.
Opt for screws and hinges that have a distressed or antique finish to match your reclaimed wood. Sandpaper: This is essential for smoothing out the wood and preparing it for finishing. Use a variety of grits to achieve the best possible finish. Saw: A high-quality saw will be necessary for cutting the wood to size. Make sure your cuts are straight and accurate to ensure a professional-looking finish.
Drill: The drill is used to assemble your parts securely, pre-drilling holes to avoid splitting the wood. Stain/Paint: This is where you can add color and personality to your piece. Choose a stain or paint that complements the rustic look of your reclaimed wood. Once you have your materials and tools, you can start building your cabinet or chest with the following steps:Design Your Piece: Sketch out your design, including dimensions and the number of shelves or compartments you’ll need.
Cut the Wood: Based on your design, cut the wood to the required sizes for the sides, top, bottom, and shelves. Assemble the Frame: Start by assembling the sides, top, and bottom with screws. Make sure everything is square and level before moving on to the next step. Add the Shelves/Compartments: Install any internal shelves or compartments you’ve designed into your piece. Attach the Back: Secure a back panel to the frame for added stability and strength.
Install Doors: If your design includes doors, attach them with hinges, making sure they’re securely fastened and open smoothly. Finish: Once your cabinet or chest is assembled, it’s time to add some finishing touches. Sand the entire piece to smooth out any rough edges, then apply your chosen stain or paint. Finally, add any handles or knobs you’ve included in your design.
Customization Tips
Customizing your rustic cabinet or chest is an opportunity to infuse it with personality and make it a reflection of your unique style. To do so, consider the following ideas: Incorporate distinctive hardware by seeking out vintage or handcrafted handles or knobs. This adds a touch of individuality to the piece. Alternatively, introduce decorative elements through carved details or ornate trim to further enhance the rustic aesthetic.
You can also experiment with personalized finishes by combining different stains or painting techniques. For a truly bespoke look, adjust the dimensions of your cabinet or chest to perfectly fit the space in which it will reside or to accommodate specific items you want to store. By incorporating these customization elements, you’ll create a one-of-a-kind piece that not only adds rustic charm but also speaks to your personal taste and practical needs.
Under-bed and Corner Storage Solutions
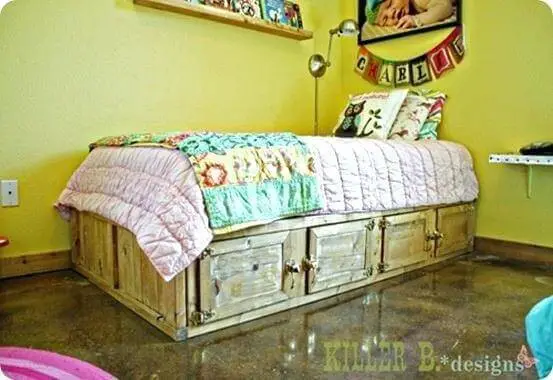
Transforming underutilized areas into functional storage spaces is a clever way to boost your organizational skills without sacrificing aesthetic appeal. For those new to DIY projects, we’ve curated some creative and accessible ideas to help you maximize storage potential while maintaining a stylish vibe.
Innovative Ideas for Under-utilized Spaces
Rolling storage crates offer an effortless solution to maximizing under-bed storage. These versatile units can hold a variety of items, from seasonal clothing to extra bedding, making them easy to access and utilize. The key components to consider when designing these crates include the base material – sturdy wooden crates that can support weight are ideal – as well as casters that enable rolling under and out of the bed, with lockable features to prevent unnecessary movement.
Additionally, handles attached to the sides provide a secure grip for easy pulling. To get started, prepare your crate by sanding the wooden surface to remove any splinters. Next, attach casters to each corner of the bottom, followed by installing handles on the sides for effortless movement. Finally, finish the crate with a coat of paint or stain to match your desired decor.
In contrast, corner shelves take advantage of often overlooked spaces, providing a unique spot for books, decorations, or even small plants. The key elements to consider are wood planks that can be cut into triangle shapes to fit corners perfectly, as well as brackets and screws to secure the shelves to the wall. When it comes to mounting brackets, use wall anchors for a secure installation in drywall.
To get started with corner shelves, measure the length of each side to determine the correct dimensions. Cut wood planks into triangular shapes that match your measurements, then install brackets in the corner of the wall, ensuring they are level. Finally, place the wooden planks on the brackets and secure them for a sturdy installation. Both rolling storage crates and corner shelves not only provide functional storage solutions but also add a touch of rustic charm to any room’s decor.
By utilizing under-bed and corner spaces, you can effectively increase your storage capacity while maintaining a clean and organized look in your home.
31+ DIY Rustic Organizing and Storage Projects
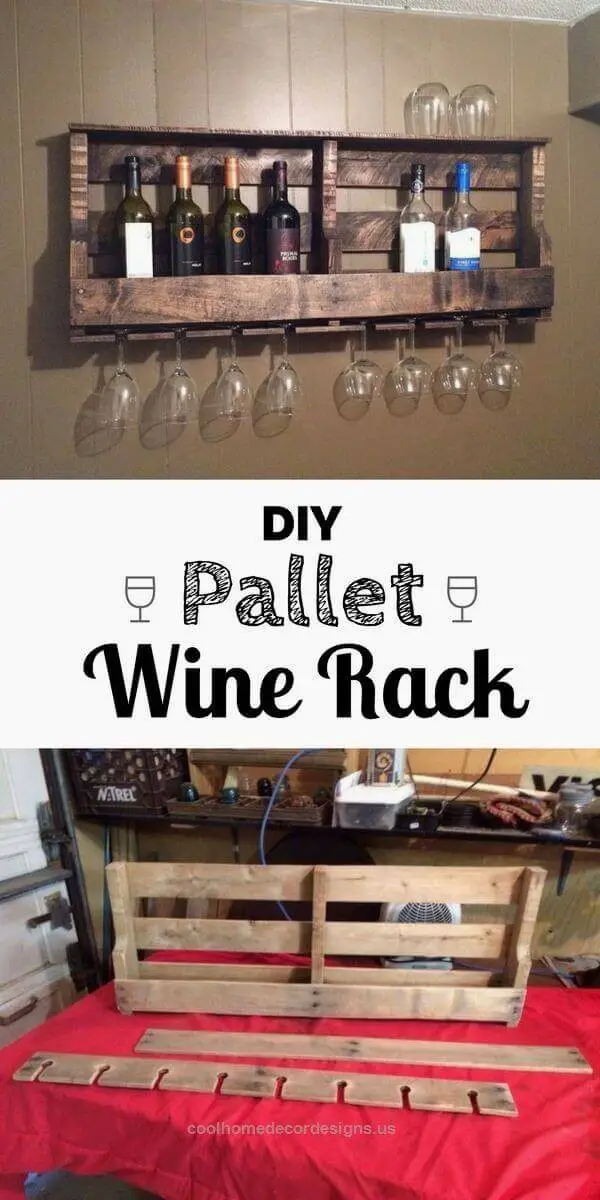
DIY Pallet Wine Rack
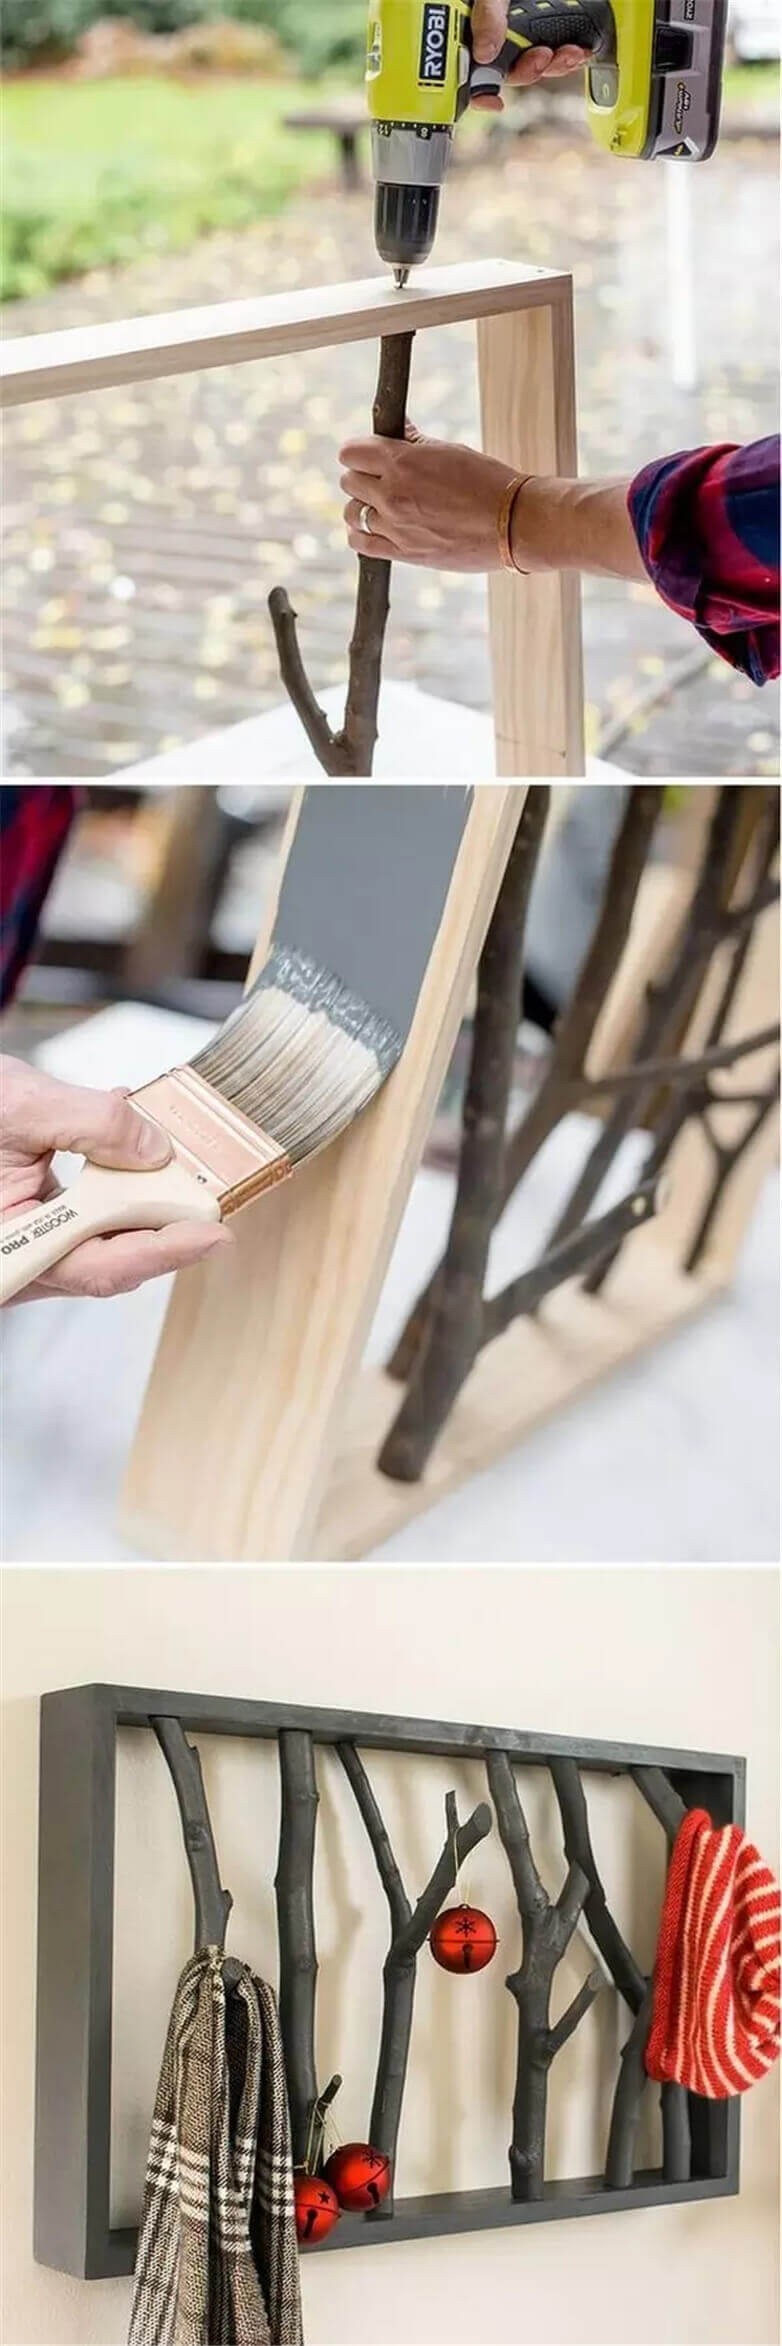
DIY Branch Shelf
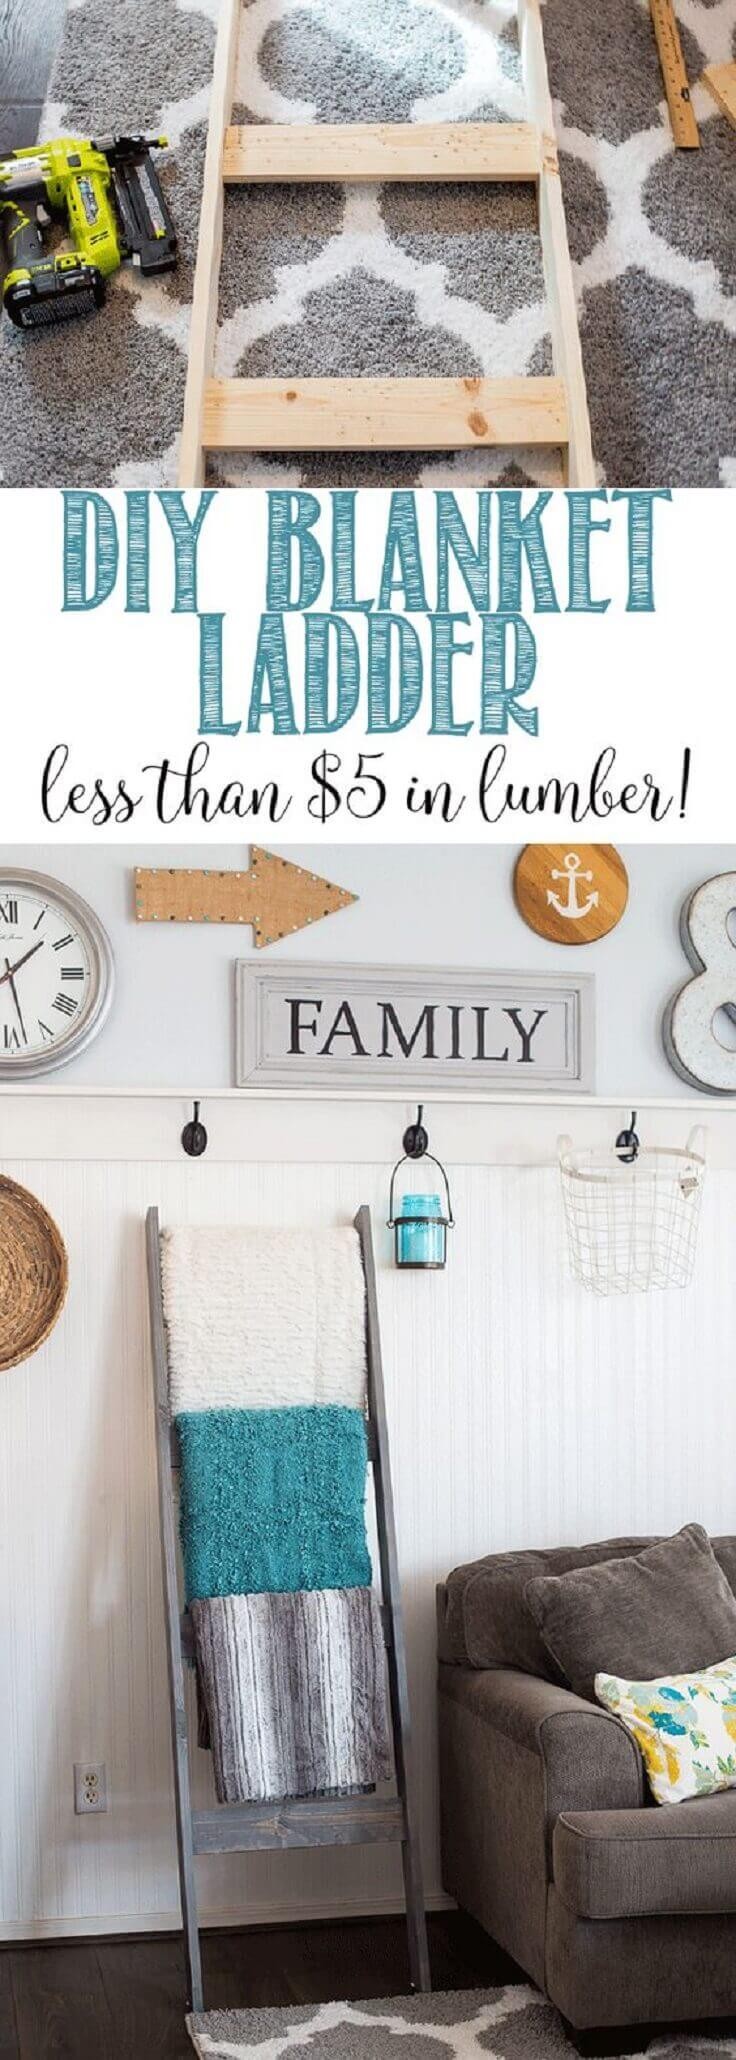
DIY Blanket Ladder Less Than $5 in Lumber
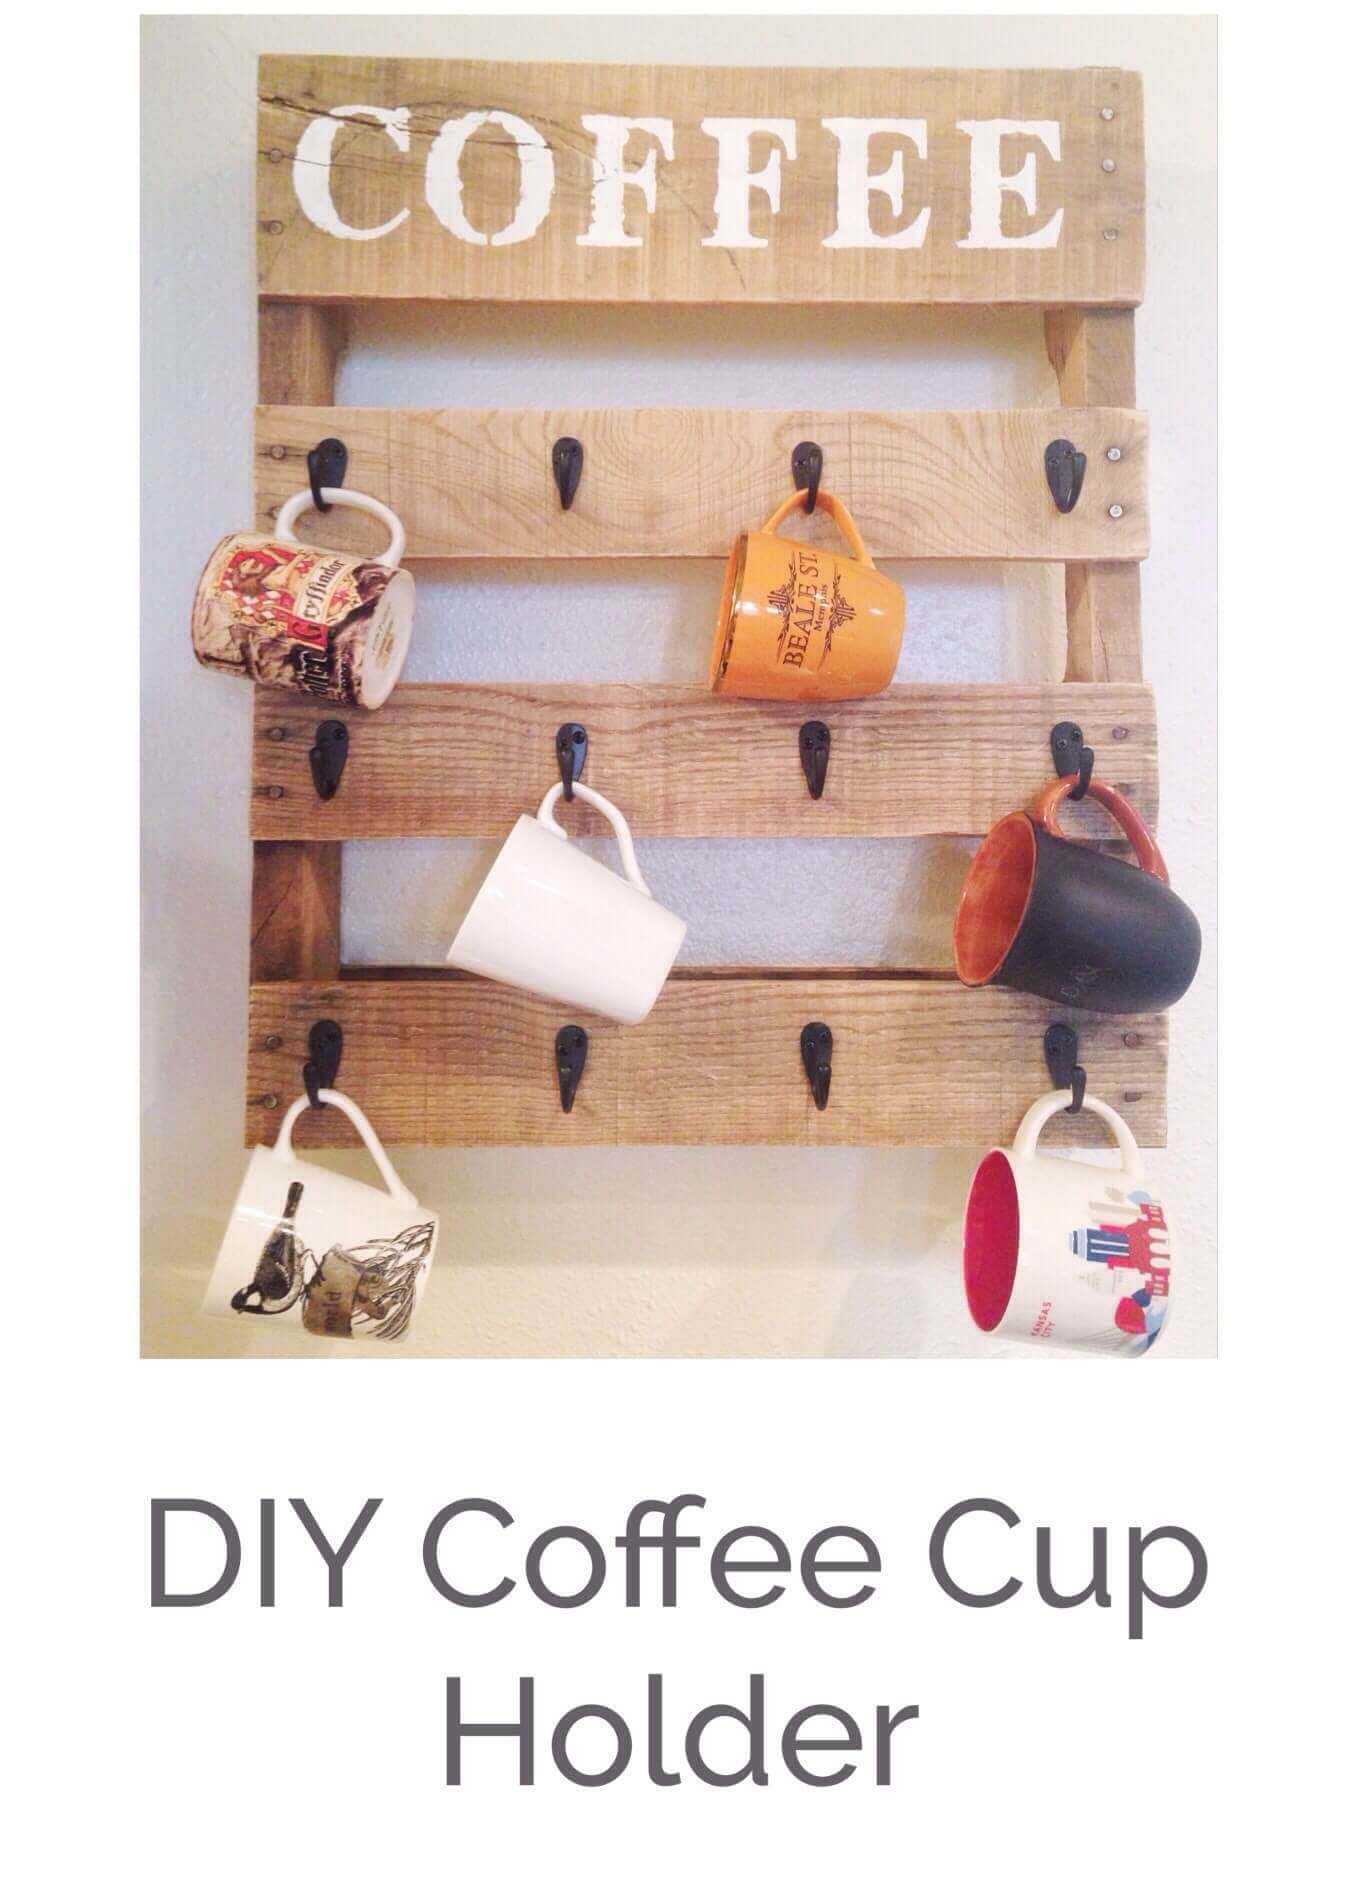
Coffee Cup Holder
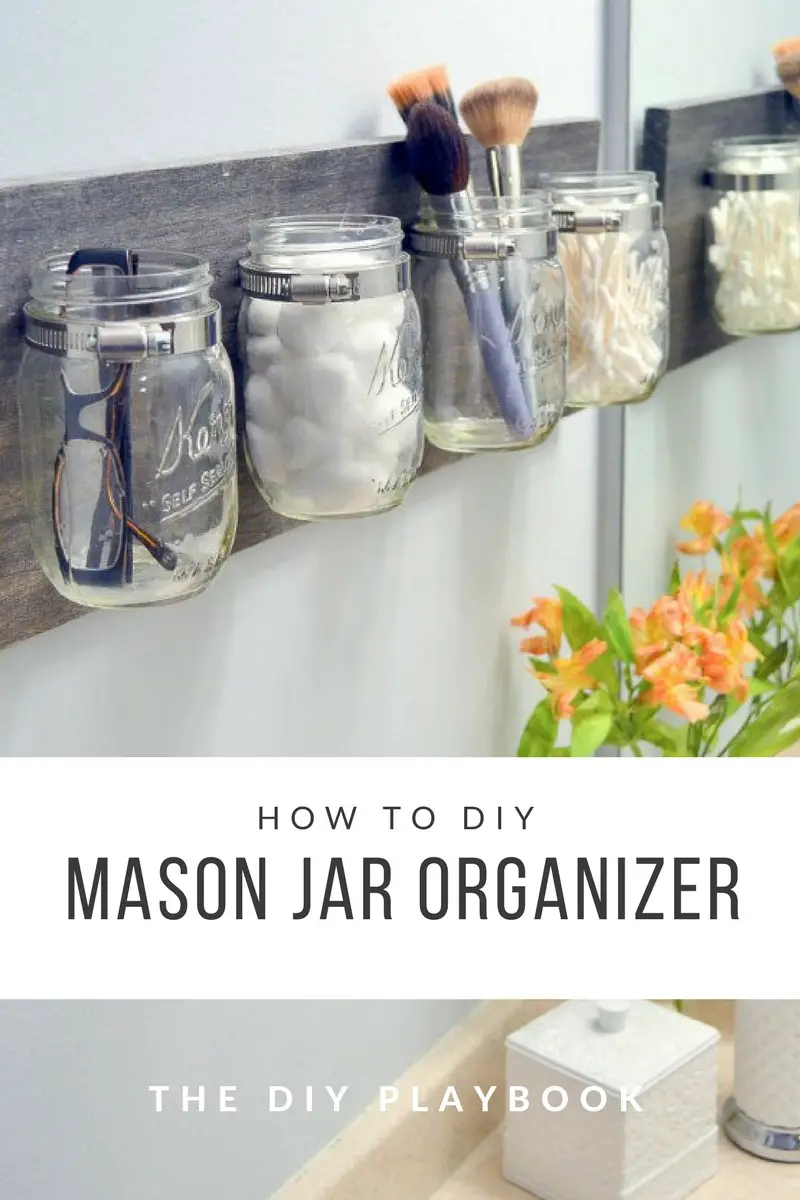
DIY Mason Jar Organizer
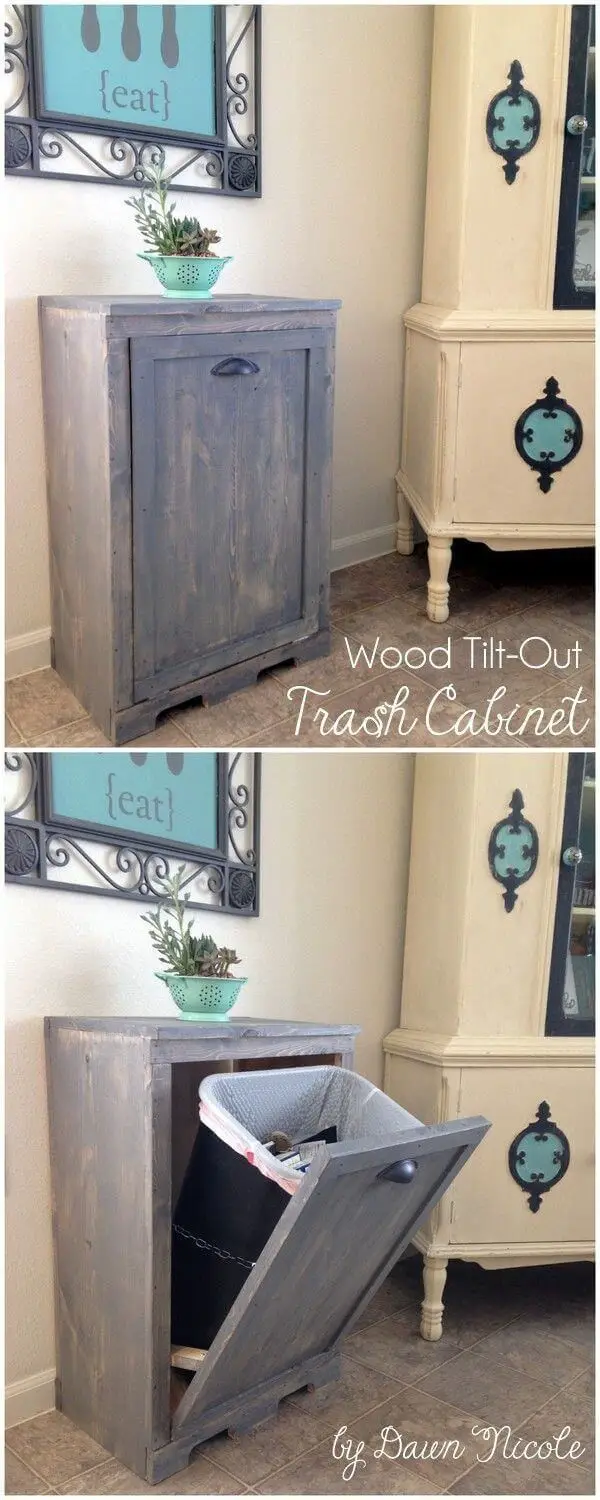
Wood Tilt-Out Trash Cabinet
Vintage Crate Boot Rack
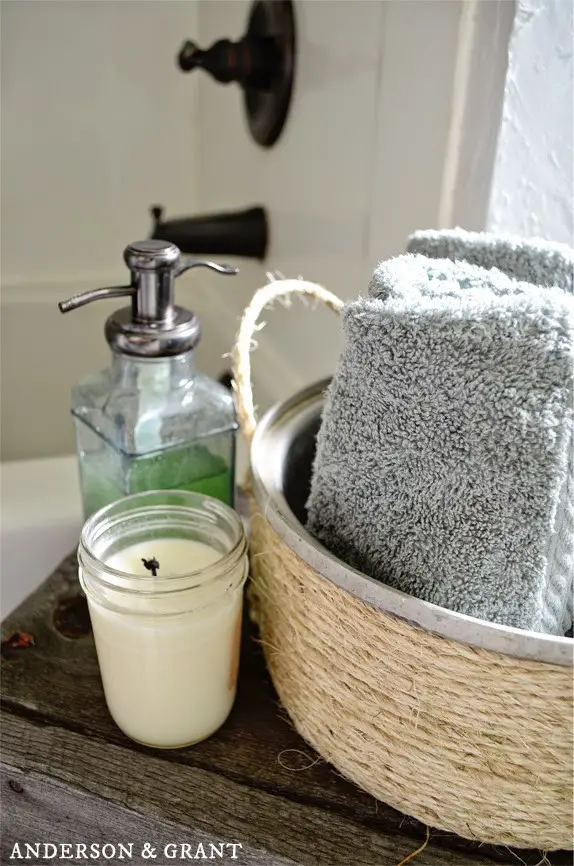
Basket out of an Old Kitchen Pot
Farmhouse Bench
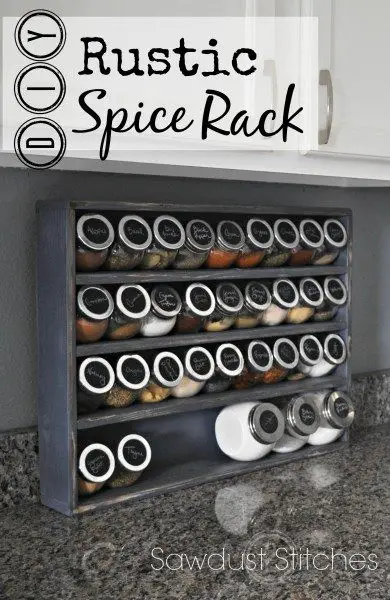
Rustic Spice Rack
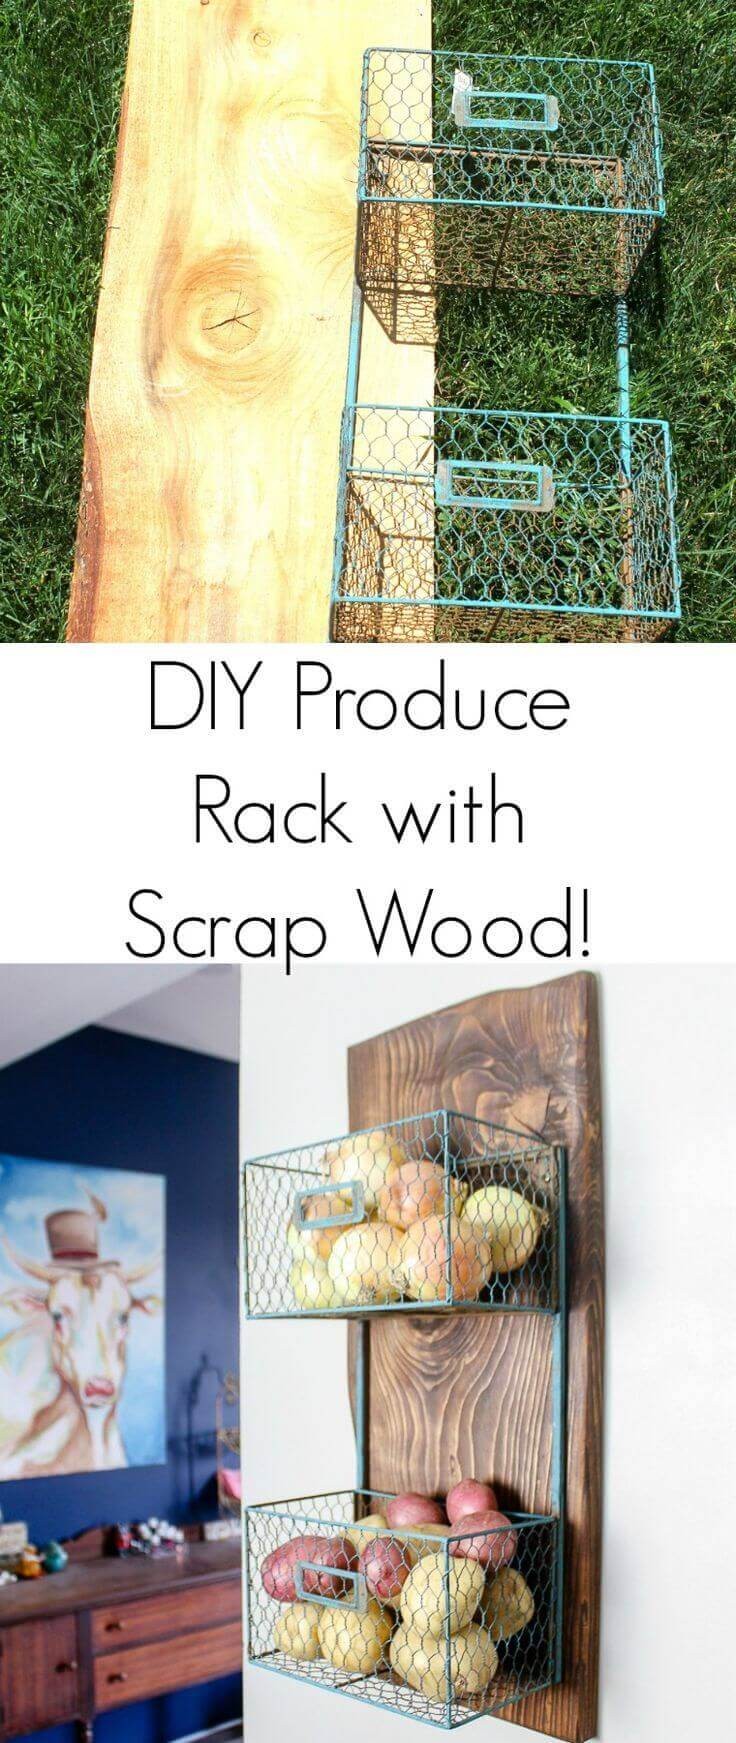
DIY Rack with Scrap Wood
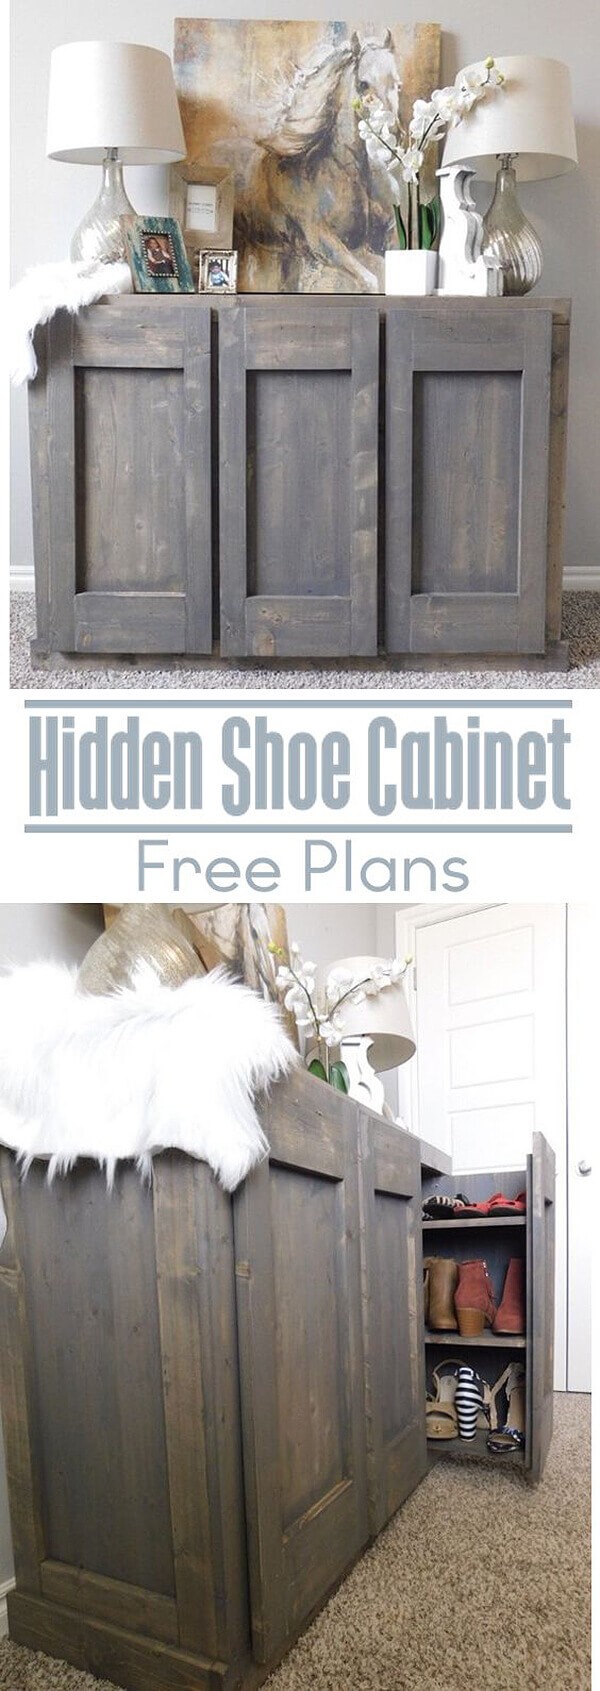
Hidden Shoe Cabinet Plans
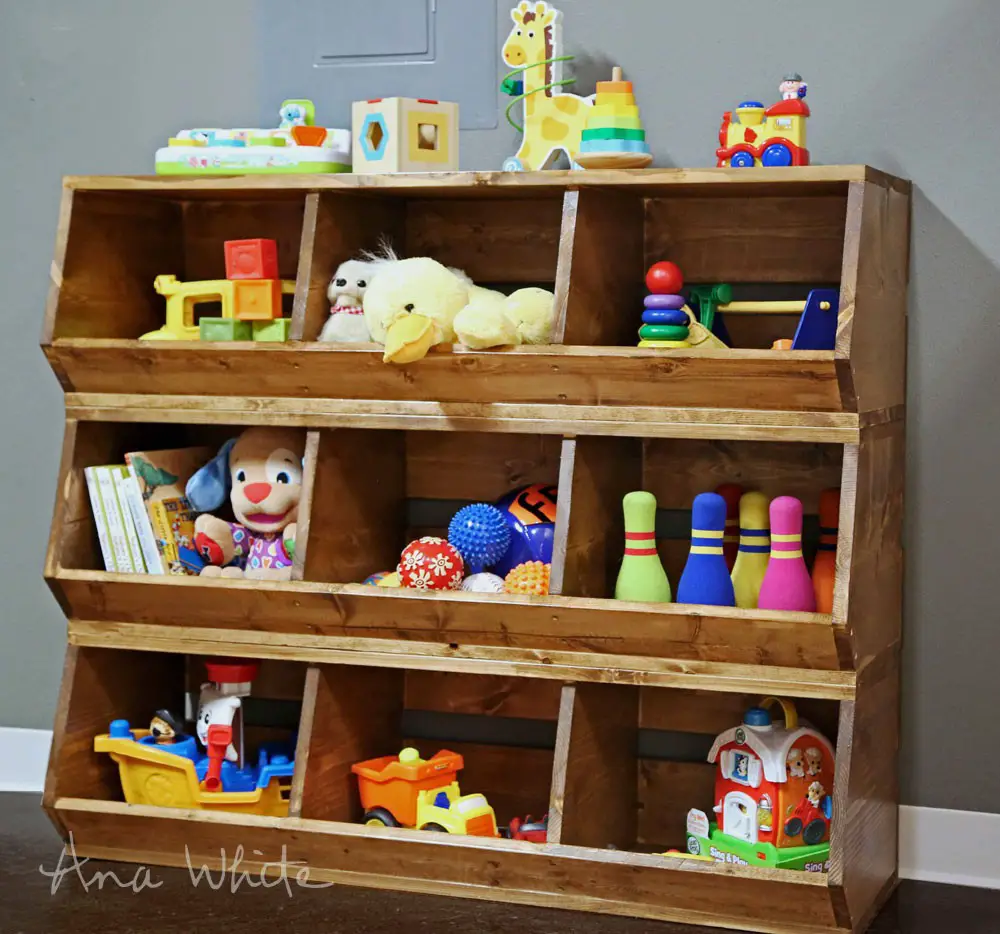
1×12 Wood Bulk Bins
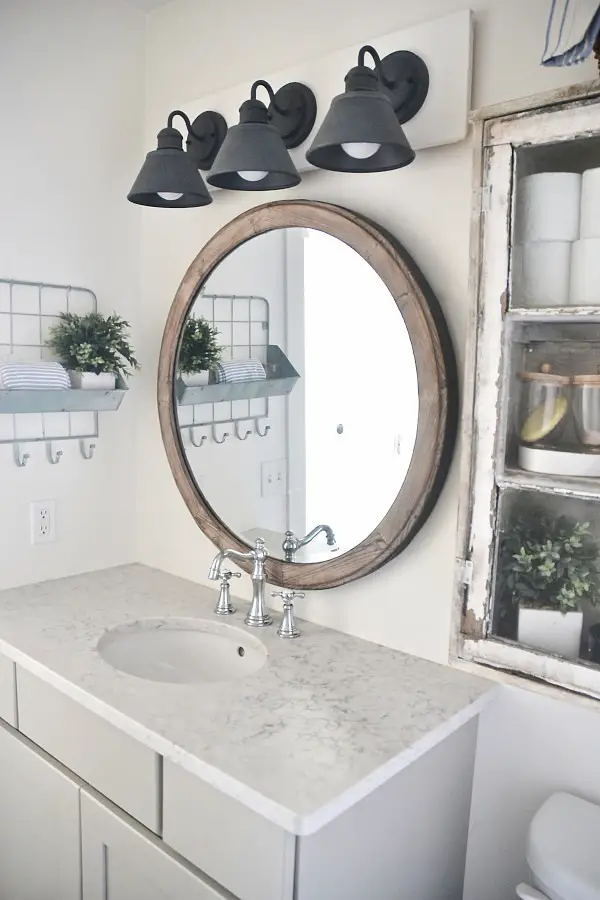
DIY Bathroom Hooks
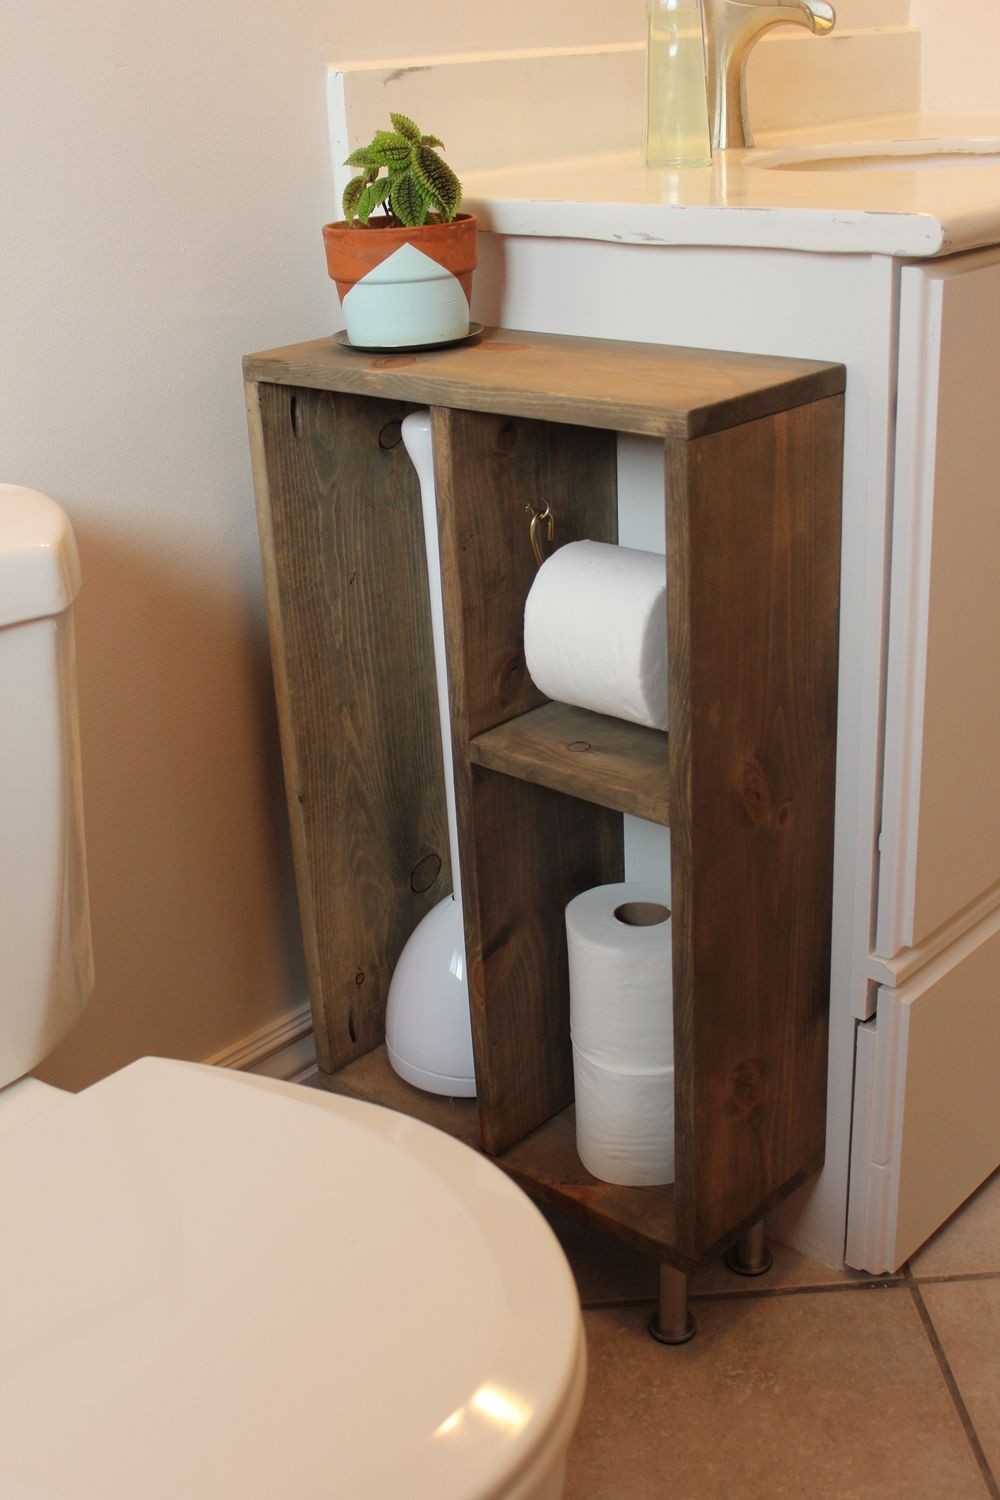
DIY Side Vanity Storage Unit
Hanging Rustic Storage Crate
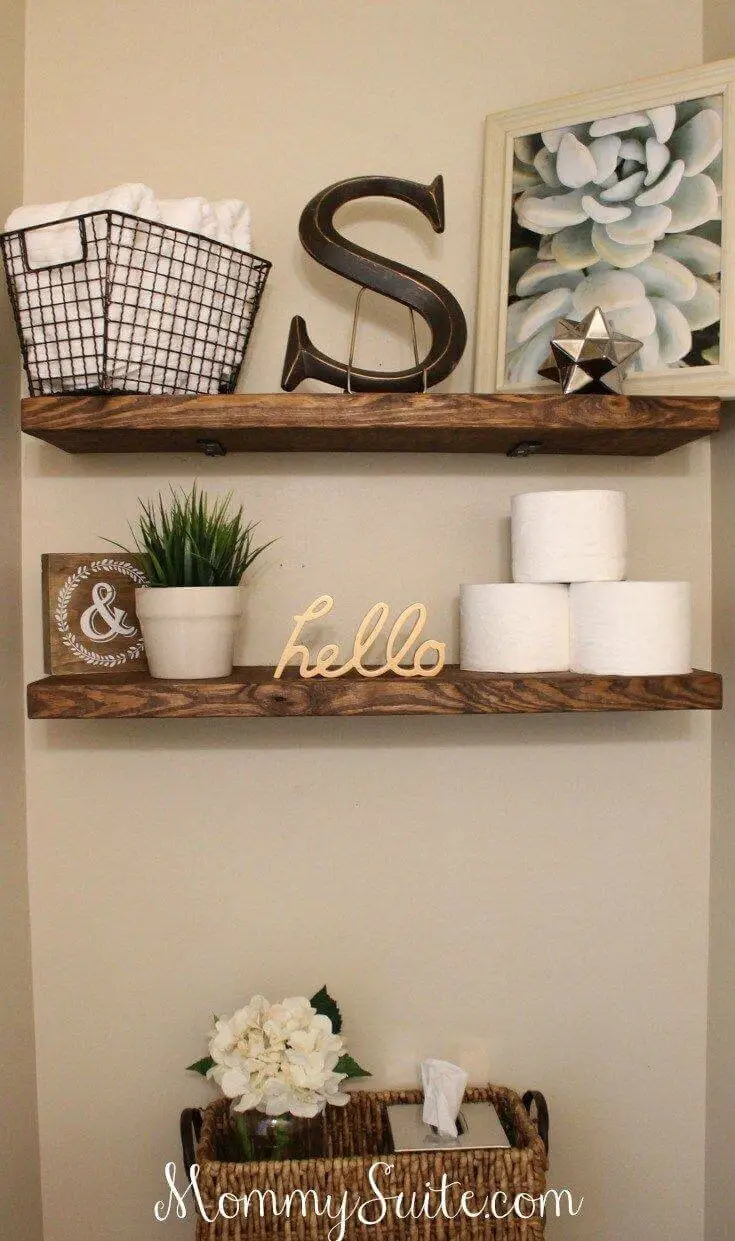
Faux Floating Shelves
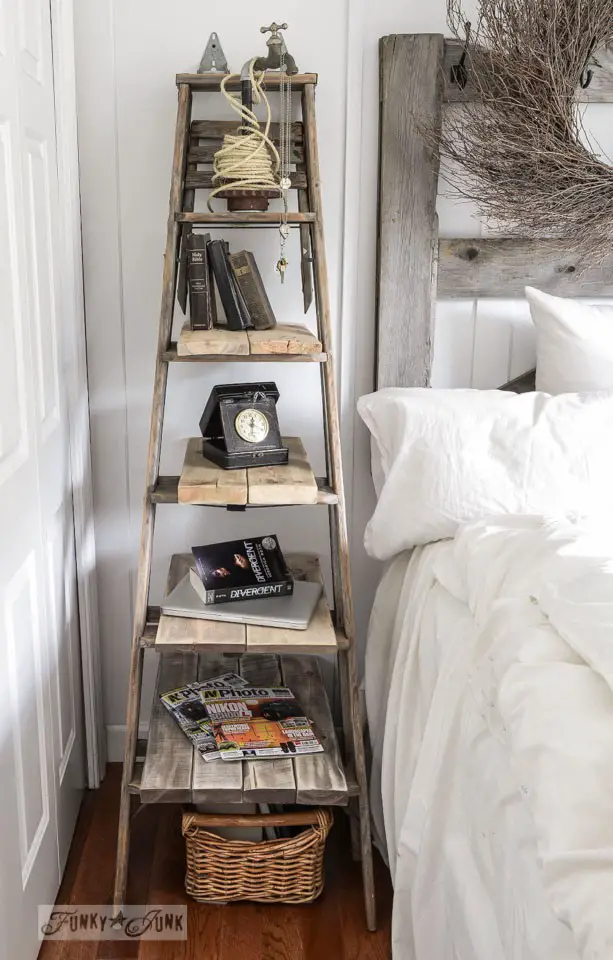
Upcycled StepLadder Side Table
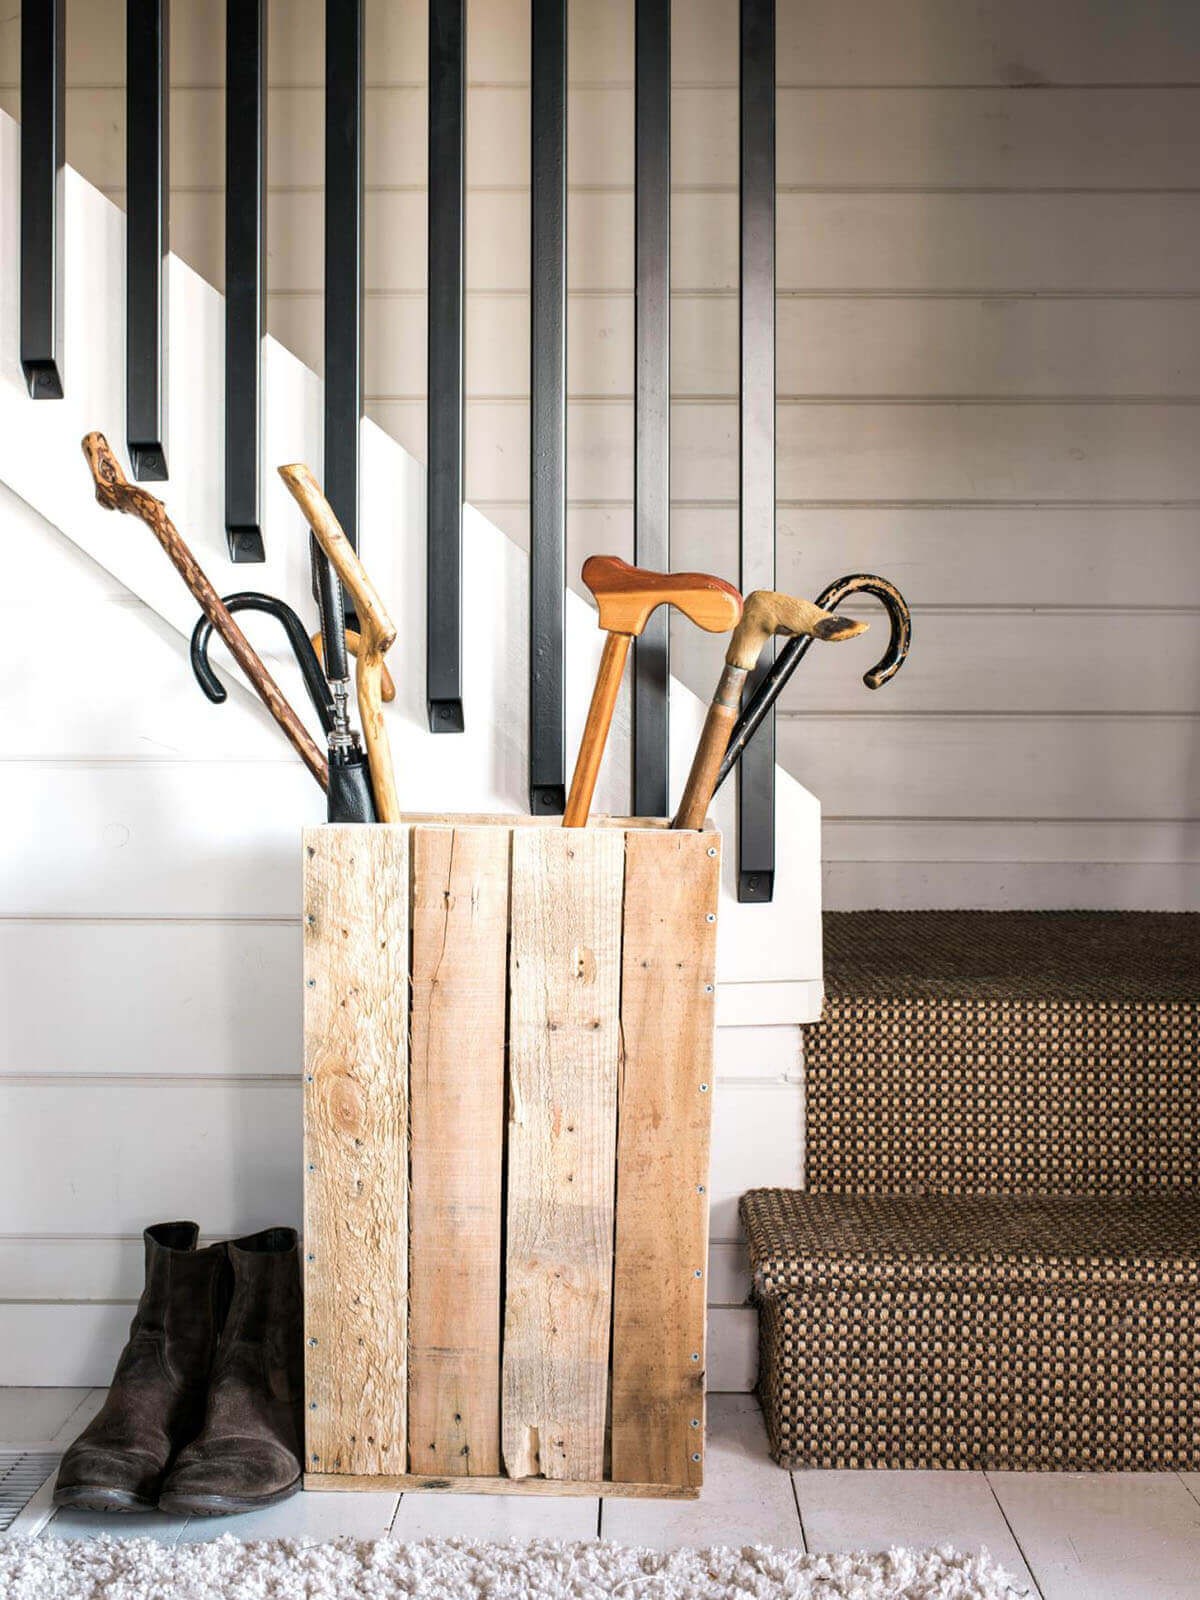
Storage Basket From Pallets
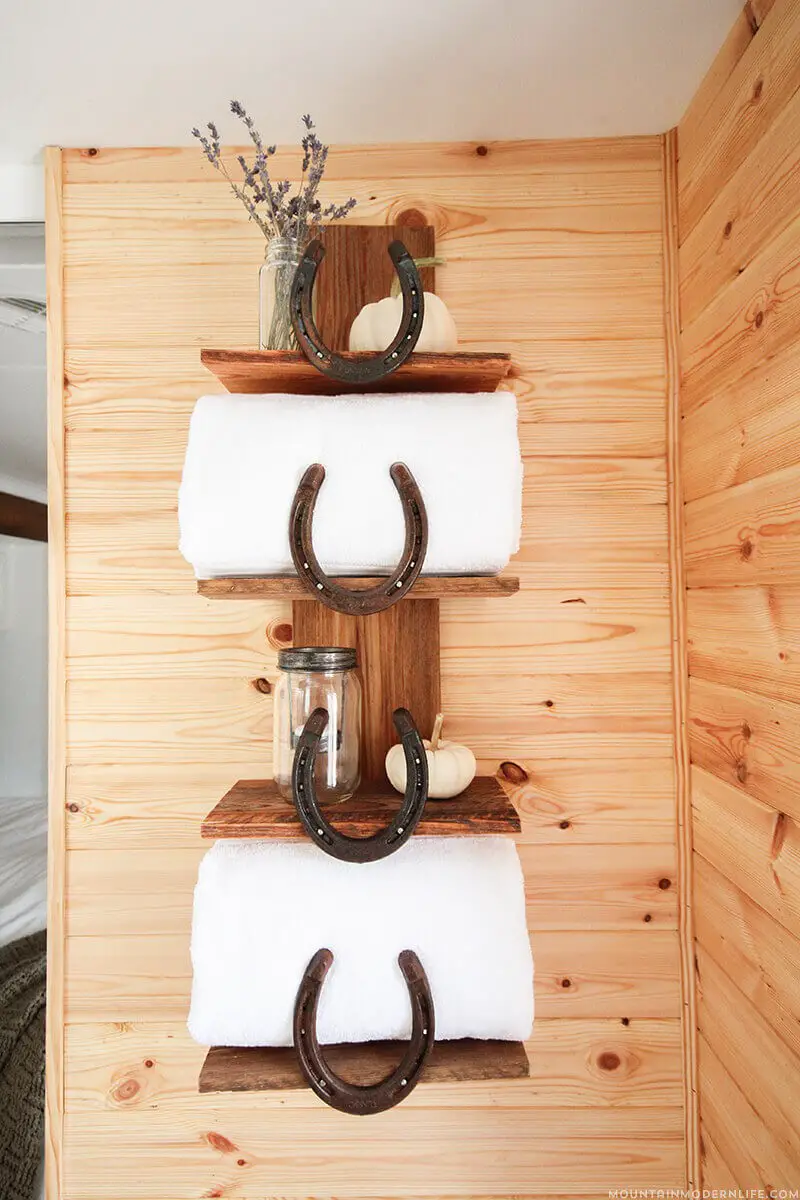
Rustic Bathroom Shelf from Horseshoes
Wood Burned Pantry Storage
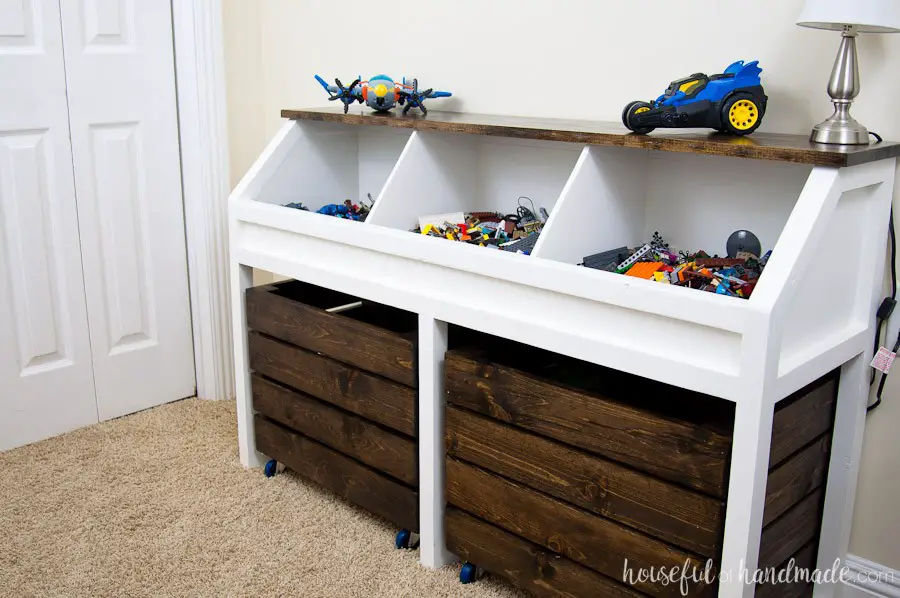
Toy Storage Console
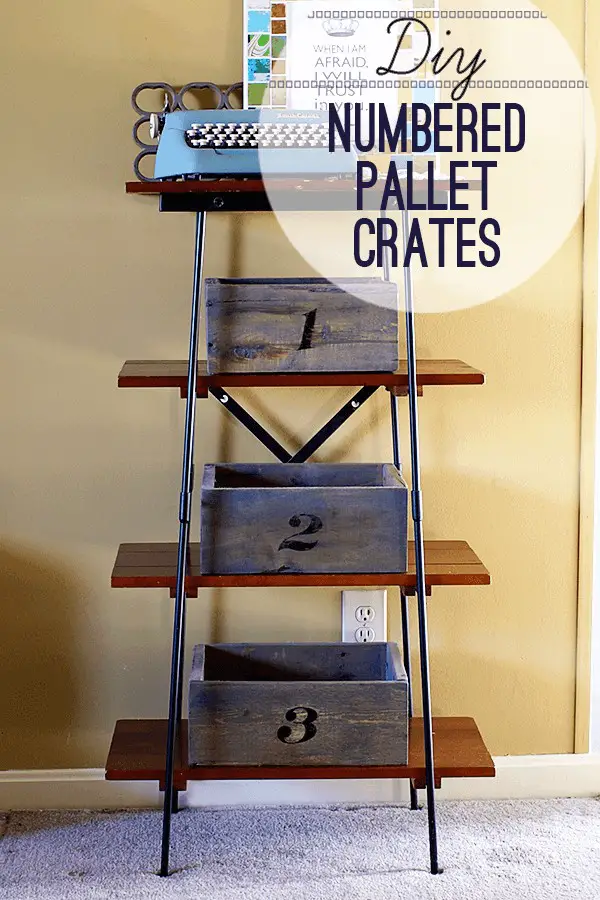
DIY Numbered Pallet Crates
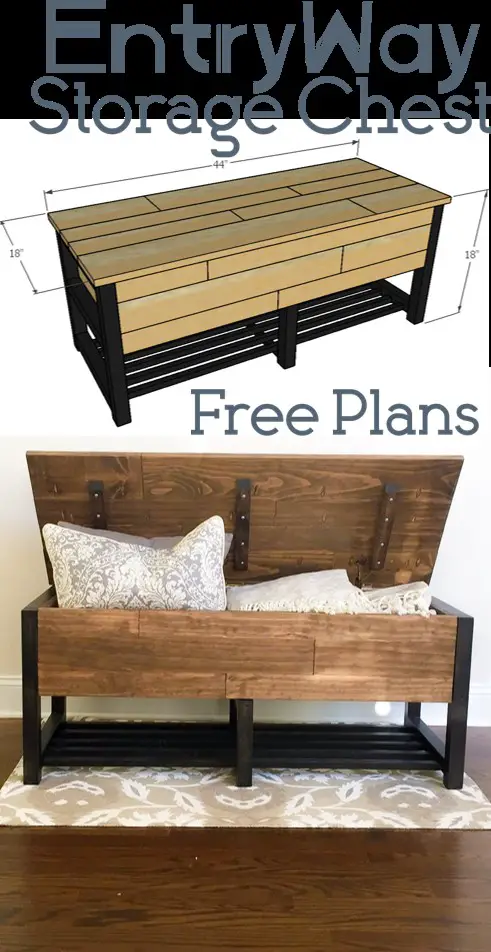
EntryWay Storage Chest with Free Plans
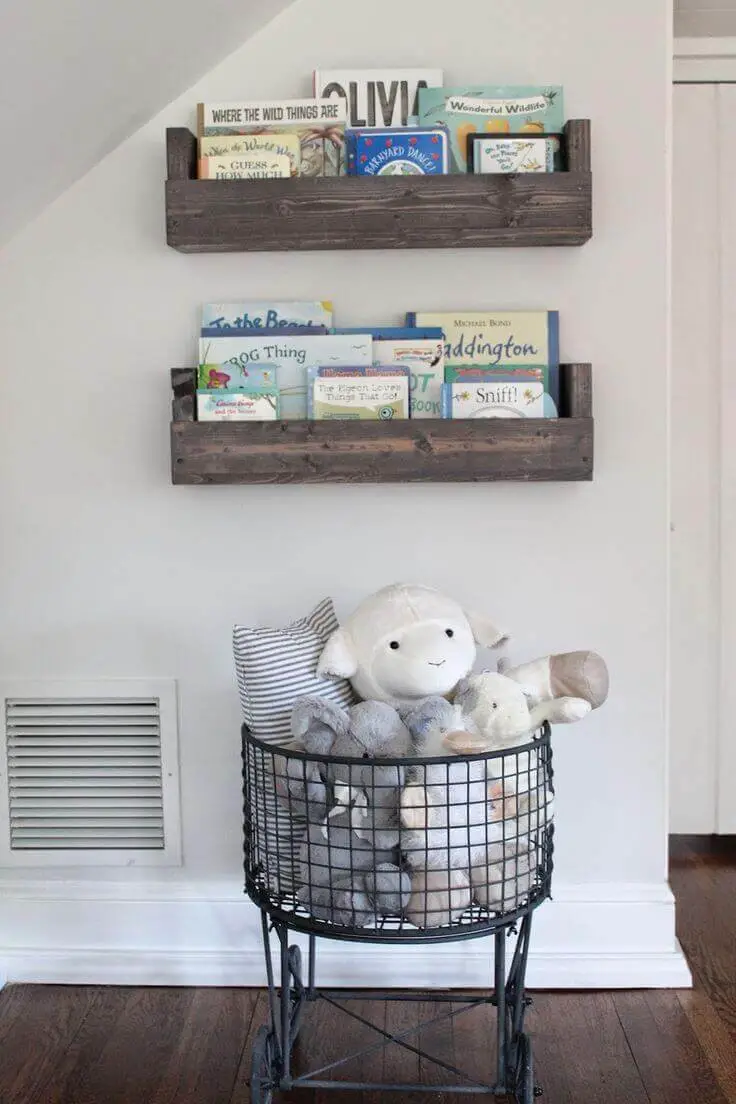
Baby’s Book Nook
Barn Wood & Bread Tins Wall Bins
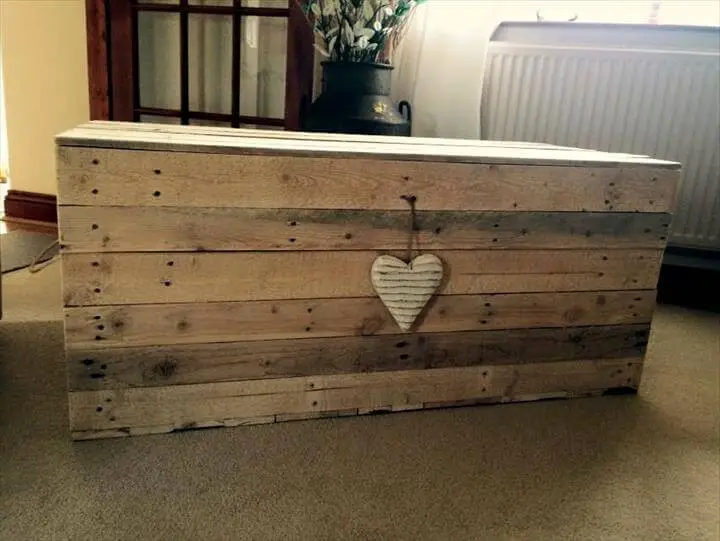
Wooden Pallet Chest
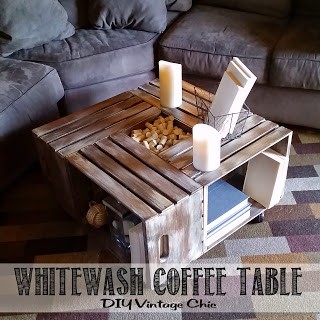
Whitewash Coffee Table
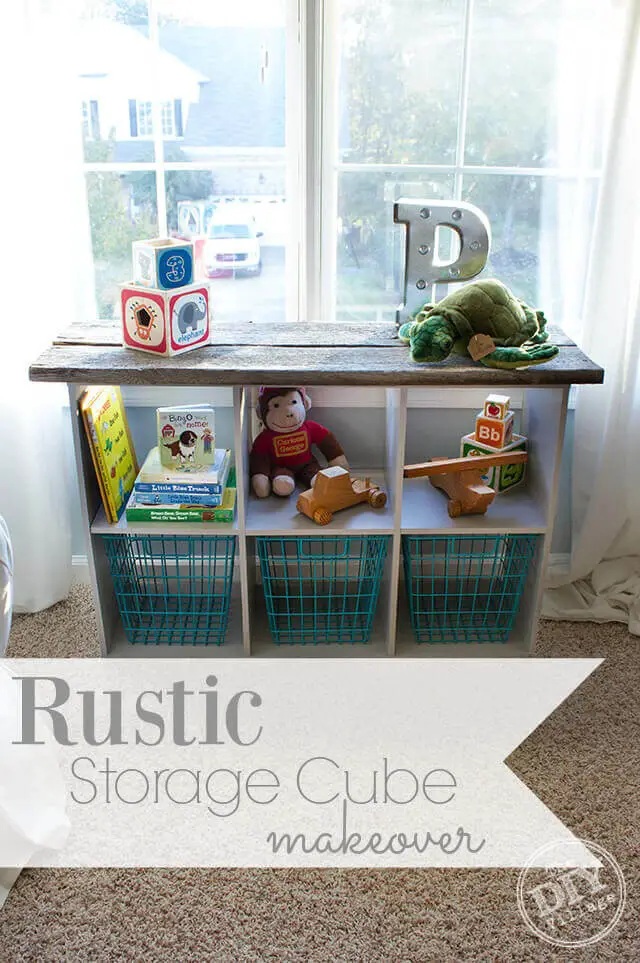
Rustic Storage Cube Makeover
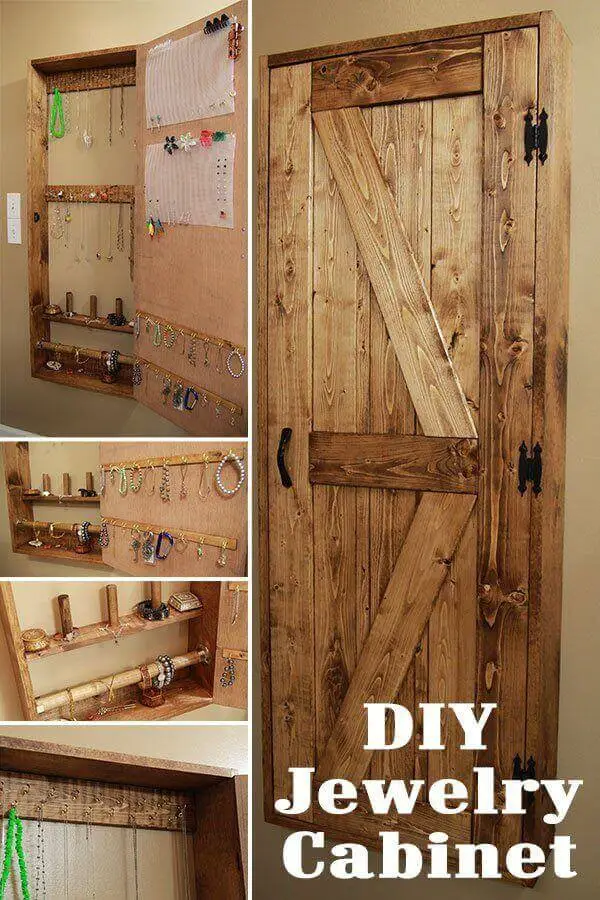
DIY Jewelry Organizer Cabinet
Finishing Touches for Rustic Projects
To elevate the aesthetic appeal and longevity of your rustic creations, it’s essential to pay attention to the finer details. By incorporating certain techniques, heeding expert advice, and practicing regular maintenance, you can craft projects that exude a charming rustic charm for years to come.
Techniques for Aging Wood and Metal
Achieving an authentic rustic charm in your projects is all about adding age and character to wood and metal components. To get started, let’s dive into some techniques for creating these effects.
For both wood and metal, the process begins with distressing – using tools to create marks and scratches that give your project a sense of wear and tear. With wood, this involves lightly hammering, chain-sawing, or nailing to create imperfections.
In contrast, metal aging requires a gentle touch; simply tap the surface with a hammer to add texture.
Once you’ve achieved the desired level of distressing, it’s time to focus on staining. For wood, this means applying a stain that complements your rustic style, opting for darker tones that evoke a sense of age and history.
Metal, on the other hand, requires a patina solution designed specifically for metal – these chemicals accelerate the aging process, giving your metal components a corroded or tarnished look.
Finally, sanding is an essential step in creating a truly aged look. With wood, this involves paying special attention to edges and high-use areas, while with metal, it’s all about achieving a brushed appearance that simulates wear over time.
Recommendations for Hardware and Accessories
When it comes to bringing a rustic touch to your projects, selecting the right hardware and accessories is essential. To achieve this look, you’ll want to focus on items that have an aged or distressed finish, such as vintage knobs for adding character to doors and drawers, hand-forged or distressed metal handles for enhancing the overall appearance of cabinets and chests, and decorative hinges that not only provide functionality but also add aesthetic value to your project.
It’s crucial to choose hardware that complements the rustic theme, with each element carefully selected to match the style of your project while also contributing to its uniqueness and charm.
Maintenance Tips
To keep your rustic creations looking their best, regular maintenance is essential. By following these simple tasks, you can ensure that your handmade projects retain their charm and functionality over time.
Dusting: A soft cloth and gentle strokes are all it takes to prevent dust from building up on surfaces, edges, and crevices. This weekly task keeps the finish intact and prevents a dull appearance.
Reapplying Finish: As the wood and metal finishes wear down, reapply a coat of wax, sealant, or paint as needed. This protects against damage and maintains the rustic look you love.
Tightening Hardware: Check and tighten any loose knobs, handles, and hinges annually to prevent damage and ensure your projects remain functional and beautiful.
By incorporating these finishing touches and maintenance tips into your workflow, you can enhance the aesthetic appeal of your creations and ensure they remain treasured pieces in your home for years to come.
Showcasing Your Projects
As you’ve invested time and effort into crafting unique rustic storage solutions, it’s now time to showcase your creations within the confines of your home. This is where the real joy lies – presenting your hard work in a way that not only celebrates its functionality but also inspires others to do the same. To achieve this, consider the following actionable tips on how to seamlessly integrate, beautifully stage, and effectively share your projects with the world.
Integrating Rustic Storage Solutions into Your Home Decor
When it comes to integrating DIY rustic storage solutions into your home, strategy is key. To achieve this effectively, follow these guidelines:To make the most of your rustic creations, place them in areas where they can serve both purpose and visual appeal, such as a corner shelf in the living room or a storage chest at the foot of your bed. For a seamless blend with existing decor elements, ensure that your rustic pieces complement rather than clash.
This harmonious balance allows you to appreciate individual design elements without sacrificing overall aesthetic harmony. Finally, distribute your rustic finds thoughtfully throughout your home to prevent any area from feeling cluttered or mismatched. By doing so, you’ll create a balanced and inviting atmosphere that showcases the unique character of each piece while maintaining visual flow.
Staging and Decorating Around Your New Storage Projects
To truly showcase the beauty and functionality of your rustic storage solutions, consider adding decorative items that highlight their character. Adding a touch of greenery can instantly brighten up the space, so don’t be afraid to adorn shelves with plants or small pieces of artwork that catch your eye. Varying the sizes of these decorative elements can also add visual interest and create a visually appealing display.
For a cozy, lived-in feel, stack or line up books, magazines, or collections in an attractive manner, showcasing your personal interests and passions. Finally, don’t overlook vintage finds like antique clocks, old maps, or rustic pottery that can enhance the rustic charm of your storage solutions and tell a story about who you are and what matters to you.
Encouraging Readers to Share Their Projects and Experiences
As you share your rustic storage solutions and other DIY projects, you’re not only adding a touch of functional beauty to your home, but also cultivating a sense of community and shared inspiration. By leveraging social media, blogging, and local events, you can inspire others to embark on their own DIY journey and create a ripple effect of creativity and motivation.
To encourage this sharing, consider inviting others to join in on social media platforms by using specific hashtags or participating in online forums dedicated to rustic DIY projects. You can also share your own experiences and tips through blog posts or tutorials, complete with before-and-after photos and stories.
Taking it a step further, organize local meet-ups or events where DIY enthusiasts can showcase their creations and connect with like-minded individuals.
This sense of community and shared inspiration can be incredibly motivating, and may even lead to new projects and collaborations.
By sharing your own DIY experiences and encouraging others to do the same, you’re not only spreading joy and satisfaction but also creating a lasting impact on the DIY community.
Conclusion
Ultimately, immersing yourself in rustic storage projects yields a trifecta of benefits: practical functionality, visual appeal, and personal fulfillment. Each stage of the creative process – from material selection to finishing touches – allows for innovation and customization, making it a truly fulfilling experience.
As you incorporate these handmade pieces into your home decor, not only will you improve storage capacity, but you’ll also infuse your space with warmth and charisma that reflects your individuality. The sense of accomplishment is palpable, and the joy is contagious – sharing your projects with fellow DIY enthusiasts can be a powerful motivator for others embarking on their own rustic DIY journeys.
Whether you’re an experienced craftsman or just starting out, the world of rustic DIY presents boundless opportunities to transform your living space into a harmonious blend of form and function, where beauty meets practicality.


