Do You Bake Crayola Air Dry Clay?
Introducing Crayola Air Dry Clay
Crayola Air Dry Clay is a lightweight modeling clay that dries naturally into a hard, durable finish. Designed for hands-on tactile learning, Crayola Air Dry Clay can be molded into endless imaginative shapes and creations without any baking or firing required. It’s a versatile clay that works great for arts and crafts projects, creative sculptures, handmade jewelry and accessories, decorative items, sensory play for kids, and more.
Some of the main benefits of Crayola Air Dry Clay include:
- Quick and easy cleanup with just soap and water, no baking necessary
- Lightweight texture that’s soft and pliable when wet
- Air dries naturally into a hard, durable finish in 24-48 hours
- Can be painted, decorated, and sealed once fully dry
- Non-toxic and safe for kids and classrooms
- Available in assorted colors including white, terra cotta, and multicolor mixes
With its moldable and air drying properties, Crayola Air Dry Clay opens up endless possibilities for creative hands-on projects and sensory play experiences. It’s an excellent introductory clay for beginners, kids, and classrooms that doesn’t require any special tools, equipment, or baking. Just open, mold, and let air dry to bring sculptures and designs to life.
How Air Dry Clay Works
Air dry clay is different from traditional clay in that it does not require firing in a kiln to harden and cure. Instead, air dry clay cures through evaporation. As the water in the clay mixture evaporates over time when exposed to air, the clay particles bind together to harden the clay.
There are a few ways that air dry clay cures without baking:
- Simple air drying – Leaving projects or unused clay out at room temperature allows the clay to harden as the water evaporates over 1-7 days depending on size and thickness.
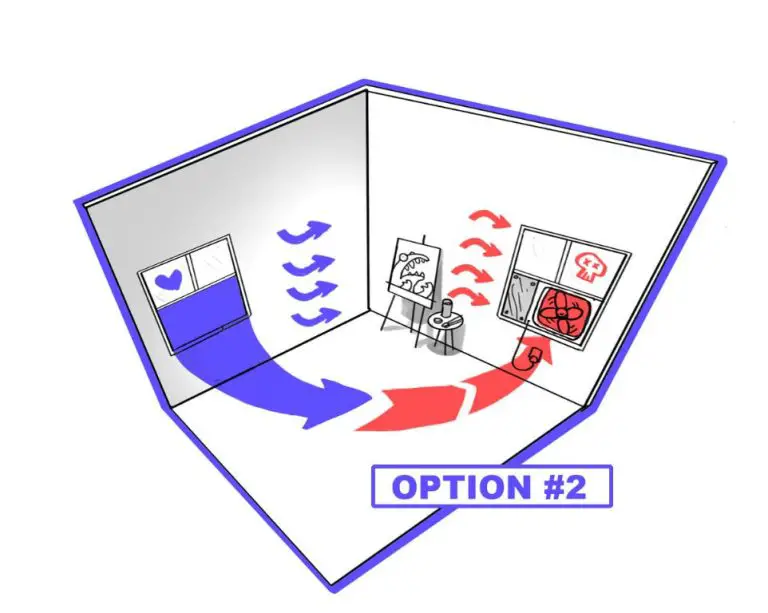
- Faster drying with a fan – Using a fan directed at the clay will speed up the evaporative process by circulating the air. The moving air helps carry away the evaporating water.
- Heat – Applying a gentle warmth from a hairdryer or other low-heat source will also hasten evaporation and curing. However, too much heat can cause cracking.
While baking can technically be done, it is not required for air dry clays to fully cure and harden. The clays will become hard over time simply exposed to air without being subjected to the high temperatures needed for firing clay.[1]
Baking Air Dry Clay
Baking air dry clay serves multiple purposes. When baked at low temperatures (225°F for 15 minutes), it can help speed up drying time and minimize cracking for larger projects (1). The heat from baking drives out excess moisture gently and evenly. This is useful if you are in a hurry to complete a sculpture or want to paint it sooner. Without baking, large air dry clay creations can take days or weeks to fully cure based on humidity and thickness (1).
Additionally, baking at slightly higher temperatures (275°F for 30 minutes) will harden the clay and make it more durable for pieces that will be handled frequently or exposed to the elements outdoors (2). The baking process chemically changes the clay, resulting in a tougher, less brittle finished product. This is ideal if you need your sculpture to withstand more wear and tear.
In summary, baking air dry clay allows faster drying times and creates a more hardened, durable clay medium for certain projects and applications where unbaked clay may be too fragile or slow to cure. It gives more flexibility and options to the artist or creator.
Best Practices for Baking
When baking Crayola Air Dry Clay, it is recommended to bake at a low temperature between 130°F to 275°F for 10-20 minutes. The exact baking time will depend on the size and thickness of the clay sculpture. Smaller pieces may only need 10-15 minutes, while larger pieces may require the full 20 minutes (Source).
To prevent cracking or explosions, here are some tips:
- Allow clay sculptures to air dry for 24-48 hours before baking to remove moisture. Baking wet clay can cause steam buildup and cracks (Source).
- Preheat the oven before baking to prevent temperature shock.
- Avoid extremely high temperatures above 275°F.
- Bake clay on a cookie sheet or baking pan rather than directly on the oven rack.
- Cool baked pieces slowly in the oven or at room temperature.
Project Ideas Needing Baking
Certain air dry clay projects benefit from baking in the oven for added durability and hardness. Baking helps drive out moisture from the clay and further solidifies the material. Some project ideas that call for baking include:
- Jewelry like pendants, beads, and earrings – Baking makes these small pieces sturdier for frequent wear and handling. According to Sculpey, baking thin jewelry at 275°F for 15 minutes is ideal. https://www.sculpey.com/blogs/blog/difference-between-polymer-clay-air-dry-clay
- Figurines and sculptures – Baking strengthens sculpted projects and allows more intricate detailing without risk of damage. A low temperature (200°F) for 30 minutes works well.
- Boxes, bowls, and containers – Baking makes functional projects like these more durable for holding items without denting or cracking. Bake for 20-30 minutes at 225°F.
Baking times and temperatures can vary a bit depending on the thickness and size of the project. But in general, low heat for short time periods strengthens air dry clay effectively.
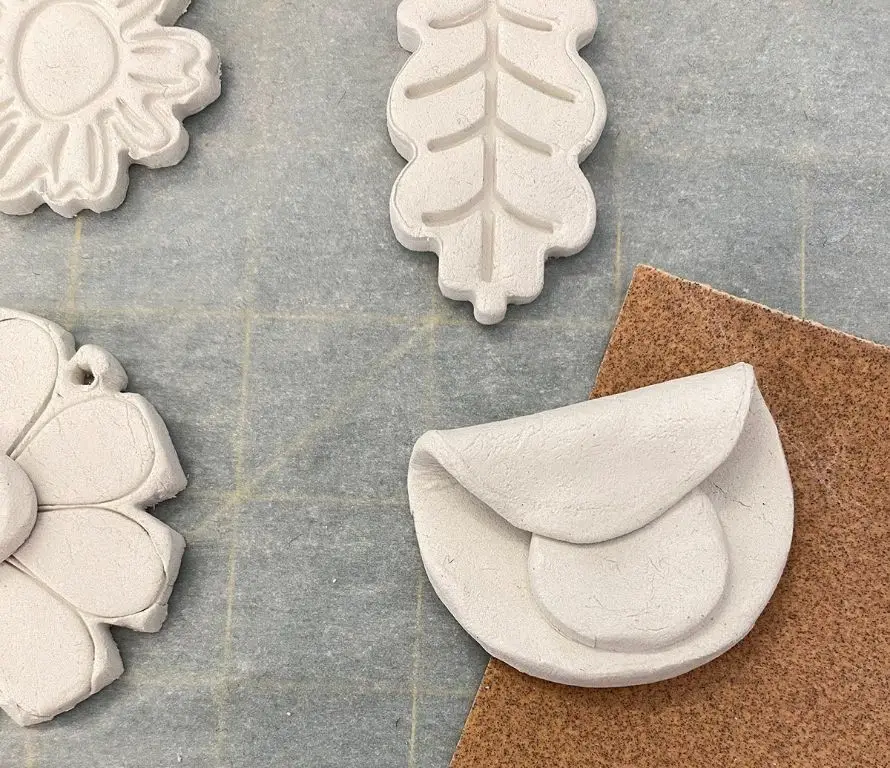
Unbaked Project Ideas
Air dry clay can be used in many creative ways without ever putting it in the oven. Here are some fun unbaked project ideas to try:
Make jewelry like beads, pendants and earrings. Let the pieces air dry completely before wearing or coating with a sealant like polyurethane or wax [1]. Air dry clay is lightweight and won’t stretch ears like heavy jewelry.
Create magnets in fun shapes like animals, food items or letters/numbers. These make great gifts. Let air dry fully before applying magnets [2].
Decorate frames, vases, bowls and boxes by adding textures, shapes or designs. Add interest to plain surfaces. Air dry thoroughly before use.
Make DIY ornaments for different holidays and seasons. Ornaments don’t need to be baked to hang on the tree or around the home.
Design decorative objects like figurines, houses, cars and more. Display your clay creations anywhere without baking.
Crafting with air dry clay opens up many possibilities that don’t require an oven. Let your imagination run wild with projects that can air dry at room temperature.
Storing Unbaked Creations
When working with air dry clay, you will likely have unfinished creations that need proper storage before they are fully dried and ready to bake. Storing unbaked clay properly is important to prevent cracking, drying out, and other damage.
According to this source, air dry clay should be stored at room temperature in a cool, dark place away from sunlight or other heat sources. Too much heat can cause air dry clay to dry out faster than intended.
Unbaked clay projects should be kept in a sealed plastic bag or airtight container to prevent moisture loss according to this source. Only take out small, workable amounts of clay at a time to limit exposure to air.
It’s also recommended to wrap unfinished clay creations in plastic wrap before storing to retain moisture. Adding a damp paper towel to the storage container can provide extra moisture as well.
With proper air tight storage at room temperature, unbaked air dry clay creations can be stored for weeks before finishing and baking without risk of damage.
Safety Tips
When working with air dry clay, it’s important to follow some basic safety precautions to avoid skin or eye irritation:
Wear gloves when handling the clay to prevent prolonged contact with your skin. The clay contains trace amounts of chemicals like glycerin and sorbitol that can cause irritation or dryness with extended exposure. Sensitive individuals may want to opt for latex-free gloves.
Avoid touching your eyes or face when working with the clay until you’ve washed your hands thoroughly. Transferring clay residue into your eyes can cause redness, itching, and discomfort.
Work in a well-ventilated area and take occasional breaks if you notice any skin irritation or respiratory discomfort. Though rare, some people may have sensitivities to ingredients in the clay.
Store clay in an airtight container and out of reach of small children and pets. Ingesting large amounts could potentially cause an upset stomach.
Wash hands thoroughly with soap and water after handling clay. This will remove any residual clay and help prevent the transfer of ingredients to sensitive areas.
Overall, air dry clay is considered non-toxic and safe when used responsibly. Just take simple precautions to make the experience comfortable and enjoyable.
Troubleshooting Problems
Baking air dry clay can sometimes lead to issues like cracking or bubbling in the clay if not done properly. Here are some of the most common problems and how to avoid them:
Cracking – Air dry clay can crack while baking if the oven temperature is too high or the clay dries out too quickly. To prevent cracking, bake at a low temperature like 200°F and keep an eye on the clay. If cracks start to form, remove it from the oven immediately. Spraying the clay with water before baking can also help prevent cracks by slowing the drying process.
Bubbling – If air bubbles get trapped in the clay while sculpting or baking, they can expand and burst, leaving holes or bubbling in the surface. Avoid this by kneading the clay thoroughly before baking to release any air pockets. Bake the clay slowly and at a low temp to allow bubbles to rise and pop on their own without bursting violently.
Sticking – Air dry clay can stick to surfaces it’s baking on if not prepared properly. Line baking trays with parchment paper or aluminum foil before placing clay on them. You can also bake clay sculptures on a layer of sand or cornstarch to prevent sticking.
Warping – Sculptures may warp or change shape while baking if the clay dries unevenly. Bake sculptures in multiple stages, allowing the inside to dry first before hardening the outside to prevent uneven shrinking.1 Flipping pieces while baking can also help them dry evenly.
With some care taken during the baking process, many of these common issues can be avoided. Work slowly, use low consistent heat, and monitor clay closely while baking.
Air Dry vs Polymer Clay
There are some key differences between air dry clay and polymer clay:
Air dry clay sets and hardens through exposure to air. It does not require baking or firing. Polymer clay on the other hand remains malleable until it is baked in an oven, which causes the molecules to cross-link. Air dry clay will gradually harden even if sealed in an airtight environment, while polymer clay will remain workable indefinitely until baked.
Polymer clay can obtain much higher levels of durability and strength through baking compared to air dry clays. However, air dry clay is convenient since projects made with it do not require access to an oven.
Air dry clays are water-based whereas polymer clays are plastic/vinyl based. Air dry clays are generally quite porous even when sealed, while polymer clays can take on a smooth, non-porous finish.
For detailed sculptures or jewelry where strength and durability are important, polymer clays are generally the better choice. For kids’ projects, quick models, and other items where high durability is not critical, air dry clays can be easier to use.
Some clays marketed as “air dry” are made of natural materials like cellulose or starches so they can biodegrade. Polymer clays contain plasticizers so do not biodegrade.