Easy Halloween Cake Decorating Ideas
When it comes to throwing a memorable Halloween party, the presentation of your treats can make all the difference. A beautifully decorated cake is sure to impress your guests and leave them wanting more. The good news is that creating a show-stopping Halloween cake doesn’t have to be a daunting task. With a simple recipe and some creative decorating ideas, you’ll be well on your way to making your party a howling success.
The key to a great Halloween party is the food – and what better way to delight your guests than with a deliciously decorated cake? The possibilities are endless, from spooky monsters to kooky critters. And the best part? You don’t need to be a master baker or decorator to create something truly terrifying… er, terrific.
To get started, you’ll need a solid foundation – a basic cake recipe that’s easy to make and can be customized with Halloween-themed colors and decorations.
Once you’ve got your cake, it’s time to unleash your creativity and add some spooky flair. In this article, we’ll explore three easy decorating ideas to help you create a Halloween cake that’s sure to cast a spell on your guests.
Basic Cake Recipe
To begin with, gather these essential ingredients: 3 1/4 cups of flour, 1/2 cup of butter (or its applesauce equivalent), 1 cup of milk, 1 1/2 cups of sugar (or brown sugar) for a richer flavor, 1 egg to provide moisture and structure, 3 teaspoons of baking powder to enhance the cake’s rise, a pinch of salt to balance out the sweetness, 1 teaspoon of vanilla extract to infuse the aroma, and enough orange food coloring – about a few drops of yellow, red, and white combined – to achieve a vibrant Halloween orange hue.
If you’re feeling extra decadent, consider adding some dark chocolate or Nutella as a filling. Once all your ingredients are at hand, proceed with the instructions. Firstly, preheat your oven to 350 degrees Fahrenheit. In a large mixing bowl, cream together the sugar, butter (or applesauce), eggs, and milk until you reach a smooth and silky consistency. Next, add the flour, baking powder, salt, and vanilla extract, whisking or beating with an electric mixer until well combined.
As you mix, gradually add the orange food coloring, dropping in small amounts at a time, until you’ve reached your desired shade of Halloween orange. Pour the batter into a buttered cake pan and pop it into the oven for approximately 30-35 minutes. Once the cake has cooled in the pan for about 10-15 minutes, remove it from the oven and place it on a wire rack to cool completely.
To assemble the cake, slice it horizontally in half and spread the dark chocolate or Nutella filling generously over the bottom layer. Then, place the top layer back on the filling, and your cake is now ready for decoration.
Frankenstein Face Cake
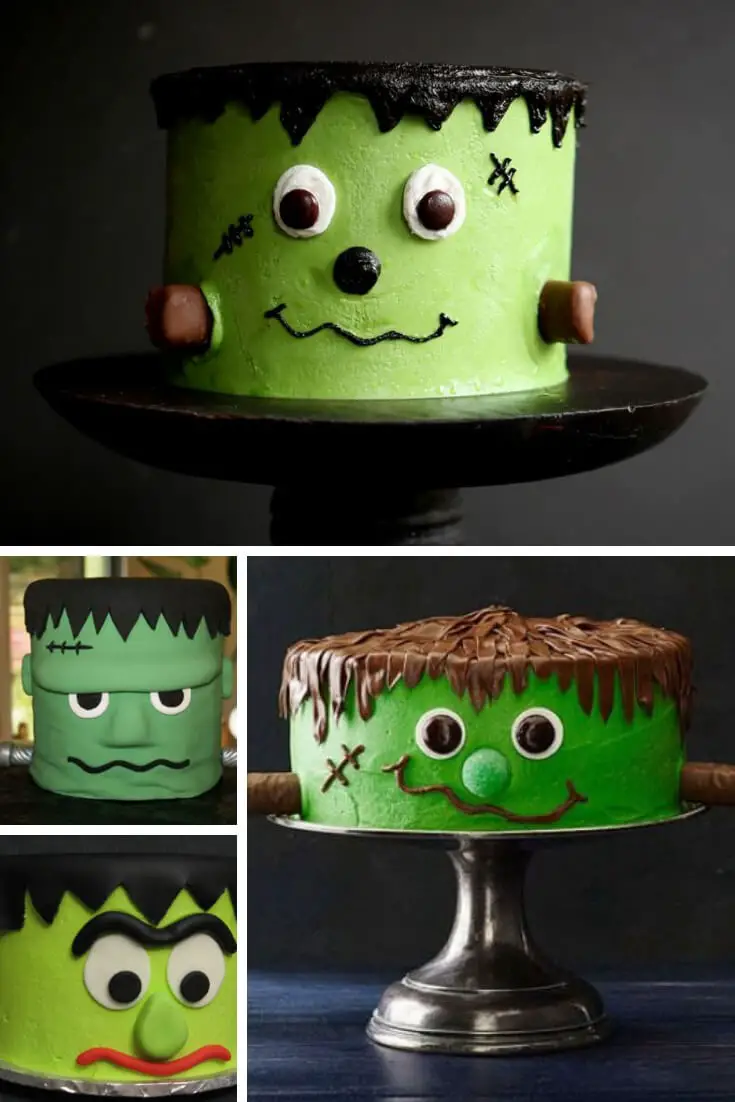
To create the iconic Frankenstein’s monster cake, you’ll need a few specific ingredients and materials. Start by covering your cake in green frosting, which can be made using white frosting and food coloring if desired. Next, use brown frosting to add some uneven ‘bangs’ on top of the cake, followed by a thick ‘uni-brow’ underneath. Place two plastic button eyes close together under the eyebrows to give your monster some character. For the nose, create two small black dots to serve as nostrils.
The mouth can be formed using a big fielded rectangle made from white frosting, while the teeth can be drawn in with chocolate icing. To add some texture and personality to your monster’s face, use the chocolate icing to draw on a few scars. Finally, secure two extra big metal screws on either side of the cake face, giving your Frankenstein’s monster its signature look.
Graveyard Cake
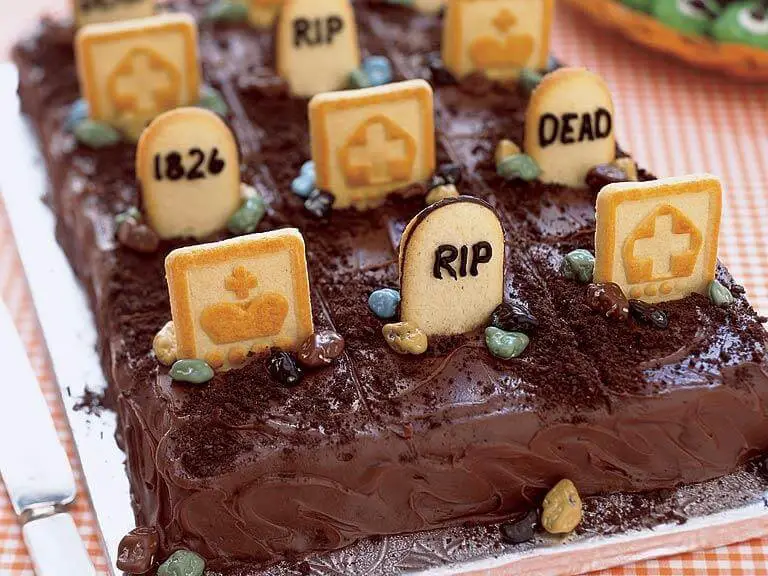
To create this spooky graveyard cake, start by spreading brown frosting over your base cake. Next, sprinkle crumbled chocolate cookies on top to resemble dirt. Use long vanilla cookies or ladyfingers to create ‘tombstones’ – simply draw simple crosses on them with a marker or write playful messages like ‘RIP’ or ‘Here Lies Jason’. Scatter these tombstones across the ‘dirt’ along with candy corns and pumpkins for added texture.
To bring the ghosts to life, use Cool Whip to spray little white blobs onto the cake, then draw eyes and noses using chocolate icing. With these steps, you’ll have a graveyard cake that’s sure to delight – just be prepared for some eerie stares from your guests!
Jack-o-Lantern Pumpkin Cake
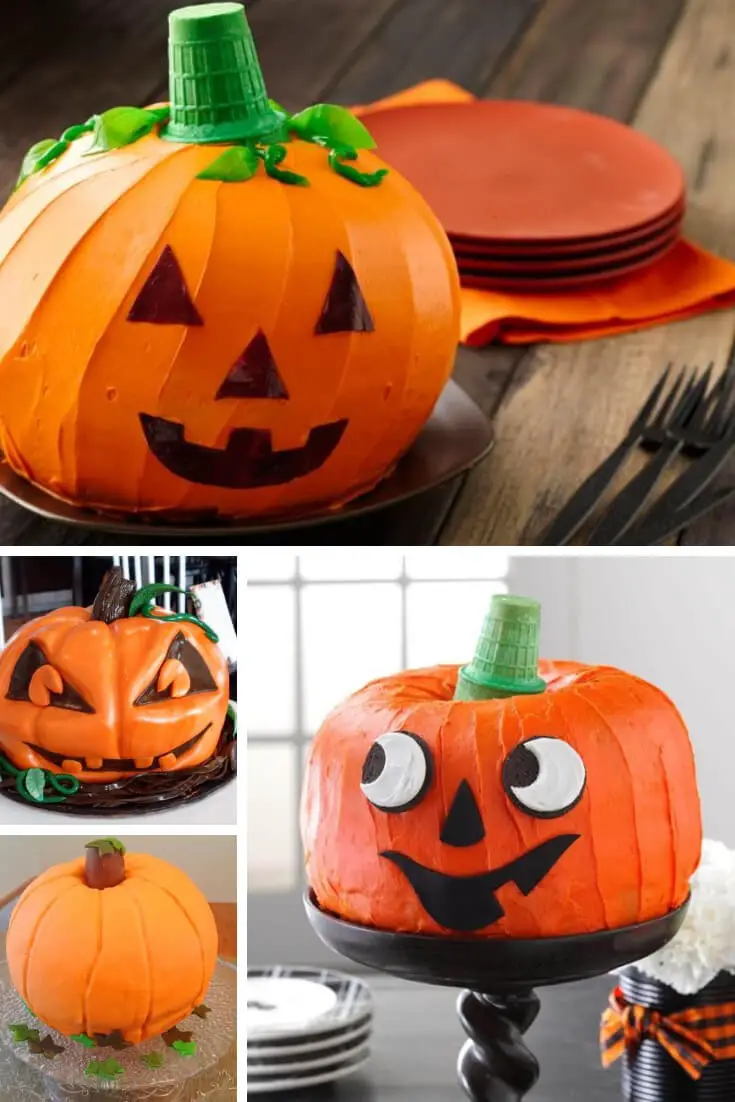
For this festive dessert, you’ll need a few key ingredients and supplies. To get started, you’ll want to gather some orange, green, and yellow frosting (or make your own by combining white frosting with food coloring). You’ll also need some chocolate icing for added contrast. To bring your Jack-o-Lantern cake design to life, begin by using the yellow frosting to draw on the eyes, nose, and mouth of the pumpkin. Then, use the chocolate frosting to outline these features and add some depth.
Next, cover the remaining surface area of the cake with the orange frosting, taking care to get into the smaller spaces using a knife. Once your pumpkin is base-coated, it’s time to add some details. Use the chocolate icing to draw on curved lines that evoke the pumpkin’s ridges, working from top to bottom in an arcing motion.
Finally, use the green frosting to add some leaves on top of the pumpkin – feel free to include a stem as well, using a sturdy curved stick or similar object for added realism.
Halloween witch unicorn cake
Spider
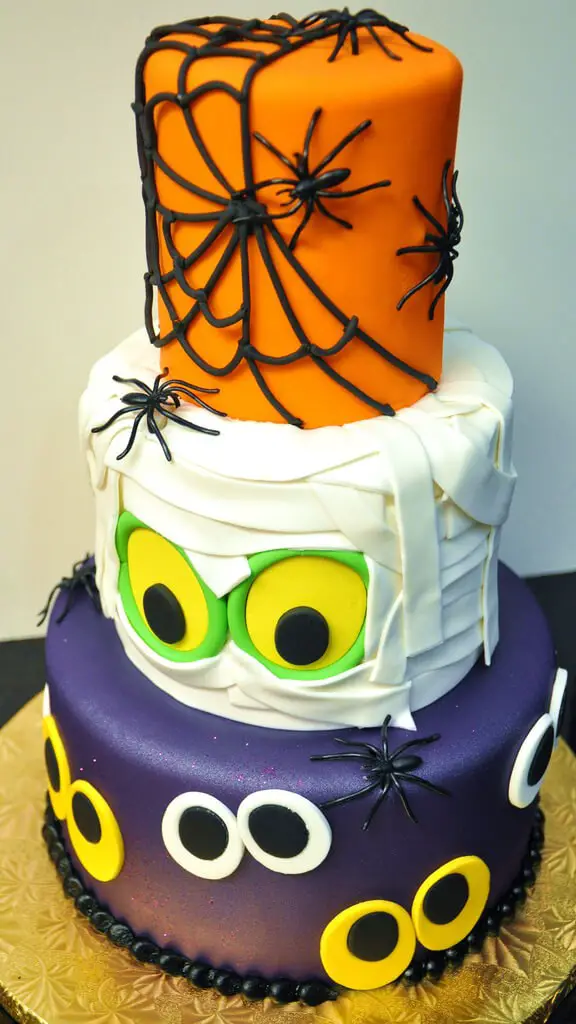
Haunted House cake
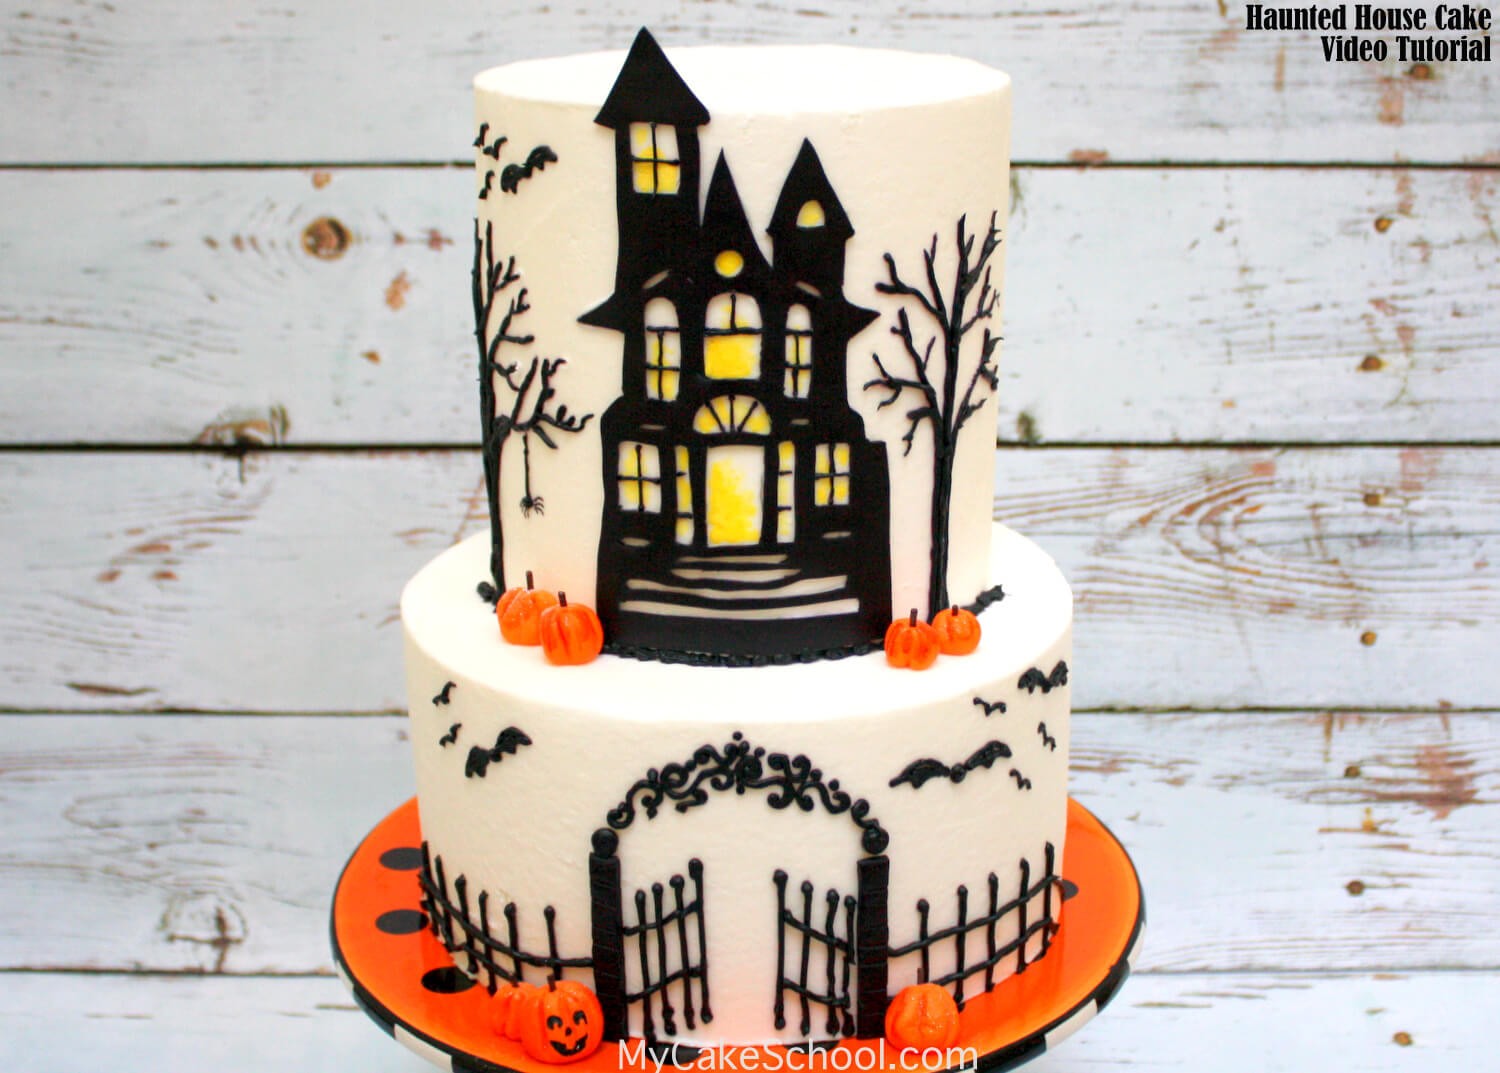
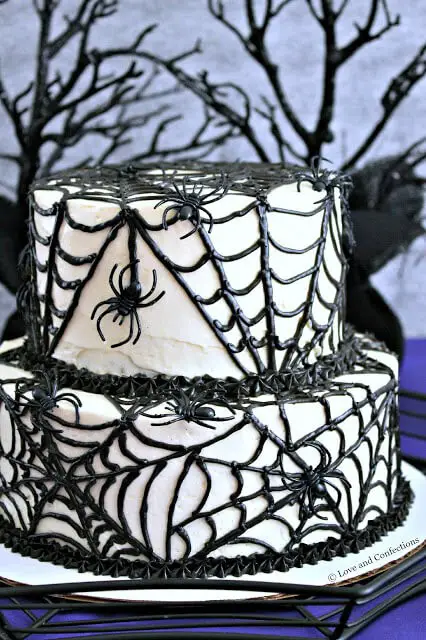
Black Velvet Spider Cake
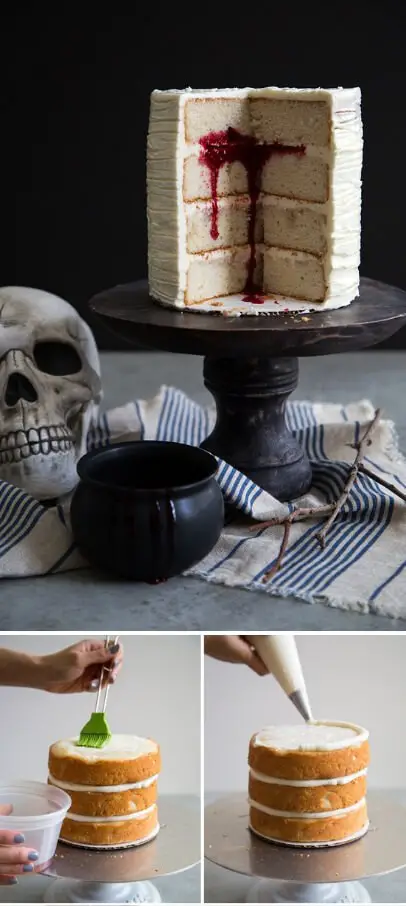
Bloody cake
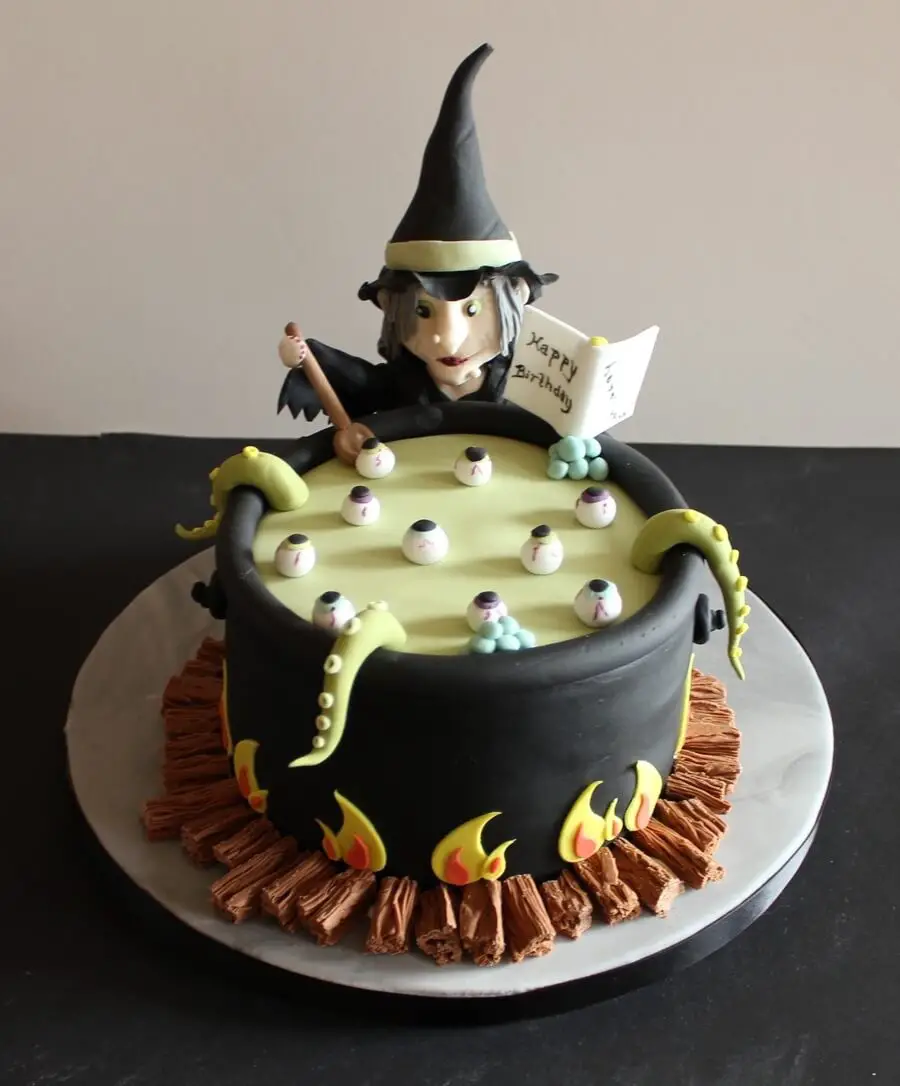
Halloween Witch Birthday Cake
Strawberry Ghosts
When it comes to baking treats for your Halloween party, simplicity is key. These three cake recipes are quick, effortless, and guaranteed to impress your guests. With minimal preparation required, you’ll have ample time to focus on decorations and other festivities. So, don’t be afraid to get creative in the kitchen – these cakes are sure to cast a spell on your partygoers!


