How Can I Learn Pottery At Home?
Learning pottery at home can be a fun, creative way to pick up a new hobby in the comfort of your own space. Pottery offers many benefits beyond just sculpting clay. The process of hand-building or throwing pottery on a wheel requires focus and patience, providing a meditative escape from daily stress. Shaping clay engages both sides of the brain and enhances motor skills. Completing a piece from start to finish builds a sense of accomplishment. Pottery also makes a great casual pastime with friends and family. With some basic equipment, technique practice, and persistence, anyone can unlock their inner artisan from home. This guide will overview the steps for getting started with DIY pottery, from setting up a studio space to mastering fundamental methods.
Get Inspired
Getting motivated and excited about pottery is an important first step. Start by looking for inspiration from pottery artists and their amazing creations. There are many ways to uncover inspiring works that will fuel your motivation:
Look through pottery books and appreciate the photos. Some great pottery books to check out are The Art of Throwing by Richard Zakin, Mastering the Potter’s Wheel by Ben Carter, and Ceramics Masterclass by Louisa Taylor. Get an up close look at finished pieces and see the intricate techniques used by the artists.
Follow pottery accounts on Instagram. Some top ceramic artists to follow include Suzy Atelier, Jono Pandolfi, Shary Boyle, and others mentioned in this article. Their posts will fill your feed with beautiful inspiration.
Watch YouTube tutorials and documentaries. See potters in action as they form clay on the wheel, hand build sculptures, decorate pieces, and fire the kiln. Some great channels are Hutte Böer Ceramics, Simon Leach, and Ceramic Arts Network.
Immerse yourself in images and videos of finished ceramics. Notice the different styles, forms, and decoration techniques. Save or bookmark pieces you love to refer back to. Let the existing works spark your own creativity and get you excited about making pottery yourself.
Set Up a Home Studio
To start making pottery at home, you’ll need to set up a basic studio space. Designate an area in your home where you can keep your pottery tools and materials without disturbing other living spaces. A spare room, basement, or garage typically works well. Make sure you have adequate lighting, ventilation, and access to water.
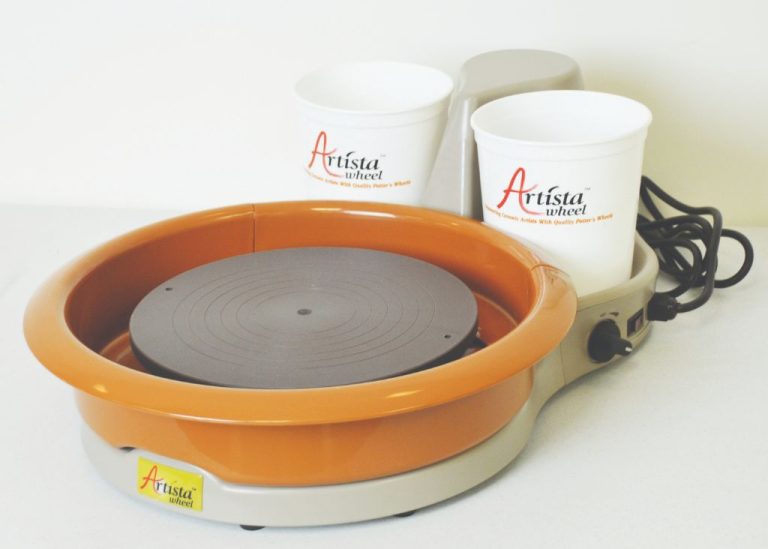
The centerpiece of your home pottery studio will be the potter’s wheel. New wheels range in price from about $200 for a tabletop model up to $2000 or more for heavy-duty wheels. Check brands like Brent, Bailey, Shimpo, and Speedball for quality wheels [1]. Consider whether you want a wheel with variable speed control. Used wheels can also be a good option for beginners.
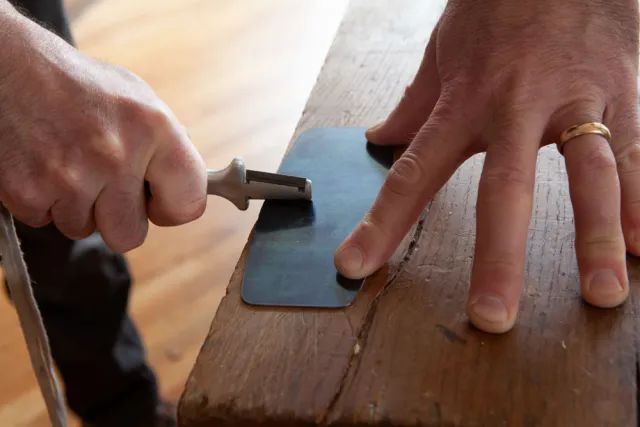
You’ll also need a wedging table or similar surface for working clay, basic pottery tools like fettling knives, ribs, trimming tools, etc., an apron to protect your clothes, and of course clay. Start with a versatile stoneware clay that fires to cone 6. Store clay in airtight bags or containers. Consider building or buying a shelf system to neatly organize all your new pottery supplies.
Learn Pottery Techniques
Learning the fundamental pottery techniques is key to creating high quality pieces at home. Some of the most important techniques to start with include centering clay, opening clay, pulling walls, attaching handles, and glazing.
Centering clay involves placing a lump of clay on the pottery wheel and using your hands to center it. As the wheel spins, apply even pressure with your thumbs and fingers to form the clay into a cone shape and remove any air bubbles. Centering is crucial for throwing uniform pots and bowls.1
Opening clay refers to using your thumbs to push into the centered clay and form an opening. Apply gentle outward pressure with your fingers to slowly widen the walls of the pot. Use a ribs tool to refine the shape and smooth the walls. Opening clay takes practice but allows you to throw a variety of vessels.
Pulling walls involves using your fingers to gently pull the clay walls upwards as the wheel spins to increase the height of the pot. Apply an even, gradual pull, keeping the walls uniform thickness. Clay can be pulled up into taller vases or left shorter for cups or bowls.
Attaching handles is done once the main form is complete. Roll out a “snake” of clay, attach one end to the vessel, arch it into a handle shape, then press the other end onto the opposite side. Blend the seam smooth. Let the piece firm up slightly before handling.
Glazing is the final decorative step. Liquid glazes come in many colors and textures. Apply glaze to bisqueware pots and fire again to melt the glaze into a glossy coating. Consider complementary colors and test glaze combinations to find your style.
Practice Regularly
Pottery, like any skill, requires regular practice to improve. Commit to practicing multiple times per week to build muscle memory and improve your throwing, trimming, decorating, and glazing techniques. Many experienced potters recommend practicing at least 10 hours per week when starting out.
“Usually about 10 hours a week, but it also depends on what I’m working on. As Robert said, starting off taking classes in a studio is by far the best option to learn quickly and efficiently.” (Source)
Dedicate time each week to practice thrown and handbuilt forms, test glazes, and develop your artistic style. Daily practice, even for short sessions, will help build dexterity faster than long, infrequent sessions. Over time, regular practice will build the muscle memory needed to center clay quickly, pull up uniform walls, and trim pots with ease.
Join a Local Class
Taking a beginner pottery class at a community center or local studio can provide invaluable hands-on instruction as you learn the basics. With an experienced teacher guiding you, you’ll get helpful feedback and corrections on your technique as you practice centering clay on the wheel, hand building shapes and figures, glazing and decorating, and more. Classes allow you to learn alongside fellow beginners, ask questions in real time, and gain skills through guided practice. Look for a class that covers foundational topics like:
- Wedging and preparing clay
- Centering clay on the wheel
- Throwing basic vessel shapes
- Trimming and refining pieces
- Hand building techniques like pinch, coil, and slab construction
- Glazing and decorating finished pieces
A structured class with an encouraging instructor provides an excellent hands-on introduction to pottery in a creative, social environment. You’ll get constructive feedback to help refine your skills as well as inspiration from seeing others’ work.
Watch Tutorial Videos
YouTube has an abundance of excellent pottery tutorial videos that can teach you everything from centering clay on the wheel to trimming and decorating finished pieces. Many talented potters generously share their techniques in free YouTube playlists and videos.
For beginners, I recommend starting with the comprehensive playlist Beginners pottery lessons by Fat Cap Ceramics. This covers essential skills like wedging, centering clay, and throwing basic vessels on the wheel.
Once you have the basics down, check out the Pottery Project Tutorials playlist for ideas on crafting mugs, plates, bowls, and more. The step-by-step lessons walk you through trimming, attaching handles, and finishing techniques.
With YouTube’s wealth of pottery knowledge at your fingertips, you can access expert instruction any time to continue advancing your skills.
Start Simple
When first getting started with pottery at home, it’s important not to get ahead of yourself by trying to make intricate, complex pieces right away. As a beginner, focus on mastering basic cylindrical forms and vessels first. This will help you get comfortable with centering clay on the wheel and pulling up even, symmetrical walls. Some simple beginner projects to try are basic cylindrical vases, mugs, and bowls.
Throwing basic cylindrical pieces will teach you how to center clay and use your hands to shape the walls. Mugs and bowls are also relatively simple beginner projects that help you practice shaping curved surfaces. Starting with these foundations before moving onto more elaborate sculptural or decorative pieces will ensure you develop the essential techniques first. Be patient with yourself as a beginner and allow time to practice the basics. Once you’ve mastered centering, pulling up walls, and shaping simple vessels, you’ll gain the skills needed to create more complex pottery down the road.
Be Patient with Yourself
Making pottery takes time to master – don’t get discouraged. Celebrate small wins.
Learning a new craft like pottery requires patience. Many beginners get frustrated when their early attempts at centering clay or throwing pots don’t turn out perfectly. But becoming skilled at pottery is a process that takes time and practice. Expect to make mistakes and have failures, especially in the beginning. As one Reddit user who had taken classes for 1.5 years pointed out, “A ‘basic’ shape could be easy to produce after some intro classes, but it could very well take 3 years to master and perfect.” [1]
Instead of focusing on perfection, stay motivated by celebrating small wins and milestones. The first time you center a lump of clay successfully, make a pot that doesn’t collapse, or manage to get a nice pulled handle attached can feel like major accomplishments. Appreciate these small signs of progress. With consistent practice and patience, your skills will improve over time.
Showcase and Sell Your Work
Once you’ve developed your pottery skills, you may want to start showcasing and selling your pieces. Here are some ideas for getting your work out there:
Share photos on social media. Instagram and Facebook are great platforms for showing off your latest creations. Use relevant hashtags so people can discover your work.
Give pottery as gifts to friends and family. Handmade gifts often mean more than store-bought ones. Pottery you make yourself has extra sentimental value.
Sell at local craft fairs and markets once you’ve refined your skills. Outdoor fairs in the spring and summer are popular venues for selling arts, crafts, and other handmade goods (source).
Open an online shop on Etsy, Sellfy or your own website. Sites like these make it easy to set up a virtual storefront for selling your pottery worldwide (source).
Consider donating pieces to charity auctions and other fundraising events. It promotes a good cause while getting exposure for your work.