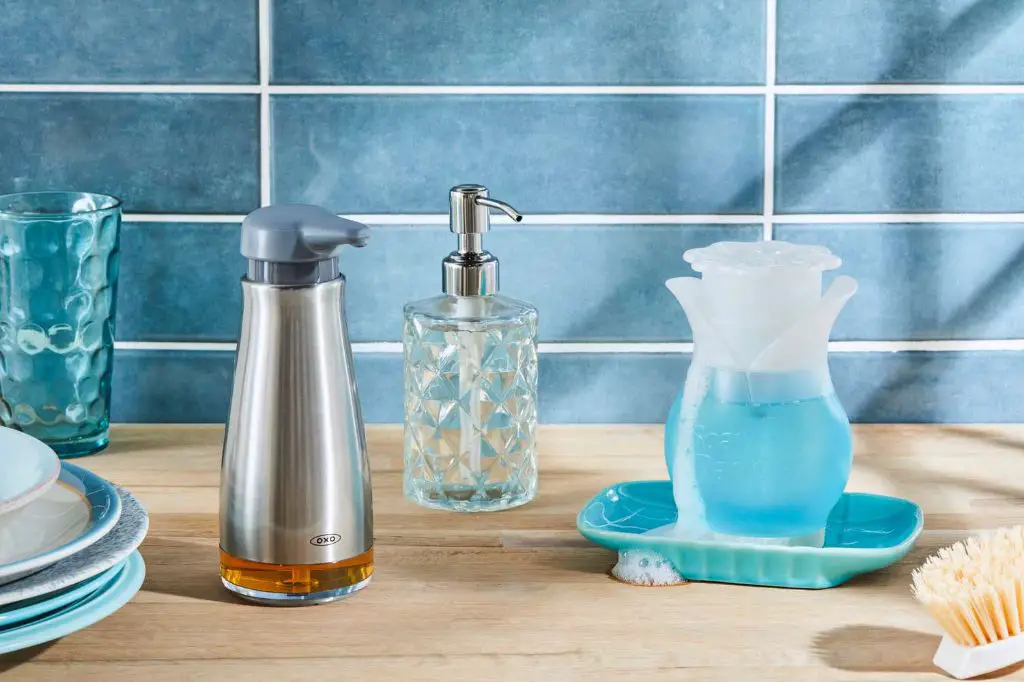
How Do You Clean A Ceramic Soap Dispenser?
It’s important to clean soap dispensers regularly for a few key reasons. First, soap residue and buildup can clog the dispenser and prevent it from working properly. Over time, leftover soap scum provides an ideal environment for bacteria and mold to grow. According to the CDC, contaminated soap dispensers can play a role in spreading infections and disease.
Regular cleaning keeps soap dispensers functioning optimally and helps remove harmful germs and bacteria. The CDC recommends daily and weekly cleaning of high-touch surfaces like soap dispensers to help control infection rates. Maintaining clean soap dispensers is an important component of overall hand hygiene and infection control.
Ceramic soap dispensers in particular require routine cleaning because their rough porous surface allows soap scum to cling and build up more easily. But with the right cleaning methods, ceramic dispensers can be restored to a like-new condition.
Assemble Cleaning Supplies
Before cleaning your soap dispenser, make sure you have the necessary supplies on hand. The main items you’ll need are:
- Mild dish soap – Steer clear of harsh chemical cleaners and stick with a gentle dish soap diluted in warm water. Dish soap will cut through grease and grime.
- Warm water – Warm, soapy water is ideal for loosening soap scum and residue.
- Clean sponge or soft cloth – Use a sponge or soft cloth to scrub the dispenser clean. Avoid abrasive scouring pads.
- Old toothbrush – A toothbrush is great for scrubbing in crevices and hard-to-reach spots.
Gather these supplies together before starting to clean for a seamless process. Having the right tools will make cleaning your ceramic soap dispenser much easier.
Remove Soap Buildup
Soap buildup can accumulate in the dispenser spout and body over time. This needs to be removed thoroughly to fully clean and disinfect the dispenser.
Use a small toothbrush or other scrub brush to gently scrub away any soap scum or mineral deposits inside the spout opening. You may need to apply pressure and scrub persistently to remove stubborn buildup. Take care not to scratch the surface.
Scrub with a soap scum remover such as Bar Keeper’s Friend, baking soda, or a homemade paste of baking soda and vinegar. Let it sit for a few minutes before scrubbing to allow it to penetrate the buildup. Refer to this source for more homemade soap scum cleaning solutions.
Rinse the spout and body thoroughly with clean water after scrubbing to remove all traces of cleaning solutions and residual soap buildup.
Clean the Spout
The spout often collects soap scum, grime, and mineral deposits, so you will need to pay special attention to thoroughly cleaning it. Use a small toothbrush and warm, soapy water to scrub the spout. The toothbrush bristles will allow you to get into all the small crevices and crannies. Hold the soap dispenser over the sink or working surface, and scrub the spout vigorously to remove any caked-on soap residue. Pay particular attention to the underside of the spout where buildup tends to accumulate.
According to https://rail19.com/blog/how-to-clean-a-glass-soap-dispenser-with-metal-pump-the-quick-guide/, hard water can leave stubborn mineral deposits on a ceramic soap dispenser spout. You may need to use a bit of baking soda and vinegar to dissolve the deposits. Pour a tablespoon of baking soda directly onto the spout and then spray or drizzle white vinegar over it. Let it sit for 5-10 minutes before scrubbing the spout with your toothbrush. The chemical reaction between the baking soda and vinegar will help loosen and lift away soap scum and mineral deposits.
Wash the Body
The next step is to wash the main body of the soap dispenser. Start by wetting a clean sponge with warm water and a small amount of dish soap, then wipe down all exterior surfaces of the dispenser (Source). Pay close attention to crevices and engraved decorations where soap scum can accumulate. Scrub gently but thoroughly to lift any sticky residue or dirt.
Once the soap dispenser body looks clean, rinse it under running water, using your fingers or a soft cloth to remove any remaining suds. Make sure all traces of soap are removed to prevent streaks or spots from drying on the surface. Thorough rinsing is key for a streak-free shine (Source).
Clean the Pump
The pump is often where soap scum and dirt build up the most in a ceramic soap dispenser. Start by removing the pump completely from the dispenser. Depending on your model, you may need to twist or pull firmly to detach it.
Once removed, wash the pump fully in warm, soapy water. Let it soak for a few minutes to allow the soap and grime to dissolve. Use a soft toothbrush or other small brush to scrub any crevices or hard to reach spots where residue remains. This ensures you remove all the built-up gunk.

According to humoroushomemaking.com, it’s important to use a toothbrush on the small crevices of the pump where soap can easily build up.
Dry Thoroughly
After washing the ceramic soap dispenser, it’s important to dry it thoroughly to prevent water spots and soap residue buildup. Use a clean, soft microfiber cloth to gently dry all surfaces of the dispenser. Make sure to get into crevices and dry around the pump mechanism. According to the Columbia Tire Auto blog, when drying a ceramic coated surface it’s best to “just pour the water and shepherd it off” rather than rubbing, which can scratch the coating (Source). Allow the soap dispenser to air dry as well to ensure no moisture is left.
Be very gentle when drying and do not use any abrasive cloths or materials that could scratch the ceramic coating. It’s also best to avoid heat drying methods like blow dryers which may be too harsh. Take your time to carefully dry every surface until the ceramic soap dispenser is completely moisture-free.
Refill and Replace
Once the soap dispenser body and pump are completely dry, it’s time to refill the dispenser with fresh soap. Be sure to use a mild liquid hand soap designed for use in dispensers. According to Topjoyint.com, slowly pour the desired amount of soap into the refill opening, being careful not to overfill and spill the soap. Only fill the dispenser about 3/4 full to allow room for the pump mechanism to work properly.
After refilling with soap, reposition the pump back into the opening of the dispenser. Press down a few times to prime the pump and test that soap dispenses properly. Wipe away any excess soap that comes out as you test the pump. The dispenser should now be ready for regular hand washing use again.
Maintain Regularly
Daily maintenance of a ceramic soap dispenser will minimize the grime build up inside and extend its life. Wipe down the external surface of the dispenser with a damp microfiber cloth to remove any soap residue. Pay special attention to the spout area where drips typically accumulate. Allow the dispenser to air dry completely.
Do a more thorough cleaning of the dispenser every 1-2 weeks. Empty the dispenser and wash all parts with warm soapy water as described earlier in the deep cleaning steps. Dry thoroughly before refilling. Frequent cleaning will prevent soap scum buildup and ensure the pump mechanism functions properly.
Conclusion
In summary, it’s important to clean your ceramic soap dispenser regularly to prevent buildup and keep it functioning properly. Key steps include removing the pump and washable parts, scrubbing away dried soap and residue, rinsing everything thoroughly, and drying completely before reassembling. Refilling the dispenser with fresh soap after cleaning will help keep your hands clean and germ-free.
Taking the time to clean a ceramic soap dispenser every couple of weeks or monthly ensures it continues working effectively. Routine cleaning also prevents the growth of bacteria and mold that can accumulate in moist, soapy environments over time. By following the outlined cleaning process, you can keep your soap dispenser looking great and dispensing properly for years of reliable hand washing.

