How Do You Clean Studio Pottery?
Properly cleaning studio pottery is important for maintaining the beauty and integrity of your pieces over time. Pottery made for decorative and functional use, like stoneware and porcelain, requires routine cleaning and care.
As an artist’s medium, clay is porous and prone to absorbing stains if not cleaned regularly. Food, beverages, dust, hard water deposits, and other residue can quickly build up on pottery surfaces if left untreated. Poor cleaning habits can lead to unsightly stains, cracks, crazing, and bacterial growth.
Fortunately, studio pottery can be restored to its original splendor with consistent cleaning and occasional polishing. By using gentle cleaning solutions and techniques, you can remove stains, inhibit bacterial growth, and bring brightness and shine back to your handcrafted pottery.
Assess the Pottery
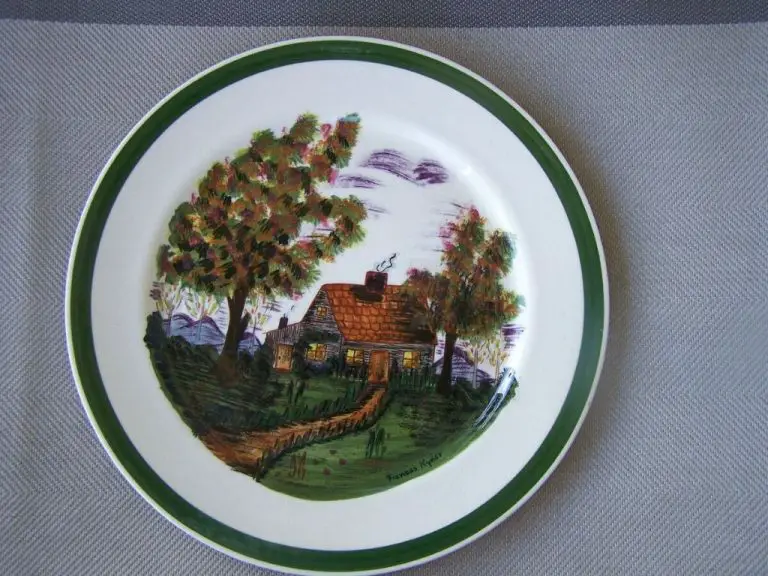
Before cleaning studio pottery, it’s important to carefully inspect the piece for any markings indicating material type as well as any existing damage like cracks, chips or flaws. Many artisans will sign or label their pieces with information about the clay body, firing technique or glazes used which can provide clues on the safest cleaning methods.
According to the studio pottery identification guide from DigSchool, markings on the bottom or side of a piece may include the artist’s signature, studio name, copyright dates, or codes indicating the clay type or firing temperature used (DigSchool). This helps determine whether a piece can be submerged in water or requires more gentle cleaning.
It’s also critical to check for any existing cracks, chips, crazing or other flaws which could worsen with cleaning. Cracks may allow water to penetrate the porous clay body leading to further damage. Any noticeable damage should be noted before cleaning so it’s not mistakenly attributed to the cleaning process.
Daily Cleaning
You’ll want to keep your studio space clean on a daily basis. This prevents build up of dust, debris, and dried clay that can be hazardous and make cleaning more difficult later. According to ceramic.school, one good rule is “if you see dust then wipe it up with a sponge.” This prevents dust from spreading throughout the studio.
For daily cleaning, use a slightly damp cloth rather than harsh chemicals or scrubbing. Gently wipe down counters, shelves, tools, and other surfaces to pick up dust and residue from working. You can use a bit of mild soap and water if needed for sticky areas, but avoid strong chemicals that could damage surfaces or clay.[1]
Be sure to sweep the floors regularly as well to prevent buildup of dried clay and dust. Use a damp mop occasionally if needed, but don’t over-wet the floors. Letting dust accumulate can stir up particles into the air and create an unhealthy environment.[2]
Stuck-On Food and Grease
Caked-on food and grease can be very difficult to remove from studio pottery. Avoid using abrasive scouring pads or powders that can scratch the finish. Instead, make a paste with baking soda and water and apply it to the stuck-on mess. Let it sit for 30 minutes before scrubbing gently with a soft cloth or sponge 1. The baking soda will help lift and dissolve the grease without damaging the pottery. You can also try filling the pot with water and adding 1/4 cup white vinegar. Bring it to a boil for 10-15 minutes, which can help loosen burnt-on food. Let cool before scrubbing gently. Repeat as needed, but take care not to boil acidic vinegar for too long as it could etch or discolor the glaze over time.
Hard Water Stains
Hard water stains are mineral deposits that get left behind on studio pottery. They show up as cloudy, whitish spots and rings. Hard water contains high amounts of minerals like calcium and magnesium which get deposited on surfaces when the water evaporates.
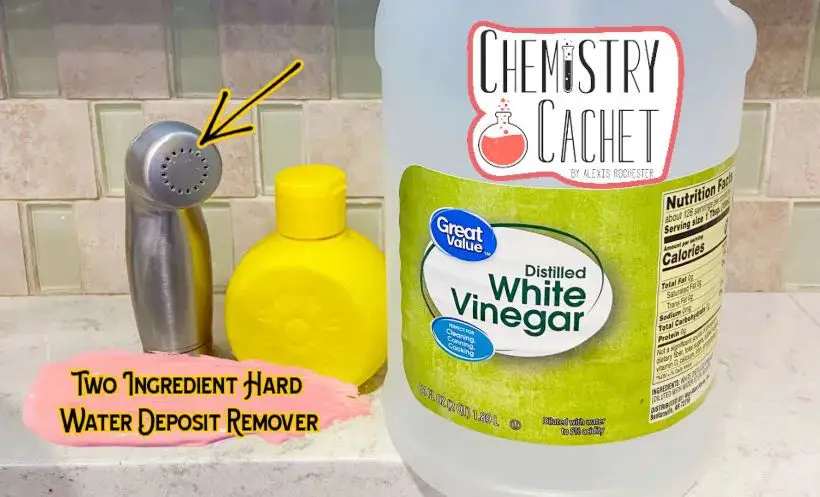
One of the most effective methods for removing hard water stains from studio pottery is to soak the item in white vinegar. The acetic acid in vinegar helps dissolve mineral deposits. Submerge the stained pottery in undiluted white vinegar, ensuring the stains are fully covered. Let soak for at least an hour, up to overnight for tougher stains. Then scrub with a soft brush or sponge to remove the stains. Rinse thoroughly with water. You may need to repeat this process for stubborn stains [1].

Another option is using a Mr. Clean Magic Eraser while the pottery is still wet. Lightly scrub the stained area with the magic eraser until the stains are removed. Magic erasers utilize melamine foam to lift off deposits. Be gentle when scrubbing as magic erasers can sometimes dull finishes [2].
Mold and Mildew
Mold can be a problem for studio pottery if it’s stored while still moist. If you discover mold growth on your pots, act quickly to remove it before it damages the work. A dilute bleach solution or hydrogen peroxide works well to kill mold on ceramic surfaces. The Ceramics subreddit recommends mixing 1 part bleach to 10 parts water and applying it with a soft cloth. Let it sit for 15 minutes before rinsing and drying thoroughly. Hydrogen peroxide can also be effective – soak a cloth in undiluted peroxide and lay it over the affected area for an hour. Be sure to dry the pottery completely after cleaning to prevent recurrence.
Polishing and Restoring Sheen
Over time and repeated use, studio pottery can lose its luster and sheen. There are a few simple and non-toxic ways to gently buff your pieces and restore their shine.
Olive oil or lemon oil work well for polishing. Dip a soft cloth into the oil and gently rub it over the surface of the pottery using small circular motions. The oils will moisturize the clay and bring back the sheen. Be sure to use a light touch when buffing to avoid scratching the surface. Buff until you achieve the desired luster. This video demonstrates the technique.
Another option is beeswax. Rub a small amount of wax into the surface with a clean cloth, then buff it out with a separate clean cloth. The wax fills in small scratches and imperfections, while leaving behind a protective coating that restores shine. Just be aware that wax can affect glazes, so test on a small inconspicuous area first.
By polishing studio pottery occasionally with mild ingredients like oil or wax, you can keep pieces looking their best while preserving their unique handmade character.
Avoiding Damage
When cleaning and caring for studio pottery, it’s important to avoid damaging the pieces. Here are some tips for preventing harm to your pottery:
Do not put studio pottery in the dishwasher. The high heat and harsh dishwasher detergents can damage the finish and cause crazing (fine cracks). Handwashing is best for cleaning pottery.
Be very careful when stacking studio pottery. Piling pieces haphazardly can result in chips, cracks, and breakage. Use felt pads in between each piece to prevent scratching. Store pieces individually if possible.
When storing studio pottery, avoid crowding shelves too tightly. This can lead to pieces rubbing against each other and chipping. Leave some space between stored pottery.
Handle studio pottery gently. Dropping pieces or banging them against hard surfaces will likely cause damage. Studio pottery is often thinner and more fragile than commercial pottery designed for heavy use.
Keep studio pottery away from extreme temperature changes, which can shock the clay and glaze. Do not add very hot liquids to cool pottery. Allow pieces to come to room temperature before washing.
When to Seek Professional Help
There are times when it’s best to leave cleaning studio pottery to the experts. Here are some instances when you may want to seek professional help:
For really fragile or valuable pieces – Extremely delicate pottery or rare/expensive pieces are at higher risk of damage when being cleaned. Consulting professional ceramic restorers who have expertise cleaning fragile items without harming them is advised. They use specialized techniques and cleaning solutions customized for different clay types and glazes.
For severe stains or damage – Deep stains, etching, scratches, chips or other significant damage may require a professional’s skill. Pottery restoration services have access to strong cleaning agents like acetone or muriatic acid that can tackle what routine cleaning can’t. They also can undertake repairs like filling chips or even replacing broken parts. However, such harsh chemicals should only be handled by those trained in their proper and safe use.
Inspect your pottery regularly and act quickly if you notice new stains or damage developing before they have time to set in and spread. This gives professionals the best chance of restoring your pottery successfully.
Conclusion
Caring for studio pottery properly is essential for maintaining the integrity and beauty of your creations. By regularly cleaning and inspecting pieces, you can keep them looking their best. A few key cleaning tips covered here include using a spray bottle and sponge for light dust, baking soda for stuck-on food and grease, vinegar for hard water stains, and mild soap and water for mold and mildew. Taking the time to gently polish pieces helps restore their original sheen and luster over time.
The benefits of proper studio pottery care include preserving the longevity of the clay, glaze, and decorative elements, as well as maintaining a clean and orderly studio space. Pieces stay in excellent condition to be displayed, enjoyed, and passed down. With routine care and handling, you can avoid damage and the need for extensive restoration work.
To learn more studio pottery care tips, consult ceramic arts resources like Ceramic Arts Network at https://ceramicartsnetwork.org/ or connect with professional ceramic artists in your local community. Proper cleaning and storage helps showcase studio pottery at its best for years to come.


