How Do You Create Sgraffito On Clay?
What is Sgraffito?
Sgraffito is an art technique that involves scratching through a top colored slip layer of clay or plaster to reveal the different colored clay or substrate underneath. The word “sgraffito” comes from the Italian word “sgraffiare” meaning “to scratch”.
The sgraffito technique has been used since ancient times, with examples found in Africa, the Middle East and Europe. In Europe, sgraffito murals were popular during the Renaissance, used to decorate the exteriors of buildings. Italian sgraffito from this period involved detailed figural scenes scratched into multiple layers of colored plaster. In Germany and other northern European countries, sgraffito friezes with geometric patterns were created on the plaster walls of buildings.
Today, sgraffito is commonly used in ceramics and pottery. Ceramic sgraffito involves layering colored slips or glazes on leather-hard clay, then scratching through the layers to create patterns and images. The colors of the underlying clay and slip layers are revealed through the scratches. Sgraffito can also be done on bisque fired or fully fired clay.
Sources:
https://study.com/academy/practice/quiz-worksheet-scraffito-painting-history.html
Materials Needed
To create sgraffito designs on clay, you will need the following materials:
Clay – The type of clay you use is important. Sgraffito works best with low-fire earthenware or mid-range stoneware clays that are smooth and easy to scrape. Avoid coarse or gritty clays.
Clay tools – You’ll need basic pottery tools like ribs, loop tools, and sponges for smoothing the clay surface. Metal or wooden styluses will be needed for carving the design.
Underglazes – Underglazes in colors of your choosing will be applied to the clay surface. They come in liquid form and work well for sgraffito. Multiple colors can be used.
Glazes – A clear lead-free glaze is typically used over the sgraffito design before firing. This seals and protects the carved pattern.
Preparing the Clay
The clay needs to be properly prepared before creating the sgraffito design. First, wedge or knead the clay to remove any air bubbles and evenly distribute the moisture. Kneading helps prevent cracking as the clay dries. Next, roll out the clay into a slab using a rolling pin or slab roller. The slab should be 1/4″ to 1/2″ thick. Smooth the surface using a rib tool. Then, apply an even layer of colored slip to the clay slab using a brush, sponge, or spray bottle. Let the slip dry slightly before carving the design 1. Properly wedging the clay and applying an even slip layer ensures the sgraffito design will turn out cleanly.
Creating the Design
Planning out the design is an important first step before starting to incise lines into the clay. It helps to sketch out ideas beforehand to have a plan. Using guide lines can also be very useful when creating the design. Lightly etching guide lines into the clay with tools like needles and skewers allows you to map out the design before committing to deeper carved lines. It also helps to keep lines even and compositional elements properly spaced or aligned.
When it’s time to actually incise the design, various metal or wooden tools can be used to carve into the clay. Needles, skewers, knives, and specialty clay tools are commonly used. The depth and width of the lines can be adjusted based on the type and size of tool. For thin, delicate lines, a needle may work best. For wider grooves, a knife or larger tool would be better suited. The important thing is to make sure the lines are deep and wide enough to allow the contrasting underglaze or slip color to be revealed distinctly.
It’s useful to start with lighter guide lines, then go back to carve deeper and more boldly once the design is mapped out. Leaving some areas less incised can also help add interest, contrast, and dimension. The carved lines will reveal the colorful layers beneath once the top layer is wiped away.
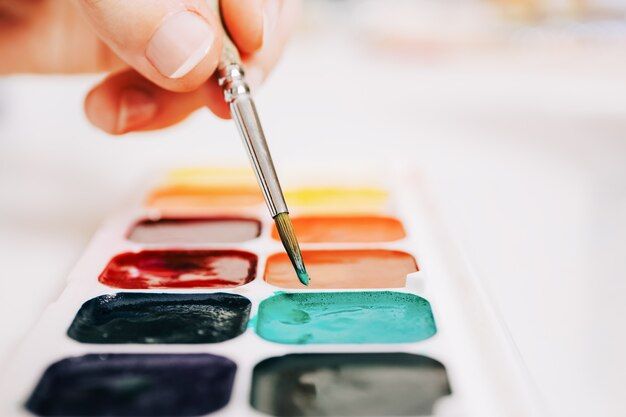
Applying Color
The base layer of color for sgraffito is typically created using underglazes. Underglazes are opaque, clay-based colors that are formulated to be applied to unfired clay. When choosing underglazes for sgraffito, it’s best to use highly saturated, opaque colors that will show up well against the clay body once carved into. Some popular color choices are black, navy blue, teal, dark red, and chocolate brown.
According to this source, apply the underglaze generously using a brush, sponge, or rag. The underglaze should fully coat the surface, often needing 2-3 coats to become fully opaque. Allow the underglaze to dry completely between coats. The underglaze must be completely dry before carving into it, so the clay doesn’t smear or pull up color outside of the carved lines.
Once the underglaze layer is opaque and dry, the surface is ready for the sgraffito design to be carved into it, revealing the clay color underneath.
Revealing the Design
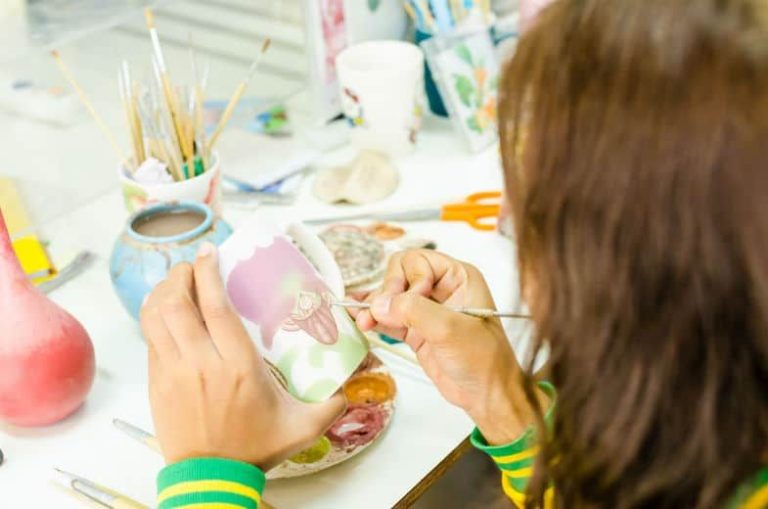
Once the sgraffito surface design has dried, the next step is to carefully reveal the pattern by scratching away the top layer of colored slip or glaze. This is done using various clay sculpting tools like loops, ribs, or needles. The tool is used to gently scrape away just the top layer, revealing the contrasting color underneath. It takes a delicate touch to remove only the thickness of the slip and not cut into the bottom clay body. The artist scratches along the outlined design lightly at first, then going back to remove more material and define the pattern. Complex sgraffito designs require slowly disclosing the image in stages to build up detail and depth. Patience and precision are required when scratching away the surface to incrementally uncover the colorful design underneath.
As sections are etched and scraped, the contrasting colors emerge and the sgraffito artwork comes to life. The striking reveal of the layered colored clays is an exciting moment for the artist. Care must be taken to not gouge or dig too far into the base layer of clay. The final revealing process can be quite laborious depending on the intricacy of the hidden design. But the payoff is seeing the beautiful, tactile sgraffito image emerge as the surface colors are strategically scratched away to expose the underlying hues and hand-drawn composition.
Additional Details
Once the initial sgraffito design has been revealed, the piece can be further refined by adding more lines and texture (Source). Here are some tips for adding additional details:
Use a variety of tools like needles, skewers, and etching tools to add fine lines and mark making. This can enhance the existing design with more intricate patterns and details. Focus on areas that need more visual interest or areas that could benefit from added texture.
Consider adding cross-hatching, dots, shapes, and other repetitive marks. This can create appealing textures and make certain elements really stand out. Start with larger marks and tools before moving to finer details.
Don’t overwork the design. Let some areas remain smooth and simple to balance out detailed sections. stepping back periodically helps assess what details to add or leave out.
Refine shapes and clean up edges around the main design. Crisp lines with some organic texture create an eye-catching contrast. Remove any clay debris or dust before applying glaze.
Applying Glaze
After the sgraffito design has been revealed, the next step is to apply a glaze on top of the exposed clay layers. This glaze will add color and finish to the sgraffito design.
When applying the glaze, it’s important to fully cover the top layer that has been carved away to reveal the design. The glaze should be brushed on generously to fill in all of the carved lines and details. According to the guide on Lakeside Pottery, multiple coats of glaze may be needed to completely fill the sgraffito carvings.
It’s also critical to let the glaze dry fully before firing. As the guide on Diamond Core Tools recommends, allowing the glaze to dry prevents it from running and blurring the sgraffito design during firing. Firing too soon can ruin all the hard work carved into the clay.
Firing the Clay
Proper firing is essential to finishing sgraffito pottery. The type of clay used will determine the ideal firing schedule. For example, low-fire clays like earthenware should be fired to cone 04-06 which is approximately 1890-1920°F. Mid-range clays like stoneware require higher temperatures, typically cone 4-6 which is approximately 2165-2232°F. It’s crucial to follow the manufacturer’s recommended firing schedule based on the specific clay body.
Firing too low can result in the clay not vitrifying properly, while overfiring can cause excess glaze melting. Slow bisque fires are usually done first to harden the clay before applying sgraffito decoration and glazes. The final glaze firing aims to melt the glaze to a glassy finish without deforming the underlying clay body and design. Programmable electric kilns allow setting precisely calibrated firing ramps and soaking times for consistent results. While there is some variation in firing temps, standard stoneware clays are typically fired between cone 6 and 10 which corresponds to temperatures from 2232°F up to 2462°F. Carefully monitoring the kiln during firing and maintaining clean kiln shelves also helps ensure proper heating for quality sgraffito pieces.
Cite: https://www.youtube.com/watch?v=LxWieRQf0mE
Displaying the Finished Piece
After all the hard work creating a sgraffito piece, you’ll want to properly display it while also protecting it from damage. Here are some tips:
Sgraffito has a sandpapery texture so it’s important to handle it gently to avoid breaking off any details. Wear cotton gloves when moving the piece. Mount the sgraffito on a sturdy base or frame it behind glass to prevent accidental bumps and scrapes. Glass will also protect it from moisture and dust.
Choose a mount or frame color that contrasts well with the sgraffito design. Black, white and natural wood frames help the colors pop. Display in an area away from direct sunlight which can cause fading over time. Hang sgraffito pieces at eye level so the details can be appreciated up close.
Seal any unglazed areas of the sgraffito with a clear acrylic spray before displaying to prevent moisture damage over time. Be sure to display the sgraffito somewhere it can be enjoyed often!