How Do You Decorate Air Dry Clay?
Air dry clay, also known as modeling clay, is a type of clay that dries and hardens at room temperature. It typically contains a clay body, binders such as cellulose ether, and fillers like calcium carbonate or lignin. Unlike conventional clays that require firing in a kiln, air dry clay simply hardens as the water evaporates over time when exposed to air. This makes it an accessible and versatile material for arts and crafts, model making, pottery, jewelry, and more. The clay maintains a lightweight, malleable, and workable texture until it dries. Once fully hardened, pieces made from air dry clay can be painted, varnished, antiqued, or decorated as desired. Key characteristics that make it suitable for hand modeling, sculpting, shaping, and molding detailed designs include its soft and pliable texture, smooth surface when dry, ability to carve fine details, and relatively quick drying time.
Sources:
https://2wardspolymerclay.com.au/whats-main-difference-air-dry-clay-and-polymer-clay/
https://www.thesprucecrafts.com/air-dry-clay-2905844
Types of Air Dry Clay
There are several main types of air dry clay that are commonly used for crafting and modeling:
Self-hardening clay – This type of clay dries and hardens at room temperature without baking. Some examples are DAS Air Hardening Clay and Crayola Air Dry Clay. Self-hardening clays are easy to use, don’t require baking, and are readily available at craft stores.
Oven-bake clay – Also called polymer clay, this type of clay requires baking in the oven to fully harden. Oven-bake clays like Sculpey and Fimo allow more time for sculpting details before hardening the finished piece in the oven. They result in a durable, lightweight finished product.
Cellulose-based clays – Clays like Creative Paperclay use cellulose fiber as a binder and can be air dried or baked. They are extremely lightweight and easy to sand and carve.
Homemade clay – Some crafters make their own air dry clay using ingredients like corn starch, glue, and lemon juice. Homemade clays are inexpensive but may be less durable than commercial clays.
Gather Decorating Supplies

Before you start decorating your air dry clay creations, you’ll want to gather some basic supplies. Here are some recommended items to have on hand:
Acrylic paints – Acrylics work great on air dry clay. Go for a starter pack with a range of colors.
Paint brushes – Get a variety of brush sizes and types like flats, rounds, or fan brushes.
Glitter – Buy fine glitter in an assortment of colors for sprinkling accents.
Beads and gems – Look for decorative beads in different shapes, sizes and colors.
Sequins, buttons, ribbons
Embellishments like pom poms, plastic animals
Molds and stencils – These add instant decorative details.
Sealant like Sculpey Gloss Glaze to finish pieces.
Having these supplies on hand will give you many options for decorating your air dry clay creations using simple to advanced techniques.
Simple Painting Techniques
One of the easiest ways to decorate air dry clay is by simply painting it. Before painting clay, it’s recommended to lightly sand the surface with fine sandpaper to remove any imperfections. This will help the paint adhere better.
Acrylic paint is commonly used for painting air dry clay. Using acrylic paint straight from the tube works well for an opaque look. To create a more translucent look, the paint can be diluted with water. Start with a 1:1 paint to water ratio and adjust as needed. Apply in thin layers, allowing each coat to fully dry before adding another layer for the best results.
Sealing the clay prior to painting can help prevent paint absorption where you may not want it. An acrylic sealer like matte or gloss medium can work well as a base coat. Allow the sealer to fully dry per the manufacturer’s instructions before painting. Just be careful not to apply the sealer too heavily or it may obscure finer details in the clay.
Other popular paint choices for clay include tempera and watercolor paints. Because these paints tend to be more translucent, they work best when layered over an acrylic base coat for vibrancy. Metallic acrylic paints can also add nice accents when used sparingly.
Advanced Painting Techniques
While simply painting with a brush is a great way to decorate air dry clay sculptures, there are lots of advanced painting techniques that can add more visual interest. Here are some techniques to try:
Sponging – Sponging involves dabbing paint onto the clay using a sea sponge or cosmetic wedge sponge. This creates a mottled, textured look. Use light layers and build up the color gradually. Sponging works great for creating backgrounds or an aged, antique look.1
Smooshing – Also called smoosh painting, this fun technique involves putting down blobs of acrylic paint and then “smooshing” them around with a brush, palette knife, or even your fingers. Let the colors blend together organically. Smooshing is great for abstract designs.2
Blending – You can blend acrylic paint while it’s still wet to softly transition between colors. Use a damp brush to blur the edges where two paint colors meet. Blending works nicely for gradients or color fades.
Antiquing – This method involves painting over dried acrylic paint with a dark shade (black or burnt umber work well), then wiping off the top layer while it’s still wet so just some dark pigment remains in the crevices. Antiquing is great for giving sculptures an aged, timeworn look.
Get creative and let the clay be your canvas for all kinds of painting techniques. Just remember to seal properly when done.
Adding Texture
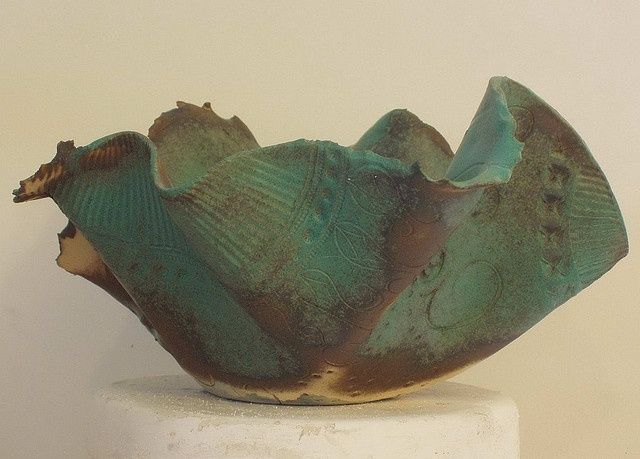
Adding texture to air dry clay can create interesting visual and tactile effects. One simple technique is to press objects into the surface of the clay to leave imprints. Items like coins, buttons, rubber stamps, or embossed rolling pins can be used (1). Another option is to roll the clay with a textured roller, available in different patterns like diamonds, waves, etc. This will imprint the design into the clay surface (2). You can also build up texture by layering coils or thin ropes of clay on top of each other. Allow each layer to dry slightly before adding the next. This technique works well for organic shapes like bowls or abstract sculptures (2). The layered clay coils will create a striated, multi-dimensional effect. Remember to seal any textured clay pieces with varnish or glaze once fully dry, as the grooves provide more surface area for paint to chip.
Sources:
(1) https://www.montmarte.com/blogs/tips-techniques/air-dry-clay-techniques
(2) https://www.montmarte.com/blogs/tips-techniques/air-dry-clay-techniques
Applying Glitter
Glitter can add a fun, sparkly element to your air dry clay projects. When applying glitter, it’s important to get an even coverage across the surface. Here are some tips for applying glitter successfully:
Choose the right glue – Use a tacky glue like Mod Podge or a dedicated glitter glue when applying glitter to air dry clay. The thicker consistency helps the glitter adhere properly. Avoid super thin glues that will just soak into the clay.
Apply glitter generously – It’s better to use more glitter than you need versus too little. Layer it on thickly and evenly across the surface. Gently press the glitter down into the clay as you go to help it stick.
Consider mixing glitters – Mixing a few colors and types of glitter can create depth and visual interest. Just pour the glitters together and mix before applying to the clay.
Work in sections – Do one section at a time when adding glitter, especially for larger projects. This helps control the mess and ensures sections get fully covered.
Seal when finished – Once the glitter is applied, seal the project with a finish like Mod Podge or varnish. This locks the glitter in place. Be sure to do this when the clay is fully cured.
Following these glitter application tips will help you get great coverage and make your air dry clay projects shine!
Citing https://www.projectswithkids.com/glitter-snowflake-ornaments/
Embellishing with Beads
Adding beads is a fun way to decorate and embellish air dry clay projects. There are several techniques you can use:
Press beads into the surface while the clay is still soft. Gently push the beads in so they are partially embedded. Let the clay fully cure before handling further. As noted in this tutorial on making air dry clay beads, you can press beads of various sizes and colors into the surface to create patterns and designs.
Glue beads onto the surface after painting. Using a strong craft glue or E6000, arrange beads into designs and allow to fully dry. You can create simple shapes or letters by gluing beads close together. This video shows how to glue beads and charms to an air dry clay frame for a shabby chic look.
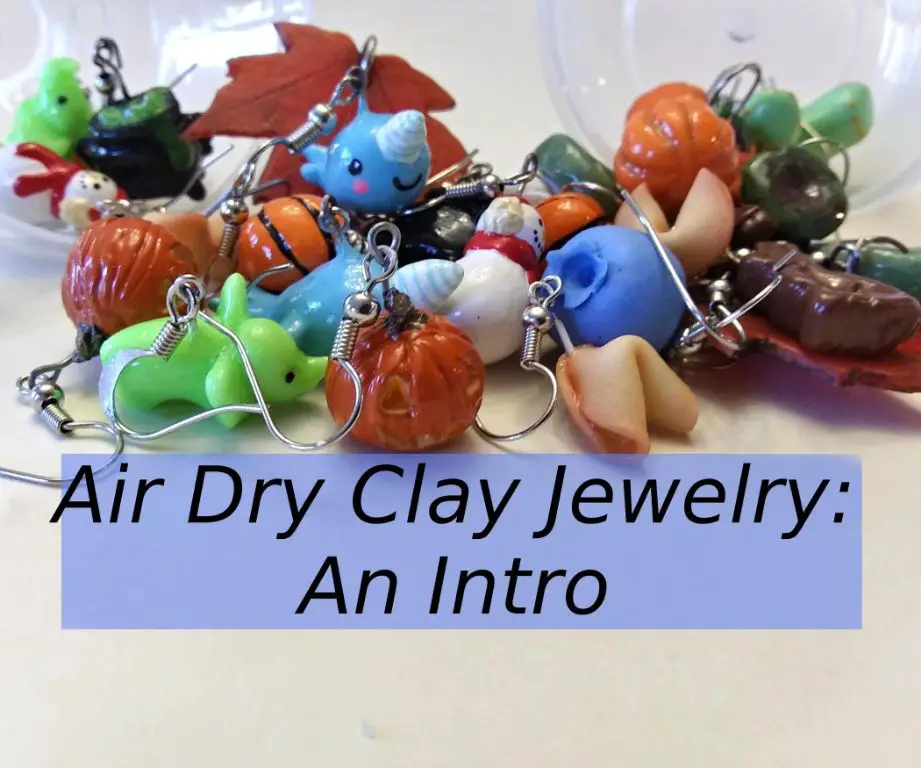
String beads to make jewelry or ornaments. Drill holes in cured clay pieces, then string beads, jump rings, headpins, etc to create necklaces, bracelets, keychains, and more. Let your imagination run wild with all the possibilities!
Using Molds and Stencils
Molds and stencils are great tools for easily adding shapes, patterns, and textures to air dry clay projects. Molds allow you to press clay into a 3D shape like an animal, geometric shape, or ornament. Stencils can be used to imprint designs like flowers, letters, or shapes into a flat clay surface. Both molds and stencils take the guesswork out of sculpting intricate details.
Some benefits of using molds and stencils include:
- Consistency – Molds make it easy to recreate the same shape over and over.
- Time savings – Simply pressing clay into a mold is faster than hand sculpting.
- Clean imprints – Stencils create crisp, defined patterns in the clay’s surface.
- Intricate details – Molds and stencils offer tiny details that would be difficult to sculpt by hand.
- Variety – There are many affordable mold and stencil options to explore different shapes.
Molds and stencils open up exciting possibilities for both simple and advanced clay projects. They are great for beginners and children who want to create detailed works of art. Even experienced clay artists rely on molds and stencils for consistency and timesavings in their work. To add unique touches, you can press clay into a mold, then paint or embellish it further. The options are endless with the right molds and stencils!
Finishing and Sealing
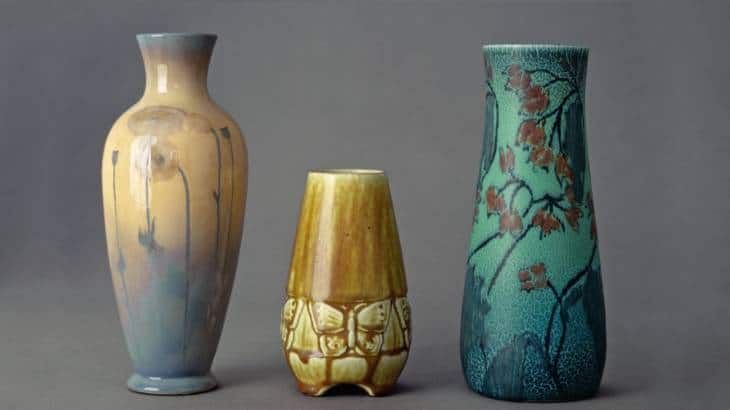
One of the final steps when decorating air dry clay is to apply a sealer to protect the finished piece. Air dry clay is porous, so sealing it will help make it water-resistant and more durable for years of enjoyment. There are two main options for sealing air dry clay:
- Polyurethane varnish – This provides a thick, glossy coat that fully seals the clay. Multiple thin coats are recommended, allowing each coat to fully dry in between. Polyurethane is available in gloss, satin, and matte finishes.
- Acrylic sealer – Acrylic sealers specially formulated for crafts can provide a protective finish for clay. Multiple thin coats are recommended. Acrylic sealers come in gloss, satin, and matte versions.
Before sealing, you may want to lightly sand any rough areas on the clay to smooth them out. Make sure to wipe away any dust after sanding. Work in a well-ventilated area when applying sealers and allow the finished piece to fully cure before use. Sealing the clay will help keep it looking beautiful for many years while protecting it from moisture damage.


