How Do You Harden Clay That Doesn’T Dry?
There are two main types of modeling clay – air-dry clay and baking clay. Air-dry clay, as the name suggests, hardens and dries when exposed to air over time. Baking clay, on the other hand, needs to be baked or cured in an oven to harden it. Baking clay like polymer clay stays malleable and soft until it goes through the baking process.
Clay that doesn’t harden properly can be frustrating to work with. Air-dry clay may remain soft and fragile long after the estimated drying time. Baking clays may bake unevenly or stay sticky. There are several techniques you can try to help harden both air-dry and baking clays.
This guide will provide solutions to harden clay that refuses to fully cure. We’ll explore adjusting moisture levels, using clay hardeners and sealants, baking methods, as well as troubleshooting tips. With some tweaking and experimenting, you can turn soft clay into a hardened sculpture or decorative object.
Moisture Content
The amount of moisture in clay directly impacts its ability to harden and dry properly. Clay absorbs moisture from the environment, so storing it in humid conditions will prevent the clay from drying out fully. Too much moisture leaves excess water in the clay that has nowhere to evaporate.
Ideally, clay should have a moisture content between 8-12%. Testing kits are available to measure moisture levels accurately. Anything above 15% will prevent clay from properly hardening and drying.
To achieve proper moisture content, it helps to store clay sealed in an airtight container away from excess humidity. Carefully monitoring moisture levels allows clay to be conditioned and normalized before use.
Storing the Clay
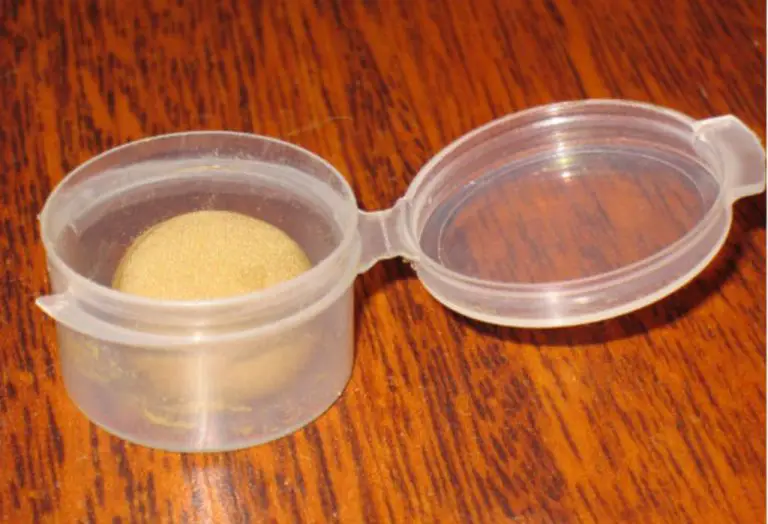
Proper storage is crucial for preventing your clay from absorbing excess moisture and becoming sticky or soft. When not in use, store your clay in airtight containers to prevent moisture absorption. Plastic containers or bags with an airtight seal work best. Remove as much air as possible before sealing the container. You can also store clay in the refrigerator or freezer inside an airtight container to further reduce moisture absorption.
Try to avoid storing clay in places with high humidity or frequent temperature fluctuations, as this can impact moisture levels. If storing clay in a basement or shed, use climate control like air conditioning or a dehumidifier when possible. The ideal storage temperature is around 70°F. Storing clay in a consistently cool, dry environment will keep it in optimal condition.
Sealing clay tightly and controlling storage conditions prevents excess moisture absorption so your clay maintains its firmness and doesn’t become sticky, stiff, or difficult to harden.
Conditioning the Clay
Before using clay, it’s important to properly knead and condition it. This process removes any excess moisture and makes the clay easier to work with.
Start by taking a chunk of clay and kneading it vigorously with your hands. Press down hard as you work the clay, squishing it between your palms and fingers. This motion pushes out any water or air bubbles trapped inside.
As you knead, the clay will become softer, smoother, and more pliable. If it starts to feel sticky, dust your hands lightly with cornstarch or baking powder so the clay doesn’t cling to your skin.
Continue kneading for at least 5-10 minutes. The clay is ready when it reaches an even, smooth consistency with no cracks or dry spots. Well-conditioned clay should be soft but not tacky, and easy to shape without sticking or tearing.
Properly conditioning your clay makes a big difference in your finished pieces. Taking the time upfront prevents cracking, breakage, and other issues later on.
Using a Clay Hardener
Clay hardeners are products designed to help cure polymer clays, improving their durability and allowing them to harden and become less sticky. Some popular brands of clay hardeners include Sculpey, Fimo, Premo, and Kato Polyclay. They typically contain ingredients like talc, kaolin, and bentonite which absorb moisture from the clay.
Using a hardener is quite simple. Just add a small amount, about 1 part hardener to 10 parts clay, and knead it thoroughly into the clay until well incorporated. Only a small amount is needed. Too much can make the clay brittle. Apply the hardener sparingly and add more as needed. The clay should feel less tacky after a few minutes of kneading.
Clay hardeners are best used in small amounts on areas that will be thinly rolled or shaped. For example, adding some to the clay before making patterned canes can help hold thin shapes without distortion. Hardeners can also help when making delicate clay flowers, thin sheets of clay, or small detailed areas.
Be sure to thoroughly knead the hardener into the clay so it distributes evenly. Test a small baked sample piece first, before using it on a full project. Clay hardeners provide an easy way to cure polymer clay more firmly without additional baking time.
Baking the Clay
Baking is one of the most effective ways to permanently harden polymer clay. The baking process causes a chemical reaction that cures and hardens the clay. When done properly, baking makes the clay strong, durable, and water-resistant.
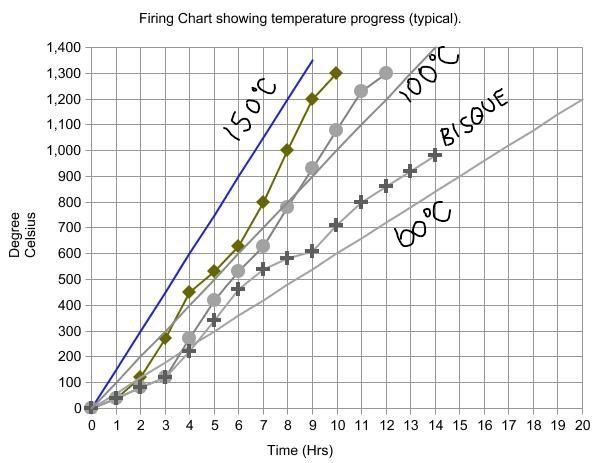
The ideal baking temperature for polymer clay is generally between 275°F and 300°F. Preheat your oven fully before baking. The baking time will depend on the thickness and amount of clay, but typically ranges from 15 minutes to 1 hour. Check the clay packaging for specific time and temp recommendations.
It’s important not to overbake polymer clay. Baking for too long or at too high of a temperature can cause scorching, discoloration, or brittleness. Start with the minimum recommended time and check the clay regularly as it bakes. The clay should be firm throughout but not browned or burned on the edges when fully cured.
The benefits of proper baking include:
- Cures the clay fully so it doesn’t remain sticky or soft
- Makes the clay very durable and long-lasting
- Seals and protects the clay from moisture
- Locks in the colors and prevents fading or bleeding
Overall, baking is usually necessary to complete and finish polymer clay pieces. With the right baking time and temperature, you can achieve strong, hardened clay with lasting brilliance.
Using Acrylics
Acrylic sealants and varnishes are a great option for hardening clay that doesn’t dry. Acrylics cure to a hard, durable finish that will protect the clay from moisture and help harden the surface.
When applying acrylics, it’s best to use water-based acrylic polymer varnishes and sealers. Some good brands to look for are Golden, Liquitex, and Craft Smart. Avoid using oil-based acrylics as they may interact poorly with the clay.
Make sure to apply the acrylic in multiple thin layers, allowing each coat to fully dry in between applications. 2-3 thin coats is usually sufficient. Apply using a soft brush or cloth. Ensure the acrylic fully penetrates any crevices and seals the entire surface.
One tip is to dilute the first 1-2 layers with water, around 30%, so it fully penetrates the clay. Follow with an undiluted final coat for maximum protection. This helps harden and seal the clay evenly.
Acrylic mediums can also be used. Matte or gloss mediums help control the finish. Additives like acrylic retarder help keep the acrylic wet longer, allowing it to soak into the clay. Things like acrylic glazes can provide color while also sealing.
Properly applied acrylics will help harden clay surfaces and protect finished pieces. Just remember to work in thin layers, allowing proper drying between coats, and fully sealing the entire surface for the best results.
Using Epoxy Resin
When it comes to hardening soft clay, epoxy resin is an excellent option to consider. Epoxy resin is a two-part product that consists of an epoxy resin and a polyamine hardener that must be mixed together in order to activate. When mixed, the epoxy resin undergoes a chemical reaction that causes it to harden into a durable, plastic-like coating.
There are several benefits to using epoxy resin to harden soft clay:
- Creates an extremely hard, durable surface – Epoxy resin forms a protective coating that is much harder than the original clay.
- Waterproof – The resin seals and protects the clay from moisture.
- Enhances details – The liquid resin allows it to capture intricate details before hardening.
- Widely available – Epoxy resin can be found at most hardware stores and art supply shops.
- Versatile – Can be colored with pigments for creative effects.
Popular brand recommendations for epoxy resin include EasyCast, ArtResin, and TotalBoat. Be sure to choose a brand formulated for art applications.
To apply epoxy resin to soft clay:
- Make sure the clay is clean and free of moisture. Bake clay at 200°F for 1 hour to remove moisture if needed.
- Mix resin and hardener according to package directions. Mix thoroughly for 3-5 minutes.
- Apply resin with a disposable brush or pipette, coating all surfaces of the clay.
- Allow to cure fully, usually 24-48 hours. Curing times vary by brand.
- Lightly sand any rough areas once hardened. Can apply another coat of resin if desired.
Epoxy resin provides a glass-like finish that permanently hardens soft polymer clay. Just be sure to work in a well-ventilated area and take precautions to avoid skin contact when applying.
Troubleshooting Tips
If you find your clay is not hardening properly even after taking the steps outlined above, here are some troubleshooting tips:
-
Make sure the clay is thoroughly mixed – improperly mixed clay can have pockets that don’t harden fully.
-
Check that there is no trapped moisture or steam inside the clay by cutting open a test piece after baking/drying.
-
For oven-baked clay, extend the baking time and ensure the oven temperature is correct.
-
Allow acrylic/epoxy coated pieces to fully cure as per manufacturer instructions before handling.
-
If the clay is too dry, try reconditioning it by soaking in water for up to 24 hours to reabsorb moisture.
-
Knead some clay softener into the rehydrated clay until it reaches the desired consistency.
-
Avoid overworking the clay when reconditioning it as this can introduce air bubbles.
With some care and testing, improperly hardened clay can usually be salvaged. Just be patient and persistent in troubleshooting the issues.
Conclusion
There are several effective techniques for hardening clay that does not fully dry on its own. Proper storage and conditioning of the clay is key. Keeping it sealed in an airtight container prevents moisture loss. Lightly misting and kneading periodically returns moisture evenly throughout. Using commercial hardeners or sealants is ideal for permanently hardening clay figures or projects. These create a protective finish without the need for baking or heat. Finally, baking the clay between 226-315°F will ultimately fully cure and harden it by evaporating the moisture, though this may cause some shrinkage and is not suitable for all types of clay.
By understanding these various hardening techniques, you can work successfully with polymer and air-dry clays that never fully cure. Proper conditioning and storage will keep the clay malleable. Applying acrylics, epoxy resin or a clay hardener solution will allow your clay artwork to become solid and durable. With some basic knowledge, non-drying clays can be an easy modeling material for successful and lasting projects.

