How Do You Harden Water Based Clay Sculptures?
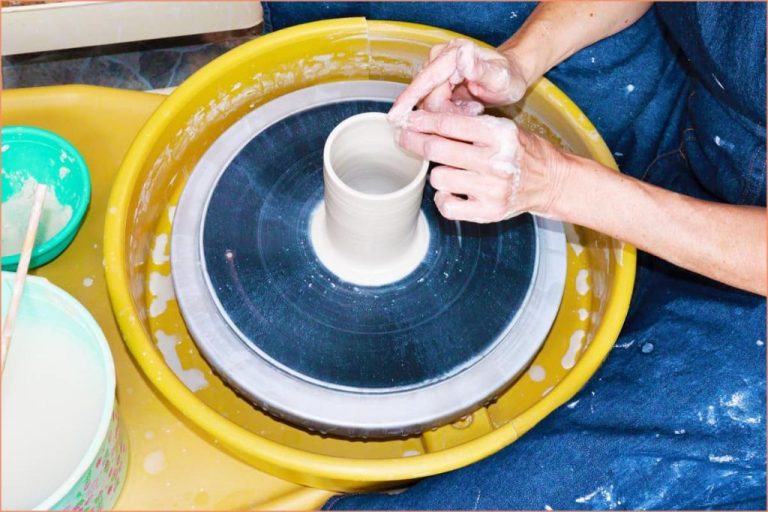
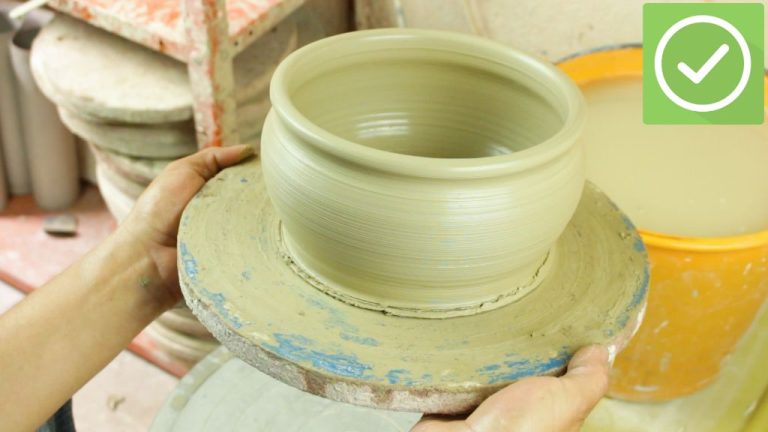
Water based clays, also known as polymer clays or self-hardening clays, are popular modeling materials made primarily from PVC, resin, and plasticizers. When water is added, they become malleable and can be shaped into sculptures. However, the sculptures remain soft and fragile until they are hardened.
Hardening is an essential final step for water based clay sculptures. It firms up the clay by bonding the particles and driving out excess moisture. This helps the sculpture maintain its shape without sagging or deforming over time. It also makes the surface durable and able to withstand handling and display. Without properly hardening, a water based clay sculpture would slowly disintegrate.
There are several techniques sculptors use to harden water based clays. The main methods include oven baking, air drying, applying sealants, and exposure to low consistent heat. Each has its own advantages and disadvantages. This overview will discuss the various options to harden water based clay sculptures for different needs and situations.
Drying
Once your sculpture is formed, it needs time to dry thoroughly before proceeding to finishing steps like sanding or painting. Letting air dry clays cure is one of the easiest but most time consuming parts of the process.
After sculpting, allow adequate airflow around the piece by placing it on a wire rack or dry surface. Using fans or dehumidifiers can speed up drying time. Rotate the sculpture periodically to ensure even drying. Keep it away from direct sunlight which may cause cracking.
Expect air dry clays to take 24-48 hours to dry fully. Denser areas like thick chunks will take longer. Avoid touching until completely hardened. Patience is key during the drying phase to prevent deforming the sculpture before it sets.
Oven Drying
One of the most effective ways to harden water-based clay sculptures is by using low oven temperatures to slowly dry out any moisture. This allows the water to evaporate from the clay gradually rather than too quickly, which can cause cracking or damage.
For best results, preheat your oven to 200°F or less. The temperature needed will depend on the size and thickness of your sculpture – smaller pieces may only need 150°F while larger or thicker items can go up to 200°F. Place your sculpture on a baking sheet or oven-safe dish and bake for 1-3 hours. Check it every 30 minutes or so.
As the sculpture bakes, carefully monitor it for any cracking or flaws developing on the surface. If you see cracks starting to form, turn the oven temperature down by 25°F to slow the drying process. It’s essential to dry the clay slowly to prevent damage. Keep baking until the sculpture has hardened completely.
Let the sculpture cool fully before handling. Oven drying ensures even heating on all sides for optimal hardening throughout the entire sculpture.
Air Dry Clays
One of the easiest ways to harden water-based clay sculptures is to use clays that are formulated to dry hard at room temperature without baking. These are called air-dry clays. The most common types are clay polymer blends made with polyvinyl acetate (PVA) or cellulose ether.
Air-dry clays harden through evaporation as the water content is released into the air over time. The time required depends on factors like the thickness of the sculpture, clay composition, and environmental conditions. In general, expect 1/4 to 1/2 inch sections to dry in 24-48 hours.
To get the best results when working with air-dry clays:
- Store unused clay in an airtight container to prevent premature drying.
- Knead the clay to restore elasticity if it starts to stiffen from exposure to air.
- Work in sections to allow thicker pieces to dry thoroughly.
- Allow the sculpture to air-dry fully before painting or VARNISHing to prevent cracking.
Popular air-dry clay brands include Crayola Model Magic, ACTIVA Air-Dry Clay, and Makins Clay. Each has slightly different properties in terms of texture, drying time, durability, color options, and more.
Sealants
Applying a sealant is essential for hardening and protecting clay sculptures. Sealants work by creating a protective barrier around the clay that prevents moisture loss and structural damage. Popular sealants for clay sculptures include:
- Varnish – Polyurethane, acrylic, and shellac varnishes can be brushed or sprayed on. Multiple thin coats are recommended.
- Epoxy resin – Applied after drying and cures into a glass-like finish. Provides high durability.
- Mod podge – A budget-friendly decoupage glue that dries clear and hard.
- Finishing wax – Enhances shine and minimizes fingerprints.
When applying sealants:
- Work in a well-ventilated area and wear gloves/mask as needed.
- Ensure the clay sculpture is fully dry first.
- Apply in thin, even coats and let fully dry between applications.
- Spray sealants should be applied from a distance of 8-10 inches.
- Brush sealants gently to avoid leaving streaks.
- 2-3 coats are usually sufficient for good protection.
Sealing clay sculptures is vital for hardening, durability, and aesthetic appeal. Taking the time to properly apply a protective sealant will keep your clay artwork preserved for years to come.
Applying Low Heat
There are a couple ways to gently warm up clay sculptures to accelerate drying without cracking them. One option is to use a hair dryer on a low heat, high airflow setting. Keep the dryer 6-12 inches from the sculpture and continuously move it around to evenly heat the entire surface. Avoid holding it in one spot for too long. Heat guns are another tool that can be used similarly, again avoiding holding it too close or intensely heating one area. The key is to go slowly and evenly. Too much concentrated heat can cause moisture to evaporate from the outer layer faster than the interior, resulting in cracks or fissures.
When using low heat techniques, monitor the sculpture closely and stop if you see any cracks forming. It may be necessary to do multiple short sessions of applying heat over hours or days to fully dry the piece. Don’t rush the process. Small pieces or those with thin protruding parts will need extra care. Applying heat should only be done to accelerate drying, not to fully harden sculptures. Those will still need final sealing or baking steps.
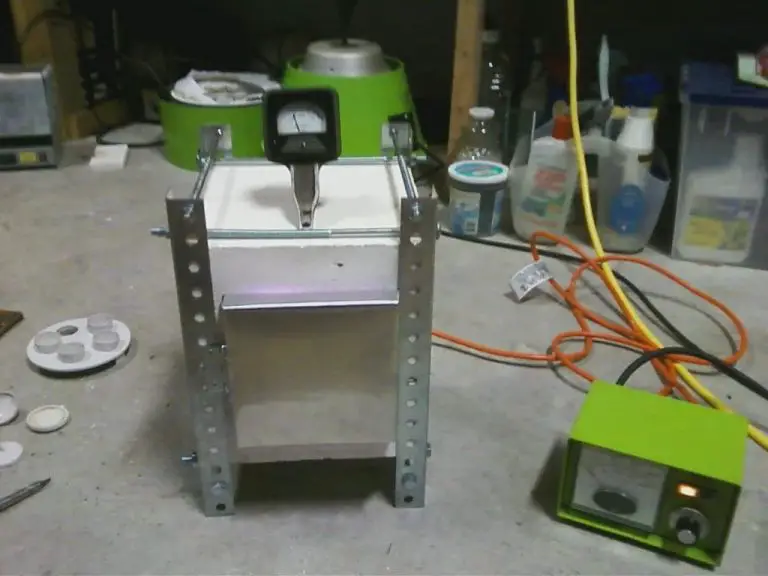
Baking
Fully hardening a water-based clay sculpture requires baking it at high temperatures in a kiln. When baking, it’s important to slowly bring the temperature up to avoid cracking or exploding the sculpture. Most clays should be baked to between 1900-2200°F in order to vitrify and become non-porous. However, make sure to follow the recommended baking instructions for your specific clay.
Before baking, clay sculptures are often coated with a glaze. Glazes help protect the clay and can add color or textures. There are many types of glazes to experiment with, just be sure the glaze you select matches the appropriate firing temperature of your clay. Typically, glazes need to reach at least 1500°F to properly melt and fuse with the clay body.
When operating a kiln, safety is paramount. Always wear protective gear and ensure proper ventilation. Program the kiln carefully, bringing up the temperature gradually. Never open the kiln while hot and allow sufficient cooling before removing finished pieces. Locate kilns away from flammable materials and on a stable, level surface. With care and patience, you can safely achieve beautiful, fully hardened sculptures.
Freezing
Freezing is an effective technique for hardening water-based clay sculptures. When water based clay is frozen, the water within the clay expands as it turns to ice. This causes the clay particles to be pushed closer together, resulting in a denser and harder material once thawed.
To properly freeze clay sculptures:
- Make sure the sculpture is thoroughly dry before freezing. Any moisture left inside can cause cracking.
- Wrap the piece carefully in plastic wrap, squeezing out any air pockets. The wrap helps prevent surface ice crystals forming.
- Place the wrapped sculpture in a freezer set at -4°F or below. Leave for at least 24 hours to ensure the clay is completely frozen.
- Remove the frozen sculpture and unwrap it. Allow to fully thaw and come to room temperature before handling.
- The sculpture should retain its shape and have a hardened surface after thawing. Allow the interior to finish drying if any moisture remains inside.
With proper freezing and thawing technique, water based clay sculptures will stabilize and become hard, while still retaining their detail and strength. Take care in handling freshly thawed pieces until completely dry.
Troubleshooting
Even when taking proper precautions, sculptures made from water based clays can develop issues like cracking, dampness, or dried out sections. Here are some tips for troubleshooting common problems:
Avoiding and Fixing Cracking/Breakage
As clay dries, it shrinks and can crack if the moisture leaves too quickly. Allow sculptures to dry slowly to prevent cracks. If small cracks appear, mix a clay slip and apply it to the cracked areas to fill them in. For larger cracks or breakage, consider drilling small holes on either side of the crack and using wire or bamboo skewers to “stitch” the pieces back together.
Dealing with Dampness and Soft Spots
If sections of the sculpture feel cool and damp to the touch long after drying, the moisture was likely trapped inside. Carefully use a hair dryer on a low setting to gently warm the damp areas and evaporate any excess moisture. Go slowly to prevent new cracks from forming.
Reviving Dried Out Clays
If properly sealed sculptures become dried out, brittle or powdery over time, revival is possible. Lightly mist the outer surface with water using a spray bottle. Then place the sculpture in an airtight plastic bag or container for 24-48 hours. This allows moisture to permeate back into the clay slowly and evenly. Check regularly and stop when the sculpture feels pliable again.
Final Touches
After your water-based clay sculpture has completely hardened, there are some final touches you can add to give it a polished, professional look:
Sanding
Use increasingly finer grit sandpaper to smooth out any rough patches or uneven surfaces on your sculpture. Start with a low grit like 120 or 220, then work up to 400, 600, 800 and above. Be sure to wipe away clay dust between sanding sessions. Sanding will prep the surface for painting.
Painting
Acrylic paints work well for painting hardened clay. Make sure to use acrylic primer first for good adhesion. Apply paint in thin layers, letting each coat dry fully before adding another. Use an art brush or foam brush to avoid leaving brush strokes.
Polishing
For an ultra smooth finish, use a polishing compound intended for clay or plastic. Apply the polish with a soft cloth and rub gently until the sculpture has a uniform glossy shine.
Clear Coating
Seal your finished sculpture with a clear acrylic spray sealant. This will protect the paint and give the piece a glossy look. Apply 2-3 thin mist coats, allowing each coat to fully dry. Avoid over-saturation.
Display
Display your completed sculpture on a decorative base or stand. Make sure it is not in direct sunlight, which can cause fading over time. Consider using a glass display case or bell jar for extra protection. Handle the piece gently to avoid chipping the paint. With proper care, a hardened clay sculpture will last for many years.