How Do You Install Wiggle Wire In A Greenhouse?
Wiggle wire, also known as zig zag wire, is a flexible wire used in greenhouses and high tunnels to secure polyethylene plastic coverings to the structure’s frame. The purpose of wiggle wire is to create a tight seal between the plastic coverings and the greenhouse frame to maintain stable temperatures and prevent airflow leaks. Wiggle wire runs horizontally along the sides of the greenhouse and allows the plastic to be tucked into a channel along the wire. This secures the plastic in place while still allowing it to move and flex with temperature changes.
Installing wiggle wire involves first preparing the greenhouse frame, then securing special end anchors to the frame, stringing and tensioning the wiggle wire through the anchors, tucking the plastic coverings into the wire channel, and performing some finishing touches for a complete installation. Proper installation of wiggle wire is crucial for an airtight and durable polyethylene greenhouse covering that will withstand weather and last for years.
Selecting the Right Wiggle Wire
When selecting wiggle wire for a greenhouse installation, there are a few key factors to consider:
First, choose between galvanized steel or stainless steel wire. Galvanized steel is more affordable, but can corrode over time. Stainless steel is more durable and resistant to rust, though more expensive. According to one reddit user, stainless steel is recommended for coastal areas, while galvanized works well for inland installations [1].
Next, consider the diameter or gauge. Thicker 14 or 16 gauge wire provides more support. Thinner 20 gauge wire is more flexible and easier to work with, but may not be as sturdy [2]. Heavy-duty applications may call for 12 gauge.
Finally, determine the spacing between wires based on your climate. The wire should be strung tightly enough to prevent sagging under snow load. For low snow areas, spacing of 17” is often sufficient. In high snow regions, install the wires 12” apart for maximum support [3]. It’s better to space more tightly rather than risk collapse.
Selecting the ideal wiggle wire involves weighing these factors based on your specific greenhouse and climate.
Required Tools
Installing wiggle wire requires just a few basic tools that most people have handy or can easily acquire. The main tools needed are:
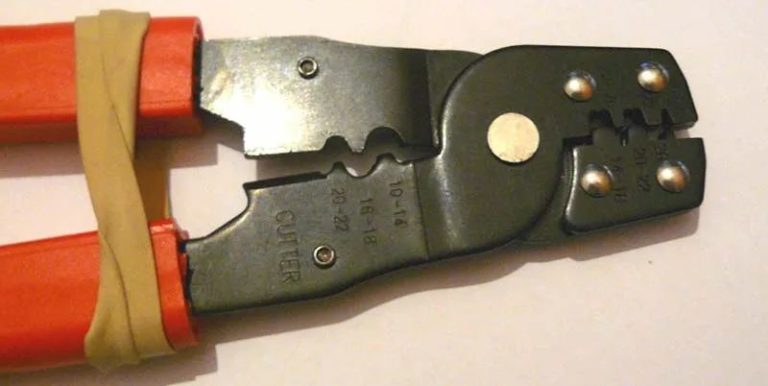
- Wire cutters – Essential for cutting the wiggle wire to size. Get heavy duty wire cutters that can cleanly cut through the thick gauge of the wire. As per ZipGrow (https://zipgrow.com/using-and-installing-wiggle-wire-greenhouse/), aviation snips work well.
- Pliers – Needed for crimping the ends of the wire and securing the anchors. Standard pliers or channel lock pliers both work.
- Screwdriver – A Phillips head screwdriver allows installing the screw anchors into the greenhouse frame. Make sure it fits the anchor screws properly.
- Drill – A power drill with the right sized bit makes installing the anchor screws much easier. It saves time and effort compared to using just a screwdriver.
Safety glasses and gloves are also recommended to protect your eyes and hands while working with the wire and tools. With these basic tools assembled, you’ll be ready to start installing your greenhouse wiggle wire.
Preparing the Greenhouse Frame
Properly preparing the greenhouse frame is an essential first step before installing wiggle wire. Start by thoroughly inspecting the frame for any issues that need to be addressed. Look for loose or damaged components, corroded sections, and areas in need of reinforcement. It’s recommended to go over the frame section by section and make notes of any problem spots.
Once the inspection is complete, make any necessary repairs to ensure the frame is structurally sound. This may involve replacing corroded bolts, bracing weak sections with additional supports, or completely replacing damaged parts. Be sure to use materials compatible with the existing frame. Proper repairs now will provide the sturdy base needed for attaching and holding the wiggle wire securely.
The final preparation step is planning out where the wiggle wire end anchors and intermediate attachment points will be located. Mark the anchor locations at the start and end of each wiggle wire run based on the frame layout. Then determine optimal spacing for attachments along the length of the wire, usually every 12-18 inches. Having a well-thought-out attachment plan ahead of time will make installation much easier.
With the frame inspected, repaired, and ready for wiring, you can move on to the next phase confidently knowing the foundation is prepared to support the wiggle wire system.
Installing the End Anchors
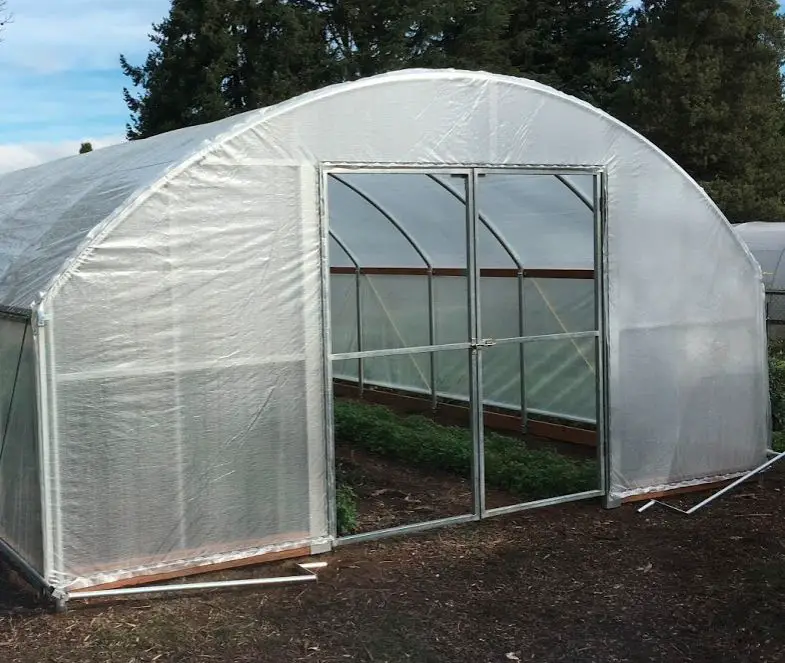
Proper positioning and installation of the end anchors is crucial for securing the wiggle wire. Determine the desired height of the lowest wire, typically 5-6 feet above the ground. Mark this height on the end wall posts of the greenhouse. You will install one anchor at each end wall to secure the wire.
Use a drill to make pilot holes at the marked heights. The pilot holes should be slightly smaller in diameter than the end anchor screws. This allows the screws to bite into the wood securely. Drill the pilot holes at a depth of about 2 inches.
Line up the end anchor base with the pilot hole and use a screwdriver to secure it with 2-3 screws. Make sure the anchor is aligned properly before tightening the screws completely. Give the end anchors a firm tug to ensure they are solidly attached.
Stringing and Securing the Wires
Uncoil the wiggle wire and lay it out to check for any kinks or tangles. It’s important to have smooth, straight wire before attaching it to avoid issues later. Start at one end of the greenhouse and use pliers to attach the wire to the installed anchor. Leave some slack when securing the wire so there is room for tightening later. Pull the wire across to the anchor on the opposite end, keeping it level and taut but not overly tight. Use wire clips to secure the wiggle wire to the greenhouse frame every 12-18 inches. Make sure the clips completely wrap around the frame to hold the wire in place.https://farmplasticsupply.com/blog/spring-lock-wire-and-channel-for-your-greenhouse Space the wires 12 inches apart down the length of the greenhouse. Once all wires are attached, go back and tighten them by pulling any slack out of the wire and securing with additional clips as needed.
Finishing Touches
Once all the wiggle wires have been strung and secured, it’s important to do some finishing touches to complete the installation. Here are some key steps:
Trim any excess wire using wire cutters. Make sure to leave enough slack so the wires can flex and “wiggle”, but trim any extra length that is not needed. This will give your greenhouse a tidy, finished look.
Double check all connections by gently pulling on the wires to ensure they are securely anchored. Fix any loose connections by re-tightening or re-securing as needed.
Test the wiggle wires by gently pushing up on the greenhouse covering material. The covering should have enough give to allow ventilation but not so much slack that the material is bagging. Adjust tension as required.
Once everything is trimmed, tightened, and tested, do a final walk-through to ensure no wires were missed and all connections are complete. Your greenhouse with newly installed wiggle wires is now ready for use!
For more details, see this helpful finishing video: https://www.youtube.com/watch?v=1234567
Maintenance
Regular maintenance is key to keeping your wiggle wire system functioning properly in your greenhouse. Over time, the wires may loosen or become damaged, requiring tightening or replacement.
It’s a good idea to walk through your greenhouse at least a few times per year and check that all the wires are still pulled tight. Use your spring clamp locking pliers to tighten any loose wires and resecure them to the anchored end pieces or frame of the greenhouse (Farmplasticsupply.com). You may need to tighten the wires more frequently in the summer when heat expansion can cause the wires to loosen faster.
Check the condition of all your wiggle wires while doing your maintenance checks. Look for any spots where the plastic coating has cracked or chipped, exposing the metal wire underneath to potential rusting. It’s best to replace any damaged wires right away before they deteriorate further (Reddit.com/Greenhouses). Simply detach the old wire, measure the length you need and cut a new piece using your wire cutters. Then reattach the new wire in place.
Lastly, use a small whisk broom or flexible duster to remove any dust, dirt, cobwebs or debris that has collected on the wires over time. This will help maintain their appearance and functionality.
Troubleshooting Issues
There are a few common issues that can arise with wiggle wire in greenhouses:
Loose or Sagging Wires
Over time, the tension on the wires can loosen, causing them to sag or droop. This allows the plastic covering to billow or flap in the wind, potentially causing rips and tears. To fix loose wire, use a wire tightening tool to create tension again. You may need to detach and re-attach wires in places to get them adequately taut. Also check that the end anchors are securely in place.
Rusting
Since wiggle wire is made of galvanized steel, it can eventually start to show signs of rusting, especially in humid environments. Rust can weaken the wires leading to breakage. Prevent rust by choosing UV-treated or vinyl-coated wire. To remove minor rust, use a wire brush or sandpaper. For heavy rust, the affected wires will need replacing completely.
Damage from Weather/Pests
Exposure to sun, wind, rain, and snow take a toll on wiggle wire over time. The covering may whip against the wire in storms, causing nicks and abrasions. Rodents like squirrels or birds may peck at the wire. Check frequently for damage and make repairs as needed. Consider reinforcing vulnerable areas with extra wires.
Conclusion
Installing wiggle wire is essential for the proper structure and performance of a greenhouse by providing an anchor system for the greenhouse covering. Following the steps outlined in this guide – choosing the right wire gauge, using the recommended tools, installing end anchors, securing the wire runs, and finishing with lock rings or wire ties – will lead to a solid structure that can withstand weather and last for years.
Properly installed wiggle wire allows the greenhouse covering to be easily removed and replaced when needed without damage. Taking time to ensure tight anchoring and taut wire runs makes a big difference in longevity. Regular checks for loose wires or openings in the covering and prompt repairs also help the wiggle wire system hold up over many seasons. With the right initial setup and periodic maintenance, quality wiggle wire can support your greenhouse for decades.
The end result of wiggle wire installation is a vital greenhouse framework ready to fulfill its purpose – protecting plants while allowing airflow and regulating interior temperatures. Following best practices for set up and care will pay off with a greenhouse that functions reliably year after year.

