How Do You Know When Air Dry Clay Is Fully Dry?
Air dry clay is a modeling material made from clay that hardens naturally through evaporation without the need to be fired in a kiln. The air drying process allows the water in the clay to evaporate, causing the clay particles to bind together resulting in hardness. Knowing when air dry clay is fully dry is important for several reasons:
If clay is not fully dry before decorating or painting, it can lead to cracks, crumbling, or pieces breaking off. Letting clay dry thoroughly ensures it is solid and stable for any additional steps like sanding, painting, or sealing. Air dry clay also takes longer to harden if sealed or painted too soon. Checking dryness first prevents wasting time and effort. Knowing drying times enables proper planning for crafts and projects. Rushing the drying risks ruining a creation, so verifying dryness is a key step for success.
This guide will cover multiple techniques and tests for identifying when air dry clay reaches its hardened fully dry state.
Visual Inspections
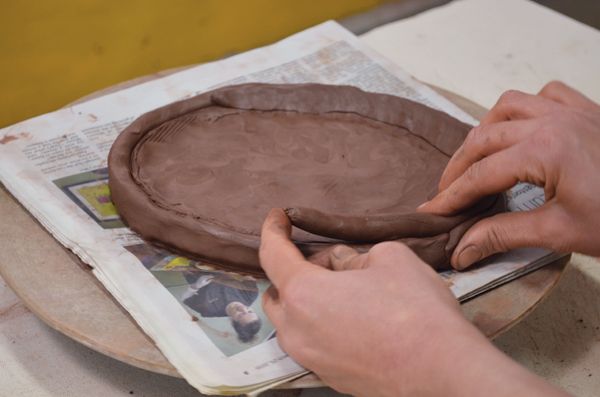
One of the easiest ways to check if air dry clay is fully dry is by looking for visual cues. As clay dries, it will lighten in color and take on a more matte, chalky appearance compared to the darker and shinier wet clay. Check the clay thoroughly, looking in the crevices and undersides for any remaining darker patches which indicate moisture. Fully dried clay will have an even, light color throughout.
Examine the clay for any tiny cracks or fissures on the surface. These are a sign that the clay has dried and contracted slightly. Press gently on an inconspicuous area to test the firmness. Properly dried clay will be hard and brittle, while under-dried clay will still have some pliable give.
Running your hands over the clay, you should be able to feel a roughness and rigidity indicating dryness. Dents made by your fingertips will remain rather than bouncing back. Soft spots likely signify places that are still moist. The clay may also have a distinctive lightweight, hollow sound when tapped gently, rather than a dull thud.
While visual and tactile inspections provide good initial tests, they have limitations in detecting any remaining interior moisture. Additional steps may be needed to thoroughly confirm dryness throughout the clay.
Weight Test
One of the easiest ways to test if your air dry clay is fully dry is by doing a weight test. Here’s how it works:
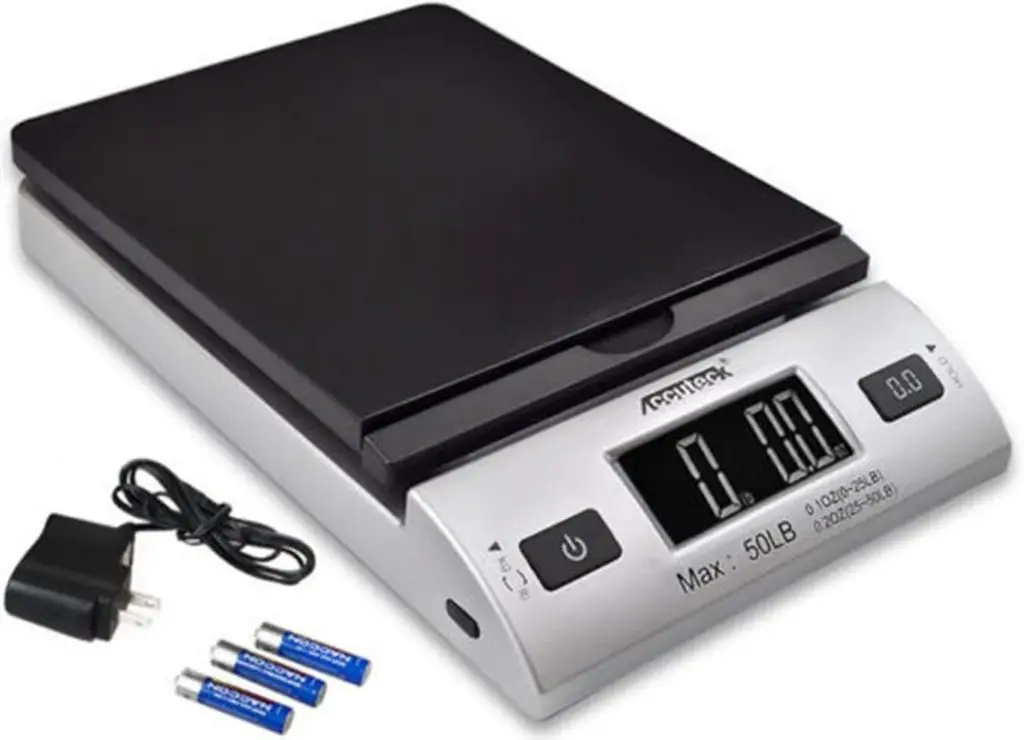
Take a small piece of clay, roughly the size of a golf ball, while it is still wet. Weigh this piece on a kitchen or postal scale and note down the weight. Then, once you think the clay is fully dry, weigh that same piece again.
According to this source, air dry clay can lose up to 15% of its weight as it dries. So if your wet clay weighed 100g, the dry weight should be around 85g. If the weights are very close or the same, then your clay is likely not fully dry yet. Keep letting it dry fully before baking or painting.
Doing a simple weight test is one of the most foolproof ways to test dryness. Just make sure you label both wet and dry pieces so you can accurately compare weights. And give the clay adequate time to dry fully – it may take 24 hours or more depending on climate, thickness, and type of clay used.
Sound Test
One way to test if air dry clay is fully dry is by tapping on it and listening to the sound it makes. Tap on the clay piece when it is still wet. It will make a dull, heavy thud sound. Then after letting it sit for a while, tap on it again. Fully dry clay will have a lighter, higher-pitched, “crisper” tapping sound.
As the clay dries and hardens, the sound profile changes. Comparing the wet and potentially dry tapping sounds is an easy way to gauge the dryness. According to a Reddit user, allowing air dry clay pieces to fully dry before assembling a project is recommended: “I’m giving the air dry clay a few days to fully dry before putting the kb back together for that reason – I don’t want to lock something wet/damp inside” (Source).
Time Guideline
The drying time for air dry clay depends mainly on the thickness of your piece. As a general rule of thumb:
- For pieces around 1/4 inch thick, allow 24-48 hours to fully dry.
- Doubling the thickness doubles the drying time. So a 1/2 inch piece would take 48-96 hours.
Other factors like humidity and temperature also impact drying time. In higher humidity or colder temperatures, drying will take longer. In lower humidity or warmer temperatures, drying time will be shorter.
It’s best to allow pieces to dry fully before painting or varnishing. Rushing the process can lead to cracking or paint not adhering properly. Checking for dryness using methods like the weight test is recommended.
Moisture Meter
Using a moisture meter is one of the most accurate ways to determine if air dry clay has fully dried. To test, place the meter probes on the center of the clay piece being dried according to manufacturer instructions. The center of the piece will dry most slowly. According to sources like A Complete Guide to Moisture Meters, a reading under 6% moisture indicates the clay is fully dry and ready for use or storage. If the reading is over 6%, the clay needs more drying time before use.
Specialized clay moisture meters like the Clay Moisture Sensor from MoistTech can provide the most accurate readings tailored specifically for clay. However, more general purpose moisture meters designed for wood or other materials can also work. Follow manufacturer instructions for best practices with any moisture meter used.
Manufacturer Instructions
When working with air dry clay, it’s important to follow the manufacturer’s instructions for drying times. The packaging or the company’s website will usually provide guidelines on how long the clay takes to dry based on thickness, temperature, and humidity levels.[1]
For example, Original Sculpey® recommends their air dry clays dry at room temperature in 24-48 hours for pieces up to 1⁄4 inch thick. For thicker pieces, drying times may be longer. They advise keeping the temperature between 65-85°F and the humidity between 40-60% for optimal drying conditions.[2]
Similarly, Crayola® Model Magic® notes their clay takes 24 hours or more to dry fully, with thicker projects requiring more time. They suggest waiting 72 hours for large sculptures or complex shapes to dry completely before embellishing or playing with finished pieces.[3]
Following the manufacturer’s instructions prevents cracking and ensures pieces dry evenly throughout. Checking packaging or websites provides the most accurate drying estimates for a particular brand’s formulation.
[1] https://www.gatheringbeauty.com/blog/how-long-does-air-dry-clay-take-to-dry
[2] https://www.originalsculpey.com/diy/tips-and-techniques/sculpey-faqs-and-troubleshooting/
[3] https://www.crayola.com/faq/details/fcaq000033150/
Prep and Storage
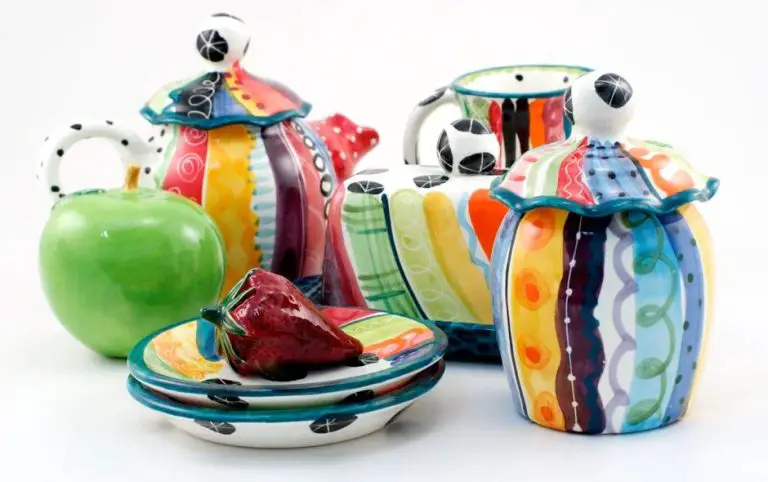
Properly preparing and storing air dry clay is important for getting the best results. After molding air dry clay creations, it’s important to let them dry fully before painting or sealing. Air dry clay should be sanded and smoothed once completely dry to remove any cracks or imperfections. Sanding with increasingly finer grit sandpaper will create a smooth surface ready for finishing.
Once the air dry clay artwork is sanded and smoothed, it should be stored in an airtight container like a plastic bin or bag. Keeping the clay sealed from air exposure will prevent it from continuing to dry out and possibly cracking or warping. Stored properly, finished air dry clay pieces can last indefinitely until you are ready to paint or seal them. The clay must be fully dry before applying acrylic paint, varnish, or other sealants.
With proper sanding, storage, and finishing, air dry clay provides an accessible modeling material for all kinds of decorative objects and sculpture. Just remember to let pieces dry fully, store airtight, and finish with paints or sealant once dry for best results.
Source: https://www.gatheringbeauty.com/blog/how-to-store-air-dry-clay
Troubleshooting
If your air dry clay is taking longer than expected to dry or not drying fully, there are some troubleshooting tips to help speed up the process:
Dry in a well-ventilated area – Make sure your clay sculptures are drying in an area with good airflow. Avoid enclosed spaces like cabinets or boxes.
Avoid high humidity – High humidity slows drying, so don’t dry clay in bathrooms or basements. Use a dehumidifier if needed.
“Use a fan to keep air circulating around your project while it dries.” (Source)
“Move your project to a warmer spot, which speeds evaporation.” (Source)
Summary
There are several methods to test if air dry clay is fully dry. You can visually inspect it for cracks, brittle edges, and sharp corners. Weigh the clay to see if the weight remains consistent between measurements. Tap on the clay and listen for a hard, solid sound. Use the manufacturer’s recommended drying time as a guideline. Use a moisture meter calibrated for clay to get an accurate moisture reading. Always follow the manufacturer’s instructions carefully for best results.
It’s crucial to let air dry clay dry fully before painting or sealing the surface. Any moisture left inside can damage the clay when sealed and prevent paint from properly adhering. Give plenty of time to dry thoroughly, and utilize testing methods before finishing your clay creations.