How Do You Make A Clay Person For Beginners?
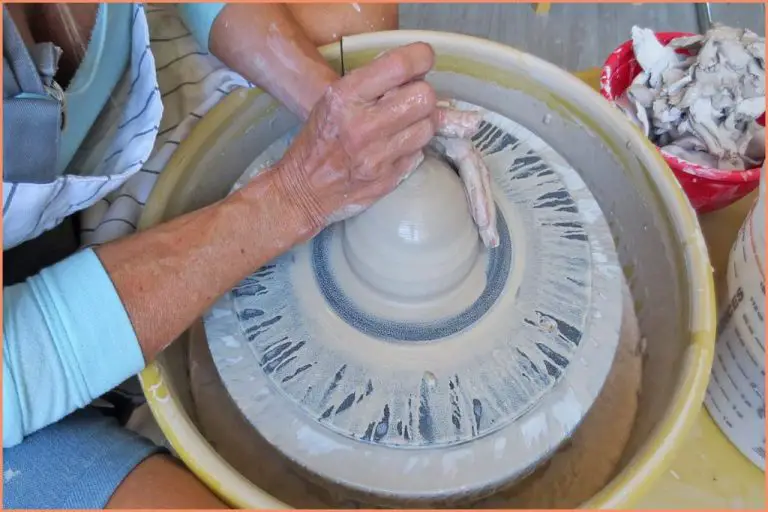
Sculpting a clay person is a fun, creative way for beginners to get started with clay art. Working with clay allows complete freedom to mold it into any shape or form. Clay is an accessible, easy to work with medium that can bring imaginations to life. Sculpting a person out of clay is an especially rewarding process that teaches fundamental sculpting skills.
The wonderful thing about clay is its forgiving nature. There’s no need to worry about making mistakes, because clay can simply be softened, smoothed over, and reshaped as needed. This allows beginners to learn without fear of permanent setbacks. Sculpting a person is also a great way to practice shaping clay into lifelike forms with realistic proportions and details. The process involves gradually building up the figure from basic shapes into a complete human form.
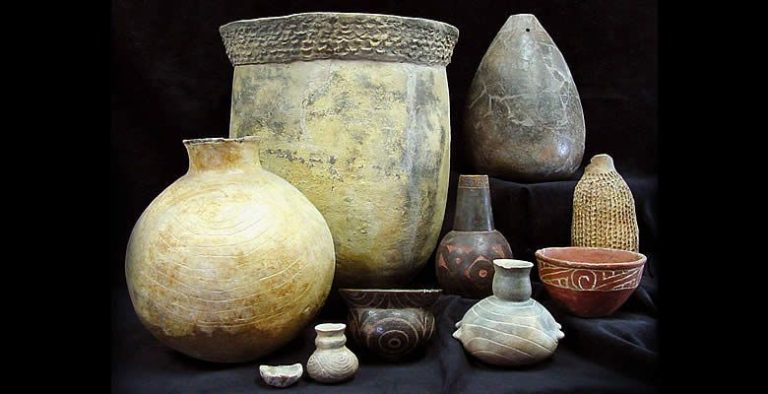
Clay sculpture has been used for artistic expression since ancient times. Creating a clay person allows modern beginners to connect with this timeless art form. No formal training is required, just creativity and imagination. The finished clay person makes a charming decorative object, or can be fired in a kiln to preserve the artwork. Follow the steps below to learn fundamental sculpting techniques while creating your own custom clay person from scratch.
Gather Materials
To begin sculpting your clay person, you’ll first need to gather the necessary materials. The three main things you’ll need are:
Types of Clay
The best types of clay to use for sculpting a small figure are polymer clay and air-dry clay. Polymer clays like Sculpey and FIMO are easy to work with, hold fine detail, and can be baked in a regular oven to harden. Air-dry clays like Crayola Model Magic will harden naturally over time. Avoid clays that need firing in a kiln.
Clay Sculpting Tools
Having the right sculpting tools makes shaping the clay much easier. At minimum, you’ll need a rolling pin, silicone sculpting tools, and wire clay cutting tools. You can find specialized sets made for polymer clay or make your own from items around the house.
Armatures/Frames
An armature or frame provides an internal structure for your clay sculpture. Simple armatures can be made from wire, aluminum foil, or cardboard. This will help support the clay as you build up shapes for the body parts.
Prepare the Clay
Properly preparing the clay is one of the most important steps when sculpting a clay figure. Here are some tips for getting your clay ready to work with:
Kneading – Knead the clay thoroughly before beginning to sculpt. This helps make the clay soft and uniform in consistency. The motion of kneading incorporates air into the clay which prevents cracking and makes the clay more malleable. Knead for 5-10 minutes until the clay is smooth, soft and free of lumps.
Softening – If the clay is too firm, there are several ways to soften it up. Letting it rest sealed in an air-tight bag allows moisture to distribute evenly throughout. You can also soften clay by mixing in a few drops of water and kneading it in. Avoid over-softening the clay which can make it sticky.
Achieving Optimal Consistency – Well-prepared clay should be smooth, pliable, and not sticky. It shouldn’t be too soft that it distorts as you sculpt, or too firm that it cracks. The clay should hold its shape when molded without sagging or slumping. Prepare the clay until it reaches this ideal consistency before starting to sculpt your figure.
Start with the Armature
To begin sculpting a clay figure, you first need to build an armature or framework to support the clay. There are two main options for the armature – a wire frame or bulk shapes.
For a wire frame armature, use aluminum armature wire that can be bent into shape. Cut lengths of wire for each body part – the torso, head, limbs, etc. Then bend and twist the wires together to form the rough shape of a body. Use pliers to tightly wrap wire around joints. The thinner wire allows you to set precise poses.
A bulk armature uses solid materials to form the main masses of the body. You can use wooden dowels, rolled up tin foil, scrunched aluminum foil, or foam as the core shape. Cut, bend, or scrunch the materials into rough cylindrical or square shapes for the main body parts. Then attach them together with wire, tape or glue. This type of armature provides more internal support for the clay.
Choose whichever armature type suits your sculpting needs. The wire frame allows more flexibility and posing, while the bulk armature provides more stability for figures in standing poses. Build the main body parts – torso, head, arms and legs. Then you’ll be ready to add the clay.
Sculpt the Head
Shaping the skull is one of the most important parts of sculpting a clay person. Start by forming a basic skull shape out of clay. Pinch and pull the clay to form the cranium, brow, cheekbones, jawline and chin. Place two balls of clay on the front to represent the eye sockets.
Next, begin adding the facial features. For the eyes, roll two small balls of clay and flatten them into discs, then press them into the eye sockets. For the nose, roll a cone shape and flatten it onto the center of the face. For the lips, roll out two small sausage shapes and place them in position. Ears can be created by pinching and pulling small flaps of clay on either side of the head. Refine the shapes of the facial features until you have the desired expressions.
Take your time when sculpting the head, as the face is what gives your clay person their character and personality. Pay close attention to proportions and angles as you sculpt. Smooth and blend the clay as needed. Let the head dry completely before moving onto sculpting the body.
Sculpt the Torso
After the head, focus your attention on the torso. This is the main body of your sculpture. Begin shaping the chest and waist to create the proportions you desire. Use your fingers and sculpting tools to pull inward at the waist and shape the chest into a masculine or feminine form.
Next, consider adding some musculature if you want a more athletic look. Use small loop tools to carve out the pectoral muscles on the chest. Indicate a “six pack” on a male torso by pressing lines gently into the abdomen to demarcate each muscle segment. For a female figure, make gentle curves at the waist to create hourglass shaping.
Work slowly and carefully as you sculpt the torso, stepping back frequently to check proportions and shape. You can continue to soften and refine the torso as you add the limbs and other details. Having a basic, proportional torso is key before moving on to the rest of the body.
Sculpt the Limbs
Shaping the arms and legs is an important step in sculpting your clay person. It’s best to start with basic cylindrical shapes for the upper and lower arms as well as the thighs and calves. Roll clay into a log shape for each limb section. Attach the upper arm to the shoulder area and the thigh to the hip area.
Bend and curve the arm and leg pieces to look more realistic. Add indentions at the elbow and knee joints by gently pressing into the clay. Curve the wrists, ankles and elbows to shape the limbs. Use your fingers, simple sculpting tools or even chopsticks to add definition.
Refine the shapes by sculpting muscles, joints and other details that bring life to the limbs. The hands and feet can be created by flattening small balls of clay and indenting details with tools. Add nails by pressing clay into the fingers and toes. Use references of human anatomy to sculpt realistic and proportional limbs.
Add Details
Adding details like hair, clothes, and accessories can really bring your clay sculpture to life. Here are some tips for achieving realistic, expressive details:
Hair
For hair, roll out thin strands of clay and attach them to the head one at a time. Work in small sections, using water or clay tools to blend the hair into the head smoothly. For curly or wavy hair, twist the strands as you attach them. Use different thicknesses of strands to achieve variation.
Clothes
Clothes can be sculpted separately and draped onto the figure, or built up directly on the body. For smooth, tight clothing like t-shirts, thin clay over the body shape. For flowing robes, roll out clay into flat sheets and drape loosely. Add folds, wrinkles and textures with tools. Attach separate tiny pieces for buttons, zippers, buckles, etc.
Accessories
Handbags, jewelry, glasses and other accessories help define your character. For jewelry, roll thin coils and cut beads, attaching them with water. Glasses can be cut from flat clay. Tiny pieces of clay formed into recognizable shapes make forbelievable miniature accessories.
Get creative with textures, colors and tools like dental picks to add lifelike details. Details make all the difference in creating a realistic, expressive clay figure.
Smoothing and Refining
Once you’ve sculpted all the parts of your clay person, it’s time to smooth out the clay and refine the shapes and proportions. This is an important step to create a cohesive, well-formed sculpture.
To smooth the clay, start by going over the entire surface with your fingers or a silicone clay shaper tool. Apply light pressure and rub in small circles. This will blend the clay and get rid of any fingerprints or uneven textures.
Pay close attention to the head and face area. Carefully smooth the facial features and hair to create soft, subtle shapes. Go slowly and gently to avoid distorting the anatomy.
For the body, gently smooth over the chest, stomach, arms and legs. Be mindful of the muscle shapes and proportions as you refine the form.
If there are any cracks, gaps or problem areas, add water or clay slip to fill them in. Then continue smoothing. Let gravity work for you by holding the sculpture upright and stroking downwards.
Step back periodically to evaluate the overall shape and flow. Make any final refinements to get the proportions and anatomy just right. The sculpture should feel solid, refined and realistic.
Take your time with this smoothing and refining stage. Don’t rush it. Working slowly and methodically will result in a beautifully polished clay sculpture.
Baking and Finishing
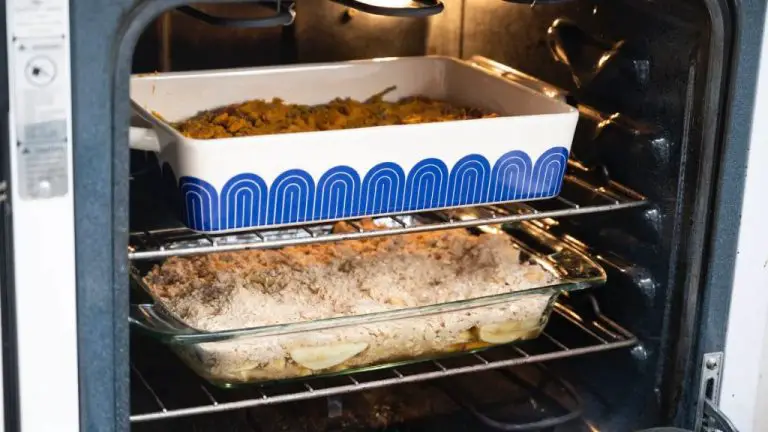
After the clay sculpture is complete, it needs to be baked to harden and cure the clay. When baking polymer clay, follow the temperature and time instructions from the clay manufacturer. Typically, baking at 275°F for 15-20 minutes per 1/4 inch of thickness is recommended.
Make sure to bake the sculpture on a flat, heat-safe surface like a ceramic tile or baking sheet. Avoid putting the clay directly on the racks of your oven, as it can melt through. The clay may darken slightly when baked, but this is normal.
Check on the sculpture periodically while baking to ensure it’s not scorching. If needed, tent foil over areas that are browning too quickly. Overbaking can result in cracks, so stick to the recommended time.
Once baked and cooled completely, polymer clay can be painted with acrylic paints. First apply a sealant like polyurethane or clear acrylic spray as a base layer. Allow it to fully dry before painting. Acrylic paint will adhere best if applied in thin layers, allowing each coat to dry before adding more.
Finish with a few coats of sealant like polyurethane to protect the paint and give a nice glossy finish. This will help keep the clay sculpture looking vibrant for years to come.

