How Do You Make A Hollow Clay Ball?
Making hollow clay balls is a fun and creative craft that allows you to produce decorative objects, wind chimes, Christmas ornaments, and more. The process involves sculpting an outer shell of clay and leaving a hollow inner core, which results in a lightweight spherical shape that can be decorated or glazed.
Hollow clay balls have many uses and applications. They can be strung together to make wind chimes that produce gentle tones when they clang together. Holiday ornaments can be crafted by painting or glazing the outer surface. Large hollow balls can be punctured with designs to create whistle balls that produce sounds when air blows through the holes. The hollow space inside also provides room for beads, bells, or other small objects that make noise when the ball is moved.
Choosing Clay
When making hollow clay balls, the type of clay you choose is an important first step. Some clays are better suited for handbuilding and hollowing than others. Here are some recommended types of clay to use:
Stoneware clay – This dense clay holds its shape well when hollowed out. It also withstands the high firing temperatures needed to fully vitrify the clay. Choose a clay that fires between cone 6 and 10.
Porcelain – Porcelain is smooth and durable, making it ideal for hollowing. It’s very strong when fired to cone 10 or higher. The high firing temperature will fully vitrify the interior of the hollow form.
When selecting your clay, look for a few key properties:
– Plasticity – Choose a clay with good plasticity that is smooth and flexible when kneaded. This allows the clay to bend without cracking when hollowing it out.
– Strength – Look for a strong clay that can hold its shape without slumping. This is especially important for larger hollow forms.
– Low shrinkage – Clays with minimal shrinkage will maintain their size better through drying and firing. Low shrinkage allows for easier hollowing.
– Smooth texture – A smooth, buttery texture makes the clay more pliable for hollowing. Avoid coarse or gritty clays.
Making the Clay
One of the most important steps in making hollow clay balls is properly preparing the clay. This involves wedging and kneading the clay thoroughly to achieve the ideal consistency.
Wedging is the process of cutting, folding, and pressing the clay to remove any air bubbles. Start by cutting off a workable sized piece of clay from the bulk amount. Then slam it down onto your work surface to flatten it out. Fold the clay in half and press down firmly again. Repeat this process, rotating the clay each time, until it feels smooth and elastic.
You’ll also want to knead the clay after wedging. Continue working it with your hands, pushing and pulling to stretch out the clay. This helps blend the moisture evenly throughout. Aim for a uniform consistency that is smooth but not sticky. The clay should be pliable enough to shape easily without cracking.
Taking the time to properly wedge and knead your clay ensures you have an even moisture content and no trapped air pockets. This prevents cracking and results in a strong, high quality finished piece.
Making the Core
The core is what creates the hollow center of the clay ball. There are a few different materials you can use to make the core depending on what look and feel you’re going for.
Materials for Core
Some common materials used for making cores include:
- Polystyrene foam – Foam balls are lightweight and easy to carve to size. They can be removed after firing by breaking them up or heating them out.
- Newspaper or paper – Crumple up paper into a ball shape. The paper burns out during firing.
- Aluminum foil – Wadded up foil is easily shaped. It can be dug out of the clay after firing.
- Plastic – Plastic shapes or balls can be used. Ensure the plastic can withstand firing temperatures.
- Found objects – Small trinkets, marbles, etc can be used. Make sure they are non-flammable.
Shaping the Core
The core should be proportional to the size of the finished clay ball. It does not need to be a perfect sphere, as some texture from the crumpled core material can add interest to the interior hollow space. Smooth foam balls may need to be carved to create areas for clay to grip onto.
Make sure any materials used can withstand the high temperatures of the firing process without burning or melting.
Shaping the Clay
Once you have rolled your clay out into an even sheet and made your hollow core, it’s time to shape the clay around the core. Lay the core in the center of the sheet of clay. Pick up the edges of the clay sheet and gently wrap it around the core, overlapping the seams slightly.
Press the seams together gently to seal them, being careful not to squish the hollow core. Use your fingers to smooth out the seams and shape the soft clay around the core into a smooth, even ball shape.
Work slowly and carefully during this stage to avoid tearing the clay or collapsing the hollow core. If needed, roll out another thin sheet of clay and add it to patch any holes or gaps. The ball shape should fully enclose the hollow core with about 1/4 inch of clay surrounding it.
Sealing the Clay
Once the hollow clay form is assembled, it’s important to seal it properly so it holds its shape during drying and firing. There are a few key steps:
Smoothing Seams
Carefully smooth over any seams where the clay has been joined using your fingers, a modeling tool, or a soft sponge. Apply gentle pressure and blend the clay together to eliminate any cracks or weak points in the structure. Remove any excess clay and make the surface as smooth as possible.
Attaching Top and Bottom
Seal on the top and bottom pieces using slip. Slip is a mixture of water and clay that acts as “glue” for pottery. Brush or gently press slip over the edges of the sphere where the lid and base will be attached. Then press the top and bottom pieces on firmly and smooth the seams. Allow the slip to dry completely before handling further. The sphere should now be fully sealed and ready for finishing steps like texturing or drying before firing.
Texturing
Texturing the surface of a hollow clay ball adds visual interest and dimension. There are several tools and techniques you can use to create different textures and effects.
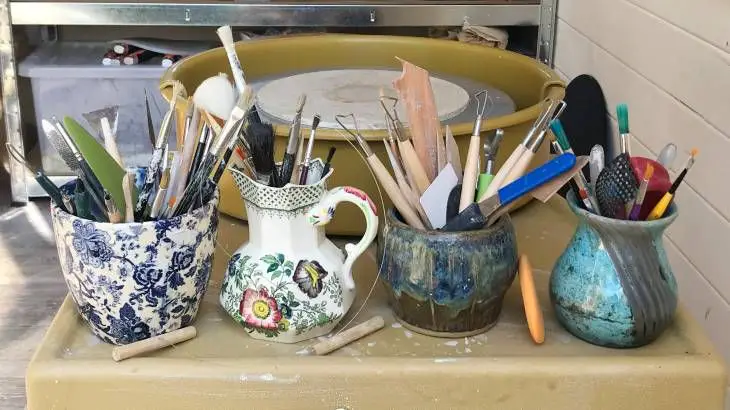
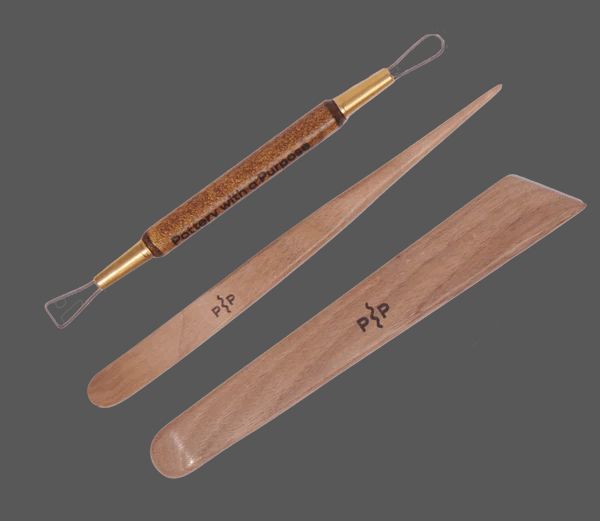
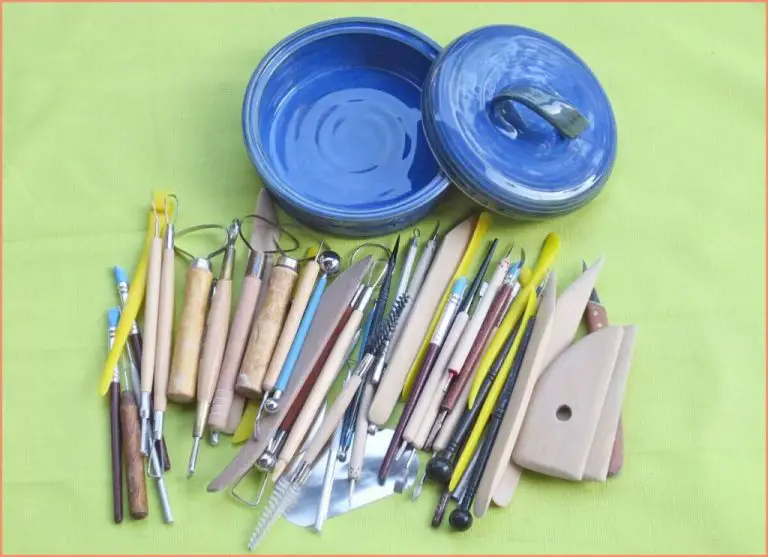
Tools for Texturing
Some common tools for adding texture include:
- Sponges – Cut into different shapes and patterns.
- Toothbrushes – Use stiff bristles to create lines.
- Forks – Drag tines through clay to make grooves.
- Rolling pins – Roll over texture sheets.
- Clay sculpting tools – Make indentations and patterns.
- Found objects – Press items into the clay, like leaves or lace.
Patterns and Effects
Consider the type of texture you want to achieve. Some options include:
- Smooth vs rough
- Regular patterns vs irregular
- Subtle vs dramatic textures
- Geometric shapes vs organic patterns
- Repetitive vs singular accents
Experiment with layers of different textures. Add both large and small details to create visual interest.
Drying
After the clay has been shaped around the core, it needs time to dry and harden. There are a couple options for drying the hollow clay balls:
Air Drying
Air drying is the most common method. Keep the shaped clay in a warm, dry area out of direct sunlight. Allow 1-2 weeks for thorough drying. Turn the balls periodically so they dry evenly. If dried too quickly, cracks may form.
Placing the balls on a drying rack speeds air circulation for more even drying. Putting a fan nearby can also help, but avoid pointing it directly at the clay.
Using a Dehydrator
A food dehydrator provides a controlled way to dry the clay faster. Place balls directly on dehydrator trays, leaving space between each one. Set the temperature between 95-115°F. Rotate the trays and check the clay daily until fully dried, usually within 1-5 days.
Caution: Do not dry too quickly or at high temperatures, as the clay may crack or become brittle.
Firing
The final step to complete your hollow clay ball is firing it in a kiln. Firing permanently hardens the clay through extremely high heat. The temperature and duration of the firing process depends on the type of clay used. When firing clay, it’s essential to follow the temperature guidelines for that specific clay.
Most clays reach full vitrification, their ideal fused state, between cone 04 and cone 6 which is approximately 1,815°F – 2,200°F. The best way to gauge the temperature inside a kiln is by using pyrometric cones, also called witness cones. These are small cone-shaped pieces formulated to melt at specific temperatures. Place a witness cone inside the kiln next to your project. When the cone melts and bends over, you know the kiln has reached the desired temperature for that clay type.
To fire a hollow clay ball:
- Select the appropriate witness cone for your clay type
- Place the ball and witness cone in the center of the kiln
- Heat the kiln slowly, no faster than 200°F per hour
- Maintain even heat distribution inside the kiln
- Fire until the witness cone bends over and your project is fully fused
- Allow the kiln and project to cool completely before removing
Firing brings out the true colors and hardness of the clay. With proper firing, your hollow clay ball will be ready for finished and use.
Finishing
Once your hollow clay balls have been fired, there are a few finishing touches you can add to give them a polished, professional look. Here are some ideas for finishing fired clay:
Sanding
After firing, clay often has rough areas or seams that need smoothing. Use a fine grit sandpaper (around 220 grit) to lightly sand the surface of the clay. This will smooth down any roughness for a sleek surface. Be careful not to sand too much or you may scrape through the clay.
Polishing
For an ultra-smooth finish, you can polish the surface after sanding. Use a soft cloth or a polishing wheel with a polishing compound to buff the surface. This will create a glossy sheen. Alternatively, you can use a clear acrylic gloss glaze as a polishing agent. Apply the glaze evenly and fire again according to package directions.
Adding Color
If you want to add color, you have a few options. You can use ceramic stains, colored clay slips, or acrylic paints. Apply in thin layers, allowing each layer to dry before adding another. Too many thick layers may cause cracking. You can also mix colorants into a clear glaze and apply by brushing, dipping, or spraying. Experiment to create different colorful effects.