How Do You Make A Vase With Clay?
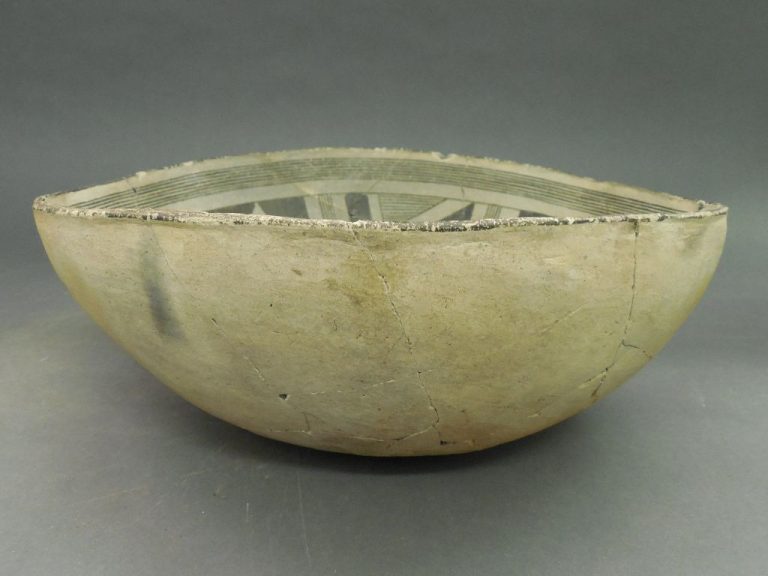
Pottery making dates back thousands of years, with early forms of clay vessels and objects being fired at low temperatures in open fires or pit kilns. Over time, techniques developed across many ancient civilizations like the Egyptians, Greeks, and Chinese to create functional and decorative vessels from clay. In fact, studies show some of the earliest known pottery artifacts can be traced back over 20,000 years.
Clay vases have served many important purposes throughout history for storing, serving, and transporting food and liquids. Their designs evolved with the creativity of artisans and needs of different cultures. Today, making vases from clay remains a popular art form and craft for beginners and experts alike.
This guide will walk through the key steps for handbuilding a basic vase from clay. With some clay, simple tools, and a few techniques, you can create your own decorative or functional vase.
Gather Materials
The main material you’ll need for making a vase with clay is clay. Choose an appropriate clay body like stoneware or porcelain that is suitable for creating ceramic vases (source). You’ll also need basic sculpting tools like a rib, loop tools, sponges, and paint brushes to shape and refine the clay (source).
In addition to clay and sculpting tools, you’ll need:
- A potter’s wheel or work surface like a table to sculpt on
- Water in a spray bottle or bucket for smoothing
- A wire clay cutter for trimming excess clay
Gather all these materials before starting to sculpt your vase so they are on hand when needed.
Prepare the Clay
After you have gathered your clay and materials, the next step is to prepare the clay before beginning to shape it. Proper clay preparation is crucial for creating smooth clay that is ready for throwing, handbuilding, or sculpting. The main goals when preparing clay are to knead the clay thoroughly to soften it and remove any air bubbles that may be trapped in the clay body. Air bubbles can lead to cracks or explosions when firing.
To prepare the clay, start by cutting or wedging it into smaller, easier to manage pieces. Drop each piece of clay several times on your work surface to release air bubbles. Next, begin kneading the clay by pressing your palms into the clay and pushing down and outward. Keep kneading until the clay is smooth, soft, and free of cracks. Form the clay into a ball shape as you knead. Add water droplets if needed to reach an ideal consistency that is moist but not sticky. Kneading clay removes air pockets and provides an even consistency for working.
Shape the Base
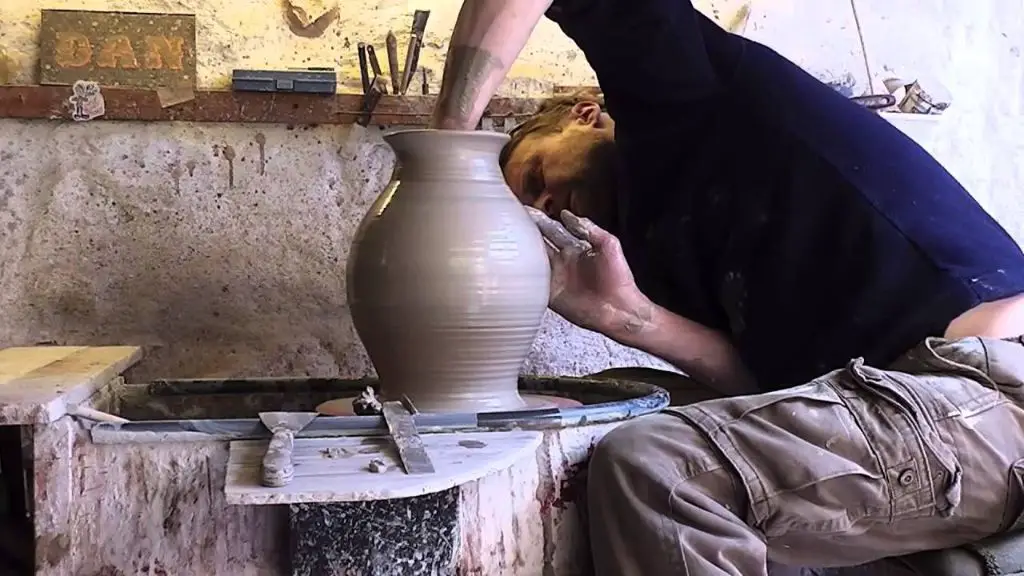
The first step in shaping a clay vase is to form the base. Start by centering a ball or cone of clay on your pottery wheel or work surface. Apply gentle pressure to form it into a cylinder or tapered cone shape. This will create a sturdy foundation for building up the rest of the vase. As you shape the base, focus on making the walls even in thickness and smoothing the clay. Avoid making the base too thick or thin. Aim for approximately 1/4 to 1/2 inch thickness for the base walls. Check that the bottom is flat so it sits upright.
You can also cut or tear clay slabs and join them to form the base shape if not working on a wheel. Overlap and blend the seams between slabs so they stick together securely. Refine the shape using cutting wires or loop tools to achieve an even cylinder or cone shape. The key is centering the base and creating smooth, uniform walls for the foundation. This initial shaping sets the stage for the rest of the handbuilt vase.
[How to make clay vase – Ceramic for beginners | Tutorial](https://www.youtube.com/watch?v=btOd6ZFkkas)

Add Height
Once the base has been shaped, it’s time to add height to the vase. This is done by gently pulling the clay walls upwards. There are two main techniques for adding height:
On the pottery wheel:
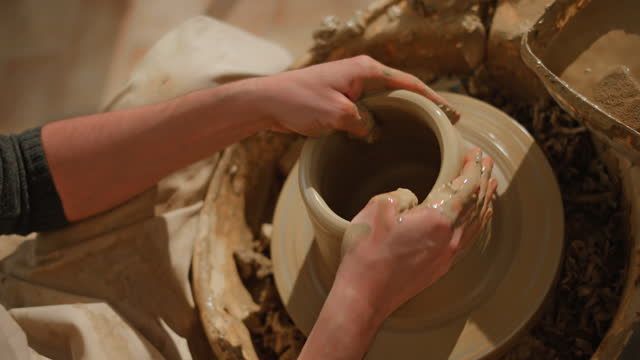
If working on a pottery wheel, let the clay spin at medium speed. Then, place both thumbs on the inside of the vase, resting them against the walls. Slowly draw your thumbs upwards as the wheel spins. This will pull the clay walls up with your thumbs, elongating the vase.
Apply even pressure as you draw your thumbs up to achieve an equal, symmetrical shape. Pull the walls slowly upwards, inch by inch, until the desired height is reached.
By hand:
If not using a pottery wheel, the vase can also be shaped by hand. Hold the base firmly with one hand. Then, use the thumb and fingers of your other hand to gently pinch and pull the walls upwards. Work slowly around the vase, elongating the walls bit by bit to achieve the desired height.
Be careful not to stretch the clay too quickly or make the walls too thin, which can cause them to collapse. Add height gradually for the best results.
Continue adjusting the vase shape as you add height to refine the overall form and proportions.
Refine the Shape
Once you have shaped the basic form of the vase and allowed it to firm up slightly, it’s time to refine the shape using sculpting tools. This process involves smoothing the walls and enhancing the contours to achieve your desired look.
Use a rounded rib to gently smooth any lumps or irregularities on the exterior walls of the vase. Apply even, circular motions from top to bottom while turning the vase. Be careful not to press too hard or you may thinner the walls. The rib should glide smoothly along the surface.
Next, use a wooden modeling tool, loop tool, or rubber shaper to further define the shape. These tools allow you to compress clay from the inside to refine the walls and create indentations or ridges on the outside. Gently push the tool against the interior to subtly shape the exterior contours into flowing, artistic forms.
You can also use metal loop tools on leather hard clay to cut sharp lines and scrape away clay where needed. Work slowly and carefully to perfect the silhouette of your vase.
As you refine, keep thickness in mind if you want your piece to be sturdy. Leave walls approximately 1/4″ thick or slightly less for a delicate look. Rounded, flowing shapes tend to be stronger than sharp angles.
Step back periodically to review the overall shape and proportions as you refine. Make adjustments until you achieve the look you envisioned.
Add Decorations
Once the basic shape of the vase is complete, you can add decorative elements to make it more visually interesting. Here are some ideas for decorating your clay vase:
Incise designs into the clay using tools like bamboo skewers, chopsticks, or modeling tools. You can etched linear patterns, swirls, leaves, flowers or abstract shapes. Be sure to incise lightly so you don’t cut through the clay wall.
Add handles to the vase if desired. Roll coils of clay and attach them to the vase body, smoothing the joints well. Let the handles firm up a bit before refining their shape.
Apply decorative elements like beads, sequins or buttons by pressing them gently into the raw clay surface. Make sure they are secure and will not fall off when firing.
Make textural designs by pressing rocks, leaves, lace, burlap or other materials into the clay surface. This will leave behind an imprint.
Attach extra pieces of shaped clay like flowers, feet or faces to personalize your vase. Score and slip the attachments to get a good bond.
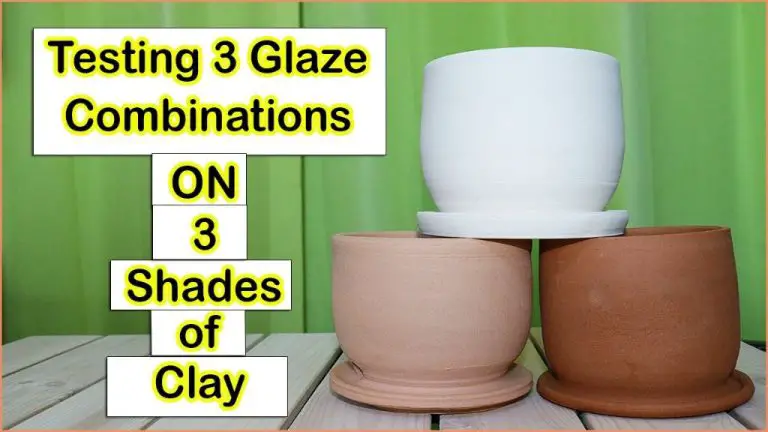
Consider adding color with natural clay slips, underglazes or glazes before firing. Test colors on a clay tile first.
The options for embellishing your handmade clay vase are endless! Get creative with different decoration techniques to make your vase truly unique.
Smooth the Surface
Once the vase has been shaped and decorated, it’s time to smooth the surface. This helps create a polished, professional look. There are a few key tools that are useful for smoothing clay:
A metal rib tool can be scraped across the surface at a 90 degree angle to smooth out any bumps or uneven areas (Carving Away And Smoothing Clay). Apply even pressure and work methodically around the entire vase.
Next, use a slightly damp sponge to moisten the surface, which allows you to further smooth the clay (How to Smooth the Surface of your Clay Object – 3 Affordable …). Avoid over-wetting, as too much water can alter the clay texture.
You can also use specialty clay smoothing tools like wooden ribs or shaped plastics. Smooth in different directions to achieve the most even surface.
Take your time smoothing – this step can really enhance the finished look of the vase.
Let Dry
Once you have completed shaping and decorating your vase, it’s important to let it fully air dry before firing it in a kiln. The drying time will vary depending on factors like the size and thickness of your piece, the type of clay used, and environmental conditions like temperature and humidity. According to Soul Ceramics, thicker pieces (half an inch or more) may need up to three weeks to fully air dry. Pieces dried in humid climates will take longer than those dried somewhere hot and arid.
Allow your vase to dry slowly at room temperature out of direct sunlight. Drastic temperature changes can cause cracks as the clay dries. Place the vase somewhere free of drafts. Covering the piece with plastic wrap can slow down drying to help prevent cracks. Check on the vase periodically; when it no longer feels cool, and all surfaces feel dry to the touch, it is ready for firing. Firing before the vase is fully dried can cause cracks or explosions. With proper air drying, your vase will be ready for the next step of firing it in a kiln.
Fire the Vase
Once the clay vase has dried completely, it is ready to be fired in a kiln. Firing the clay at a high temperature is essential for hardening and strengthening the clay structure. According to Elizabeth’s Ceramics, clay vases should be fired in a kiln at an appropriate temperature, typically between cone 04 (1945°F) and cone 6 (2232°F), depending on the type of clay used.
During the firing process, carefully place the dried vase in the kiln and steadily increase the temperature according to the kiln instructions. Maintain the target temperature for the recommended period of time based on the clay type, thickness, and size of the piece. The high heat from the kiln will permanently harden the clay through a process called sintering, where clay particles bond together.
Firing the vase will transform its color and make it much more durable for use. Be sure to allow plenty of time for the kiln and clay work to cool completely before removing the fired vase.


