How Do You Make Animals With Clay A Panderfly?
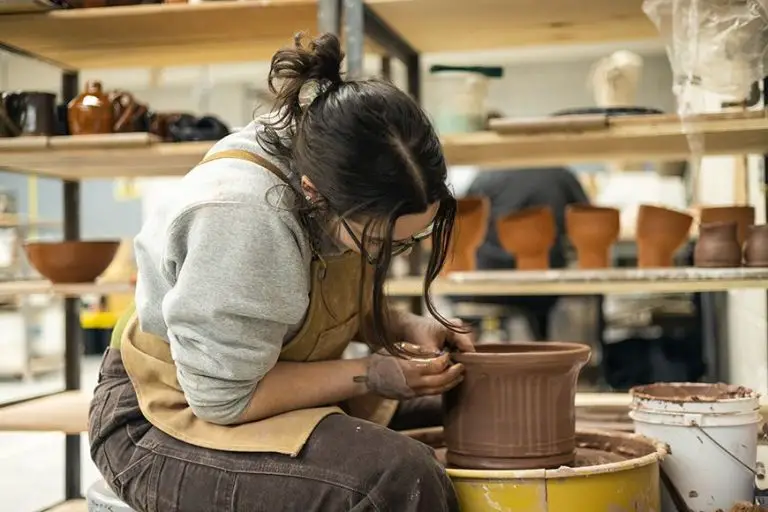
Clay modeling is a fun and creative activity for kids of all ages. It allows them to use their imagination to shape clay into all kinds of animals and creatures. Working with clay has many benefits for children. It helps develop their fine motor skills, hand-eye coordination, and spatial awareness. The tactile experience of handling and manipulating the clay is also great for sensory play.
Making animals out of clay starts with choosing an animal to model, like a dog, cat, elephant or giraffe. Using clay, kids can then shape the basic body, head, limbs and other features of the animal. Adding details like eyes, ears, tails or texture brings the animal to life. Painting the finished clay model adds color and personality. With simple steps and basic materials, clay modeling lets kids create their own handmade zoo of critters.
This guide will walk through the process of making animals with clay. We’ll cover everything from choosing the right type of clay to creating textures and painting your finished clay critter. By the end, you’ll have the knowledge to create your own clay modeled animals.
Gather Materials
To make animals with clay out of clay, you’ll need to gather some basic supplies. The most important is the type of clay you choose to work with.
Polymer clay is an excellent choice for sculpting animals. It comes in a variety of colors, sculpts smoothly, and holds fine detail well. Air-dry clay is another good option, as it doesn’t require baking to harden. Stay away from clays that need firing, as those would require a kiln.
In addition to clay, collect some basic sculpting tools like clay shapers, sculpting knives, and dotting tools. You may also want texture sheets and stamps. Having a work surface like a ceramic tile or plexiglass sheet is helpful too.
Make sure you have paint on hand for adding color after baking or drying your finished animal. Acrylic paints work well. And don’t forget paintbrushes, water cups, paper towels, and other general craft supplies.
Choose an Animal
When making a clay animal sculpture, it’s best for beginners to start with a simple subject. Animals like dogs, cats, fish, turtles, and birds like chickens are all good options. Their basic shapes are easier to form and detail compared to more complex creatures.
Some simple animal shapes to consider:
- Dog – oval body with legs, tail, head, and ears
- Cat – oval body with legs, tail, head, and ears
- Fish – oval body with fins and tail
- Turtle – oval shell with head and legs
- Bird – oval body with wings, head, and tail feathers
For those looking for an extra challenge, animals like horses, lions, bears, and monkeys can also work well. Just keep in mind their limbs, facial features, and other details may be trickier to sculpt.
No matter what animal you choose, make sure it’s one that inspires you. The creative process will be more rewarding if you’re passionate about the subject!
Shape the Basic Form
After choosing your animal, the next step is to shape the basic form out of the clay. Start by rolling a large oval shape for the body. Make sure to roll and press the clay firmly to avoid air bubbles.
For the limbs, roll pieces of clay into cylinders in various lengths and thicknesses depending on your animal. For example, roll thin cylinders for insect legs or fatter cylinders for animal legs.
Attach the limb cylinders to the body by pressing the ends firmly onto the body oval. Smooth the joints by blending the clay together.
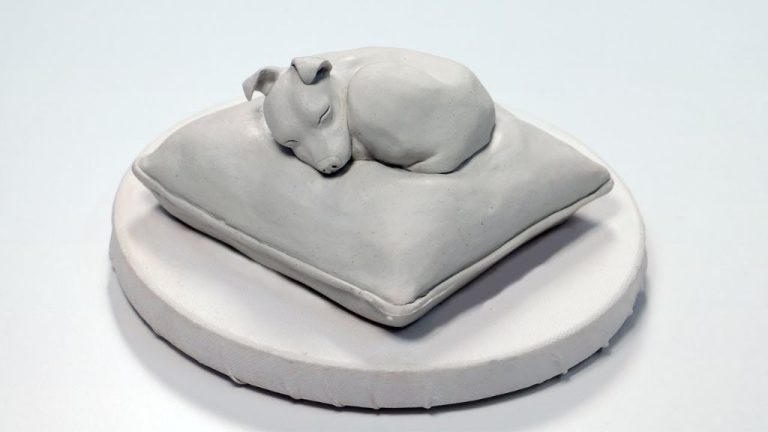
Add Details
Adding details to your clay animal is one of the most fun parts of the sculpting process. This is where you can get creative and bring your creature to life. Pay special attention to features like the ears, tail, face, and paws or feet.
Ears: The ears are very expressive and can convey a lot about your animal’s personality. Perk the ears up for an alert creature or make them floppy for a more relaxed vibe. You can sculpt the inner ear details too.
Tail: Give your animal a long, flowing tail or a short stubby one. Curl the tail or make it stick straight up. Consider how the tail balances the composition.
Facial Features: Have fun sculpting your animal’s unique face. Add eyes, nose, whiskers, mouth and other realistic or whimsical details. Facial features bring personality and charm.
Paws or Feet: Sculpt paw pads, toes, claws and other defining features on the feet or paws. These small details add realism and interest.
Take your time perfecting the details. This creative process allows you to make the animal truly your own.
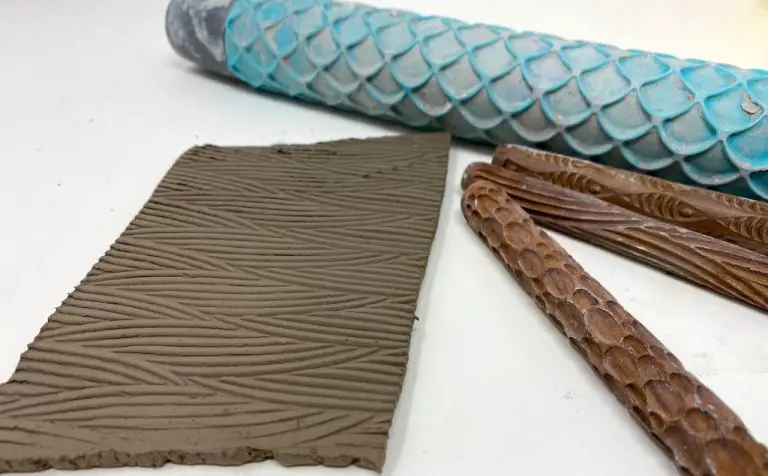
Texture the Clay
One of the most important steps in sculpting an animal out of clay is texturing its body to look lifelike. The texture you choose will depend on what type of animal you are creating. Here are some tips for achieving realistic textures:
Fur
For animals with fur like dogs, cats, bears, etc., use small, thin tools to make imprints in the clay to represent hairs. Make the hairs flow in the direction fur would grow. Use different lengths and depths of imprints to recreate thick, fluffy fur or short, thin fur. Add some messiness and inconsistencies to make it look more natural.
Scales
For animals with scales like snakes, lizards, fish, etc., use a small serrated tool, toothpick or your fingertip to etch overlapping scales into the clay. Work in small sections and carve rows of scales close together. Try different scale sizes and shapes for different effects. Pay attention to how scales lay on the animal’s body.
Feathers
For feathered creatures like birds, imprint feather patterns in the clay with the edge of a clay tool or toothpick. Make small, close lines for downy feathers or long lines with details for larger plumes. Show the flow and texture of feathers by varying the depth and direction of your imprints. Add extra details like the central feather shaft for realism.
Let Dry
After shaping and detailing your clay animal, you’ll need to let it dry before painting and finishing the sculpture. There are two main drying methods for clay: air drying and baking.
Air drying means letting the clay sculpture dry naturally at room temperature over time. Most clay labeled “air-dry clay” takes 24-48 hours to fully dry. During this time, lay the sculpture on a flat surface and avoid touching or moving it. Air drying has the advantage of not requiring an oven. However, it takes significantly longer than baking.
Baking clay in a standard oven (following package instructions for temperature and timing) speeds up drying time to just 30 minutes to an hour. The higher heat of an oven thoroughly dries and hardens the clay. Just make sure to bake your sculpture on a cookie sheet or baking pan. Baking gives a more durable, permanent finish to your clay animal.
Whichever drying method you choose, make sure the clay has fully hardened before painting or handling the sculpture. This ensures the structural integrity of your creation. Patience during the drying process allows you to end up with a lasting panderfly to enjoy for years.
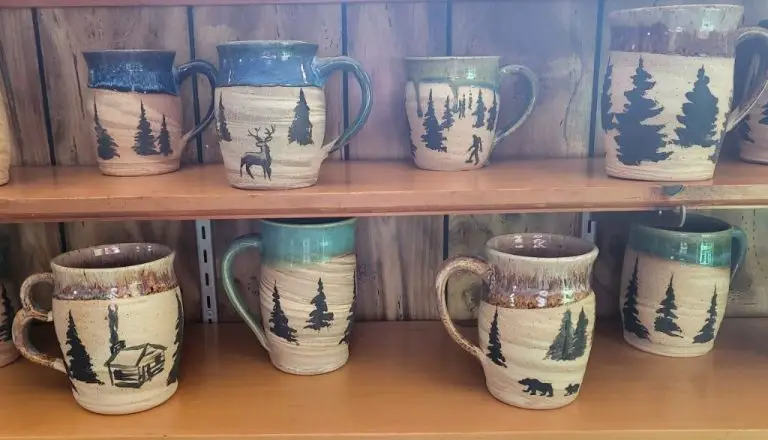
Paint Your Clay Animal
Once your clay animal has fully dried and hardened, it’s time to bring it to life with paint! Acrylic paints work great for painting clay sculptures. Make sure to choose acrylic craft paints that are designed for painting pottery, rather than standard acrylic artist paints. Craft paints will flex as the clay sculpture moves without cracking.
Gather a few acrylic paint colors to match the palette of your animal. You’ll want a base coat that matches the main color of your creature, along with some darker and lighter shades for details. Consider colors that bring out the unique texture and form of the clay too.
Select a few paint brushes to apply the acrylics. Round brushes work well for broad strokes over smooth surfaces, while flat and angled brushes can create sharper lines and details. Make sure the bristles are synthetic and designed for acrylics.
Start by painting a base coat over the entire sculpture with your main color. Let this dry fully before adding additional layers. Build up shadows and dimensions with darker acrylics. Add highlights and finishing details with lighter colors. Refer to photo references of your animal for realistic colors.
Once satisfied with the paint job, finish up by sealing the clay animal with a protective acrylic sealant. This will protect the paint and give your sculpture a nice glossy sheen! Handle gently while drying.
With quality acrylics and some patience, you can paint a lively, vivid animal sculpture! Let your imagination run wild with colors.
Make a Base
Once your clay animal sculpture has completely dried and hardened, it’s time to attach it to a base. The base helps stabilize and secure the sculpture for display. There are several options for creating a base:
- Wooden base – Cut a piece of wood (plywood, block, etc) into a square or circle shape. Attach the sculpture to the wood by applying a strong glue or epoxy. Allow to fully dry before displaying. Wood provides a solid, stable base.
- Clay base – Use air dry modeling clay to shape a base that matches or complements the sculpture. Attach the two clay pieces together seamlessly while wet, then allow to dry. This creates an attractive, cohesive piece.
- Found object – Consider using a found object or recycled material as a creative base. For example, an old book, box, stone, seashell, etc. Attach with hot glue or other strong adhesive.
- Acrylic base – Pour clear acrylic resin into a mold or container, let harden halfway, push the feet of the sculpture into the acrylic then allow it to fully dry. This creates the effect of the animal emerging from or standing on acrylic.
Get creative with your display base and have fun showcasing your clay animal sculpture! Choose a base style and method that fits the character and theme of your artwork.
Enjoy Your Creation
After spending time crafting your clay animal, you’ll want to make sure it lasts for years to come. Here are some tips for taking care of your clay creation:
- Avoid exposing it to extreme temperatures or direct sunlight, which can cause cracking.
- Dust it gently with a soft brush to keep it clean.
- Consider spraying it with an acrylic sealant if it will be handled a lot.
- Store it in a safe place where it won’t get bumped or dropped.
Clay animals also make wonderful gifts or decorative accents. Some ideas include:
- Give as a gift to a young child – they’ll love the creativity.
- Use as part of a nature-themed centerpiece.
- Display on a bookshelf or desktop.
- Add to a curio cabinet or shelf.
- Make a collection of different clay creatures.
However you choose to use your clay animal, take pride in the creativity and care that went into making it.