How Do You Make Clay For Terracotta?
Terracotta refers to clay-based ceramics that are fired at low temperatures to harden them. The term comes from the Italian word terra cotta which literally means “baked earth.” Terracotta has an earthy red-orange color since the iron oxide naturally found in clay oxidizes and turns red when fired.
Making your own clay at home for terracotta and ceramic projects can be easy and rewarding. With just a few simple ingredients like clay powder, sand, and water, you can produce clay with the ideal consistency and properties for sculpting, handbuilding, throwing pots, and firing pieces.
The basic materials you’ll need are clay powder, sand, and water. Optional additives like grog or cornstarch can help strengthen and improve the clay. The process involves mixing the ingredients, kneading the clay, testing the consistency, and allowing time for the clay to hydrate before using. With some practice, you’ll be able to create high quality, reusable clay perfect for all your terra cotta creations.
Types of Clay
There are three main types of clay used for creating ceramics and pottery: earthenware, stoneware, and porcelain. Each type has distinct properties that make it suitable for different applications.
Earthenware clay contains lower levels of fluxes than stoneware or porcelain clays, making it less vitrified and more porous when fired. It can be fired at lower temperatures, typically between 1000°F-2200°F. Earthenware has an earthy colored terra cotta look and feels permeable to the touch. It’s best for items like flower pots, decorative pieces, and tiles.
Stoneware clay is denser and less porous than earthenware due to higher flux content. It becomes vitrified and watertight at higher firing temperatures between 2200°F-2400°F. Glazes melt and fuse better to stoneware. The finished look is impermeable with a glossy surface. Stoneware is ideal for kitchenware, crockery, and ceramics exposed to daily use.
Porcelain clay is the most refined with high kaolin content, resulting in a white color when fired. It becomes fully vitrified and non-porous at ultra-high firing temperatures above 2200°F. Porcelain has very low permeability, making it ideal for items like tableware, sculptures, and technical laboratory equipment. The high glass content gives porcelain a smooth glossy finish.
Best Clay for Terracotta
When it comes to making your own clay for terracotta pottery and sculptures, earthenware clay is the best type to use. Here are some of the reasons why earthenware clay is ideal for terracotta projects:
Low Firing Temperature – Earthenware clay requires lower firing temperatures, usually around 1800°F to 2100°F. This makes earthenware clays easier to fire at home without a professional kiln.
Porosity – Earthenware clays tend to be porous after firing, which is a desirable quality for flower pots and vessels that need drainage. The porosity also allows earthenware pieces to breathe.
Affordability – Among modeling clays, earthenware is very affordable and accessible. The basic ingredients – clay, water, and grog – are cheap and can often be sourced locally.
Workability – Earthenware clay is flexible and smooth, making it easy to wedge, roll, throw, hand build and sculpt.
Earthenware clay also comes in a variety of natural earthen hues like terracotta red, brown, buff, grey and white. You can leave the clay natural or add pigments to achieve diverse colors in your finished pieces.
Sourcing Clay
There are a few different options for sourcing clay depending on your location and resources:
Finding clay locally
Look for natural clay deposits in your area. Good places to check are stream banks, construction sites, exposed soil embankments, and lakeshores. For the best quality clay, dig down into the deposit at least 12-24 inches to find the clay that hasn’t been exposed. Backyards can also be a good place to find clay if you have exposed soil.
Ordering clay online
There are many reputable online retailers that sell high-quality pottery clay. Some common types are stoneware, earthenware, porcelain, and terra cotta clay. Make sure to order a few pounds extra than you need in case you want to experiment with additives or have excess waste.
Recycled clay options
You may be able to recycle clay from broken pottery or leftover clay. Reconstitute it by crushing the pieces and soaking them in water to soften. Then knead thoroughly to work the clay until smooth and uniform. Be aware that recycled clay has slightly different properties than fresh clay.
Basic Clay Recipe
The basic clay recipe for making your own clay for terracotta pottery only requires a few key ingredients. The most important component is the clay body itself. Choose a clay that is high in kaolin content. Kaolin clay fires to a light color which is ideal for terracotta.
The ratio of clay to water is critical. Use around 1 part water to 2 parts clay by weight. Start by wedging or kneading dry clay powder. Slowly mix in water until you achieve a smooth, elastic consistency. The clay should be moist but should not stick to your hands excessively. Too little water makes clay difficult to work with, while too much water results in pots that slump or crack easily while drying.
Some clays benefit from the addition of grog or other fillers. Grog is crushed terracotta added to improve texture and durability. Up to 30% grog by weight can be added if the clay body is prone to cracking or spalling. Other fillers like sand or crushed granite may also be added in small amounts.
Optional Clay Additives
While the basic clay recipe of clay, water, and hardener is sufficient, some potters like to add optional ingredients to modify the clay properties. Some common additives include:
Sand
Adding sand makes clay more porous, easier to wedge, and quicker to dry. The sand particles create spaces in the clay that allow air to pass through. Sand is a good choice for handbuilding and sculpture. Too much sand can weaken clay at high firing temperatures.
Grog
Grog is ground up fired clay that has been crushed into a powder or granular form. It helps reduce shrinking and cracking. Grog makes clay stronger and more resistant to thermal shock. It also makes clay more porous. Common grog additions are 10-25% by weight.
Vermiculite
Vermiculite is a lightweight mineral that expands greatly when heated. Adding vermiculite to clay makes the clay lighter in weight and appearance. It improves insulation and can help prevent cracking during firing. Too much vermiculite weakens clay strength.
Kneading the Clay
Once you have mixed the clay ingredients together, the clay must be thoroughly kneaded to evenly distribute moisture and ensure proper consistency. Kneading clay is called “wedging” and it is an important technique to incorporate.
To properly wedge clay, cut the clay block in half. Then slam and squeeze the two halves together. Repeat this process over and over, continually cutting the clay in half and forcing it back together. This action pushes air bubbles out of the clay and mixes the moisture evenly throughout.
Use the palm of your hand to press into the clay and push outward. Flip the clay over and repeat on all sides. Continue wedging for 5-10 minutes until the clay feels soft, smooth, and unified. Avoid overworking the clay to the point that it becomes dry. The clay should be malleable without being sticky.
Kneading clay thoroughly before using it for pottery is crucial for an even moisture distribution and smooth, cohesive texture. Take the time to properly wedge and knead the clay for best results.
Testing Clay Consistency
Once you’ve kneaded your clay thoroughly, you’ll want to assess the moisture level and make any necessary adjustments. Grab a small handful of clay and form it into a ball. The clay should be firm yet malleable, not dripping wet or cracking apart. Press your thumb into the center of the clay ball – it should hold its shape without slumping.
If the clay is too wet, you’ll need to add a bit more clay powder or grog to absorb excess moisture. Knead it in until the clay reaches an optimal consistency. If the clay is too crumbly or dry, mist the batch with a spray bottle of water and knead it in to achieve a smooth, workable texture.
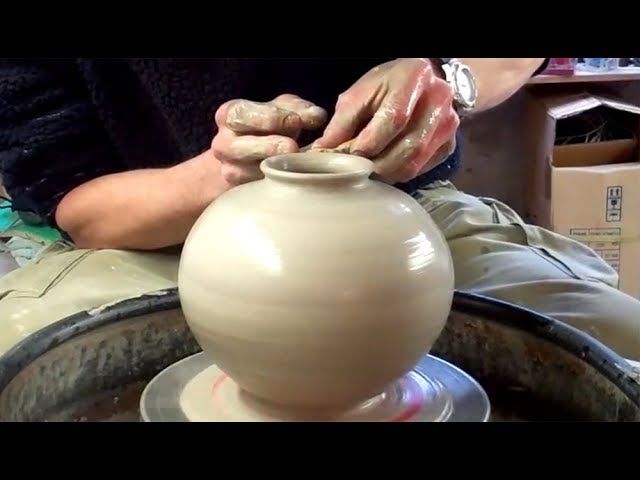
The ideal clay consistency resembles soft, supple dough. When squeezed, it should bend and stretch without cracking or sticking to your hands. This pliable texture makes the clay perfect for throwing on a pottery wheel or hand-shaping into sculptural forms.
Storing Clay
Properly storing your clay is crucial for keeping it usable for a long time. Here are some tips for storing clay:
Seal clay in an airtight container or plastic bag. This prevents moisture loss which can cause clay to dry out and become difficult to work with. For best results, remove as much air as possible from the container before sealing.
Consider adding a damp sponge or towel to the sealed container. This creates a moist environment which keeps clay supple. Be sure not to add too much moisture as this can make clay sticky.
Store clay in a cool, dark place. Heat and light can cause clay to dry out faster. A basement or closet is ideal. Avoid areas that experience big temperature swings.
For long term storage, keep clay slightly wetter than normal use consistency. As moisture evaporates over time, this ensures it doesn’t get too dry.
Check clay every few months and add water droplets as needed if it starts to stiffen. Knead well to evenly distribute moisture again.
With proper sealing and storage location, clay can be stored for 6 months or longer before needing to be reconditioned.
Next Steps
Tips for Using Homemade Clay for Terracotta Projects
Once you’ve made your homemade clay, here are some tips to help you use it successfully for terracotta projects:
- Knead the clay fully – Make sure to knead the clay thoroughly before using it. Any lumps or dry spots can cause cracking when firing.
- Avoid air bubbles – When shaping your clay, press out any air bubbles that form. Air bubbles can expand during firing and cause cracks or bursts.
- Use slip – Brush some watered-down clay slip over joints and seams to help pieces stick together securely.
- Let pieces dry slowly – Allow wet clay pieces to dry slowly to prevent cracking. Place them in a plastic bag or cover with plastic to retain moisture.
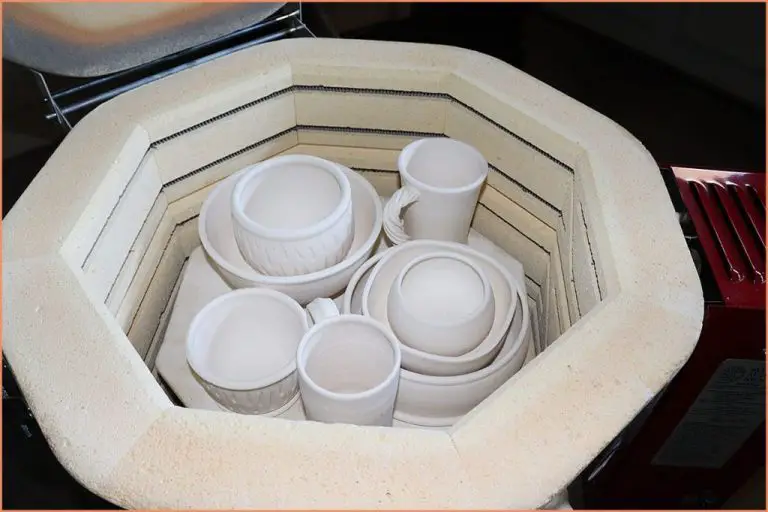
- Fire properly – Follow proper firing instructions, especially when using a kiln. Firing too fast can cause cracks or explosions.
- Seal when finished – Once fired and fully dry, seal the terracotta with a food-safe sealant before use.
- Expect natural variation – No two homemade clay pieces will be exactly the same. Embrace the handmade, organic variations.
With the right techniques, homemade clay can produce beautiful, durable terracotta pottery and sculptures. Just take it slowly, follow proper procedures, and enjoy the process!

