How Do You Make Homemade Clay At Home?
Making your own homemade clay at home has many benefits over buying premade clay. Homemade clay is often cheaper, as you can use ingredients commonly found in your kitchen pantry. It also allows for full customization in colors, scents, and textures. The process of making clay from scratch can also be a fun arts and crafts project, especially for kids. There are a few main types of clay that can easily be made at home.
Two common homemade clay recipes use baking soda, cornstarch, and water or flour, salt, and water as the base ingredients. Baking soda clay is light and airy while salt dough made from flour is denser and more resistant to crumbling. Both recipes can be molded, shaped, dried, and painted for easy craft projects. More complex clays can also be made from paper, sawdust, or natural materials like clay dug from the ground. Overall, homemade clays offer versatility and control compared to buying premade clay.
Ingredients
The main ingredients for making homemade clay are simple and easy to find. They include:
- Flour – All-purpose flour or white flour works best. The gluten in the flour provides stretchiness and strength to the clay (Source).
- Salt – Table salt or sea salt helps harden the clay as it dries (Source).
- Water – The water hydrates the clay and allows you to knead it into the desired consistency.
- Food coloring (optional) – For colored clay, add a few drops of food coloring and knead it in. Start with just a drop or two (Source).
- Essential oils (optional) – A few drops of essential oils will scent the clay. Lavender and lemon are popular choices (Source).
Required Equipment
Making homemade clay requires just a few simple pieces of equipment that you likely already have in your kitchen. The main items needed are:
A large mixing bowl – You’ll need a spacious bowl to mix all of the ingredients together. Use a large mixing or salad bowl. Glass, metal, or plastic bowls all work well.
A spoon for mixing – A sturdy wooden or metal spoon is ideal for thoroughly incorporating the ingredients.
Containers for storing – Once your clay is mixed, store it in airtight containers like plastic food storage containers or glass jars until ready to use. This helps prevent the clay from drying out.
Mixing the Clay
The key to making great homemade clay is getting the consistency just right. According to The Spruce Crafts, the mixing ratio is 2 cups flour, 1 cup salt, 2 tablespoons vegetable oil, and 3/4 to 1 cup water [1]. Start by combining the dry ingredients of flour and salt in a large bowl. Then add the wet ingredients of oil and water gradually while mixing. Use your hands or a spoon to mix until a smooth, Play-Doh like dough forms.
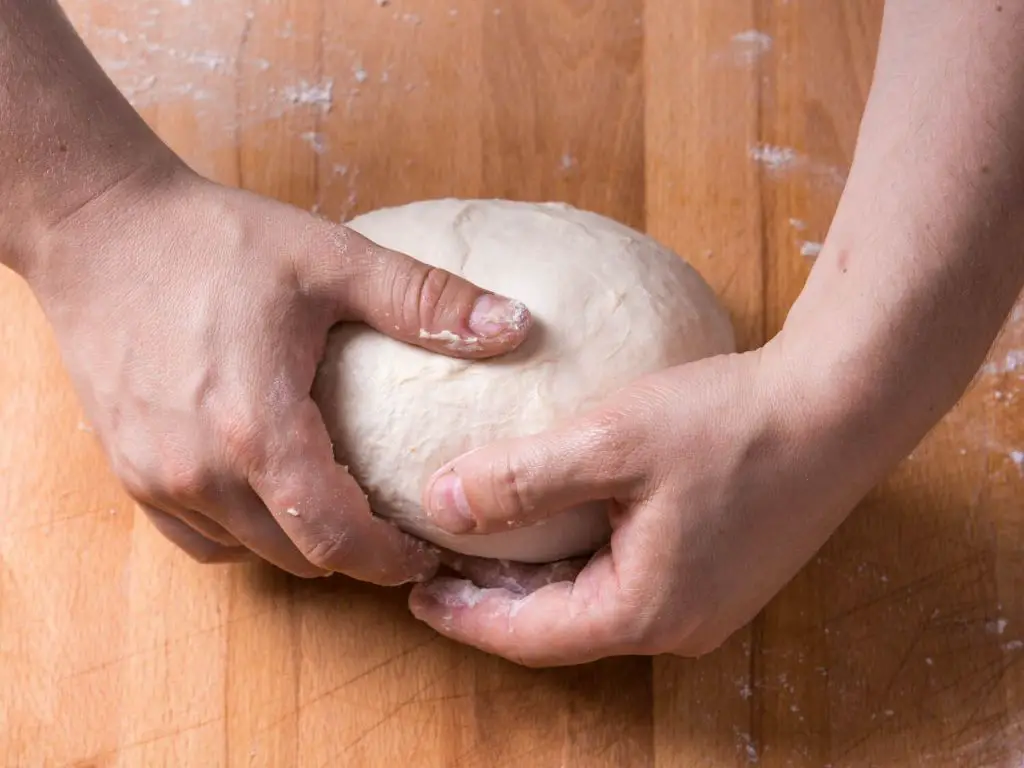
Kneading the clay well is also important. Knead the clay for a few minutes to remove any lumps. According to Unsophisticook, the clay should be smooth, pliable, and not sticky to the touch after kneading [2]. Continue kneading for 5-10 minutes until the clay reaches an even, doughy consistency. The clay is ready when you can form a ball that doesn’t stick to your fingers.
Adding Color
One way to add color to homemade clay is by using natural food dyes. Certain spices and foods can infuse the clay with bright, vibrant hues. According to Eat Play Paint, you can use ingredients like turmeric, charcoal, and paprika to tint the clay yellow, black, and red. Only a small amount is needed to achieve the desired color. Start with 1⁄4 teaspoon of powdered spice per 1 cup of clay. Mix the powder into the clay, kneading it thoroughly until the color is evenly distributed. Add more powdered dye 1⁄4 tsp at a time if you want a deeper shade.
Liquid food coloring can also be used to tint homemade clay. Gel food colors tend to produce the most vibrant results. Add a couple drops at a time, kneading until blended. Too much liquid dye can make the clay sticky, so use a light hand. Start with no more than 10-15 drops per 1 cup of clay. Acrylic paint can tint clay as well, but may alter the clay’s texture if too much is added.
Scenting the Clay
You can add essential oils to give your homemade clay a lovely scent. Some of the most popular oils for scenting clay are lavender, lemon, peppermint, rose, and vanilla (Polymer Clay and Essential Oils).” When adding essential oils, use only 1-2 drops per 1 oz/28g of clay. Any more than this can make the clay too soft.
Add the drops of oil to the clay after you’ve mixed the dry ingredients and before adding the liquid. Thoroughly knead the oil into the clay to distribute the scent evenly. The scent will continue to develop as the clay cures (Essential Oils in Polymer Clay – Is a Diffuser Possible?).
Take care not to go overboard with the essential oils. Too much can prevent the clay from curing properly. Start with 1 drop per ounce and add another if you want a stronger scent after testing a small baked sample.
Storing the Clay
Proper storage is important for keeping your homemade clay from drying out before you’re ready to use it. Air dry clay should be stored in an airtight plastic bag or container. Make sure to press out any excess air before sealing the container.
According to the article How To Store Air Dry Clay, air drying clay should be stored at room temperature in a cool, dark place away from any direct sunlight or heat sources. Too much heat can cause the clay to dry out faster. Storing clay in the refrigerator is not recommended as this can change the clay’s consistency.
For best results, store homemade clay in an airtight plastic container or ziplock bag. Make sure to remove as much air as possible before sealing the container. Store clay at room temperature away from heat and sunlight to prevent premature drying.
Projects to Make
Homemade clay is perfect for beginner crafters and kids because it’s easy to work with and doesn’t require special tools. Some simple projects to try include:
Simple Clay Crafts for Kids
Kids will have fun making simple beads, shapes like hearts and stars, miniature bowls, and small figurines of animals or creatures. Let their imagination run wild! Sculpting with clay helps develop fine motor skills.
More Advanced Sculptures
Those with some clay experience may enjoy crafting more elaborate figurines, vases, bowls, jewelry, and sculptures. Take inspiration from Skillshare’s guide and Pinterest for unique projects.
Holiday Ornaments
Make custom holiday decorations out of clay for Christmas, Easter, Halloween, and more. Ornaments are an easy beginner project. Craft names, dates, shapes, figurines and let harden before painting.
Jewelry
One of the most popular uses of polymer clay is to create jewelry like beads, pendants, charms, earrings, and buttons. Use cookie cutters and molds to shape the clay, then bake and add finishes.
Troubleshooting
When working with homemade clay, you may run into some common issues. Here are some troubleshooting tips for the most frequent problems:
Clay Cracking as it Dries
If your clay is cracking as it air dries, there are a few things you can try. Make sure to knead the clay thoroughly so there are no air pockets. You can also try adding a bit more oil during kneading to make the clay more flexible. Wrapping clay in plastic wrap or putting it in an airtight container while drying can help prevent surface cracking as well (Source).
Clay Not Drying Properly
Clay that remains sticky or soft, even after an extended drying time, usually indicates that too much oil or other liquid was used in the recipe. Try using less oil or water when mixing up a new batch to improve drying (Source). You can also try baking the clay at a very low temperature (110°F) to help drive out excess moisture.
Mold Growing on Clay
If you notice mold growing on the surface of your clay, there are a few ways to prevent it. Make sure to thoroughly knead the clay and use ingredients that are fresh. Store clay in an airtight container and avoid exposing it to heat or humidity which can allow mold to develop more readily (Source).
Conclusion
In conclusion, making homemade clay at home is a fun and easy craft that has many benefits. This article reviewed the simple process of mixing together a few basic ingredients that can likely be found around the house. The resulting clay can be used for a variety of creative projects and imaginative play.
Playing with homemade clay has developmental benefits for children, enhancing their sensory experience, motor skills, and self-expression (source). Using clay engages multiple senses – touch, sight, sound, and smell. Molding the clay develops hand-eye coordination. The open-ended nature of clay play encourages creativity and problem-solving.
Even for adults, working with clay can be a relaxing, stress-relieving hobby. The textures and scents are therapeutic. Sculpting works out fine motor skills, and completing projects boosts a sense of accomplishment. Whether young or old, playing with homemade clay stimulates imagination and unstructured creativity.
Following the steps in this article, anyone can make their own clay at home. The projects you can create are endless – try making simple pots, figurines, jewelry, wall art, and more. Have fun unleashing your inner artist!