How Do You Make Homemade Clay For Sculpting?
Sculpting with homemade clay can be a fun and creative hobby for both kids and adults. Homemade clay has many benefits over storebought clay. It’s inexpensive, easy to make with common household ingredients, and allows you to create a clay in any color you want. Sculpting with homemade clay allows you to tap into your imagination and create unique arts and crafts projects with custom colors and textures.
The benefit of using homemade clay for sculpting is that you can control exactly what goes into it. Storebought clays often contain chemicals, oils, and preservatives. With homemade clay recipes you can use simple, natural ingredients like flour, salt, water, cream of tartar, and food coloring. This allows you to create non-toxic clay that’s safe for kids. Homemade clay also costs a fraction of the price of manufactured clay. Just a few simple ingredients can produce large amounts of clay for sculpting endless creations.
Ingredients
There are two main types of homemade modeling clay – salt dough clay and no-bake clay. The ingredients for each type are slightly different.
Salt Dough Clay
The main ingredients for salt dough clay are:
- Flour
- Salt
- Water
The basic ratio is 1 part salt to 2 parts flour. Then add water gradually until you achieve the desired consistency. Some recipes also include a small amount of oil for added flexibility.
No-Bake Clay
The main ingredients for no-bake clay are:
- Cornstarch
- Conditioner or lotion
- Water
The basic ratio is 1 part cornstarch to 1 part conditioner or lotion. Then add water as needed. Glycerin can also be added for stretchiness.
Recipe #1
This simple clay recipe requires just 2 ingredients – flour and salt. It results in a smooth, soft clay that’s perfect for sculpting.
Ingredients
- 2 cups flour
- 1 cup salt
Instructions
- Mix the flour and salt together in a large bowl.
- Gradually add 1 cup of water and knead together until a dough forms.
- If the clay is too sticky, add a bit more flour. If it’s too dry, add drops of water.
- Knead the dough for 3-5 minutes until smooth and elastic.
Texture
This clay has a smooth, doughy texture. It’s easy to work with and mold into sculpted shapes.
Recipe #2: The Basic Homemade Clay
Here is a simple recipe for a basic homemade clay that’s easy to make and great for beginner sculptors:
Ingredients
- 2 cups baking soda
- 1 cup cornstarch
- 1 1/4 cups cold water
Instructions
In a medium saucepan, stir together the baking soda and cornstarch until well combined. Slowly pour in the cold water while stirring continuously with a spoon. Keep stirring over medium heat for 2-3 minutes until the mixture thickens to a clay-like consistency.
Remove from heat and allow to cool slightly before kneading the clay on a flat surface for a few minutes until smooth and uniform in texture.
Properties
This homemade clay is smooth, soft, and easy to sculpt. It air dries well overnight or can be baked at 200°F for 2 hours to harden it. The neutral color allows for painting or adding color once dry. Store unused clay in an airtight container in the fridge for up to 3 weeks.
Recipe #3
This recipe uses just a few simple ingredients to make a smooth, high-quality homemade clay perfect for sculpting detailed pieces.
Ingredients
You’ll need:
- 2 cups baking soda
- 1 cup cornstarch
- 1.5 cups water
- 2 tablespoons vegetable oil
- Food coloring (optional)
Mixing Instructions
In a medium saucepan, whisk together the baking soda and cornstarch. Stir in the water and oil and continue mixing over medium heat for 3-5 minutes until it thickens to a doughy consistency. Remove from heat and let cool slightly before kneading thoroughly with your hands until smooth and uniform in texture. Divide into portions and knead in food coloring if desired.
Texture and Properties
This homemade clay recipe produces a smooth, pliable dough that holds its shape well when sculpting. The texture is similar to store-bought polymer clay. Figures made with this clay will air dry hard within 24 hours. The finished sculptures can be painted once fully dried and hardened.
Storing the Clay
Proper storage is important for maintaining the quality and shelf life of homemade clay. Here are some tips for storing clay:
Keep it sealed– Store clay in an airtight container like a plastic bag or Tupperware. Seal it well to prevent air exposure and drying out.
Refrigerate it– For best preservation, store clay in the refrigerator. The cold temperature will slow down drying.
Use moisture-absorbing packs– Add a damp paper towel or terra-cotta clay humidifier pack to the storage container. This will help retain moisture.
Allow airflow– If refrigeration is not possible, store clay at room temperature with the container slightly open or pierced to allow airflow. This prevents condensation buildup.
Watch for mold– Check clay regularly for mold growth, which appears as color changes or fuzzy spots. Discard any molded clay.
Expect 1-2 months shelf life– Properly stored, homemade clay will last 1-2 months before drying out or spoiling. For longer storage, consider freezing portions
Sculpting Techniques
Once you have created your homemade clay, it’s time to start sculpting. There are many different tools and techniques you can use to shape, smooth, and add texture to your clay sculptures.
Tools for Sculpting
Some common sculpting tools include:
- Modeling tools – Metal or wooden tools with different shaped tips for indenting, smoothing, shaping
- Loop tools – Metal tools with a curved loop tip to refine curves and hollows
- Ribbon tools – Flexible metal strips used to smooth and blend
- Clay shapers – Rubber tipped tools for smoothing without leaving marks
- Clay cutters/wires – For cutting and slicing clay
- Rolling pins – For rolling out flat slabs of clay
Shaping, Smoothing, Texturing Methods
Some techniques for working with the clay include:
- Pinching – Using your fingers and thumbs to pinch and pull the clay into shape
- Coiling – Rolling clay into coils then stacking together
- Scoring – Cutting lines into the clay to help adhesion when attaching pieces
- Smoothing – Blending seams together with water and tools
- Texturing – Adding patterns using tools or household objects
- Cutting/carving – Using wire loops or clay cutters to remove clay
Experiment with different tools and techniques to create unique textures and shapes with your homemade clay sculptures.
Baking/Drying the Clay Sculptures
Properly drying your clay sculptures is an important final step before painting or using them. You have two main options – air drying or baking in an oven. Here are tips for each method:
Air Drying
Air drying your sculptures is the cheapest and simplest option. Just set your finished pieces out at room temperature and allow 1-2 weeks for them to fully dry. Avoid direct sunlight which may cause cracking. Ensure the sculptures are dried all the way through before painting or they may break down over time.
Baking
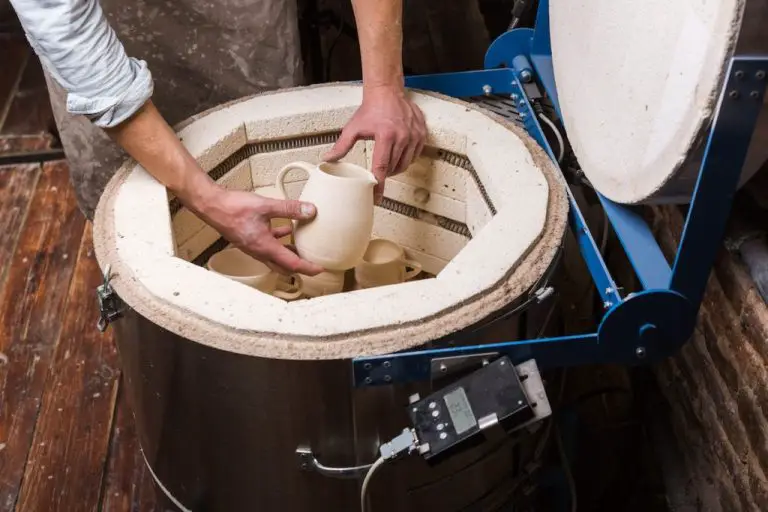
You can speed up the drying process by baking your sculptures in the oven. Bake at 200°F for 30-60 minutes depending on thickness, checking regularly. They are ready when the surface is dry to the touch and no indentations are left when gently pressed. Let cool completely before handling. Bake in short increments if concerned about cracking from too much heat at once.
No matter which drying method you choose, check your sculptures are completely dry before painting or continued handling to avoid damaging your artwork. If needed, you can bake again after painting as well to fully set the colors.
Painting and Coloring Your Clay Sculptures
Once your clay sculpture has been properly baked or air-dried and hardened, it’s time to add color and bring it to life. There are several paint types that work exceptionally well on polymer and air-dry clays.
Acrylic Paint
Acrylic paint is the most popular choice for coloring sculptures. It provides excellent coverage, dries quickly, and is water-soluble so it’s easy to clean up. Acrylics also come in countless colors and finishes – from neon brights to metallic sheens.
Oil Paint
Oil paints blend smoothly and provide rich, vivid colors on baked polymer clay. Just be sure to allow sufficient drying time between layers. Turpentine or mineral spirits can help remove oil paints from clay.
Watercolor
Watercolors create soft, delicate colors on clay but have little covering power. Best for lightly tinted washes or translucent effects. Allow layers to fully dry before adding more paint.
In terms of technique, maintain lighter pressure at first when brushing on colors. Slowly add pressure for an even coat. Use quick brushstrokes and avoid overworking one area. Let layers dry before adding more paint. Acrylics and oils can be thinned with water or medium for smoother blending.
Lastly, finish off your painted sculpture with a clear acrylic sealant or varnish. This protects the colors and gives a uniform glossy or matte look. Apply 2-3 thin coats, allowing drying time between each.
Conclusion
Making your own homemade clay can be a fun and rewarding process. With just a few simple ingredients like flour, salt, water, and oil, you can create clay that is perfect for sculpting creations.
When making the clay, be sure to mix the ingredients well and knead thoroughly to achieve the right consistency. The clay should be smooth, pliable, and not too sticky. Take the time to experiment with different ingredient ratios to find your ideal homemade clay recipe.
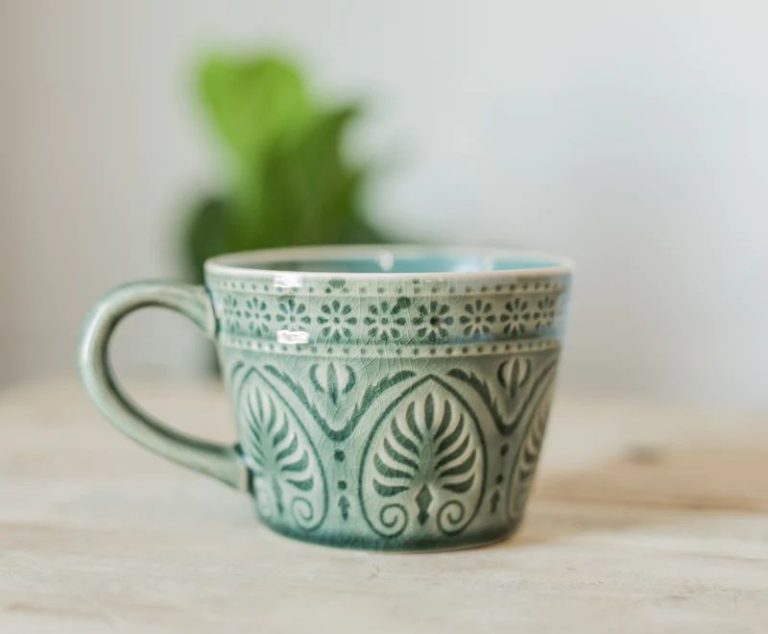
Sculpting with homemade clay allows endless creative possibilities. Let your imagination run wild and sculpt animals, fantasy creatures, abstract sculptures, jewelry, bowls, cups, and more. The clay can be formed into any shape using your hands or basic sculpting tools.
To achieve the best results, work on a clean smooth surface like wax paper or a ceramic tile. Allow sculptures to air dry completely which can take 1-2 days. You can also bake in a low oven to set the sculpture. Brush with acrylic paints or liquid clay for color.
With the right homemade clay recipe and some sculpting practice, you can create amazing artistic works out of simple pantry ingredients. Making your own clay is not only economical, but also incredibly fun and satisfying.