How Do You Make Paper Clay For Pottery Repair?
Paper clay is a versatile ceramic material composed of clay and paper pulp. While traditional clay shrinks significantly when dried and fired, paper fibers act to minimize the shrinkage of paper clay. This makes it an ideal material for repairing ceramics and pottery.
The addition of paper creates an extremely pliable clay that maintains its shape well. Paper clay can be used to fill cracks or holes in damaged ceramics and pottery. When paper clay is dried and fired, it shrinks slightly and hardens to bond strongly with the clay body of the original ceramic object. The result is a durable, seamless repair that is much less prone to cracking or breaking.
Paper clay repair can restore the structural integrity and appearance of unfinished greenware and bisqueware. It can also be used for repairs to finished glazed pieces. The paper fibers burn away completely during firing, leaving behind only high-quality fired clay. Paper clay is suitable for delicate repairs or large fillings, making it a versatile material for professional ceramic artists and hobbyists alike.
Benefits of Paper Clay
One of the main benefits of paper clay is that it is strong and flexible. Unlike regular clay, paper clay contains cellulose fiber from recycled paper. This fiber reinforcement makes paper clay much more durable and less prone to cracking and breakage than regular clay both before and after firing.
The fibers allow paper clay to be stretched and bent to a certain degree without cracking, making it great for creating ceramic pieces with details or thin extremities that may be prone to chipping or damage. Paper clay’s flexibility also makes it ideal for making repairs and additions to existing unfired or bisque fired ceramic pieces.
Ingredients
The primary ingredients in paper clay are cellulose fiber, clay, and water. The cellulose fiber comes from recycled paper, typically shredded newspaper, computer paper, or even paper towels. Paper clay can be made with any type of clay body, such as earthenware, stoneware or porcelain. The water hydrates the clay and binds it to the cellulose fibers. Here’s an overview of the key ingredients:
Cellulose Fiber (Recycled Paper)
The cellulose fiber gives paper clay added strength and flexibility compared to regular clay. It allows the material to bend and flex without cracking when dry. Shredded newspaper is commonly used since it breaks down well, but any recycled paper product will work.
Clay
The clay acts as the plastic binder in paper clay. Any natural clay can be used, such as stoneware, earthenware, porcelain, or commercially prepared clay blends. The type of clay determines the firing temperature and other properties of the final paper clay material.
Water
Water hydrates the clay and allows it to bond with the cellulose fibers. The amount of water controls the consistency and workability of the paper clay. A balance of clay and water is needed to achieve optimal smoothness, elasticity and strength.
Required Materials
To make paper clay, you will need the following materials:
-
Food processor – A food processor makes quick work of blending the paper into the clay mixture.
-
Mixing bowl – Use a large bowl that can hold at least 5 cups of ingredients to mix the paper clay.
-
Scale – A digital kitchen scale allows you to accurately measure the dry ingredients.
-
Spoon – Use a sturdy spoon such as a wooden spoon to mix the paper clay.
In addition to the materials above, you will also need clay, paper, and water which are covered in the ingredients section.
Paper Clay Recipe
The basic paper clay recipe only requires two ingredients – clay and paper. Here is the ratio to use:
- 1 part paper (e.g. torn or shredded paper)
- 3 parts clay (any fired clay body like stoneware or earthenware)
To make enough paper clay to repair multiple ceramic pieces, aim for:
- 2 cups torn or shredded paper
- 6 cups (1.5 lbs or 680g) clay
This will give you around 3 lbs or 1.5 kg of paper clay, which is sufficient for most small scale pottery repairs.
Mixing Instructions
Once you have all the ingredients and materials ready, it’s time to mix the paper clay. The process is simple but requires some elbow grease:
Start by blending the pulp fiber and water in a large container or bucket. Use your hands to break up any clumps in the pulp until it’s fully dispersed in the water. The mixture should have an oatmeal-like consistency.
Next, add the dry clay powder bit by bit, mixing it into the pulp slurry. Mix with your hands or a spoon to incorporate the clay fully. Keep adding more clay until it reaches the consistency of bread dough.
Now comes the kneading. On a clean surface, knead the mixture thoroughly for 5-10 minutes until all ingredients are well incorporated. The paper clay should be smooth, with no lumps remaining. Knead longer for greater plasticity.
Once the paper clay is fully mixed, it’s ready to use for repairs! Store any unused clay in an airtight container.
Using Paper Clay
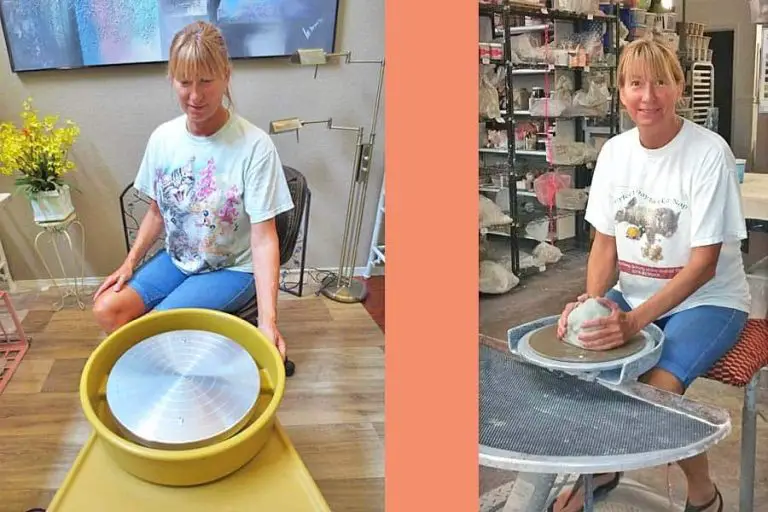
One of the great benefits of paper clay is how soft and workable it is. Unlike regular clay that can be quite firm and challenging to manipulate, paper clay has a soft, malleable texture similar to modeling clay. This allows for easy bending, folding, coiling and shaping of the clay. You can roll out slabs, pinch and pull into forms, make pots on the wheel, hand build and freely sculpt complex forms with ease. The clay maintains its shape without sagging or slumping while drying.
This soft, pliable consistency makes paper clay ideal for repairs and additions on existing unfired clay pieces. Seamless patches can be molded and blended into the surface. Extra clay can be shaped using the same techniques as the original construction. The flexible nature of paper clay is incredibly versatile for any application requiring forming, filling, smoothing and shaping.
Paper clay’s workability lends beautifully to pottery repair work. Its texture and handling allows you to gently press it into cracks, build up damaged areas, and meld new sections into existing pieces with sensitivity and care. For major reconstruction, paper clay can be used to remake missing parts from scratch. The clay bonds well to the original clay body, creating a unified whole after firing. With practice, repairs can be made nearly invisible.
Applying to Repairs
Once your paper clay is mixed, you can use it to repair broken or damaged ceramic pieces. Press the putty firmly into any cracks, holes, or missing sections in the pottery. Fill the damaged areas completely.
Make sure to press the paper clay deep into the recessed areas to ensure it adheres properly. Apply a little at a time and build up thin, even layers. Allow each layer to dry slightly before adding more. This prevents cracking or flaking.
Smooth the paper clay gently with your fingers or a soft rubber tool to blend it into the surrounding ceramic surface. Feather and taper the edges so they integrate seamlessly with the existing contours of the piece.
Take care not to smear the repair over any painted or glazed areas on the pottery. Keep the putty contained within the damaged sections only.
Allow the applied paper clay to dry completely before smoothing or refining the repairs further. Additional water can be brushed over the surface to blend and soften seams as needed.
Drying and Firing
After your paper clay repairs have been applied and shaped, it’s important to allow them to air dry fully before firing. Be patient as drying time can take up to several days or longer in humid conditions. Avoid drying paper clay repairs in direct sunlight or with added heat like a hair dryer, as this can cause cracking. The paper in the clay needs to dry slowly and evenly.
Once your paper clay repairs are completely dry, they are ready for firing. Paper clay requires a low firing temperature, usually between cone 04 and 06 which equals a range of 1652-1830°F or 900-1000°C. The exact temperature depends on the clay body and ingredients used in your recipe. Test sample tiles first to determine the ideal temperature. Firing higher than these low temperatures can cause bloating. Monitor the kiln closely and allow sufficient hold time for items to fully mature at the peak temperature.
After firing, repairs made with paper clay will be strong and permanent. Allow items to cool fully in the kiln before removing. Then your pottery repairs and additions will be ready to use!
Tips and Variations
Paper clay is very versatile and can be customized in many ways. Here are some tips for modifying the recipe and using paper clay effectively:
Additives to strengthen, extend work time
Certain ingredients can be added to paper clay to alter its properties:
-
Add a few tablespoons of Epsom salts to strengthen dried paper clay. The magnesium in the salts interacts with the cellulose fibers.
-
Mix in a aqueous dispersion of acrylic polymer, such as Liquitex, to make the clay more flexible and workable.
-
Include a small amount of gum arabic to help paper fibers bond together, reducing cracks and making a smoother surface.
-
Add glycerin or a few drops of olive oil to keep the clay moist and delay drying time.
-
Stir in a commercial thickener like Vee Gum to give more time for shaping and sculpting.
Be careful not to over-modify the clay, as too many additives can weaken it. Test small batches first.


