How Do You Make Porcelain Mix?
Porcelain is a type of ceramic that is known for its white color, translucency, and strength. It is made from a blend of clay, feldspar and quartz fired at very high temperatures. The process of making your own porcelain mix allows you to fully customize the ingredients to achieve your desired qualities in the finished porcelain pieces.
Making your own porcelain involves carefully measuring and mixing the component ingredients, then wedging or kneading the mixture to achieve an even distribution. The porcelain mix must then be rested, tested and refined until the perfect blend is created. Firing the mix at extremely high temperatures bonds the materials to produce hardened porcelain.
There are many benefits to making your own porcelain rather than buying premade porcelain clay. Creating your own mix allows you full control over the aesthetic qualities, such as color and texture. You can experiment with different ingredients to achieve translucent, plastic, or ultra-white results. Mixing your own also provides cost savings compared to buying premixed porcelain. Additionally, making your own mix ensures you know exactly what ingredients go into the clay rather than relying on generic commercial mixes.
Ingredients
The three main ingredients in porcelain clay body recipes are kaolin, ball clay, and feldspar. Each clay serves a specific purpose in the porcelain mix.
Kaolin clay, also known as china clay, is a white firing clay that provides porcelain with its beautiful white color and brightness. It has a fine particle size that gives porcelain its smooth texture. Kaolin makes up approximately 25-50% of the clay body.
Ball clay is more plastic and sticky than kaolin clay. It gives porcelain strength and plasticity during throwing and shaping. Ball clay comprises approximately 25% of the clay body.
Feldspar is a flux that lowers the maturation temperature of porcelain so it vitrifies at cone 10-11 (2300°F-2350°F). It enhances the white color and gives porcelain its glassy translucent quality. Feldspar makes up approximately 25% of the clay body.
A typical porcelain recipe consists of 25% kaolin, 25% ball clay, 25% feldspar, and 25% silica such as flint or fine grog. However, these ratios can be adjusted based on the specific materials used and the desired results.
Additional Materials
In addition to the main ingredients of clay, feldspar, and quartz, there are some other additives that can be used to modify the porcelain clay body:
Silica – Silica is added to increase the strength and durability of the fired clay. It helps prevent warping and promotes vitrification. Add 10-20% silica to the dry mixture.
Grog – Grog is pre-fired clay that has been crushed into a granular form. It is used to open up the clay body, reduce shrinkage, and prevent cracking and warping. Add 10-30% grog to the dry mix.
Calcium Carbonate – Calcium carbonate is used to increase the whiteness of the fired clay and promote vitrification at lower temperatures. Add 5-15% calcium carbonate to the dry ingredients.
The amounts of additives to use will depend on the specific properties you want the porcelain to have. Start on the low end first and then increase until you achieve the desired qualities.
Sourcing Materials
When making porcelain, you’ll need to source the raw materials. There are a few options for where to buy clays and additives:
Specialized ceramic suppliers – These shops cater specifically to potters and ceramic artists. They will have a wide selection of clays, minerals, and chemicals used for mixing clay bodies. Buying from ceramic suppliers ensures you’re getting high-quality ingredients tailored to pottery use.
Art supply stores – Many art stores sell pottery clays and materials. While the selection may not be as extensive as a ceramic specialty shop, art stores can be more convenient if you have one nearby.
Online retailers – There are online stores that sell pottery and ceramic supplies, allowing you to easily purchase ingredients for porcelain. However, you may pay higher shipping costs and won’t be able to see materials in person.
When buying materials, consider purchasing in bulk for savings and convenience. Buying 50-100 lbs bags of clay rather than 5 lbs will provide cost savings per pound. You can also mix larger batches of porcelain when starting with bulk quantities of ingredients. However, storage space is a consideration, as large bags take up more room. Ultimately, choose bulk versus smaller quantities based on your studio space, budget, and projected porcelain needs.
Mixing Equipment
There are a few different types of equipment that can be used to properly mix porcelain clay:
Blungers
Blungers are industrial-sized mixers that efficiently blend large batches of porcelain. They consist of a rotating drum with blades that thoroughly incorporate water into the dry ingredients. Blungers provide the power and capacity needed for commercial porcelain production.
Pug Mills
Pug mills are another common mixing option for studios and small factories. The pug mill’s rotating blades cut through and fold the ingredients together into a smooth, homogeneous mixture. Pug mills are batch mixers that can process a few hundred pounds of porcelain at a time.
Buckets and Drill Mixers
For hobbyists and artists making porcelain in small quantities, a five gallon bucket and a drill with a mixing attachment often does the trick. While manual mixing in buckets is labor intensive, it allows full control over the process for small test batches.
Mixing Process
The mixing process for porcelain clay is critical for achieving the right consistency and avoiding flaws in the final fired pieces. Proper measuring, mixing order, and technique can make all the difference.
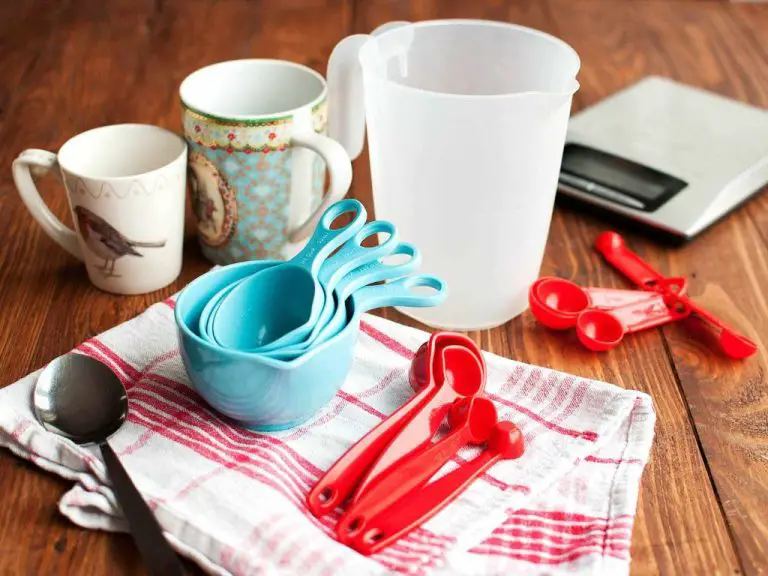
First, accurately measure out the dry ingredients according to the recipe. Use a digital kitchen scale for precision. It’s important to be precise at this stage – too much or too little of any one ingredient can throw off the entire mix.
Next, add the liquid ingredients to the dry blend. Pour the water and deflocculant additives into the center of the dry pile. Using a palette knife or spatula, blend the liquids into the powder until a uniform, thick paste is formed.
Now is when the heavy mixing begins. There are a few options for mixing equipment – power mixers, plaster mixers, or simple hand wedging. Thoroughly knead, wedge, and fold the clay on a wedging table or with the mixing tool. The goal is to distribute ingredients evenly and get rid of any air pockets in the clay body.
Pay attention to the consistency as you mix – add small amounts of water if needed to reach a smooth, elastic, dough-like texture. The clay should be moist but not sticky. Keep mixing for 5-10 minutes once the right consistency is reached.
Finally, do a quick test to check for air bubbles. Flatten a grape-sized piece of clay into a thin pancake. There should be no visible pinholes or cracks – this means air has been properly worked out of the mix.
Testing Mix
Once you have created your porcelain clay body recipe and mixed up a test batch, the next step is testing the mix. There are a few key properties you want to evaluate:
Viscosity and Workability
The viscosity refers to the thickness of the clay. Porcelain clay mix should have a smooth, creamy texture that is moist but not runny. You want it to be plastic enough to hold its shape when formed, while still being workable without cracking or becoming too stiff.
Test the viscosity by wedging a small ball of clay in your hands. It should become supple without sticking too much to your fingers. Throw a test vessel on the wheel – the walls should hold their form without slumping or becoming too stiff to manipulate.
Plasticity
Plasticity refers to how flexible and elastic the clay is. It should be able to stretch and compress without tearing. Test plasticity by rolling a coil and bending it into a circle. The two ends should meet smoothly without cracking.
Test Firing
The real test is firing test tiles made with your clay body recipe. Let the test pieces dry thoroughly, then bisque fire to cone 04. Check for any cracks, warping, or other issues. Next, glaze and high fire some tiles to cone 6. Evaluate the fired surface, color, and glaze fit. Adjust your recipe as needed based on the test results.
Tweaking Recipe
After doing test tiles, you may find that you need to adjust the recipe. Based on the test results, you can tweak the mix as needed. For example, if the test tiles are too porous, you may need to increase the amount of kaolin or feldspar. If the tiles are too brittle, you may need more ball clay or bentonite. If the color is off, adjusting the amounts of stains and other colorants can help achieve the right hue.
The intended firing temperature will also impact the recipe. For higher temps, the clay body needs more flux to vitrify properly. So for cone 6 firings, use more feldspar than for cone 04. The amounts of other ingredients like ball clay may need reducing at higher temps as well. Do test firings at the intended cone to dial in the right balance. Keep detailed notes so you can reproduce results.
Tweaking the recipe takes some trial and error. But being methodical and tracking changes will help optimize the porcelain clay body for your needs. With the right balance of ingredients, you can achieve workable consistency, good plasticity, vitrification and strength after firing.
Storing Clay
Properly storing your clay is crucial for keeping it workable and preventing contamination. Here are some tips:
Keep your clay in an airtight plastic bag or container. This prevents the clay from drying out and becoming tough and difficult to work with. Make sure to squeeze out any excess air before sealing the container.
Store clay in a cool, dark place. Warm temperatures can cause clay to dry out faster. Sunlight can also bleach and alter the color of natural clays over time.
Clean your hands thoroughly before handling stored clay. Oils from your skin can permeate the clay and make it harder to work with later. Avoid cross-contamination by dedicating specific tools and surfaces for clay work.
If storing clay long-term, consider wrapping it in plastic cling wrap first, then placing it in a sealed bag or bin. This provides extra protection against drying out.
Monitor stored clay and remix with water as needed to retain proper consistency. If clay dries out too much it can be difficult to rehydrate.
Discard any clay that smells bad, changes color, or shows signs of mold growth. These are signs that the clay has spoiled and is no longer usable.
Conclusion
Making your own porcelain clay mix is a fun and rewarding process that unleashes creative possibilities. By sourcing quality ingredients, using proper equipment, and carefully following the mixing steps, you can craft a custom porcelain clay body perfect for your projects.
This homemade mix allows complete control over the plasticity, strength, color and firing temperature of your porcelain clay. The ability to tweak the recipe over time enables you to hone in on your ideal clay body. Once mastered, this versatile mix can be used for handbuilding or throwing on the wheel to create an endless variety of porcelain objects.
While it takes some initial effort to source materials and practice mixing, the long term benefits are well worth it. You’ll gain knowledge of clay composition, have consistent and inexpensive access to your preferred clay, and unlock new creative avenues to explore. Making your own porcelain mix allows you to get your hands dirty and intimately understand the material you use for sculpting and ceramic art.


