How Do You Rehydrate Old Clay?
Clay is a natural material composed of fine-grained minerals such as silica and alumina. When mixed with water, clay becomes pliable and can be shaped into pottery, sculpture, or other crafts. Over time, unused clay will dry out as the water evaporates. This causes the clay to become hard, brittle, and difficult to work with. Rehydrating or adding water back to the clay returns it to a flexible, workable state. There are several simple methods to rehydrate clay at home.
This article will discuss how to evaluate the condition of dried clay and the most effective techniques for restoring flexibility so you can reuse old clay for new projects. We will cover rewetting clay in water, using plastic wrap, employing a dedicated clay rehydrator, kneading, proper storage, and when to discard clay.
Assess the Condition of the Clay
The first step when rehydrating old clay is to examine its current condition. Check the clay carefully for any signs that it needs rehydrating such as brittleness, cracks, or dryness. Brittle clay that is prone to cracking will easily crumble or snap when bent. Dry clay typically appears lighter in color and feels rough or chalky to the touch.
Also consider how long ago you last used the clay. If it has been exposed to the open air for more than a year, chances are that the clay dried out and needs restoring. The longer ago the clay was last used, the more moisture it has likely lost.
Remove Any Hardened Areas
Dry clay can develop hardened areas that will not soften up even when rehydrating. Using a knife, clay tool, or even sandpaper, carefully scrape or sand these chunks off. Removing these lumpy bits will prevent them from negatively affecting the consistency of the fresh clay once rehydrated. Scrape off just the firm, permanently dried areas and leave the rest of the clay body intact.
Submerge in Clay
Fully submerging the clay in water is an effective rehydration technique. Use a plastic container or bucket and fill it with enough room temperature water to completely cover the clay. The time needed will depend on the thickness of the clay pieces.
Thinner pieces may only require an hour or two of soaking whereas thicker clay blocks could need 6 hours or overnight to fully rehydrate. Check the clay periodically by removing a piece, drying off the excess water, and seeing if it has regained its flexibility. If it still feels too firm, continue soaking the clay until properly softened.
Wrap in Plastic
Once the clay has soaked in water, lift it out and remove any excess water. Wrap the clay tightly in plastic wrap or place it in a sealable plastic bag, removing as much air as possible before sealing it closed. The plastic will help the clay retain the water it has absorbed.
Leaving the clay wrapped in plastic wrap or a bag after submersion in water will help it more effectively absorb moisture. This will allow the clay to soften and become pliable throughout without letting dry spots form on the exposed areas. The plastic prevents water loss due to evaporation.
Use a Clay Rehydrator
For the easiest and most precise clay rehydration, use a clay rehydrator device. These commercially available devices automate the entire process for you and are especially handy for drying out large volumes of clay. A clay rehydrator uses temperature and humidity controls to restore moisture levels. It also includes a timer so you can monitor and control exactly how long the clay is reconstituted.
The key benefits of using a clay rehydrator include:
- Precise control over time and temperature for consistent results
- Capability to rehydrate large batches of clay evenly
- Automated process instead of labor-intensive hand kneading
- Avoid under or over-hydrating delicate modeling clays
When shopping for a clay rehydrator, look for one designed specifically for polymer clay. Features like humidity injection, rotating trays or drums, and digital timers and controls will provide reliable, hassle-free rehydration.
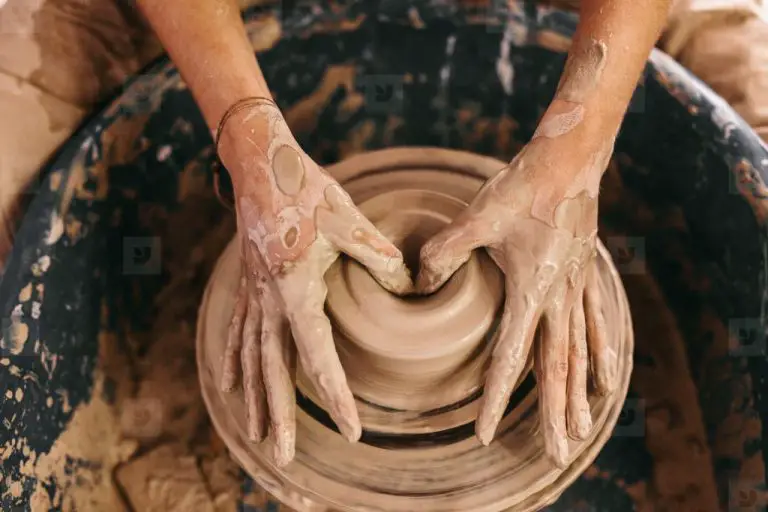
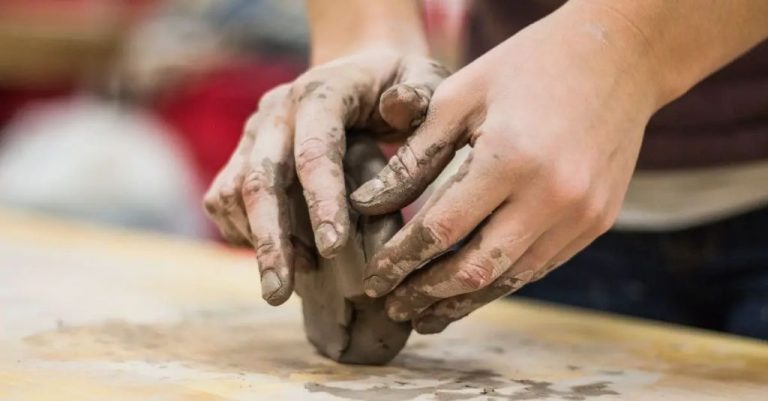
Knead the Clay
Once the clay has been completely submerged in water and rehydrated, it is important to thoroughly knead it. Kneading serves multiple purposes when reviving old clay:
– It equalizes the moisture throughout the clay, ensuring there are no dry spots remaining.
– Kneading vigorously helps remove any air pockets that may have developed while the clay was drying out.
– It makes the clay smooth, uniform, and softens it to be flexible enough to work with.
Ideally, you should knead rehydrated clay for 5-10 minutes to get it into an optimal state before trying to use it for any projects or artwork. Work the clay with your hands, folding it over itself repeatedly to blend everything together. Avoid over-kneading though, as this can introduce more air pockets. Once the clay feels uniformly soft, smooth, and elastic it is ready for use.
Test Flexibility
Rehydrated clay should be soft, flexible and moldable once again before it is ready to reuse. Test the clay to ensure it now has a smooth, pliable consistency. Do this by pressing into the clay, rolling it into balls, or trying to bend it without any cracking. If the clay is still brittle or not soft enough, repeat the soaking and kneading process until it passes this flexibility test.
Going forward, be sure to properly seal the clay in airtight containers and keep it away from direct heat or sunlight, which can dry it out. If you notice the clay drying out again, repeat these rehydration steps as needed.
Store Properly
Once you have rehydrated your clay, it is important to store it correctly to maintain the moisture and suppleness. Failure to properly store clay can result in it drying out again and losing its malleability.
Clay should always be stored in an airtight container or plastic bag. By sealing the container or wrapping the clay in plastic, the moisture will remain trapped inside, which is key to keeping the clay pliable and soft. Airtight containers with secure lids, resealable plastic bags, thick plastic wrap, etc. are all good storage options.
Storing clay refrigerated can further extend its life and freshness. The cold temperature slows down the drying process, while the condensation and humidity levels preserve moisture. Store your clay in the refrigerator in an airtight container or double wrapped in plastic and check it periodically. Refrigeration can maintain pliable clay for many months.
When to Discard Clay
There may come a point when it’s best to discard hardened clay and start fresh with a new block. Some signs that clay is too far gone include:
- A foul, rotten odor: Frequent freezing and thawing can result in microbial growth, leading to a rancid smell. This indicates the material is breaking down.
- Deep, unfixable cracks: If cracks are present through the entire block, even after rehydrating, the clay’s structural integrity has been severely compromised.
- Complete inelasticity: If the clay remains brittle and inflexible after attempts to revive it, it has lost its plasticity and workability.
If any mold or signs of hazardous materials appear, discard the clay immediately. Safety should be the top priority.
Repeated cycles of drying, hardening, and unsuccessful rehydrating efforts signal that a block of clay has reached the end of its usefulness. At that point, it’s best to carefully dispose and replace with a fresh supply.