How Do You Sculpt A Horse With Polymer Clay Book?
Sculpting horses and other animals out of polymer clay is a fun and creative hobby for both beginners and seasoned sculptors. Polymer clay is an easy-to-use and versatile sculpting medium that allows for intricate details and realism. With the right materials, techniques, and a bit of practice, anyone can sculpt beautiful polymer clay creations.
The main materials needed to sculpt a horse out of polymer clay are the clay itself, armature wire, various sculpting tools, acrylic paints, and glaze or varnish. There are several high-quality polymer clay brands to choose from in a variety of colors. For sculpting tools, you’ll need wooden skewers, loop tools, silicone tipped tools, and various sculpting blades. With these essential materials, you’ll be ready to start sculpting your polymer clay horse.
In this comprehensive guide, we’ll cover every step of sculpting a horse out of polymer clay. You’ll learn how to make the armature base, build up the clay for the body and head, refine the details of the face and coat, and finish the sculpture with painting and sealing. Whether you’re a beginner looking to pick up a new artistic hobby or an experienced sculptor seeking tips and techniques, this guide will provide all the knowledge needed to successfully sculpt your own polymer clay horse. Let’s get started!
Selecting Polymer Clay
Polymer clays come in a variety of brands and formulations, each with different properties that impact their texture, workability, strength after baking, and more. When sculpting a horse or other complex shape, consider the following properties when selecting your clay:
- Flexibility – More flexible clays are easier to bend and shape around an armature, especially for delicate areas like legs and tails. Popular flexible clays include Sculpey III and Premo Sculpey.
- Firmness – Firmer clays hold their shape better when sculpting details like the face and mane. Cernit and Fimo clays tend to be quite firm.
- Texture – Some clays have a very smooth texture, while others are formulated to mimic the slight graininess of porcelain or stone. Test different clays to find the texture you prefer.
For sculpting a horse, aim for a balance of flexibility and firmness. Clays like Premo or Souffle are good all-around options. You’ll need about 1-2 pounds of clay for a 6-8 inch horse sculpture. Buy extra clay in case you make mistakes and need to re-sculpt any areas.
Sculpting Tools
When sculpting with polymer clay, having the right tools makes the process much easier. There are several key tools you’ll want to have on hand:
Metal tools like sculpting knives and loop tools are essential for sculpting fine details and textures. Sculpting knives have various shaped blades that allow you to cut, slice, and scrape the clay. Loop tools have rounded, blunt ends that can be used to smooth and burnish the clay.
Acrylic roller – This tool helps soften and condition the clay, allowing you to roll out smooth sheets. The acrylic won’t stick to the clay like a wood or metal roller.
Clay softener – A liquid clay softener can be used to soften areas of clay that have become too firm, allowing you to continue sculpting details.
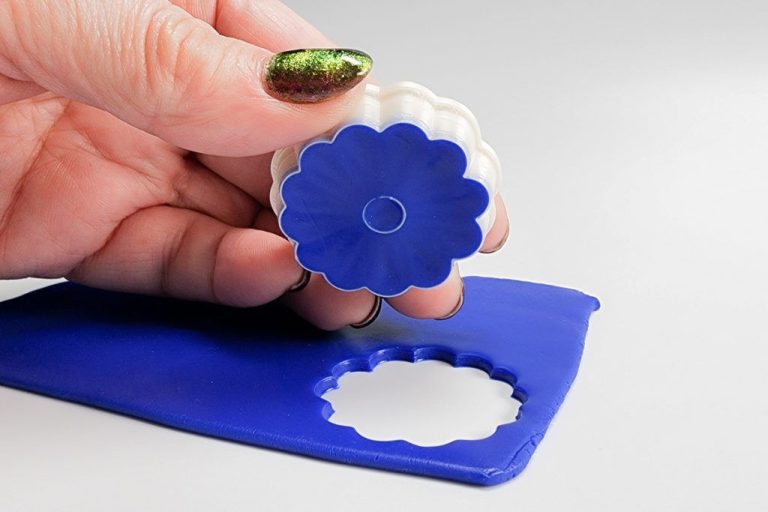
Texture sheets/molds – These tools imprint patterns and textures into the clay. They can be pressed into soft clay or rolled over with an acrylic roller to transfer the texture.
Having high quality sculpting tools makes a big difference when working with polymer clay. Invest in metal tools like loop sets and a variety of sculpting knives. Acrylic rollers, clay softeners, and texture sheets open up many possibilities for detail work. The right tools allow more creativity and control when sculpting a polymer clay horse.
Making the Armature
An armature is crucial for supporting the weight of the clay and holding the shape of your sculpture as you work on it. Without an armature, the soft clay can easily warp or sag out of shape.
You can make a simple armature using aluminum foil, wire (such as florist wire or heavier armature wire), and/or wood skewers. Twist the materials together to form the basic shape of the horse’s body – the head, neck, torso, legs, etc. Make sure to form a strong core that runs through the length of the horse’s body to support the weight of the clay.
Aim for a simplified skeleton-like framework rather than highly detailed anatomy. Focus on getting the proportions and angles of the major body parts right. You don’t need to capture every bone and joint perfectly at this stage. The armature just needs to support the clay. You will sculpt the finer anatomical details later.
Sculpting the Body
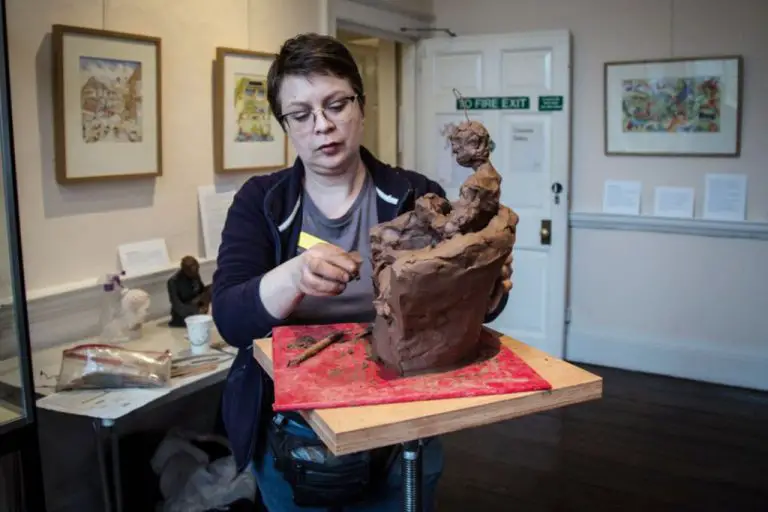
The body of the horse sculpture is created by rolling logs and balls of polymer clay. Start with a larger log of clay about 1-2 inches thick for the torso and barrel of the horse. Use your fingers to smooth and shape the log into the basic form of the horse’s body.
For the neck, roll a thinner log of clay about 1/2 inch thick. Attach this to the front of the torso log. Use your fingers to blend the seam between the neck and body. Shape the neck into an arching curve.
For each leg, roll 4 balls of clay into tapered log shapes. Attach one log to each corner of the torso to create the legs. Blend the seams and shape the legs into proper proportions.
For the head, roll a ball of clay into an oval shape. Attach this to the end of the neck log. Use your fingers to refine the shape of the head and create the poll, jaw, muzzle and other facial features.
Finally, roll a small tapered log for the tail and attach it to the back of the torso. Blend the seam and shape the tail as desired.
Continue refining the entire body of the horse sculpture by smoothing seams and shaping the legs, neck, head and other parts into realistic horse proportions.
Sculpting the Details
The details of your horse sculpture like the ears, eyes, nose, mane and tail will bring it to life. Carefully sculpt each of these features to capture the realism and personality of your horse.
The ears should be shaped and sized proportionally, sculpting the inner ridge and curves. The eyes can be simple indented circles, or try sculpting a realistic eye with a round iris and pupil. Sculpt the nostrils with flattened ovals and add curves for a flared nose.
For the mane and tail, roll out thin snakes of clay and apply them in strands, twisting and curling them slightly. Use a clay shaper or needle tool to define individual hairs. You can add braids or ribbons for extra flair.
Sculpting the muscles, joints and veins will add realism. Study horse anatomy to understand the shapes and patterns. Indicate shoulder, hip and thigh muscles with rounded bumps and grooves. Veins can be thin snakes applied to the neck and legs.
Take your time on the fine details and keep sculpting tools handy for refinement. These small touches will breathe life into your polymer clay horse sculpture.
Baking Instructions
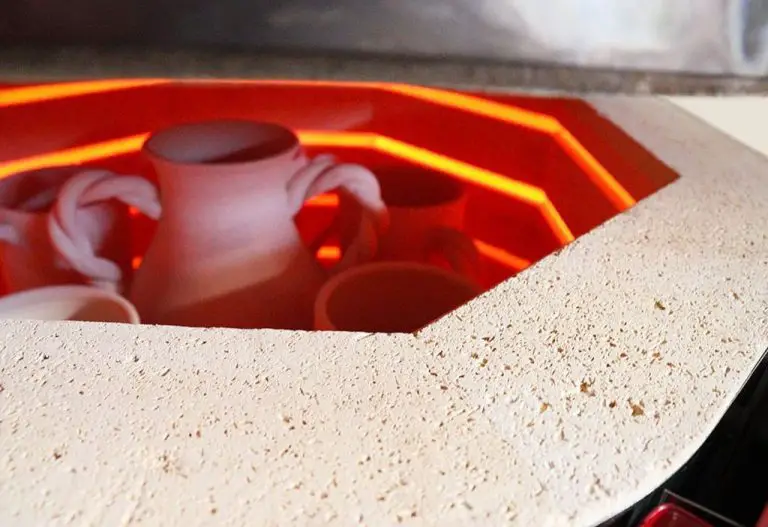
Proper baking is essential for polymer clay sculptures to reach their full strength and durability. Follow the manufacturer’s instructions for baking temperature and times.
For Original Sculpey bake at 265°F for 15 minutes per 1/4 inch of thickness. Allow sculptures to cool completely before applying additional layers of clay or baking again.
Premo Sculpey requires baking at 275°F for 15 minutes per 1/4 inch of thickness. Let cool fully before additional baking.
Sculpey III bakes at 275°F for 15 minutes per 1/4 inch of thickness. Cool completely post-baking prior to applying new clay or rebaking the sculpture.
Fimo Professional bakes at 265°F for 30 minutes per 1/4 inch of thickness. Allow to return to room temperature before rebaking to add layers or details.
Regardless of brand, baking times may need to be extended for large or thick sculptures. Allowing polymer clay sculptures to cool fully between baking stages is key to preventing cracking.
Painting
Acrylic paints are the best type of paints to use when painting polymer clay sculptures. Acrylics bond well to the clay surface and bring out fine details. Acrylics also dry fast, so you can work quickly.
When selecting acrylic paints, choose colors that complement the clay color. For example, browns, grays, and whites work well for horse sculptures. Lean towards matte or satin acrylics instead of glossy. The matte paint helps the sculpture look more realistic.
Use acrylic painting techniques to add definition and realism to the sculpture. Dry brushing is an effective technique for horses. To dry brush, dip a soft brush into paint and wipe most of it off on a paper towel. Then, lightly brush it over the raised areas of the sculpture. This creates subtle highlights that enhance muscle definition and creates depth.
Varnishing
After your polymer clay sculpture is painted, it’s time to add a protective varnish coating. Varnishing your sculpture serves two important purposes – it protects the paint finish and adds an extra layer of shine or gloss.
There are a few different types of varnishes to choose from:
- Gloss varnish – This gives your sculpture an ultra shiny, glass-like finish. It really makes the colors pop.
- Matte varnish – This gives a flatter, more subtle finish. It reduces glare and sheen.
- Satin varnish – This is halfway between a gloss and matte finish, giving a soft subtle sheen.
Be sure to apply the varnish in a well-ventilated area according to the product instructions. Multiple thin coats are better than one thick coat. Allow each coat to fully dry before adding the next. With a nice varnish finish, your polymer clay sculpture will have great protection and an attractive shine.
Displaying Your Horse Sculpture
After putting in all that hard work sculpting your horse, you’ll want to proudly display it for all to see. Here are some tips for properly showcasing your polymer clay sculpture:
Stands and Risers: A simple and elegant way to display your sculpture is on a stand or riser. This elevates your work to eye level and gives it a finished look. Search for clear acrylic stands, wooden plinths, or lucite risers to complement your sculpture.
Shadowboxes: For a more enclosed display, consider a shadowbox. These showcase the sculpture while protecting it from dust and damage. Line the inside bottom with felt or velvet for a polished look. Some shadowboxes feature built-in lighting as well.
Shelves: Clear off a shelf, mantel, or other space to exhibit your horse prominently. Curate the area around the sculpture with books on horses or art to extend the theme.
Preserving Your Sculpture: To keep your polymer clay sculpture looking its best for years to come, avoid direct sunlight which can cause fading. Likewise, protect the piece from moisture which may cause discoloration. An occasional dusting is all that is needed to care for your creation.


