How Do You Use A Smooth Surface Clay Kit?
What is Smooth Surface Polymer Clay?
Smooth surface polymer clay is a type of polymer clay that creates a smooth, glossy finish when baked properly. It differs from regular polymer clay in that it contains ingredients to reduce surface texture and create shine.
The most popular brands of smooth surface polymer clay are Sculpey III and Fimo Professional. These clays are formulated to minimize fingerprints, reduce stickiness, and create an even surface when conditioned. They are great for achieving a polished, professional look on jewelry, sculptures, and other clay crafts.
Unlike original Sculpey and Fimo Classic, smooth surface clays do not require sanding or buffing after baking to achieve a smooth finish. The clays cure with a glossy surface right out of the oven. However, additional polishing can enhance the shine even further.
Artists often choose smooth surface polymer clays when a flawless, professional appearance is desired. The clays are excellent for jewelry-making, doll-making, miniatures, and decorative pieces. With proper conditioning and baking, they produce durable, high-quality clay crafts.
Supplies Needed
To get started on your polymer clay project, you’ll need the following supplies:
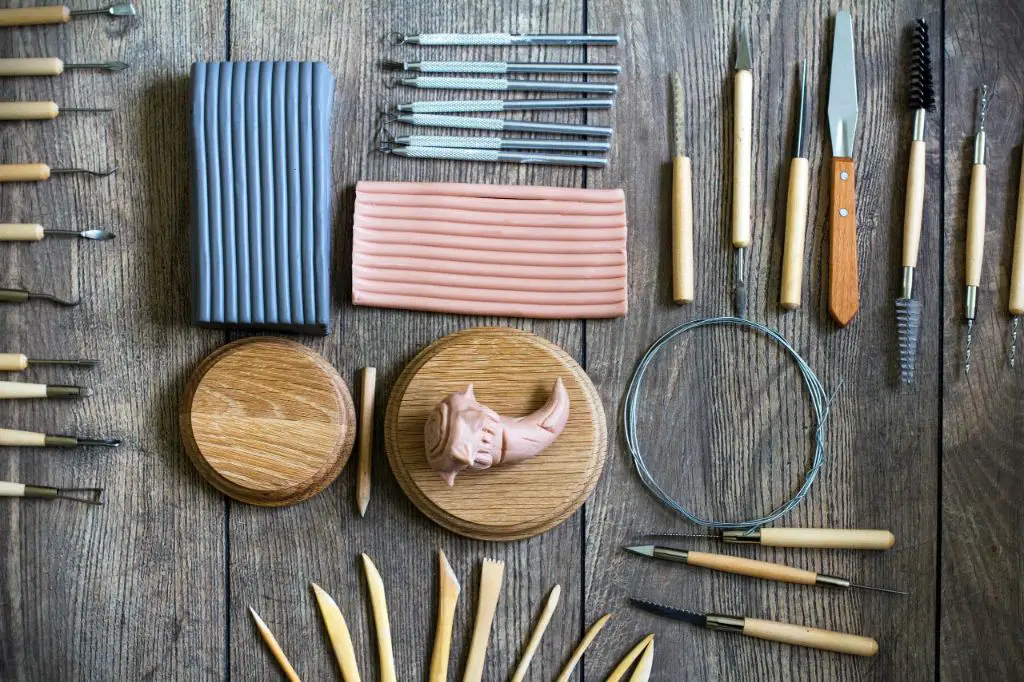
- Polymer clay – Smooth Surface polymer clay comes in a variety of colors and is smooth and easy to condition.
- Clay roller or pasta machine – This helps roll out the clay and get an even thickness when making sheets or slabs. A pasta machine works great.
- Clay sculpting tools – These tools include cutters, loop tools, dotting tools, etc. that help shape, texture, and sculpt the clay. Clay tool sets can be purchased with a variety of useful tools.
- Work surface – This can be a tabletop, ceramic tile, or acrylic sheet. It should be smooth and easy to clean.
- Oven for baking – The clay needs to bake at a temperature of 275°F to harden it. A standard kitchen oven works well.
With these basic supplies, you’ll have everything you need to start on simple polymer clay projects. As you advance, you may want to add in additional colors of clay, paints, finishes, cutters, and sculpting tools.
Conditioning the Clay
Before polymer clay can be sculpted, it needs to be conditioned to achieve a smooth, pliable consistency. New clay directly from the package is often stiff and may contain air bubbles. Thorough conditioning ensures the clay is uniformly soft and malleable so that it can be easily shaped without cracking or breaking.
There are two main methods for conditioning polymer clay:
Knead by hand: Kneading by hand is the simplest way to condition polymer clay. Roll the clay into a ball and then press down, fold and push forward with the palms of your hands. Continue kneading for 5-10 minutes until the clay has softened and become smooth and pliable. Kneading generates the friction and heat to soften the clay.
Use a machine: Clay conditioning machines or pasta machines allow conditioning polymer clay quickly and evenly. Conditioning machines have rollers to compress and shear the clay into a smooth sheet as it passes between them. Feed a chunk of stiff clay through the widest setting, fold and feed through again several times until the clay has a uniform consistency. https://www.sculpey.com/blogs/blog/types-of-polymer-clay-techniques-what-works-best
Well-conditioned clay should be smooth, soft, and malleable without any lines or creases when bent. Proper conditioning prevents cracking during sculpting and baking.
Sculpting Techniques with Smooth Surface Polymer Clay
When working with smooth surface polymer clay, there are a variety of sculpting techniques you can use to shape and detail your creations:
Rolling, Cutting, and Sculpting by Hand
The clay can be rolled flat using an acrylic roller or improvised tools like an empty glass bottle. Roll the clay to the desired thickness. Then, cut shapes using cookie cutters, craft knives, or improvised tools like cardboard. The clay can also be sculpted freehand into shapes and figures.
Texturing Tools
There are many texturing tools that can be used to add interest and realism to polymer clay sculptures. Silicon molds can impart patterns like scales or stone textures. Stamps can add patterns like wood grain, flowers, or other designs. Use texture sheets for patterns like mesh or linen. Improvise with found objects like lace or coins.
Joining Pieces
There are a few techniques for joining polymer clay pieces together. Score and slip involves scoring or roughing up the surfaces to be joined, then applying liquid clay or acrylic paint to act as “glue.” The pieces can then be gently pressed together. Liquid clay can also be used alone to fuse pieces. Bake painted-on liquid clay fully before completing the sculpture. Small attachments can simply be “glued” on with a dab of liquid clay.
Baking Instructions
When baking polymer clay, it’s important to follow the manufacturer’s recommended baking temperature and times. Sculpey clay, for example, should be baked at 130°C/275°F for 15 minutes per 1⁄4 inch of thickness (source). Typical baking times range from 15-30 minutes depending on the thickness and size of the piece.
Polymer clay can be baked in a regular oven or a small toaster oven. When using a toaster oven, space pieces apart on the rack so they aren’t touching. It’s also a good idea to bake items separately if they are dramatically different in thickness or size to ensure even baking (source).
No matter what oven is used, preheat it fully before baking clay. Baking at the proper temperature and for the recommended time will result in clay that is completely cured and safe to use.
Applying Finishes
There are several techniques for smoothing and finishing polymer clay to achieve a professional look. The main methods are sanding, painting, and applying varnishes or other sealants.
For sanding, start with a coarse grit sandpaper like 120 and work up to finer grits like 400 or 600 for polishing. Always sand in a circular motion to blend the sanded areas together. Make sure to thoroughly sand all areas including small crevices. To really polish the clay, you can finish sanding with steel wool or very fine sandpapers.
Polymer clay can be painted with acrylic paints after baking. Thin layers of paint work best. Allow each layer to dry before adding more paint. You can also layer colored clays before baking to create custom color blends in the finished piece.
There are specialized glazes made for baked polymer clay to give a glossy or stained glass-like finish. Follow glaze instructions carefully as some require an additional baking period to set the glaze. Other options are spray sealants like matte, satin or gloss varnish. Apply multiple thin coats for the best protection and shine.
Some faux finishing techniques like crackle glazes, patinas and liquid clay can create antiqued or aged looks. Experiment on clay scraps before using on a finished piece. Check for any reactions between brands when using additional products like glazes or liquid clays over baked polymer clay.
Refer to https://americanfinearts.wordpress.com/2012/08/15/how-to-smooth-your-clay-for-a-clean-finish/ for tips on achieving super smooth clay finishes.
Advanced Techniques
Once you get comfortable working with polymer clay, you can try some more advanced techniques to take your projects to the next level. Here are some techniques to try:
Making Molds
Making molds allows you to duplicate designs efficiently. You can use mold putty or silicone to make molds of found objects, 3D printed items, or clay components, then cast the polymer clay into the mold to replicate the original shape (Polymer Clay Techniques Based On Experience Level). Let the clay cure fully before removing from the mold.
Mixing Colors
You can mix custom colors by blending together different polymer clays. This takes some experimentation to achieve the right hue and saturation. Mix colors thoroughly to eliminate streaking. You can also mix clays with mica powder or alcohol inks to create special effects like metallic or pearlized colors (Types of Polymer Clay Techniques: What Works Best?).
Troubleshooting Issues
If your clay is too soft or sticky, try cooling it in the fridge for 10-15 minutes until firmer. If it won’t hold its shape, knead in some clay hardener or bake it for 5-10 minutes to firm it up before continuing sculpting. Make sure to condition any new clay added to your project to achieve a uniform texture (Enhance Your Pottery Skills: Practical Techniques for Crafting Distinctive Ceramic Art).
Project Ideas
Smooth surface polymer clay is incredibly versatile and can be used to create all kinds of crafts and decorative objects. Here are some fun project ideas to try:
Jewelry: Polymer clay is perfect for making jewelry like beads, pendants, earrings, rings, and more. Simply shape the clay into the desired form, bake, and finish with jewelry findings. Intricate patterns can easily be achieved.
Figures: Sculpt detailed figurines, miniatures, dolls, and more out of polymer clay. Bake the figures and paint to bring them to life. Polymer clay holds the finest details. Ornaments: Clay ornaments make lovely holiday decorations. Shape Christmas trees, snowflakes, stars, hearts, and more.
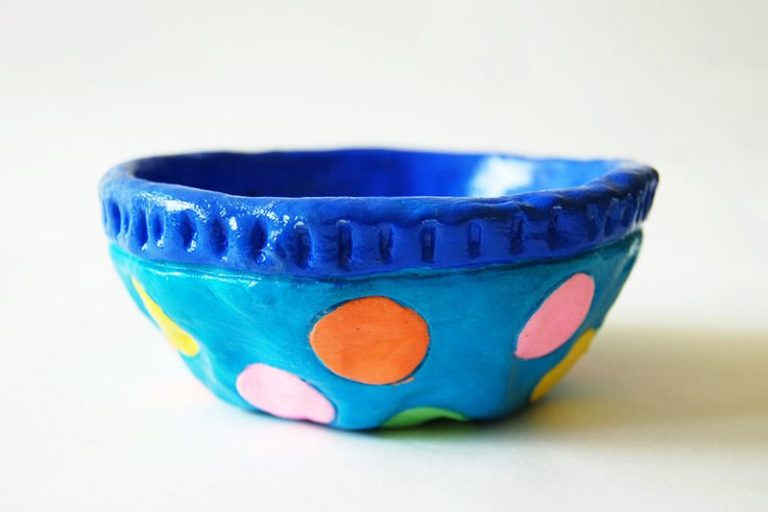
Housewares: Create functional items like bowls, coasters, boxes, magnets, tiles, and picture frames out of polymer clay. Smooth clay is ideal for making sturdy housewares.
Wall Art and Decor: Use polymer clay to form wall plaques, sconces, shelves, and 3D wall art. The lightweight clay is perfect for hanging. Imprint clay with textures for added visual interest.
The options are endless with smooth surface polymer clay. Let your imagination run wild and create unique handmade crafts and art.(Source)
Storing Leftover Clay
Properly storing leftover polymer clay is important for preserving its pliability and workability. Here are some tips for storing unused clay:
Wrap leftover clay in plastic wrap or place in a plastic bag, squeezing out any air. This prevents the clay from drying out. Store at room temperature away from direct light. Refer to this source for more on plastic wrap storage.
Place clay in an airtight plastic container. A container with a tight sealing lid creates an airless environment to keep the clay soft and workable. Keep stored clay away from heat sources. See this source on airtight storage.
Before reusing clay that’s been stored, it’s important to recondition it by kneading and warming in your hands. This restores plasticity. Old clay can be brittle but with kneading and warming it will become smooth and workable again.
Safety Tips
When working with polymer clay, there are some safety precautions to keep in mind:
Proper ventilation is very important when baking polymer clay. The fumes released can be irritating, so bake clay in a well-ventilated area away from pets and small children. Opening a window or baking in a garage can help. According to the Ceramic Arts Daily Community, “A damp sponge only works on smooth clay bodies. On a stoneware body with sand, grog, or fireclay, the sponge will remove the fine particles …”
Avoid contact between polymer clay and eyes or skin whenever possible. Wash hands after handling clay. Keep clay work surfaces clean. If irritation occurs, wash skin with soap and water. Consider wearing gloves and goggles while sculpting.
Store clay out of reach of small children. If accidentally ingested, consult a medical professional.

