How Long Does Refractory Mortar Take To Dry?
What is Refractory Mortar?
Refractory mortar is a specialized type of mortar designed to withstand extremely high temperatures without breaking down. It is made from a combination of materials that ensure it has enhanced heat resistance and insulation properties compared to standard mortars (source).
Refractory mortars are used in areas that are exposed to high heat, such as fireplaces, forges, kilns, and industrial furnaces. They are commonly used to build, repair, and maintain:
- Fireplace fireboxes
- Chimneys
- Boilers
- Kilns
- Furnaces
The key ingredients in refractory mortar are fire clay, calcium aluminate, and silica sand. These materials can withstand temperatures up to 3000°F without melting or breaking down. There are several types of refractory mortar designed for specific temperature ranges:
- High-heat mortar – good to 3000°F
- Medium-heat mortar – good to 2200°F
- Low-heat mortar – good to 1000°F
Choosing the proper grade ensures the mortar remains stable within the expected temperature conditions (source). The mortar provides insulation and seals joints between firebricks in high heat applications.
Drying Process
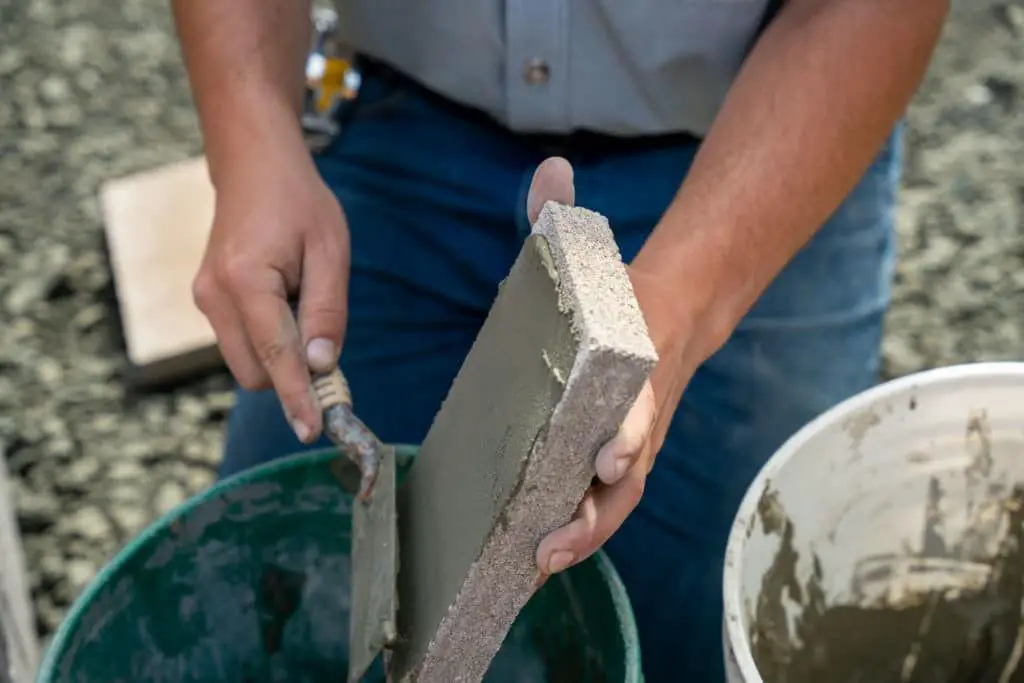
Refractory mortar dries through a process called hydration, which is a chemical reaction between the cement and water in the mix. During hydration, the cement chemically combines with water to form hydrates that bind the aggregate particles together into a solid material.
The main compounds in refractory cement responsible for hydration are tricalcium silicate (C3S) and dicalcium silicate (C2S). When mixed with water, these compounds undergo the following reactions:
C3S + H2O → C-S-H + CH
C2S + H2O → C-S-H + CH
In these reactions, the C3S and C2S combine with water to produce calcium silicate hydrate (C-S-H) and calcium hydroxide (CH). The C-S-H is the main binding agent that hardens and gains strength over time. The CH is a byproduct that contributes little to strength.
As the hydration reactions proceed, the mortar transitions from a soft, plastic state to a rigid solid. The reactions start slowing down significantly after 24 hours but can continue for weeks, gradually increasing strength.
Proper curing allows hydration to occur evenly throughout the mortar, preventing cracks and weak spots. Curing means maintaining sufficient moisture and moderate temperatures as the reactions take place.
Heat accelerates hydration while cold temperatures slow it down. So ambient conditions affect drying time. The types and ratios of compounds in the cement also affect hydration rates.
Factors Affecting Drying Time
Several key factors impact how quickly refractory mortar dries, including:
Temperature and humidity – Refractory mortars dry fastest at higher temperatures around 70-90°F. High humidity slows drying. Manufacturers recommend curing refractory cement at temps between 60-90°F if possible for optimal dry times (https://thinkhwi.com/curing-dryout-refractories/).
Type of mortar – Some refractory mortars like calcium aluminate cements dry faster than others. Check manufacturer guidelines as dry times can range from 10 hours up to 72 hours depending on product.
Thickness of application – Thinner layers 1/2″ or less dry faster than thick layers over 2″. Apply in thinner layers for faster dry times. Rutland recommends under 1/2″ for best results (https://www.rutland.com/pdfs/DataSheet/RS_211_Dry_Mix_Refractory_Mortar.pdf).
Typical Drying Times
Refractory mortar usually has an initial set time of around 24 hours after mixing and pouring. This is the time when the mortar becomes solid enough to handle without deformation. However, full cure time can range anywhere from 2 days to 4 weeks depending on the specific product, environmental factors, and thickness of application.
According to My Material Warehouse, refractory cement begins to harden within a few hours but can take multiple weeks to fully cure and reach maximum strength [1]. The curing process continues over time as excess moisture evaporates from the material.
In general, expect refractory mortar to be initially set within 24 hours but allow at least 5-7 days of curing time for most applications. Thicker applications may require 2-4 weeks to fully cure. Always follow the product instructions for recommended cure times.
Accelerating Dry Times
There are a couple techniques that can be used to accelerate the drying time of refractory mortar:
Using Dryers
Using blow dryers or heat guns can significantly reduce drying times for refractory mortar. Directing the heat gently across the outer surface of the mortar can help drive moisture out and speed up evaporation. Care should be taken not to overheat small areas, which could cause cracking. Moving the dryer frequently and keeping it 6-12 inches away from the surface is recommended (Source).
Adding Accelerators
Special mortar admixtures can be added to refractory mortar mixes to accelerate drying and shorten cure times. These accelerators work by speeding up the chemical reactions that cause the mortar to set and gain strength. They allow the mortar to be exposed to heat much sooner after application. Common accelerators used include calcium chloride and sodium silicate (Source).
Testing Dryness
There are a few methods that can be used to test if refractory mortar is dry:
Visual checks – Look at the surface of the mortar for signs it has dried. The surface should appear uniform in color and not glossy or wet looking. Cracks may begin forming as the mortar dries. (source)
Touch test – Gently press on the mortar surface with your finger. Properly dried mortar will be quite hard. If it still feels spongy or soft, it requires more drying time. (source)
Testing instruments – A moisture meter can be used to accurately measure the moisture level in the mortar. The reading should be very low, around 1-2%, once fully dried. (source)
Drying vs Curing
There is an important difference between refractory mortar simply drying versus fully curing. Drying refers to the evaporation of water from the mix, whereas curing is the process by which hydraulic chemical reactions occur to reach full strength.
Although refractory mortar may feel dry to the touch within 24-48 hours, the curing process takes much longer. Full cure is critical to achieve the mortar’s intended physical properties, abrasion resistance, and ability to withstand high temperatures. The curing process can take from 5 to 28 days depending on the specific product used.
Allowing adequate curing time prevents defects like cracks, pops, and peeling that can occur if exposed to heat too soon. Although it may be tempting to speed up project timelines, sufficient curing is necessary for refractory installations to perform as designed over the long term. Rushing the curing process can lead to early joint failure or deterioration.
Proper Curing
Proper curing is essential for refractory mortar to reach its maximum strength and performance. The curing process allows the chemical bonding and hydration reactions within the mortar to fully develop. Rushing this process by exposing the mortar to heat too soon can cause cracks as the mortar dries and contracts too quickly.
Most manufacturers recommend allowing refractory mortar to cure for at least 24 hours before heating, with 48-72 hours being ideal. This gives the cement sufficient time to fully hydrate and gain strength (Source 1). Allow even longer cure times in cool or humid conditions.
During curing, protect the mortar from freezing, rain, rapid drying, and vibration or shock. Wrapping or tenting the structure with plastic sheeting helps retain moisture. Proper curing allows the mortar to gain its full intended strength and provides maximum protection against spalling and cracking when later exposed to high heat. Do not rush the curing process. Allowing the full recommended cure time avoids early stress and ensures the refractory mortar reaches its maximum service life.
Troubleshooting
Refractory mortars can sometimes experience issues with slow drying or cracking during the drying process. Here are some common troubleshooting tips:
If the mortar is drying too slowly, first check that the conditions are appropriate. Drying should occur between 60-90°F and in low humidity. Ensure adequate ventilation and air circulation around the entire mortar area. Higher temperatures around 100°F can also be used to accelerate drying. Adding heat sources like space heaters or lamps can help if ambient conditions are too cool and damp. Avoid freezing conditions at all costs.
According to discussions on forums like mapletrader.com, the mortar ingredients and ratios can also impact dry times. Excess calcium aluminate or water content can delay drying. Start with the manufacturer’s recommended mix ratios. Only mix as much mortar as can be used in 30-45 minutes to avoid premature setting before application.
Cracking while drying usually results from curing too quickly or uneven drying conditions. Ensure temperatures are consistent across the entire mortar surface to prevent one area from drying faster. Covering the surface with damp cloths or plastic sheeting can slow the drying if it is occurring too rapidly. Curing the mortar correctly after initial drying will also minimize cracking – see proper curing techniques.
Safety Precautions
When working with refractory mortars, it’s important to take proper safety precautions to avoid potential health hazards.
Refractory mortars contain materials like Portland cement and silica that can irritate eyes, skin, and the respiratory system. Always wear proper personal protective equipment (PPE) when mixing and applying refractory mortar.
Recommended PPE includes:
– Safety goggles to protect the eyes from splashes and dust
– Dust masks or respirators to prevent inhalation of silica dust (see OSHA’s silica standards for specific respiratory requirements)
– Rubber gloves to protect the skin from irritation
Ensure proper ventilation when working with refractory mortar to reduce dust inhalation hazards. Work outdoors or near ventilation fans if possible. Avoid breathing the dust by standing upwind while mixing.
Review the product’s Safety Data Sheet (SDS) for complete health and safety information before use. For example, see the SDS from CeraMaterials.

