How To Do The Clay Cracking?
Clay cracking is a fun and creative art technique that allows you to make beautiful cracked patterns and textures on clay surfaces. It involves carving lines or designs into moist clay and then allowing the clay to dry out and shrink, which causes the carved lines to expand into cracks and fissures.
The cracked clay can then be painted or glazed to highlight the cracked design. Clay cracking is an accessible art form that requires only basic supplies like clay, carving tools, and acrylic paint. It allows for endless creativity as you can carve any type of pattern into the clay. The resulting cracked surface creates an organic, earthy look that makes each piece truly unique.
The clay cracking process and completed artwork provide a satisfying hands-on project for both novice and experienced artists. The technique develops fine motor skills as you carve intricate designs and allows for creative experimentation with different tools to make various crack patterns. Displaying your finished cracked clay artwork gives a rustic flair to any room.
Materials Needed
Creating cracked clay art requires just a few simple supplies that can easily be found at most craft stores. The main items you’ll need include:
-
Air dry clay – This special modeling clay does not require baking and will dry at room temperature. Make sure to get one that dries hard.
-
Rolling pin – Used to roll out the clay into an even flat sheet before cracking it.
-
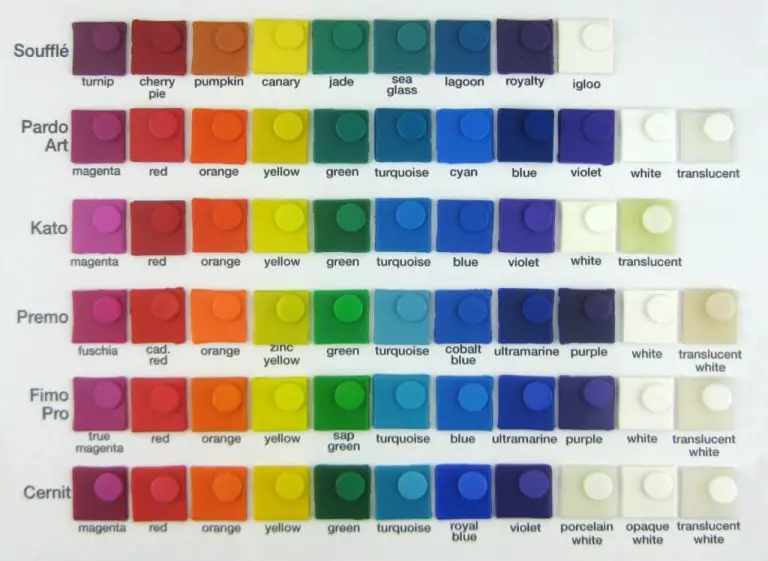
Acrylic paints – Acrylics work best for painting the finished cracked clay. Grab a few colors you’d like for your artwork.
-
Paintbrushes – An assortment of sizes will allow you to fill in small cracks and cover larger areas.
Outside of these key supplies, you may also want to have a surface to work on that can be protected, some water for smoothing the clay, and sealant to finish off the piece.
Preparing the Clay
Before you can create cracks in polymer clay, it’s important to properly prepare and condition the clay. Start by taking the clay out of its packaging. To condition it, knead and warm the clay with your hands until it becomes soft and pliable. This ensures the clay contains no air bubbles that could cause cracking during baking.
Next, use a roller to roll out the clay to your desired thickness on a clean, smooth surface. For intricate cracked effects, roll the clay thinner to 1/8 inch (3 mm) or less. For simpler cracks, 1/4 inch (6 mm) is sufficient. The thinner the clay, the finer the cracks will be. Work slowly and evenly to avoid creases or uneven spots in the clay as you roll it out.
Once your clay is conditioned and rolled to an even thickness, it’s ready for you to add cracks and texture!
Creating the Cracks
This is the fun, creative part of making cracked clay art. There are several techniques you can use to make cracks and textures in the clay:
Using your hands – While the clay is still moist and pliable, press into it with your fingers and palms to create indentations. Twist and knead areas to form cracks and crevices. You can make subtle cracks or deep fissures depending on the effect you want.
Using a rolling pin – Roll over the clay with a rolling pin, applying pressure as you go. This will create all sorts of cracks and textures. Try rolling in different directions. Use the edge of the rolling pin to make deeper cracks.
Using clay tools – There are various clay sculpting tools with different shaped tips that you can press into the clay to make customized cracks and marks. Get creative with the tool shapes and sizes.
Scoring the clay – Use a knife or skewer to slice into the clay, creating sliced lines and grooves. This technique adds a lot of texture.
As you work, keep in mind the overall cracked effect you want to achieve. Play around with making big and small cracks, some shallow and some deep, for an organic, natural look.
Letting it Dry
Allowing your cracked clay artwork to dry completely before painting is crucial. If there is any moisture left in the clay, the paint will not adhere properly or fully cure. Here are some tips for proper drying:
– Place your clay artwork in a warm, dry area out of direct sunlight. Near a heating vent or a dehumidifier works well. Direct sunlight can cause uneven drying and cracking.
– Allow at least 24-48 hours for thin pieces to dry fully. Thicker clay sculptures may take longer, up to several days.
– You can test if the clay is dry by touching it. There should be no cool or damp areas. The clay should be uniform in temperature and hardness across the surface.
– Avoid storing clay artworks stacked or touching each other as they dry. Allow space for air circulation all around each piece.
– Be patient. Rushing the drying risks painting too soon, which can ruin the finished effect.
Painting the Clay
Once the clay has fully dried and developed cracks, it’s time to bring them to life with paint. Acrylic paints work wonderfully for accentuating the textures and cracks in cracked clay art.
Aim to use acrylics in a variety of colors and opacities to make the cracks pop. Darker paints like blacks, browns, and deep blues are great for adding drama and creating shadows within the cracks. Meanwhile, lighter translucent paints can provide nice highlights and draw the eye to raised areas.
Consider using multiple layers of thinned acrylic washes to build up depth and dimension within the cracks. Let each layer dry fully before adding the next. You can also dry brush over the surface to catch the edges and show off the texture.
In addition to the cracks, don’t forget to paint the smoother clay surface too. Blending and contrasting colors on the surface with those used deep in the cracks creates a visually engaging, dynamic piece.
Get creative and intuitive with your color choices and painting techniques. The way the paint interacts with the clay cracks and textures is what makes each piece totally unique.
Sealing the Art
Once your clay art is completely dry, it’s important to seal it to protect the finished piece. This will help prevent chipping, cracking, fading, and damage from moisture. There are a few options when it comes to choosing a sealant:
- Polyurethane – This clear coat adds a glossy finish and durable protection. Apply 2-3 thin coats with a foam brush, allowing each coat to dry completely before adding the next.
- Matte acrylic spray – If you prefer a matte look, try an acrylic spray. Hold the can 6-12 inches away and apply light, even coats until the surface is covered.
- Decorative wax – For a subtle sheen, you can apply a decorative wax with a soft cloth. Let the wax fully cure for several days before handling the art.
Make sure to carefully follow the manufacturer’s instructions for any sealant you choose. Apply the sealant in a well-ventilated area and avoid oversaturation. Once sealed, your clay art will have excellent protection from the elements and everyday handling.
Displaying the Pieces
After you’ve finished creating your clay cracked art, you’ll want to properly display it to show off your beautiful work. Here are some tips for mounting or framing your clay art:
Mounting on a Canvas or Board – One easy way to display your clay art is to mount it on a canvas, board, or plaque. You can glue the clay piece directly onto the surface using a strong adhesive like E-6000. Make sure the adhesive is fully dry before hanging. This looks great as an accent wall or artwork in any room.
Framing Under Glass – Framing the clay art under glass helps protect it and gives it a polished, professional look. Use a deep frame and mount the art on foam core or board, leaving a space between the glass and clay. You can find frames with UV glass to prevent fading. Hang on the wall with security hooks.
Adding Hangers – For a three-dimensional look, attach loops of wire to the back of the clay so you can hang it on the wall like a plaque. Or glue small magnets on the back to display it on a magnetic board or the fridge.
Using Risers or Pedestals – Display your clay art on shelves, tables or pedestals using risers to lift it up. Place it on top of acrylic glass risers for a floating look. Or situate it on decorative metal stands, blocks or plinths. This shows off the art beautifully.
With proper mounting or framing, your clay cracked art will truly stand out and become a cherished addition to any space.
Troubleshooting
Sometimes things don’t go exactly as planned when doing cracked clay art. Here are some common issues and how to fix them:
Cracks Aren’t Showing Up
If you followed the clay preparation steps but aren’t seeing cracks form when bending the clay, the clay likely needs more drying time. Let the prepared clay sit out for another 30 minutes to an hour before trying again. The clay should be leathery but still pliable when you’re ready to form cracks.
Paint Bleeding Through Cracks
If the acrylic paint bleeds into cracks you want to keep white, try using a primer/sealer meant for clay before painting. Another option is to mix a bit of acrylic medium into your paint to thicken it up.
Gap Between Clay Pieces
If you notice a gap between clay pieces that should connect, wet your finger and smooth over the seam to blend the pieces together. Let dry fully before sanding over the seam to hide any remaining cracks.
Sealer Not Drying
Make sure to apply thin, even coats of sealer and let dry fully between coats. Thick globs of sealer may stay tacky. If needed, gently wipe tacky areas with a damp cloth to remove excess before reapplying.
Inspiration
Clay cracking art can result in beautiful and unique pieces that are a joy to create. Here are some examples of creative clay cracking artworks that can provide inspiration for your own projects:
Cracked Ceramic Bowls: Applying cracks and breaks to ceramic bowls or plates can give them an aged, weathered appearance. Try painting the cracks in gold or silver for an eye-catching look. Layer different sized cracked bowls for a colorful stacked display.
Faux Geode Sculptures: Mimic the look of geodes by shaping air dry or polymer clay into round shapes, cracking the surface, and then painting with metallic or pearlescent paints. The cracks radiate outwards just like a real geode crystal formation.
Mosaic Crackle Tiles: Roll out and cut clay into tile shapes, crack the surface, and then attach them to a base to create a mosaic art piece. Consider using different clay colors for visual interest. The tiles can also be shaped into emblems, wall hangings, frames or mirrors.
Fragmented Planters: Coil build planters and use various tools to create cracks and shattered effects. Paint the planter and cracks in contrasting colors. Displaying air plants or succulents in the cracked planters makes for an intriguing indoor garden.
Whether going for a weathered look, a mosaic design, or a faux geode, clay cracking opens up many creative possibilities for DIY art and home decor pieces. Let these projects stir your imagination!