How To Make Clay Girl For Kids?
Making clay figures can be a fun and engaging activity for kids of all ages. It allows them to express their creativity, work on their fine motor skills, and have something tangible to show for their efforts at the end. The process starts simply with some basic clay or modeling dough, then grows into a customized creation as the child’s imagination takes over. With just a few inexpensive and readily available supplies, kids can craft their own unique clay figures and characters. The best part is that there’s no right or wrong way to do it – the possibilities are endless!
Benefits of Making Clay Figures with Kids
Making clay figures is a fun and creative activity that provides many benefits for children’s development. One of the main benefits is that it helps develop creativity and imagination. As children mold and shape the clay into whatever they envision, they are using and strengthening their creative muscles. The possibilities are endless when working with clay, so kids are free to let their imaginations run wild. Creating unique clay characters, animals, or objects allows them to bring their ideas to life in 3D form. This open-ended process stimulates innovative thinking as they problem-solve how to construct their clay figure. The ability to create anything they dream up also boosts creative confidence. Making clay figures fuels kids’ creativity and imagination in an engaging hands-on way.
Materials Needed
Making a clay girl is an easy craft that only requires a few basic materials. Here are the main items you’ll need:
-
Air dry clay – The most important material is air dry clay. Look for clay that is labeled as non-toxic and safe for children. Air dry clay can be found at any craft store. You’ll need about 1-2 pounds of clay for a small figure.
-
Clay sculpting tools – Tools like a roller, sculpting knife, and modeling tools allow you to shape, sculpt, and add details to the clay. A basic clay tool set can be purchased, or you can improvise using items like toothpicks, paper clips, and chopsticks.
-
Acrylic paint – Once the clay has dried, acrylic craft paint can be used to color the figure. Have a variety of bright colors on hand. Paint pens and markers also work well.
Beyond this, you may want extra items like a rolling pin, googly eyes, yarn for hair, glitter, and other embellishments for decorating the clay girl.
Making the Body
The body of the clay girl is made up of two main parts – the head and torso. Start by rolling two balls of clay, one slightly larger for the torso and one smaller for the head. The size of the balls will depend on how big you want your clay girl to be. A good guide is to make the head ball about the size of a orange, and the body about the size of a grapefruit.
Once you have the two balls, flatten the bottom of the larger torso ball so it has a flat base to sit on. Then, use a dab of water or clay slip to attach the head ball onto the top of the torso. Press gently but firmly so the head is securely attached. Make sure the head is centered and upright.
Next, use your fingers to refine the shape of the body. Gently pinch and smooth out the clay so you have a basic body shape with a rounded head and torso. The features will be added later, so just focus on getting a simple, smooth shape for now.
Adding Details
Once the basic body shape is complete, it’s time to add the fine details that will bring your clay girl sculpture to life. Let’s go through some of the key facial features and other details you may want to add:
Eyes
The eyes are one of the most important details for giving your sculpture personality and expression. To make the eyes, roll two small balls of clay and attach them to the face slightly above and on either side of the nose. Use a toothpick or clay tool to add an iris and pupil to each eye.
Nose
The nose can be created by simply pinching the clay to form a nose shape. Add nostrils by making two small holes with a toothpick or clay tool. Shape and smooth the nose so it looks natural.
Mouth
The mouth can convey different expressions from smiles to frowns. Roll a small sausage of clay and attach it below the nose, shaping it into a smile or other expression. Add an upper lip by pinching more clay just above the mouth.
Hair
For hair, you can roll thin snakes of clay and attach them around the head, shaping the hair into your desired style. Or add texture by pressing lines or shapes into the clay with tools.
Clothes
Use additional clay to add clothes details like a dress, skirt, shirt, pants, shoes, hat, bows, etc. Attach these accessories to your sculpture as desired.
Arms and Legs
To make the arms and legs, you’ll need to roll small balls of clay and attach them to the body.
Take a portion of clay about the size of a large marble and roll it into a ball between your palms. This will be one arm. Do the same to make another arm.
Use water or slip (liquid clay) to wet one end of the arm and the shoulder area of the body where you want to attach it. Firmly press the wet clay surfaces together.
If the arm feels too thin or flimsy, add more clay to thicken it. Refine the shape and length of the arm as desired.
Make two legs the same way, rolling balls of clay slightly larger than the arms. Attach the legs to the lower part of the body using water or slip.
Adjust the proportions and positioning of the arms and legs until you’re satisfied. Let them firm up a bit before attempting to add details like fingers or feet.
Accessories
One of the best parts about making clay girls is customizing them with fun accessories. There are so many options when it comes to clay accessories that allow you to add personality and flair. Some classic accessories to consider are:
- Clay bows – These are really easy to make by rolling a small ball of clay and flattening it out into the shape of a bow. You can add patterns or texture by imprinting the clay with items like lace. Bows can be placed in the hair or used as a necklace.
- Flowers – Clay flowers make for beautiful accessories. Roll balls of clay into petal shapes and stack together, then add a small ball for the center. Flowers can be used in the hair, as a necklace, or held in the clay girl’s hands.
- Headbands – Use thin ropes of clay to create headbands that can be placed around the forehead. Add clay bows, flowers, or other decorations.
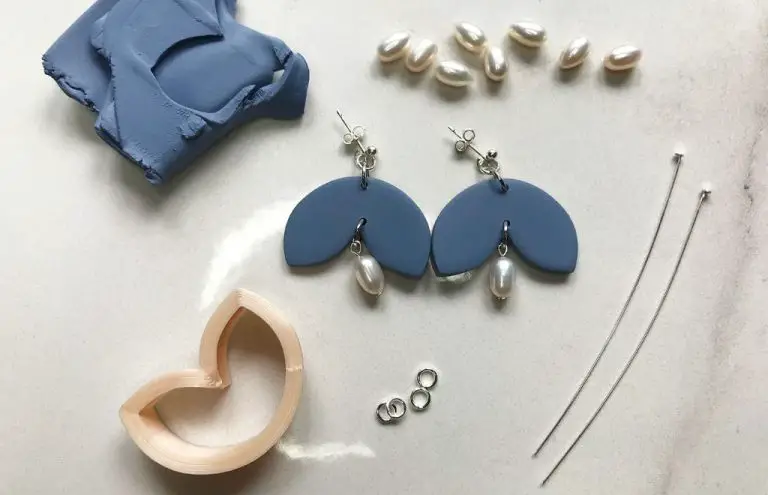
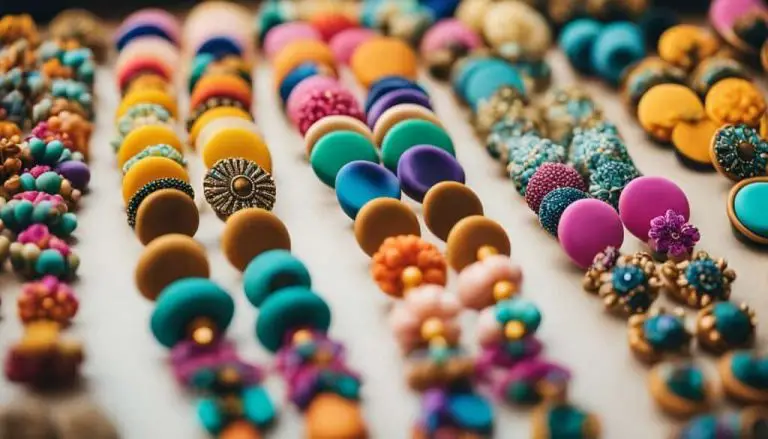
- Jewelry – Make necklaces, bracelets or earrings out of brightly colored clay. Shape balls of clay into beads, or cut clay into gemstone shapes.
- Bags – Make tiny clay purses or backpacks that the clay girl can hold. Add pockets, buckles, flaps and other details.
- Glasses – For a scholarly look, mold clay into the shape of eyeglasses and perch them on her nose.
- Footwear – Make shoes, slippers or sandals by rolling and shaping clay. Add buckles or bows for decoration.
Let your creativity run wild when it comes to clay accessories! The options are endless, so have fun customizing your clay girl.
Baking/Drying
Baking or drying your clay creation is an important final step to harden and set the clay. Follow the package instructions for baking/drying temperature and times. Clay brands like Crayola Model Magic recommend baking creations in a conventional oven at 200°F for 15 minutes per 1/4 inch of thickness. Let the clay cool completely before removing from the oven. Air drying clays can be left out to dry for 24-48 hours. To quicken drying, you can use a hair dryer on a low, cool setting. Avoid high heat from the oven or hair dryer as this can cause cracking. Check on the clay regularly as it bakes/dries to monitor doneness and prevent overcooking.
Painting
Once the clay has fully dried, it’s time to bring your sculpture to life with paint! Acrylic paints work best for painting polymer clay. Make sure to use acrylic paint that is specifically formulated for clay, as regular acrylics may not properly adhere.
Start by giving your entire sculpture a base coat using acrylic paint. Let the base coat fully dry before moving on. Then, use additional acrylic paint colors to add details like facial features, clothing, hair, etc. Acrylic paint pens are great for adding fine details.
Use a paintbrush to gently blend colors and create textures. Add layers of color to achieve depth. Metallic acrylic paints can be used for jewelry or other accessories.
Seal your finished painted sculpture with a water-based acrylic sealer or varnish. This will protect the paint and give your sculpture a glossy finished look. Apply 2-3 thin coats of sealer, allowing it to fully dry between coats.
Now you have a beautifully hand-painted, customized polymer clay sculpture for kids! The painting process allows children to further express their creativity. Take care to use child-safe art supplies.
Displaying Your Clay Girl
Once your clay girl sculpture is complete, you’ll want to display it proudly for all to see. Here are some tips on the best ways to showcase your clay girl art:
Shelves – Shelves are a great way to display your clay girl sculpture. Make sure to place her on a sturdy shelf that won’t easily tip over. You can display her by herself or with other clay sculptures. Place her towards the front of the shelf so she doesn’t get hidden behind other items.
Stands – Special stands made for displaying sculptures or figurines work perfectly for showing off your clay girl. Look for stands made of durable materials like wood or plastic. Angle the stand so your clay girl is displayed a bit towards the front. Having her on a stand elevates her so she becomes the center of attention.