How To Make Greek Vase?
Greek vases have a long and rich history spanning thousands of years. Some of the earliest examples date back to the Neolithic period around 6000 BCE. By the Bronze Age, Greek pottery techniques had advanced considerably, as evidenced by the fine Mycenaean pottery of 1500-1100 BCE.
The most well-known Greek vase styles emerged during the Archaic, Classical and Hellenistic periods from about 800 BCE to 100 BCE. These include the geometric, black-figure, red-figure, and white-ground styles, all decorated with intricate designs and scenes from Greek mythology. The shapes of Greek vases are just as distinctive, with several recurring forms like amphoras, kraters, hydriai, and kylixes.
Common decorative elements on Greek vases include geometric patterns, botanical motifs, scenes of daily life, gods and goddesses, heroes and mythical creatures. The vases provide a vivid picture of ancient Greek culture and beliefs.
Materials Needed
To create an ancient Greek-style vase, you will need the following materials:
Clay – The most important material is clay. Select a clay that is smooth and elastic, like a stoneware or porcelain clay. Avoid clays with large particles as they can create air pockets and cracks in the finished piece.
Paints – Typically oxide pigments mixed into a liquid medium were used to decorate Greek vases. Common colors included black, red, white, yellow, and brown. Modern acrylic paints can serve as substitutes for traditional pigments.
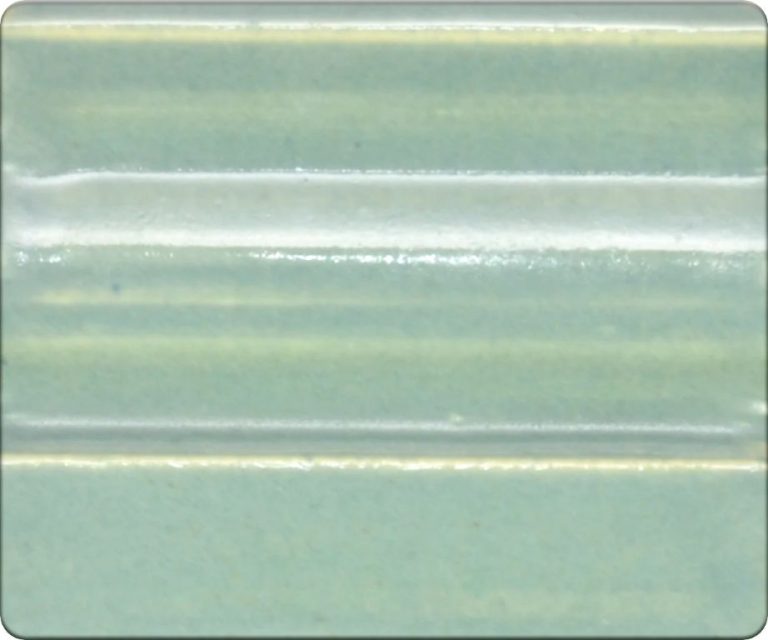
Glazes – Glazes provide a glossy coating and decorative colors when fired. Common glazes for Greek vases included black gloss and red gloss. Select food-safe glazes intended for vases and dinnerware.
Tools – Useful tools include a pottery wheel for shaping, clay sculpting tools for detailing, sponges for polishing, and paint brushes for decoration. You may also need clay cutting wires, ribs, and a kiln for firing the finished piece.
Preparing the Clay
Properly preparing the clay is a crucial first step in making a Greek vase. The clay must be wedged and kneaded thoroughly to achieve an even consistency and remove air bubbles that could cause cracks during firing.
Wedging involves cutting the clay in half, standing it on its side, and pushing it down while squeezing it together. This process elongates the clay while concentrating impurities and air bubbles. After cutting and wedging several times, the clay will be smooth and have a uniform consistency.
Next, the clay must be kneaded. Kneading involves folding the clay over itself repeatedly. This further works the clay to distribute moisture evenly while forcing out remaining air bubbles. Form the clay into a ball shape and push into it with the palm of your hand, folding the clay over itself. Rotate the ball a quarter turn after each push to thoroughly knead in all directions.
It may take 10-15 minutes of wedging and kneading to properly prepare the clay. Look for a smooth, elastic, bubble-free consistency before moving on to shaping the vase.
Shaping the Vase
There are two main techniques for shaping a Greek vase – using a pottery wheel or hand building.
Using a Pottery Wheel: Working on a wheel allows you to create smooth, symmetrical forms. Prepare your clay by wedging it to remove air bubbles and create an even texture. Center a lump of clay on the wheel and secure it with water. Turn the wheel on low and use your hands to shape the spinning clay into the desired form. Pull up the walls, shape the neck, add handles, etc. Remove the finished vase from the wheel with a wire tool.
Hand Building Techniques: For more asymmetrical or intricate shapes, you can hand build the vase. Pinch pots are made by pinching and pulling the clay into shape. For coil building, roll out ropes of clay and stack them on top of each other, smoothing each coil into the one below. Slabs can also be cut out and joined together. Let pieces firm up slightly before joining so they don’t slump. Blend seams and add surface texture as desired.
Adding Decoration
Decoration is an important part of Greek vase making. There are several techniques used to decorate the vases and enhance their beauty.
Relief Sculpture
Relief sculpture is a popular decorative technique where shapes and figures are carved into the surface of the vase. This creates an artistic design that stands out in bas-relief. Common relief sculpture motifs include figures from Greek mythology, animals, and geometric patterns.
Painted Figural Scenes
Greek vases are often decorated with elaborate painted scenes depicting images from daily life or Greek mythology. These painted figural scenes bring the vases to life. The figures are outlined in black slip and filled in with mineral pigments. Popular subjects include gods, goddesses, heroes, athletes, and mythology.
Geometric Patterns
Geometric patterns are a hallmark of ancient Greek vase decoration. Straight lines, angles, circles, and other shapes are arranged in symmetrical and repeating designs. These elegant geometric motifs create visual interest and display artistic mastery. They require great precision and care.
Drying the Vase
Once you have shaped your Greek vase, it’s important to let it dry slowly before firing. There are a couple main methods for properly drying the clay:
Allowing to Air Dry Slowly
Air drying is the most traditional technique for drying unfired clay. Place your molded vase in a warm, dry area out of direct sunlight. Avoid breezy locations which can dry the clay unevenly. Let your piece air dry for at least 1-2 weeks until no moisture remains.
Turn the vase periodically so it dries evenly. You may cover it with plastic if drying too quickly. The slow drying prevents cracking and warping.
Using a Dehydrator
For faster drying, you can use an electric food dehydrator. The low, consistent heat will dry your vase faster than air drying. Place your vase on a mesh tray in the dehydrator set to around 100 degrees Fahrenheit.
Check it periodically until fully dried, which may take 24-48 hours. Rotate the vase to promote even drying. Keep the temperature low to avoid cracking. This gets your piece ready for firing more quickly.
First Firing
The first firing, also known as bisque firing, is done to harden the clay vase before any glazes or decorations are applied. This step transforms the soft clay into a durable ceramic material.
Bisque firing is usually done in an electric or gas kiln capable of reaching temperatures between 1915-2120°F (1045-1160°C). The vase is fired slowly up to these peak temperatures, held there for a period of time, and then cooled slowly. Ramping the temperatures gradually prevents the clay from cracking.
It’s important when bisque firing to place the vase on stilts or firing spurs so the hot air can circulate underneath. Pieces may also be stacked with spacers between them. Make sure to monitor the kiln temperatures with a pyrometer and fire according to the clay manufacturer’s recommended schedule.
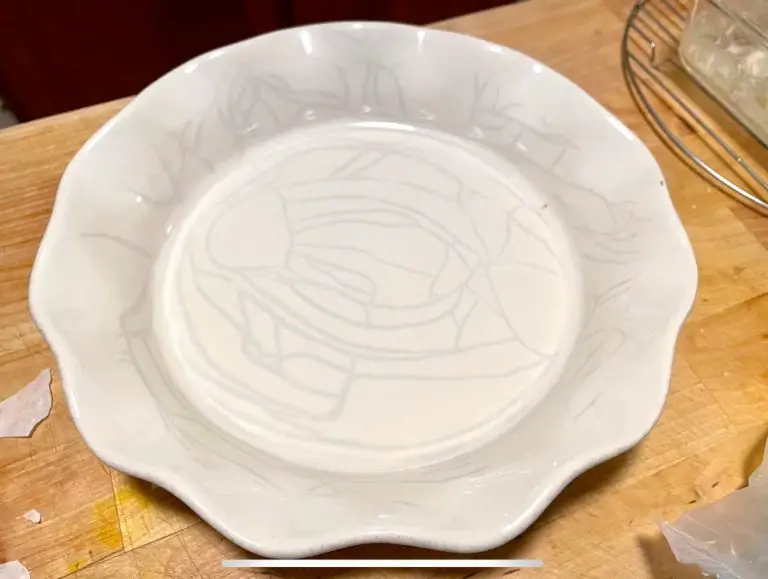
When the firing is complete, the clay will have chemically changed to a porous, durable ceramic material ready for glazing and decorating. Be very careful when removing fired pieces from the kiln as they can be quite fragile at this stage.
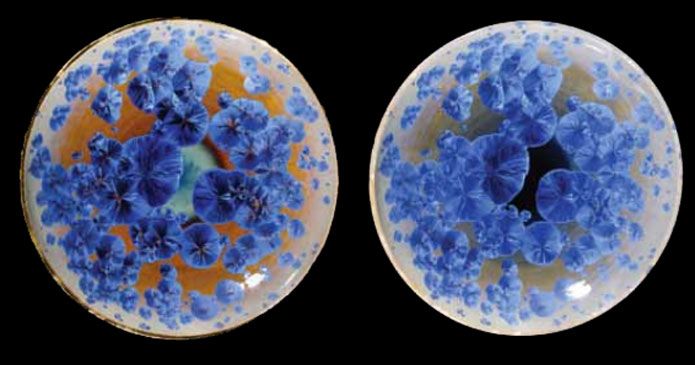
Glazing
Glazing is an important step in creating Greek vases that adds color and protection to the bare terra cotta clay. There are several methods for applying glaze to the vase.
Mixing Glazes
Glazes come in powdered form and must be mixed with water before application. Measure out the glaze powder according to the instructions, typically 1-2 cups per pint of water. Slowly mix in the water until a smooth, creamy consistency is achieved, with no lumps. Test the glaze on a piece of terra cotta to ensure proper coverage.
Brushing or Dipping Glaze
Once the glaze is mixed, there are two main methods for application – brushing or dipping. For brushing, use a soft bristle brush to apply an even layer of glaze over the entire surface of the vase. For dipping, fully submerge the vase into the glaze mixture to coat all surfaces. Allow excess glaze to drip off and wipe away any drips with a damp sponge for a neat finish. However it’s applied, the vase should have a smooth, consistent glaze coating.
Final Firing
The final firing of the Greek vase is crucial for fusing the glaze and finishing the ceramic piece. This firing is done at extremely high temperatures, usually between 2192°F and 2462°F (1200°C and 1350°C). Special kilns capable of reaching these temperatures are required.
There are several types of kilns that may be used for the final firing:
-
Electric kilns are very common and use heating elements to generate the needed heat. These are a practical option for potters and artists.
-
Gas kilns use natural gas or propane to fuel the high temperatures. They can be more difficult to control but allow more options with atmospheric effects.
-
Wood-fired kilns use wood as the fuel source. This can create unique natural effects on the pottery from the flames and ash.
Regardless of kiln type, it must maintain these high temperatures consistently throughout the firing process for the full effect on the glaze. With proper heat levels achieved in the final firing, the glaze will become smooth, shiny, and permanently affixed to the clay body of the Greek vase.
Conclusion
Making an authentic looking Greek vase takes time, patience and practice. In this process we covered the key steps – preparing the clay, shaping the vase, decorating it, drying, firing and glazing. While it may take a few tries to master the techniques, don’t get discouraged. Focus on improving a little each time.
To make your vase look truly Greek, pay close attention to the shapes and decorative designs. Study examples of ancient Greek pottery and mimic the common shapes like amphorae, kraters, hydriae and kylixes. Use decorative motifs like black figure painting and Greek key patterns. This will lend an air of antiquity.
When your vase is finally complete after the final firing, take a moment to admire your handiwork. You’ve created a tangible connection to the ancient past through this artform. Display your vase prominently and let it inspire you to create more. With practice you can even develop your own signature style.