How To Make Your Own Clay?
Clay is a naturally occurring material composed of fine-grained minerals such as silica and alumina. Making your own clay at home can be a fun and rewarding craft. Here are some of the key reasons to make your own clay:
You can create clay in your own unique colors. By mixing food coloring or other pigments into the clay, you can produce clay in any hue you like. This allows you to match projects to your home’s decor or make brightly colored clay for kids to use.
It’s inexpensive. Basic clay ingredients like flour, salt, and water are cheap and can be found in most homes already. Making your own clay saves money compared to buying pre-made clay.
You control the texture. By varying the ratios of flour, salt, and water, you can create clay with different levels of flexibility, stretchiness, and durability.
In this article, we’ll cover the full process for making air-dry clay at home. We’ll go over the basic ingredients and steps for mixing and kneading the clay, projects you can make with it, and how to store leftover clay.
Materials Needed
To make homemade clay, you will need just a few simple ingredients that can likely be found in your kitchen. The main ingredients are:
- Flour – All-purpose flour works best. The flour gives the clay its texture and allows it to be molded. Avoid using whole wheat flour as it contains bran that can make the clay gritty.
- Salt – Table salt, fine grain. The salt adds hardness to the clay when it dries.
- Water – Tap water is fine. The water binds the ingredients together to form the clay dough.
- Food coloring (optional) – Liquid food coloring can be added to tint the clay. Start with just a few drops until you achieve the desired color intensity.
You’ll also need:
- A mixing bowl for combining the ingredients.
- Mixing utensils like a spoon, spatula, or your hands for kneading.
The basic ratio is 1 part salt to 2 parts flour. Add water gradually until a dough forms. Adjust amounts as needed to achieve desired consistency.
Ratio of Ingredients
The typical ratio for homemade clay using flour, salt, and water is 1 part flour, 1 part salt, and 1-2 parts water. However, the exact ratio depends on the desired consistency for the clay.
For firmer clay, use more flour and less water. A common ratio is 1 cup flour, 1⁄2 cup salt, and 1⁄2 to 3⁄4 cup water. The less water used, the firmer and stiffer the clay will be. This is good for sculpting fine details.
For softer, more malleable clay, increase the water. A ratio such as 1 cup flour, 1⁄2 cup salt, and 1 cup water results in soft, pliable clay that’s easy to shape and sculpt. However, too much water can make the clay sticky.
It’s best to start with less water and add more as needed. The clay can be kneaded as it’s mixed to determine if more water is required. Expect to add water gradually until reaching the desired consistency. Referring to recipes can provide a good starting ratio.
Different types of flour also absorb water differently. All-purpose flour tends to require more water than bread flour. When using a new flour, begin with less water to avoid making the clay too wet and sticky.
With trial and error, the ideal ratio of ingredients for the particular flour and project can be determined. Start with a basic 1:1:1 ratio and adjust the water as needed for the perfect homemade clay consistency.
Food Coloring (optional)
Adding food coloring to homemade clay is an optional step to create brightly colored clay for craft projects. According to https://www.kitchentableclassroom.com/colored-clay-air-dry-clay-diy/, using gel food coloring will create the most vivid colors in clay. Add several drops of gel food coloring, then use a spoon or spatula to thoroughly mix in the color. Adding too much food coloring can make the clay sticky, so start with 3-5 drops per 1 cup of clay. Mix the food coloring quickly and thoroughly into the clay batch to evenly distribute the color before kneading.
Mixing the Clay
Once you have measured out the ingredients into a large bowl or container, it’s time to mix everything together. Start by stirring the ingredients with a spoon or spatula to combine them. Make sure there are no dry pockets of flour or clumps of salt before moving on to kneading.
The consistency you are aiming for is a smooth, soft, workable dough that is not too sticky or dry. If the dough seems too wet, sprinkle in a bit more flour a tablespoon at a time until it firms up. If it is too crumbly, add a splash of water and mix it in. The dough should form into a nice ball that holds its shape when squeezed in your hand.
Don’t worry if the texture seems off at first, kneading will help develop the gluten in the flour and bring everything together. Just keep mixing until a cohesive dough forms. If needed, scrape down the sides of the bowl periodically to incorporate all ingredients.
Be patient during this step and resist the urge to add too much extra flour or water right away. Give the dough a chance to come together through mixing and kneading before making adjustments.
Kneading the Clay
Kneading the clay is a crucial step to ensure your homemade clay has an even consistency and is smooth and lump-free. Here are some tips for effective kneading:
The kneading process involves pressing, folding, and flattening the clay repeatedly. Do this for 5-10 minutes until the clay is soft, flexible, and smooth. According to WikiHow, throw the clay forcefully onto the kneading surface to flatten it out, then fold it over and repeat. Use the weight of your upper body to bear down on the clay as you knead.
The ideal consistency after kneading is smooth, pliable, and not sticky. The clay should be able to hold its shape. If it is too dry, moisten it with water. If it remains sticky, dust with a bit more flour or cornstarch.
If lumps remain after kneading, continue working the clay until smooth, or press the lumps firmly under your palms. Trapped air can also cause bubbles – if this happens, fold and flatten the clay to push out excess air according to Arteologic.
Storing the Clay
Properly storing your homemade clay is important for keeping it usable for as long as possible. Here are some tips for storage:
Use air-tight containers like tupperware or mason jars. Make sure the lid seals tightly to prevent the clay from drying out. Some good options are plastic containers, glass jars, or resealable plastic bags.
Store the clay either refrigerated or at room temperature. Refrigeration will extend the shelf life by slowing down drying, but room temperature storage in an airtight container will also work well. Just keep it away from direct sunlight or heat sources.
Expect the clay to remain usable for at least a few months when properly stored. It may last over a year refrigerated. If it starts to dry out, you can add a small amount of water and knead it to restore flexibility.
Projects with Homemade Clay
Homemade clay is extremely versatile and can be used for a wide variety of fun and creative projects. Here are some ideas to get you started:
Sculpting
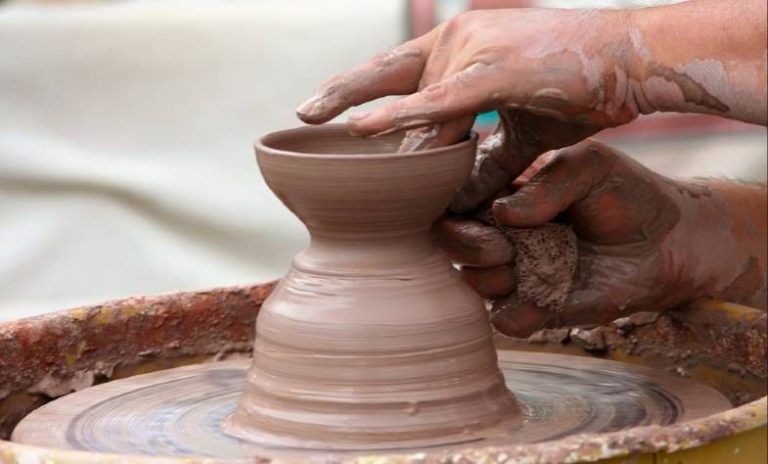
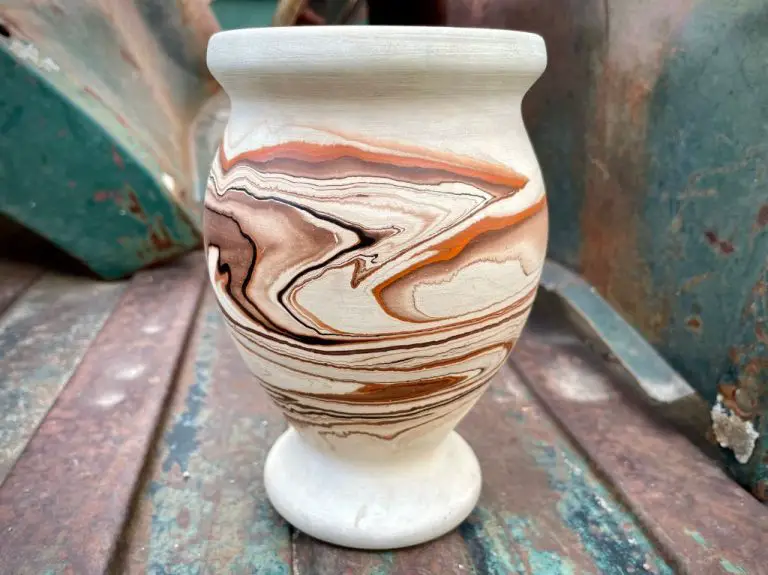
Clay is perfect for sculpting 3D objects and figures. Let your imagination run wild and sculpt animals, fictional characters, abstract shapes, simple pots and bowls, and anything else you can dream up. The homemade clay is easy to shape and mold into whatever you envision.
Rolling Flat Pieces
You can use a rolling pin or even a glass jar to roll out flat, even pieces of clay. These can then be cut into shapes using cookie cutters or improvised cutters made from household items. Or impress shapes and textures into the flat clay using items like rubber stamps, bottle caps, forks, and more. Get inspiration for shapes you can make.
Making Prints/Impressions
Pressing objects into the clay leaves interesting prints and textures. Try leaves, seashells, keys, coins, etc. Get creative with the objects you use to make patterns and designs.
Clay Jewelry or Decorations
Roll pieces of clay flat and use cookie cutters, bottle caps, or improvised cutters to cut the clay into jewelry shapes like circles, hearts, stars, etc. Use a straw to cut holes for stringing, if making necklaces or earrings. Or, impress beads, buttons, sequins, and other items into the clay to create decorative clay pieces.
Baking Clay Creations
Once you have molded and shaped your clay creations, the next step is to bake them to harden and set the clay. Proper baking is important for ensuring your creations keep their shape and have a smooth, finished look.
Baking temperature and time will vary based on the thickness and size of your clay pieces. Thinner items may only need 15-20 minutes at 275°F. Larger, thicker pieces may require 30-45 minutes at 275°F. If unsure, start with less time and check periodically until the clay has hardened.
Use an oven thermometer to ensure your oven is at the proper baking temperature. Place clay pieces on a foil-lined baking sheet when baking. Allow pieces to cool completely before handling after removing from the oven.
After baking, clay may have a dull or rough texture from the baking process. You can sand pieces lightly with fine grit sandpaper to smooth the surface. Then use a sealant like polyurethane or acrylic spray to give pieces a glossy finished look and add durability.
Tips and Tricks
To make your homemade clay smoother, knead it thoroughly to work out any lumps. You can also try adding a few drops of lemon juice or vinegar while kneading to increase the clay’s pliability (marialouisedesign.com).
To avoid cracking, store unused clay in an airtight container or plastic bag. You can also try mixing in a bit of glycerin or cornstarch to make the clay more flexible (gatheringbeauty.com).
For coloring clay, start with just a few drops of food coloring and knead it in thoroughly. You can also try natural colorants like turmeric for yellow or matcha powder for green. Experiment with mixing colors to create custom shades.
Other useful tips are to work on a clean, smooth surface and have wooden sculpting tools on hand. Avoid overhandling the clay once shaped, as it can lose detail. Let clay creations dry fully before baking.