Is Slip Just Watered Down Clay?
What is slip?
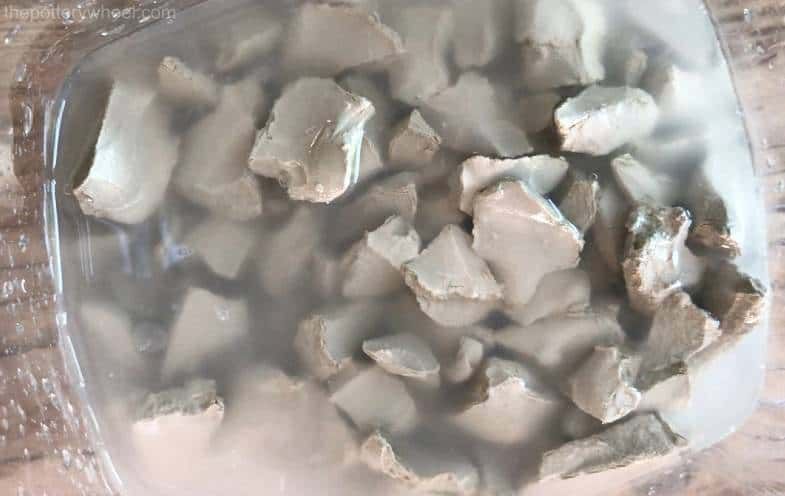
Slip is a liquid clay mixture used in pottery and ceramics that has a creamy consistency. It is made by combining clay and water until it reaches a liquid state. Unlike regular clay, slip does not hold its shape when molded. Instead, it acts as an adhesive to join pieces of unfired clay together. It can also be used as a decorative coating on ceramic ware.
The main difference between slip and regular clay is the water content. While regular clay bodies contain 15-25% water, slip contains much more water, generally around 35-45%. This higher water content gives slip its smooth, liquid consistency. When the excess water evaporates during drying and firing, the remaining clay particles fuse together.[1]
Slip plays an important role in ceramics and pottery. It is used to:[2]
- Join unfired clay pieces together
- Fill seams and gaps in projects
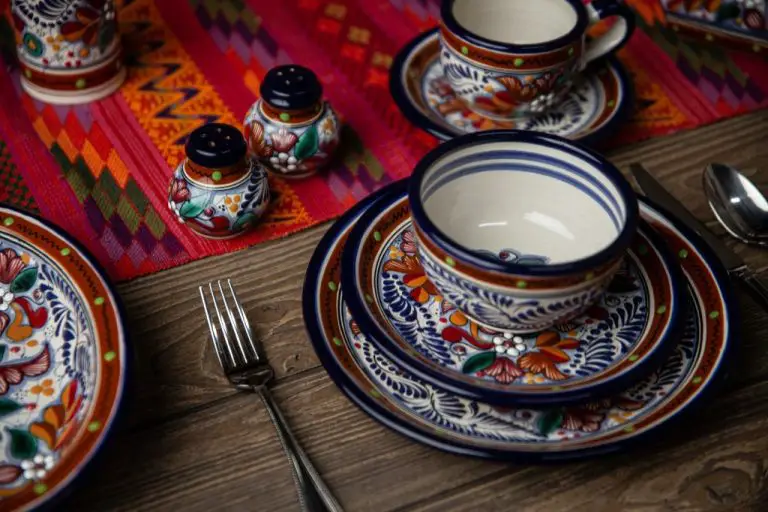
- Create decorative effects on clay surfaces
- Provide a smooth surface for glazing
- Strengthen and enhance fired pieces
By helping bond clay and create smooth surfaces, slip enables the construction of intricate, durable ceramic projects. It is an essential material for ceramic artists and potters.
Clay Composition
Clay is composed primarily of silica, alumina, and water (ResearchGate). The silica and alumina form layered sheet structures that stack together to form clay particles. The silica tetrahedron sheets are composed of silicon and oxygen atoms while the alumina octahedron sheets contain aluminum and oxygen/hydroxyl groups.
The chemical composition of clays can vary substantially depending on factors like the parent rock material and geological processes (Springer). Kaolinite clay, for example, is composed almost entirely of silica and alumina in a 1:1 ratio. Montmorillonite clay has a higher amount of alumina and also contains other cations like magnesium and iron substituted into its structure. The exact chemical composition determines properties like plasticity, firing behavior, and more.
Slip Composition
The primary components of slip are liquefied clay and water. Water makes the clay particles more fluid and gives slip a consistency that makes it easy to apply. The specific ratios of clay to water used in slip can vary, but is commonly around 50% clay and 50% water (1). Some clays have higher plasticity and require less water, while other clays need more water to reach a workable slip consistency.

In addition to clay and water, other additives are commonly used in slip recipes. Deflocculants like sodium silicate help prevent clay particles from clumping, ensuring the slip remains smooth (2). Materials like grog (ground fired clay) may be added to modify the texture and properties of the slip. Occasionally, coloring oxides are also mixed into slip for aesthetic effects.
Sources:
(1) https://www.soulceramics.com/pages/slip-in-pottery
(2) https://nmclay.com/informational-pages/slipmaking
Slip Functions
Slip has several important functions in working with clay. First, it acts as an adhesive, helping join pieces of clay together smoothly. When applied between two wet clay surfaces, the liquid clay seeps into the porous clay bodies and bonds them when dried or fired.
Slip also creates smooth surfaces on clay objects. When used as a coating, the liquefied clay fills in small cracks and inconsistencies in the clay body resulting in a uniform surface.1 The application of slip results in a finer finish than clay could achieve on its own.
In addition to its structural and surface benefits, slip adds color. Natural clay comes in a limited range of earth tones, but when concentrated and purified, clay sources can produce slips in a wide spectrum of hues. Ceramic artists utilize slip to introduce color for aesthetic purposes.2
Making Slip
Making slip involves mixing clay and water to achieve the right consistency for your needs. The basic process is:
1. Start with dry clay powder. Any clay body can be used, but some common choices are earthenware, stoneware, and porcelain.
2. Add water gradually while mixing. Use a drill with a mixing attachment or a blender for this process. The amount of water will vary, but generally a 1:1 ratio of clay to water is a good starting point.
3. Mix until the slip reaches a smooth, creamy consistency. The thickness depends on the intended application, but it should pour easily without being too thin and watery.
4. Test the slip consistency by pouring a small amount onto a plaster bat. If it spreads out smoothly, it’s likely the right viscosity.
5. Let the slip sit for a day so any clumps can hydrate and dissolve. Then remix before using.
6. Store slip in airtight containers to prevent moisture loss. Plastic buckets with tight lids work well. Slip can be kept indefinitely if sealed properly.
The key is finding the ideal thickness – thick enough to smoothly coat or join surfaces, but fluid enough to pour and spread easily. Test batches are helpful to dial in the perfect mix.
Applying Slip
There are a few different techniques for applying slip to ceramics:
Brushing On vs. Dipping
Slip can be brushed directly onto leather-hard clay using a brush or sponge (The Spruce Crafts, 2022). This allows for precise application and decoration. Alternatively, pieces can be fully dipped into a bucket or container of prepared slip to fully coat the piece (Creamik, 2022). Dipping is best for achieving an even, all-over application.
Slip Trailing
Slip trailing involves dipping a tool into slip and letting it run freely to trail decorative lines and patterns onto the clay surface. Common slip trailing tools include metal ribs, rubber tips, and sponge tools, which all create different trailing effects (The Spruce Crafts, 2022).
Considerations
It’s important to apply slip to leather-hard clay that is smooth and free of dust. Allow applied slip to dry fully before handling. Multiple layers can be applied to build up depth and opacity. The viscosity of the slip and the application technique impact the final decorative effect.
Slip vs Glaze
Slip and glaze differ in their composition, appearance, and function.
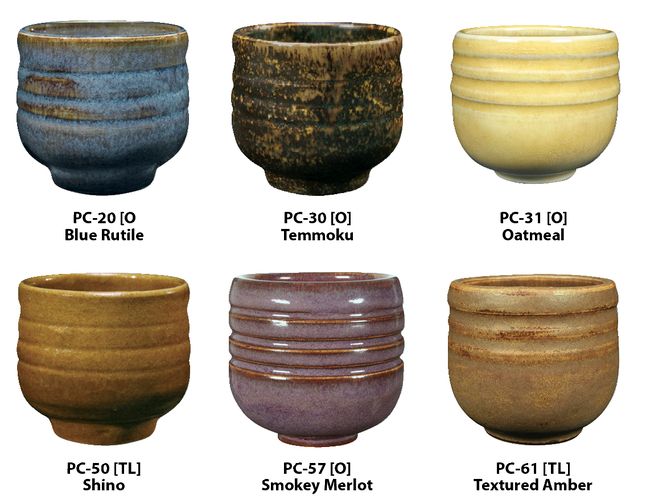
Slip contains more clay in its recipe and has a matte appearance, while glaze contains more flux and gives a glossy look. Slip functions to add color and texture to pottery, acting like a layer of paint. Glaze provides a protective, impermeable coating and can add decorative colors and effects.
Slip and glaze work well together. Slip can be used to trail delicate designs before a glaze is applied over top. Or slip and glaze can be mixed together for unique visual effects like crawling. Some potters also use slip to alter the color of the clay body underneath a transparent glaze.
Sources:
https://thepotterywheel.com/slip-and-underglaze/
https://www.reddit.com/r/Pottery/comments/62oq0c/coloured_slip_vs_underglaze_vs_glaze_what_is_the/
Firing Slip
Firing has a significant effect on slips applied to pottery. The temperature at which the pottery is fired impacts how the slip reacts and appears on the final finished piece.
Slips are typically fired between cone 08 and cone 6 temperatures, which is between 1785°F – 2200°F. Firing at higher temperatures can cause the slip to bubble, burn off, melt, or turn glossy. Choosing the right firing range allows the slip to properly mature and adhere to the clay body. According to the Digital Fire Glossary, a mature fired slip has a “dry, textureless surface quality.”1
Firing also affects the final color of the slipped surface. Slip recipes usually include metal oxides for coloring, such as cobalt or copper. At different temperatures, these metal oxides can create vastly different colors. A cobalt slip may turn dark blue at cone 6 but light blue at cone 08. Testing slips at various temperatures is key to achieving the desired color effects.
The color interaction between the slip and the clay body is also impacted by firing. A red clay with an iron slip may turn brown or black where the two interact. Careful testing can help potters anticipate how colors will change during firing.
Understanding how firing impacts slips allows potters to create diverse visual effects in their pottery decorations and surfaces.
Slip Recipes
Slips can be made in a variety of colors using metal oxides, stains or underglazes. A basic colored slip recipe starts with the standard slip recipe and adds the coloring agent. Some examples include:
Blue slip: Add 3-5% cobalt carbonate or cobalt oxide to the standard slip recipe (https://www.pinterest.com/pin/363876844895842577/). The more cobalt added, the deeper the blue color.
Red slip: Add 5-10% red iron oxide to the standard slip recipe for a rich red color (https://ceramicartsnetwork.org/daily/ceramic-supplies/ceramic-glazes-and-underglazes/slip-casting-basics-tips-techniques-and-recipes/). Redart or tile clay can also be used.
Yellow slip: Add 3-5% yellow ochre or rutile to the basic slip recipe (https://www.pinterest.com/pin/36387684488529450/). Increase percentages for a deeper yellow.
There are also recipes for specialty slips with unique properties. For example:
Paper clay slip: Add up to 50% milled paper pulp or cotton linters to the standard slip recipe. This makes the slip lighter and porous when fired, similar to paper clay (https://www.warmglass.com/p-paper-clay.html).
Crackle slip: Replacing 5-10% of the clay in the standard recipe with talc, vermiculite or perlite will make the slip prone to cracking when fired, creating interesting effects (https://ceramicartsnetwork.org/daily/ceramic-glaze-recipes/mid-range-glaze-recipes/crackle-slip-recipes/).
Innovative Slip Uses
Throughout history, potters have used slip in traditional ways like coating, decorating, and joining. However, some ceramic artists are pushing the boundaries and finding unique innovative ways to implement slip into their work.
One creative example is sgraffito where slip is layered over contrasting colored clay and then etched to reveal the under layer. This allows artists to create intricate patterns and designs not possible with regular glazing techniques (Source).
Artists are also using slip painting to mimic the fluidity and transparency of watercolor on their pottery. Vibrant colors are blended directly on bisque ware with thinned slips to achieve beautiful washes and gradients.
Slip trailing involves pouring liquid slip from a bottle to draw delicate lines and patterns. This lets artists have great control over detailed decorative elements.
As technology advances, exciting new slip applications emerge like 3D printing slip to create custom extruded designs. The possibilities are endless for innovative artists to invent novel ways of implementing this versatile ceramic medium.


