One Line Rose Drawing Tutorial [With Examples]
While creating a lifelike rose can be an intimidating task for many artists, one-line roses offer a more accessible challenge. If you’re looking to push your skills beyond the simple tutorials often geared towards beginners but not quite ready to tackle photorealistic art, this technique is an excellent stepping stone.
To get started, try drawing a one-line rose as a means of honing your skills and building confidence in your artistic abilities. The following video provides a concise introduction to the process.
Step 1: Find a good reference photo

Begin by locating a reliable reference image of a rose. While using a reference isn’t crucial, I highly suggest it for your initial attempts. You can discover an array of stunning photos on platforms like Unsplash and Pixabay or conduct a simple Google search. For beginners, consider opting for a rose with a closed or just-starting-to-open bud. The more individual petals you observe, the more intricate the drawing will become.
Step 2: Identify the most important shapes
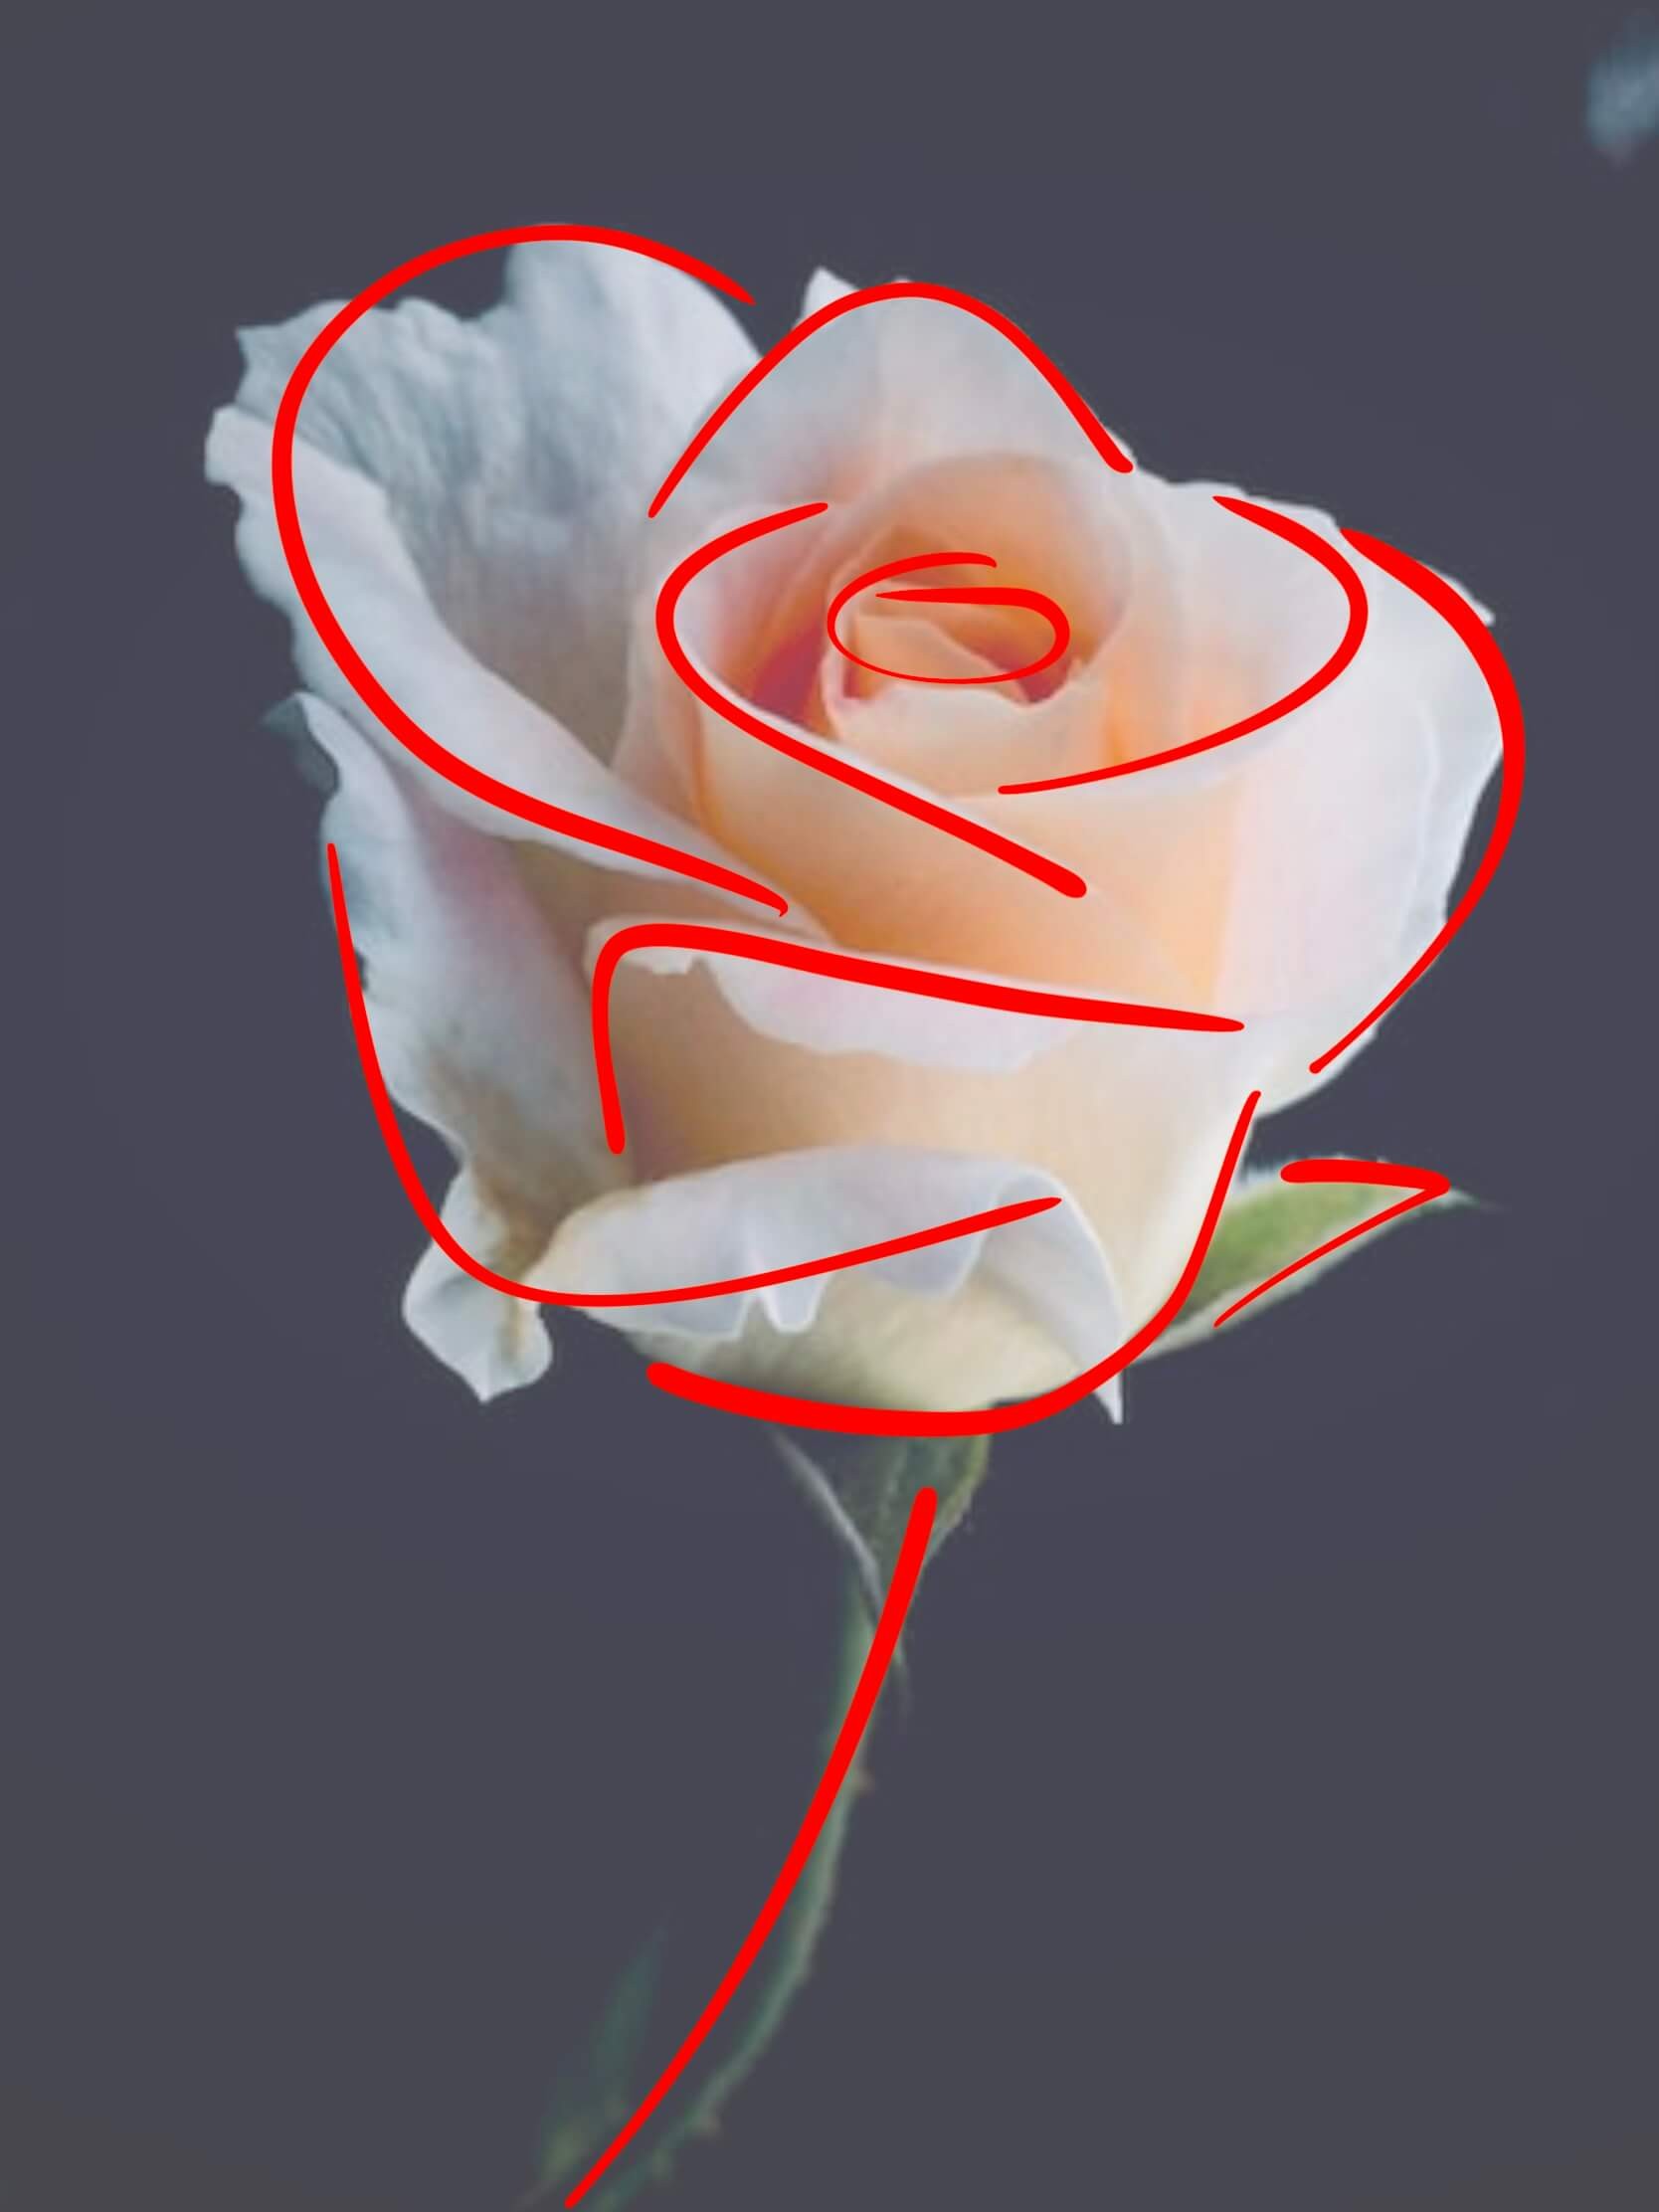
When approaching a high-resolution photo of a rose for reference, it’s easy to get caught up in every tiny detail. To simplify the process, take a step back and focus on the most essential features. Start by identifying key elements like the stem, leaves, flower bud, and large petals. Since you’re creating a one-line drawing, don’t feel pressured to include every intricate detail. In fact, the fewer lines used, the better. The goal is to capture the rose’s fundamental shapes with as few strokes as possible. Look for the most critical shapes, marked in red, that define the overall structure of the flower.
Step 3: Find a way to connect the lines
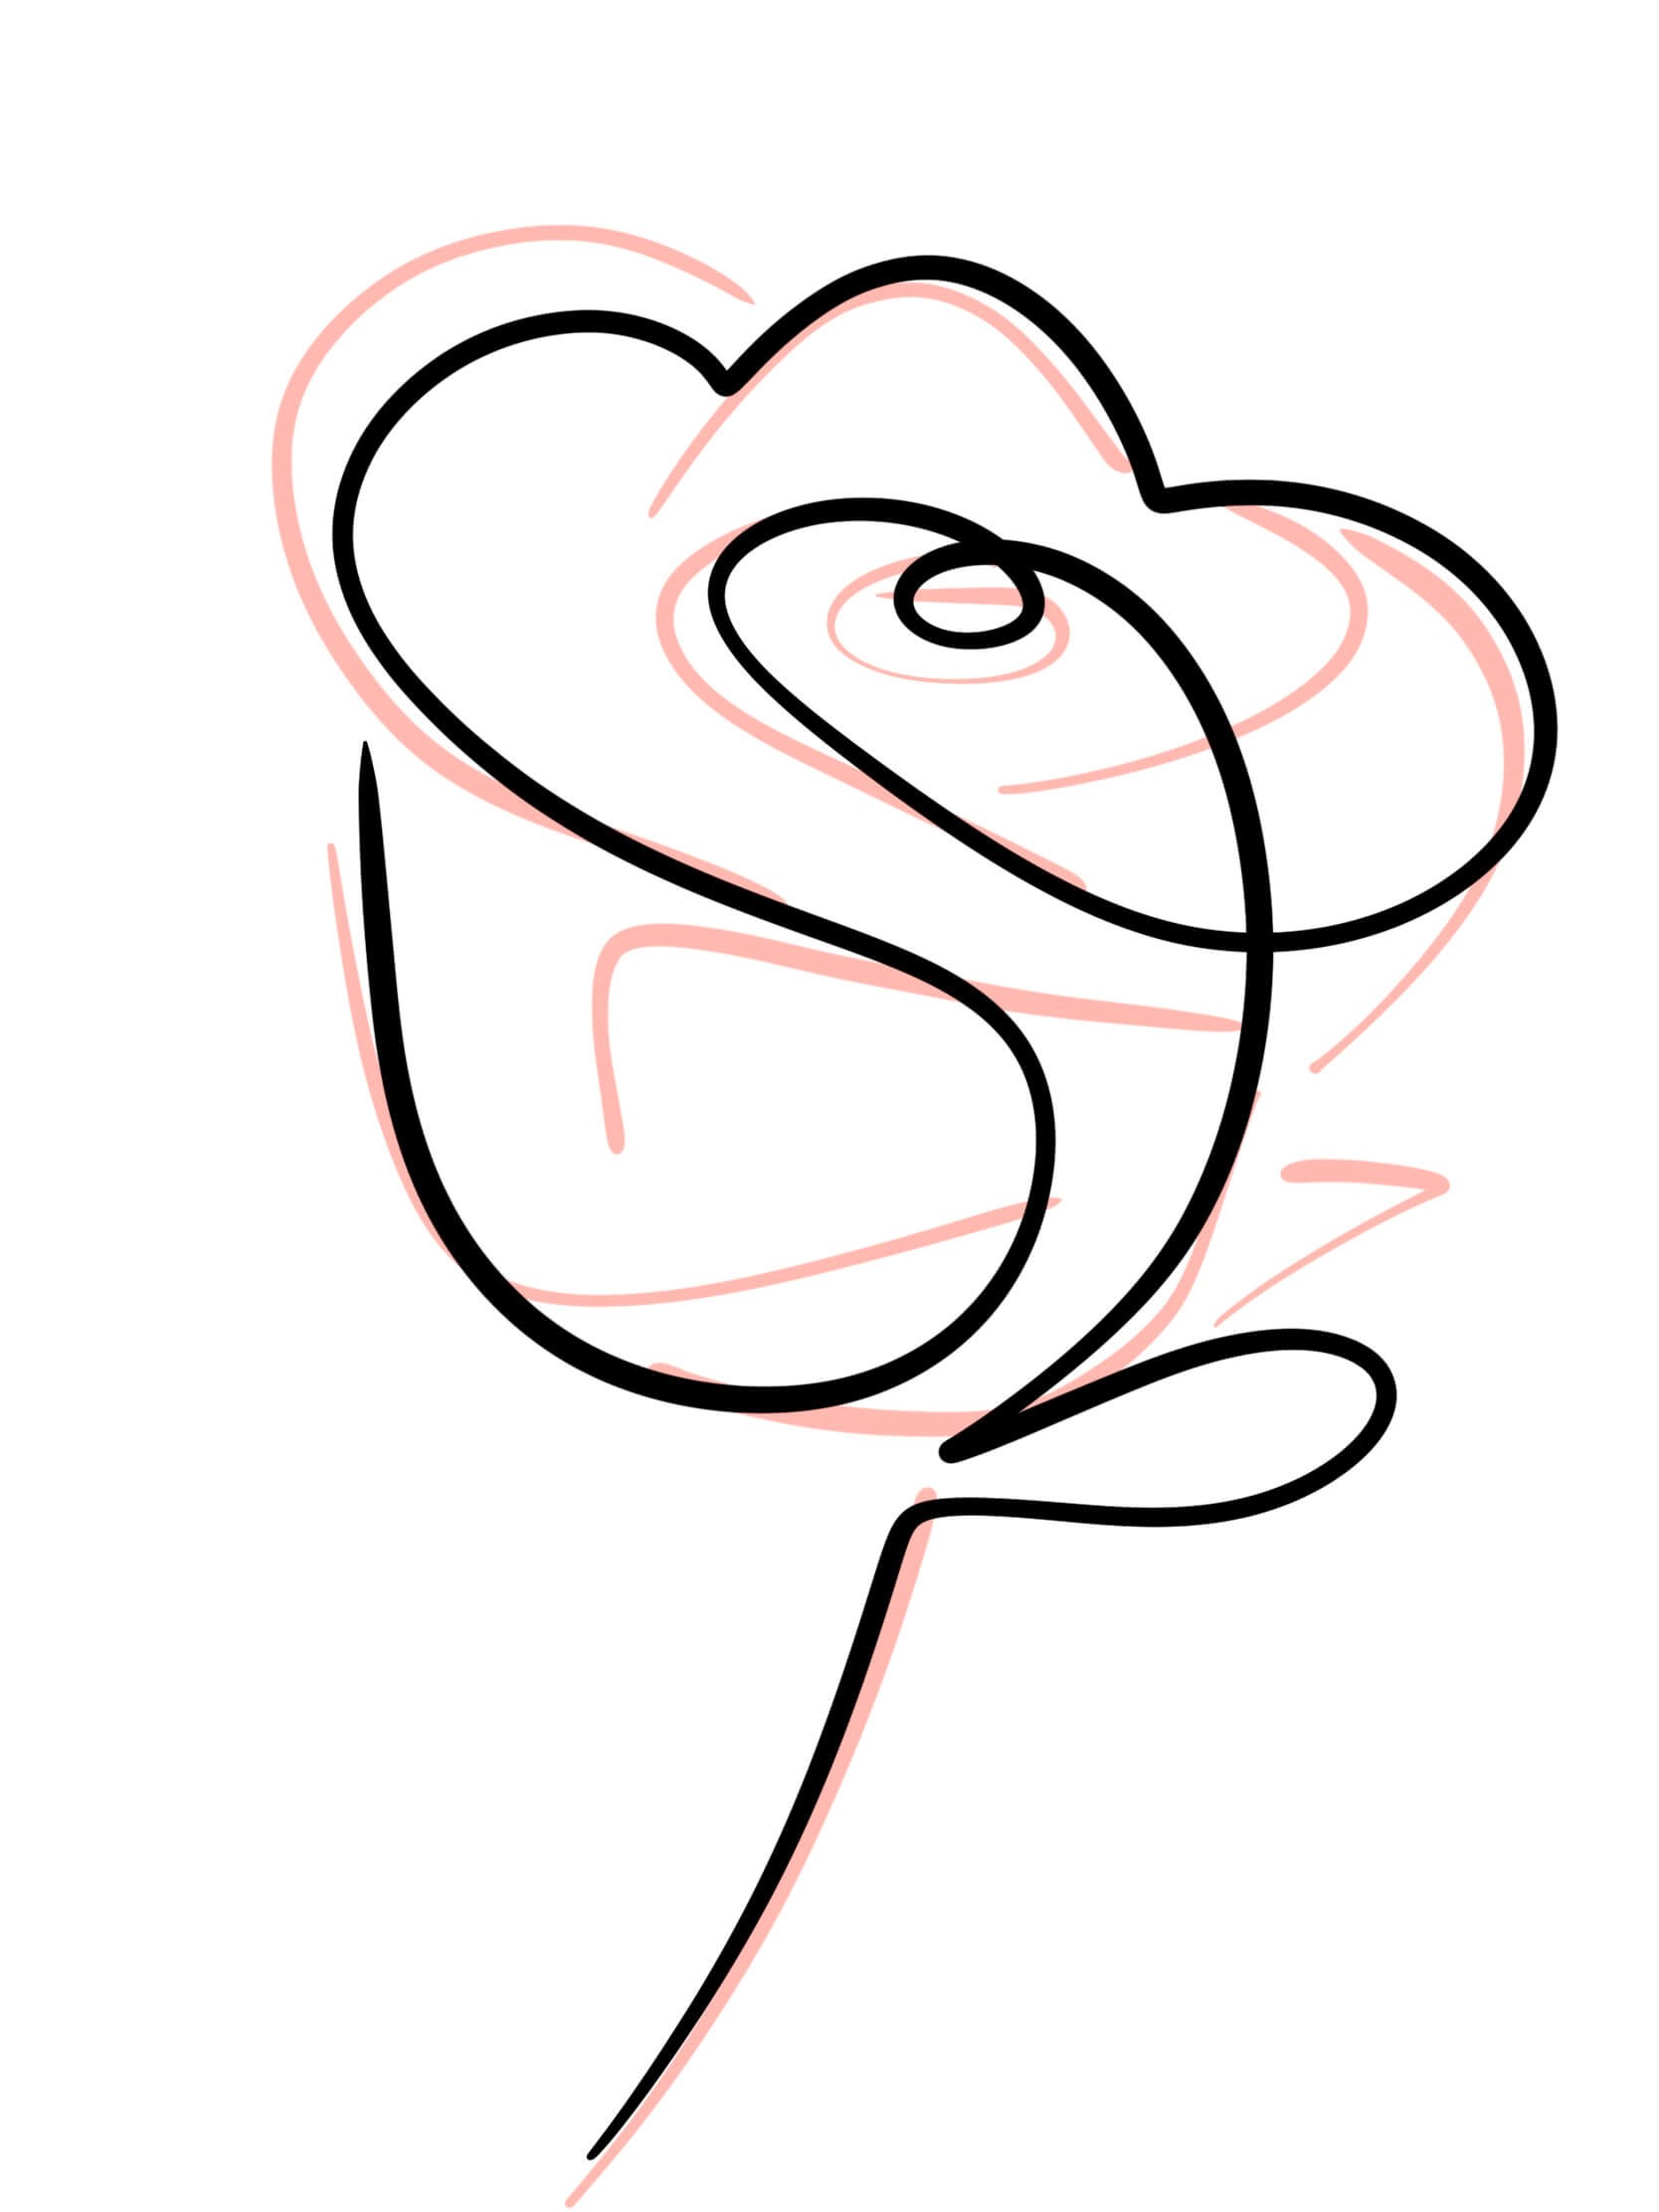
To bring all the key elements together, you’ll need to connect the dots – quite literally. This process may take a few attempts to get it just right. The goal is to create a cohesive line that doesn’t intersect itself excessively, avoiding a busy and cluttered appearance. You can see how I transformed the basic features into a flowing single-line drawing, as depicted in the illustration of a rose. While I took some creative liberties – such as placing the leaf lower on the stem and omitting certain petals – I tried to include more details initially, only to find that it became overly cluttered. And that’s okay! As an artist, you’re encouraged to put your own spin on things, making the reference photo a starting point rather than a strict guide.
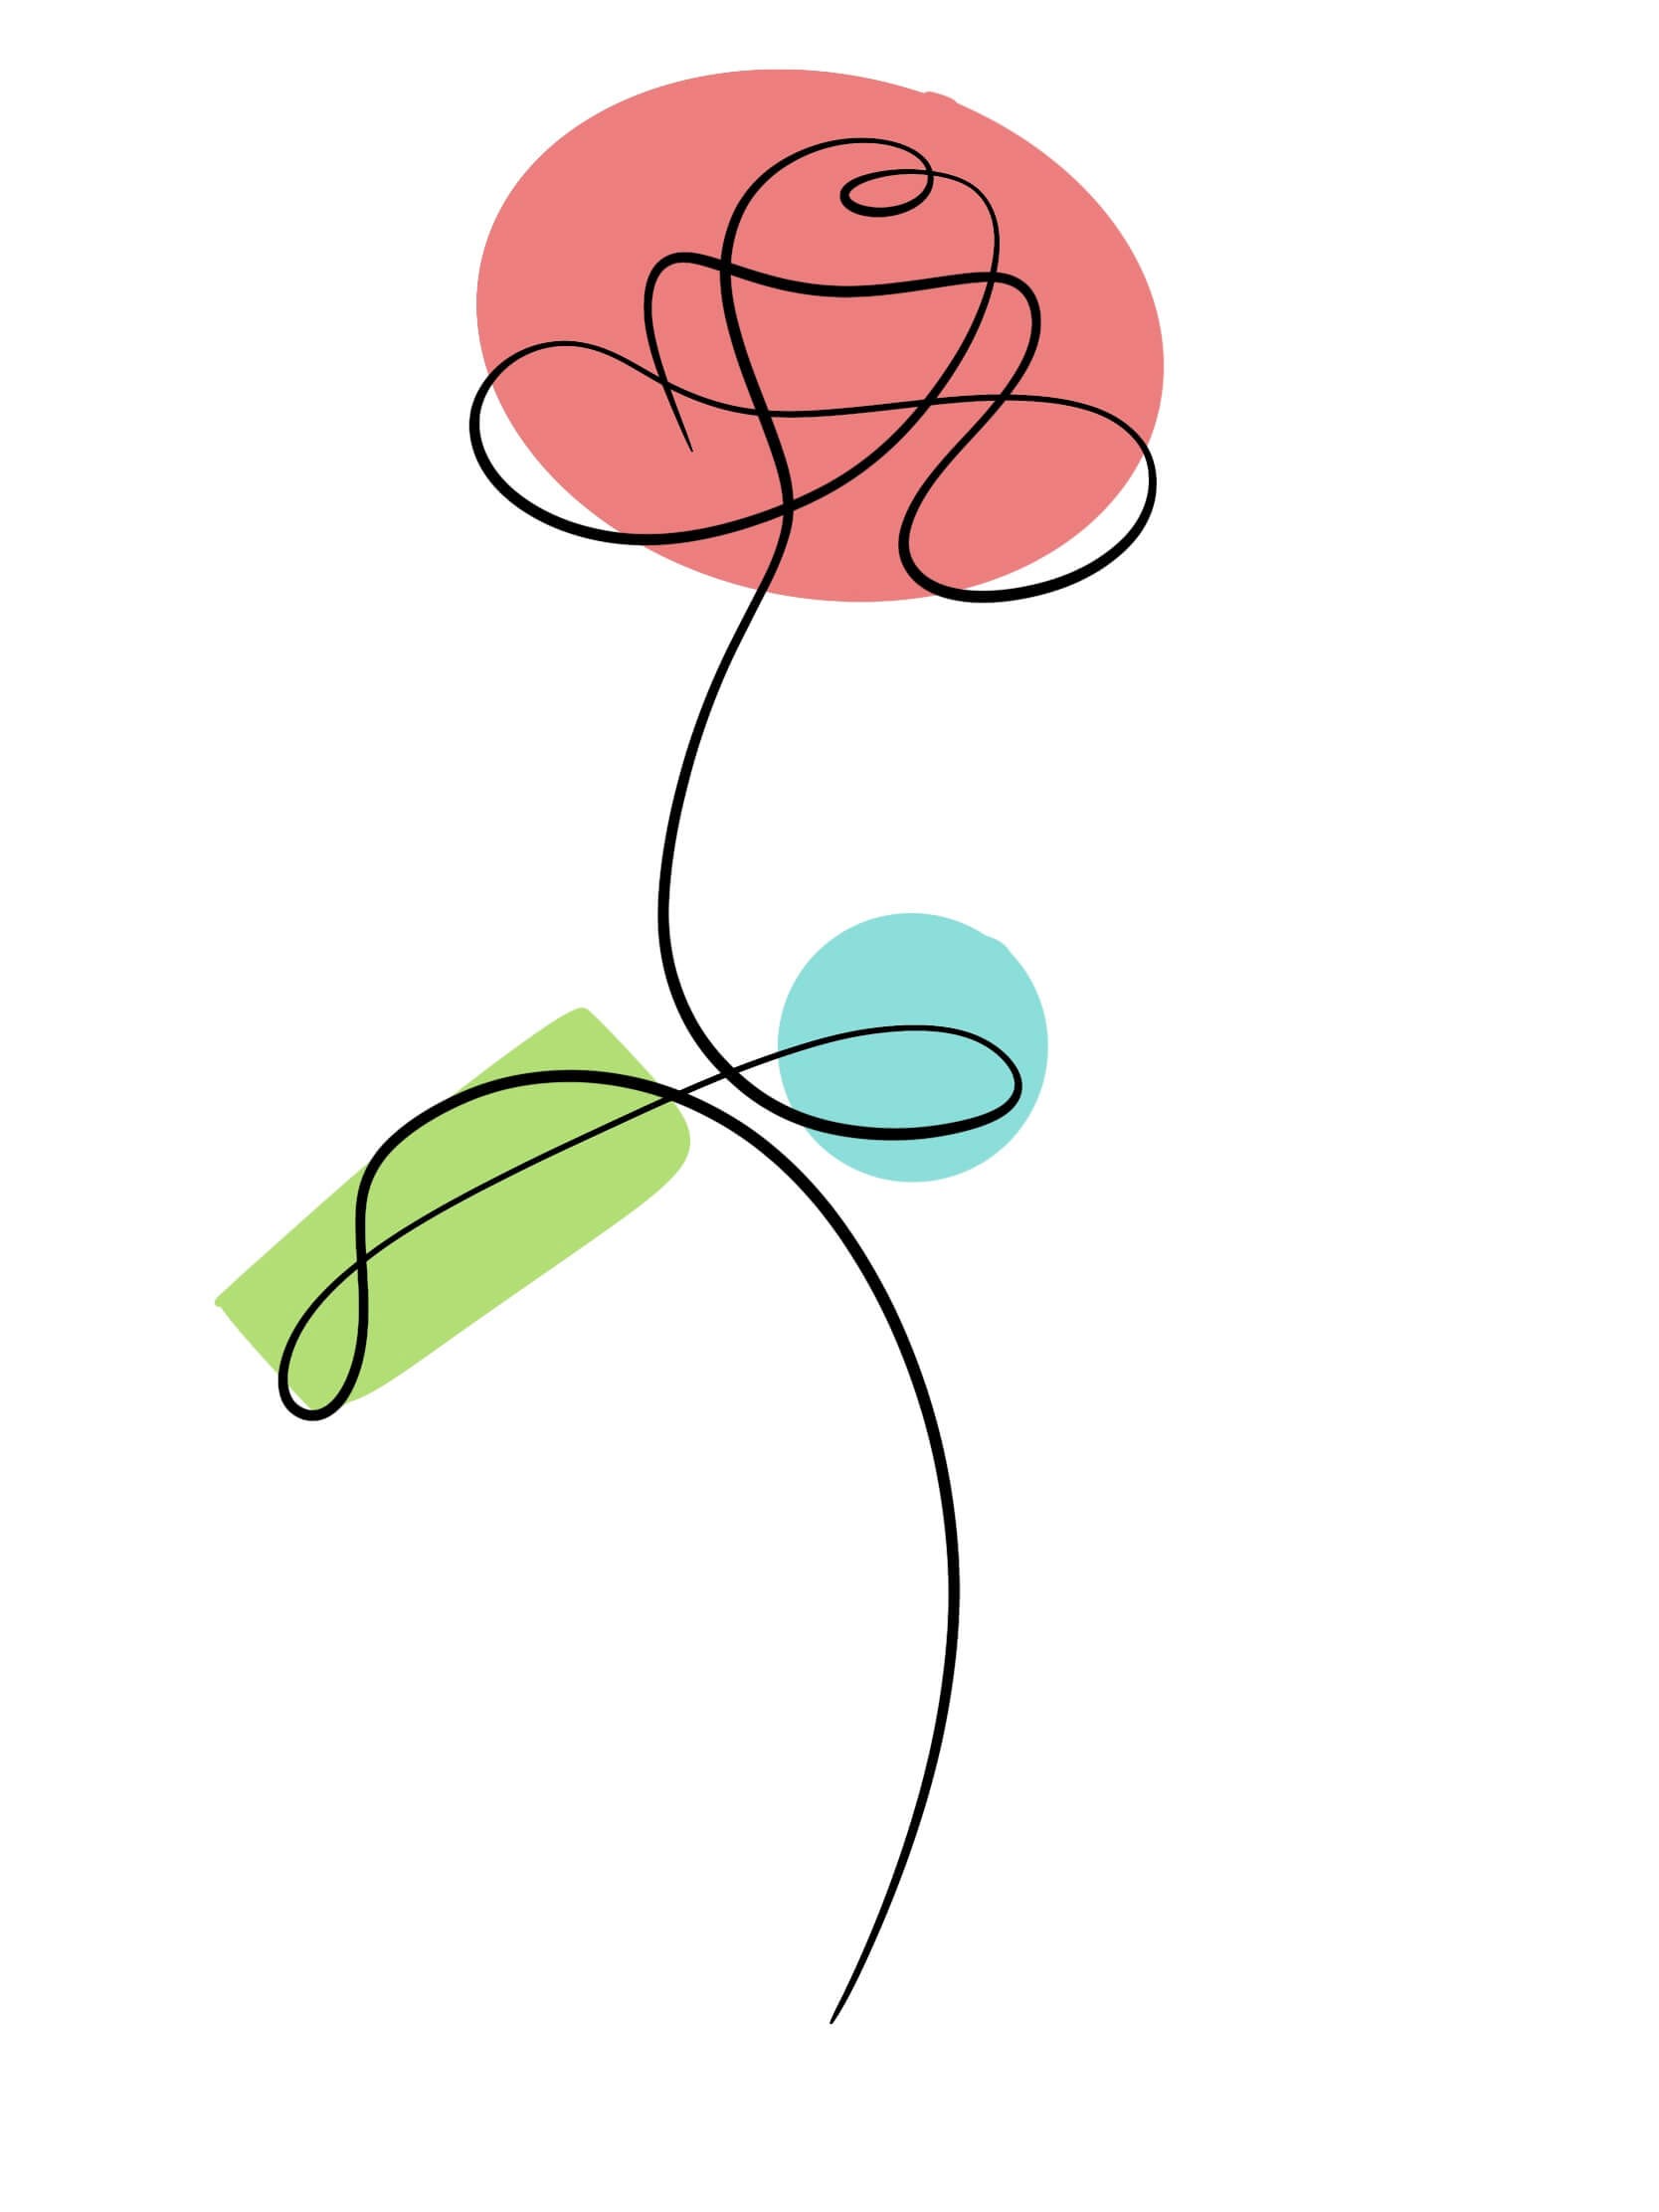
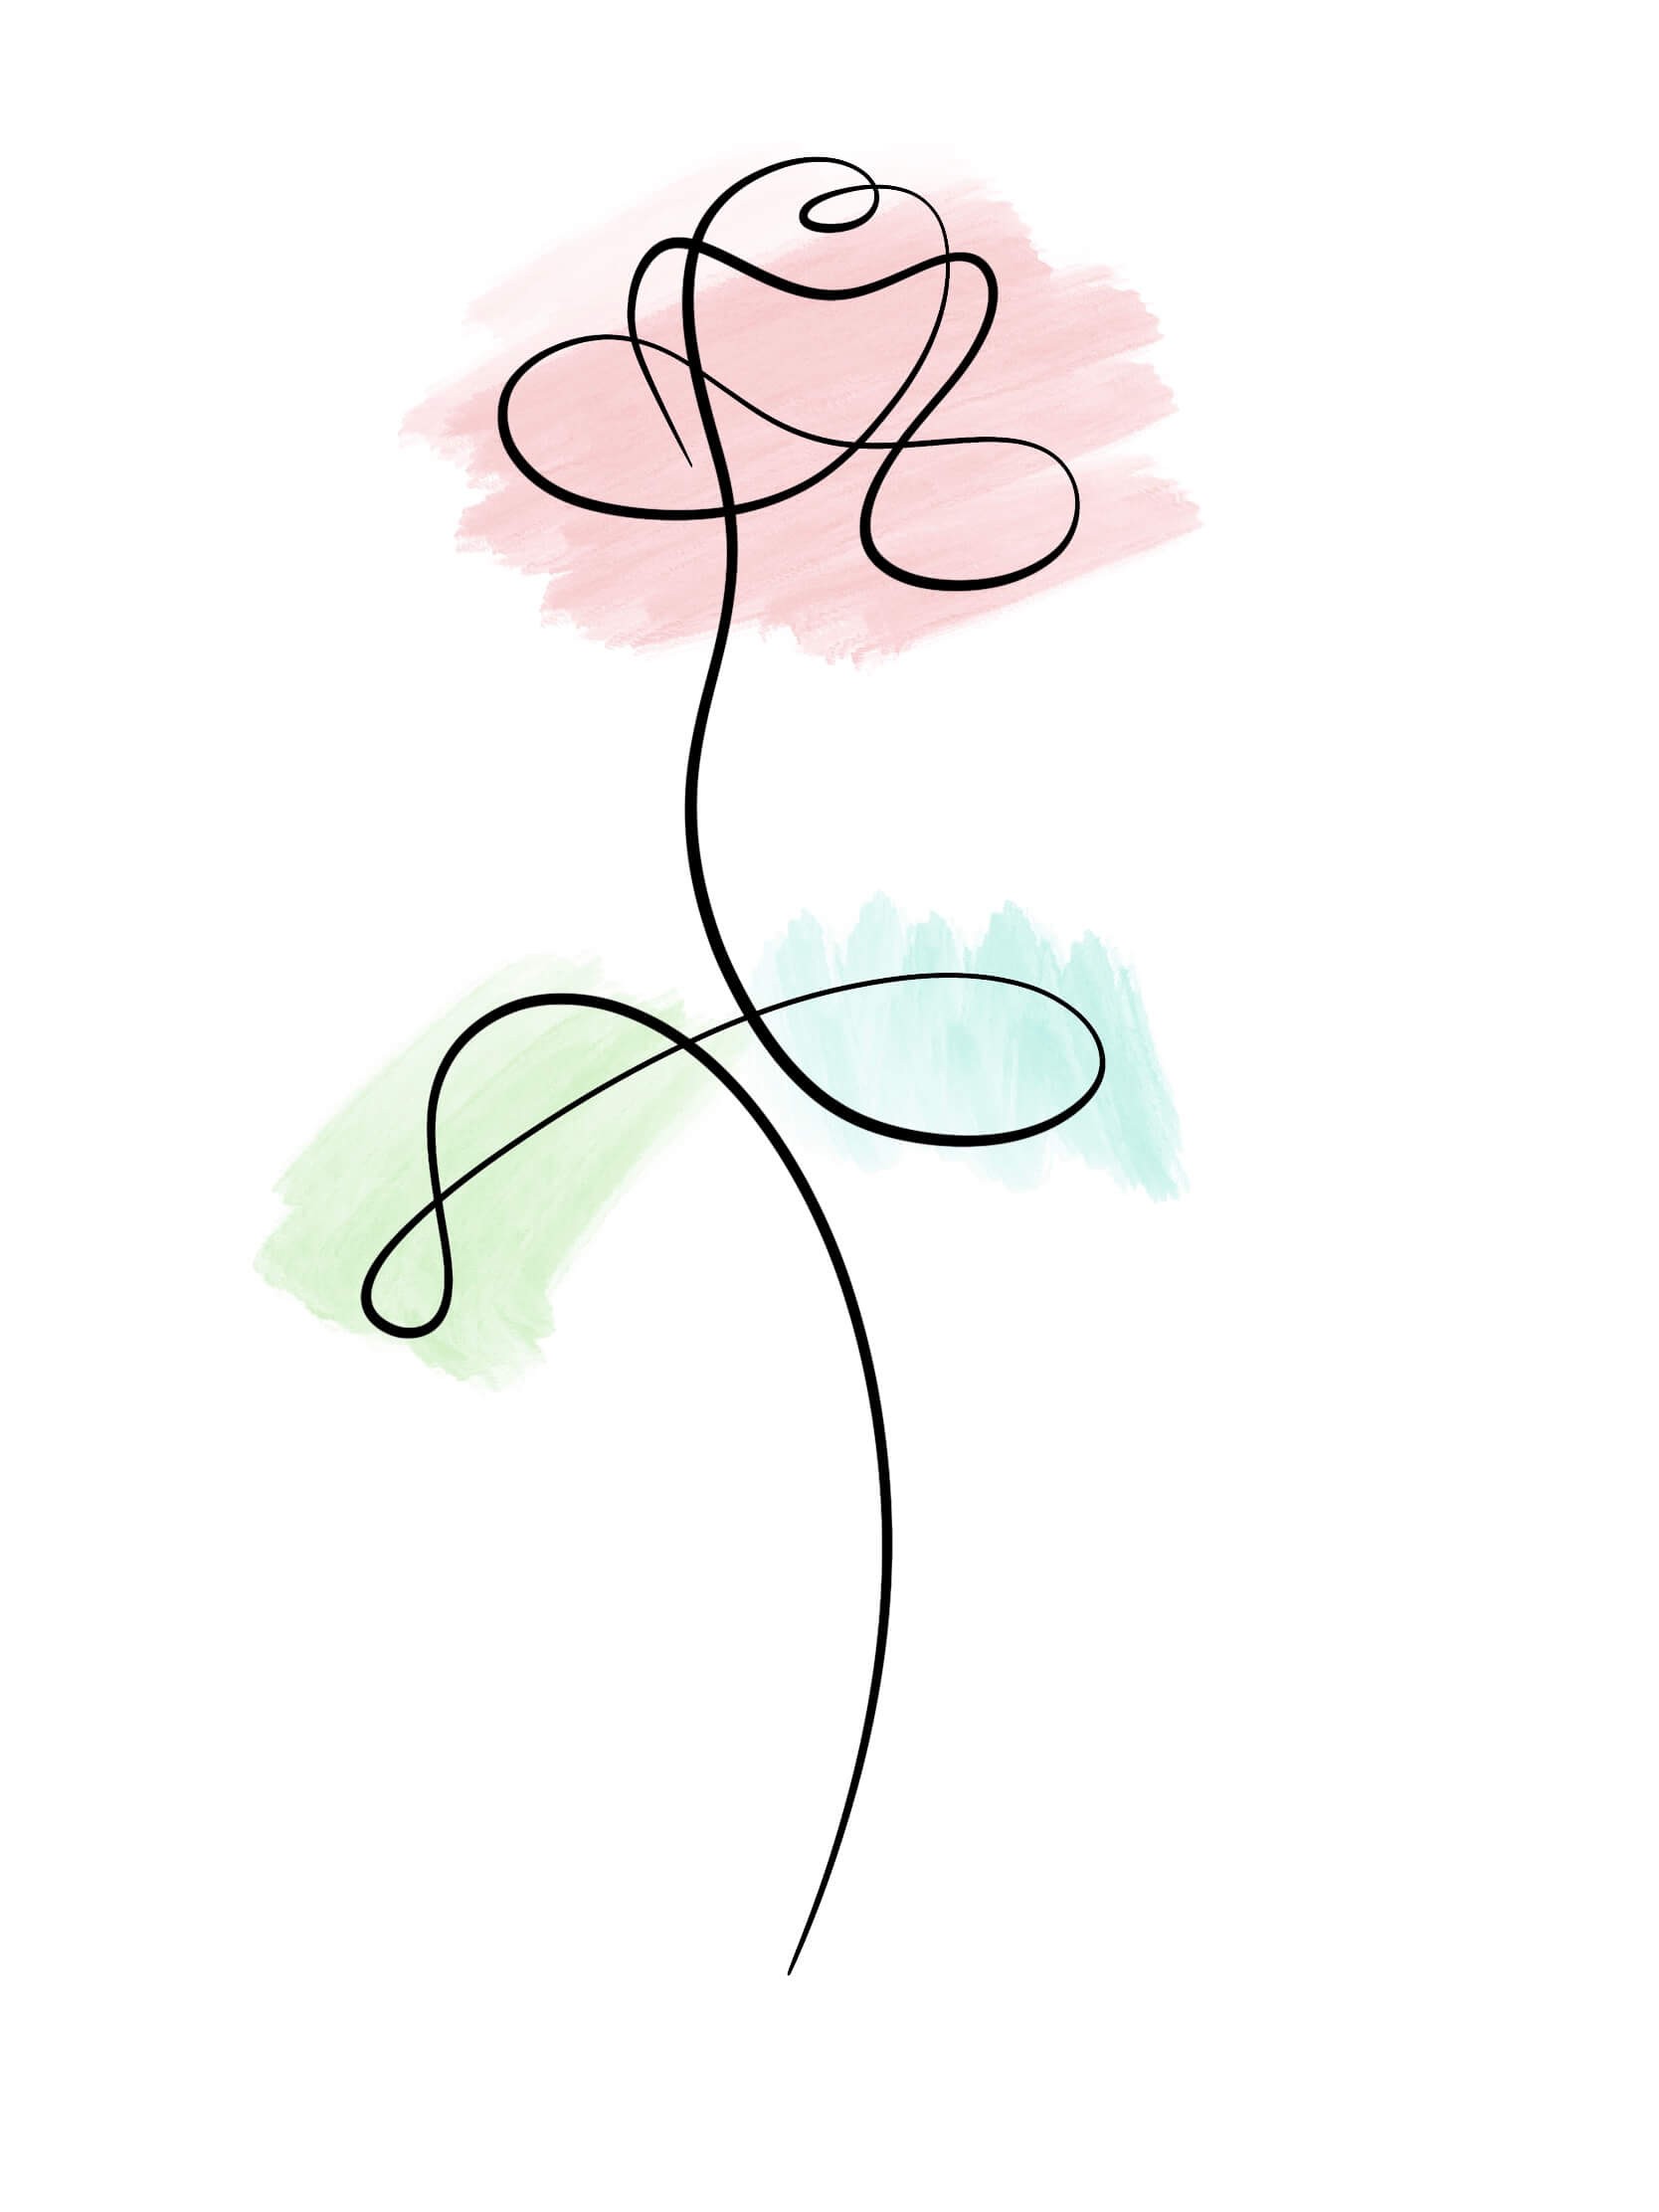
Step 4: Add some color to your one line drawing

When your line drawing of the rose is complete, you may choose to imbue it with some color. While entirely up to personal preference, I typically find that adding simple hues enhances the overall effect. A range of mediums can be employed to achieve this, including colored pencils, markers, and watercolor paint. If you prefer a more abstract aesthetic, you can introduce color through loose, expressive brushstrokes or shapes, as I’ve done in the example below. Alternatively, you may opt to remain within the lines for a cleaner look.
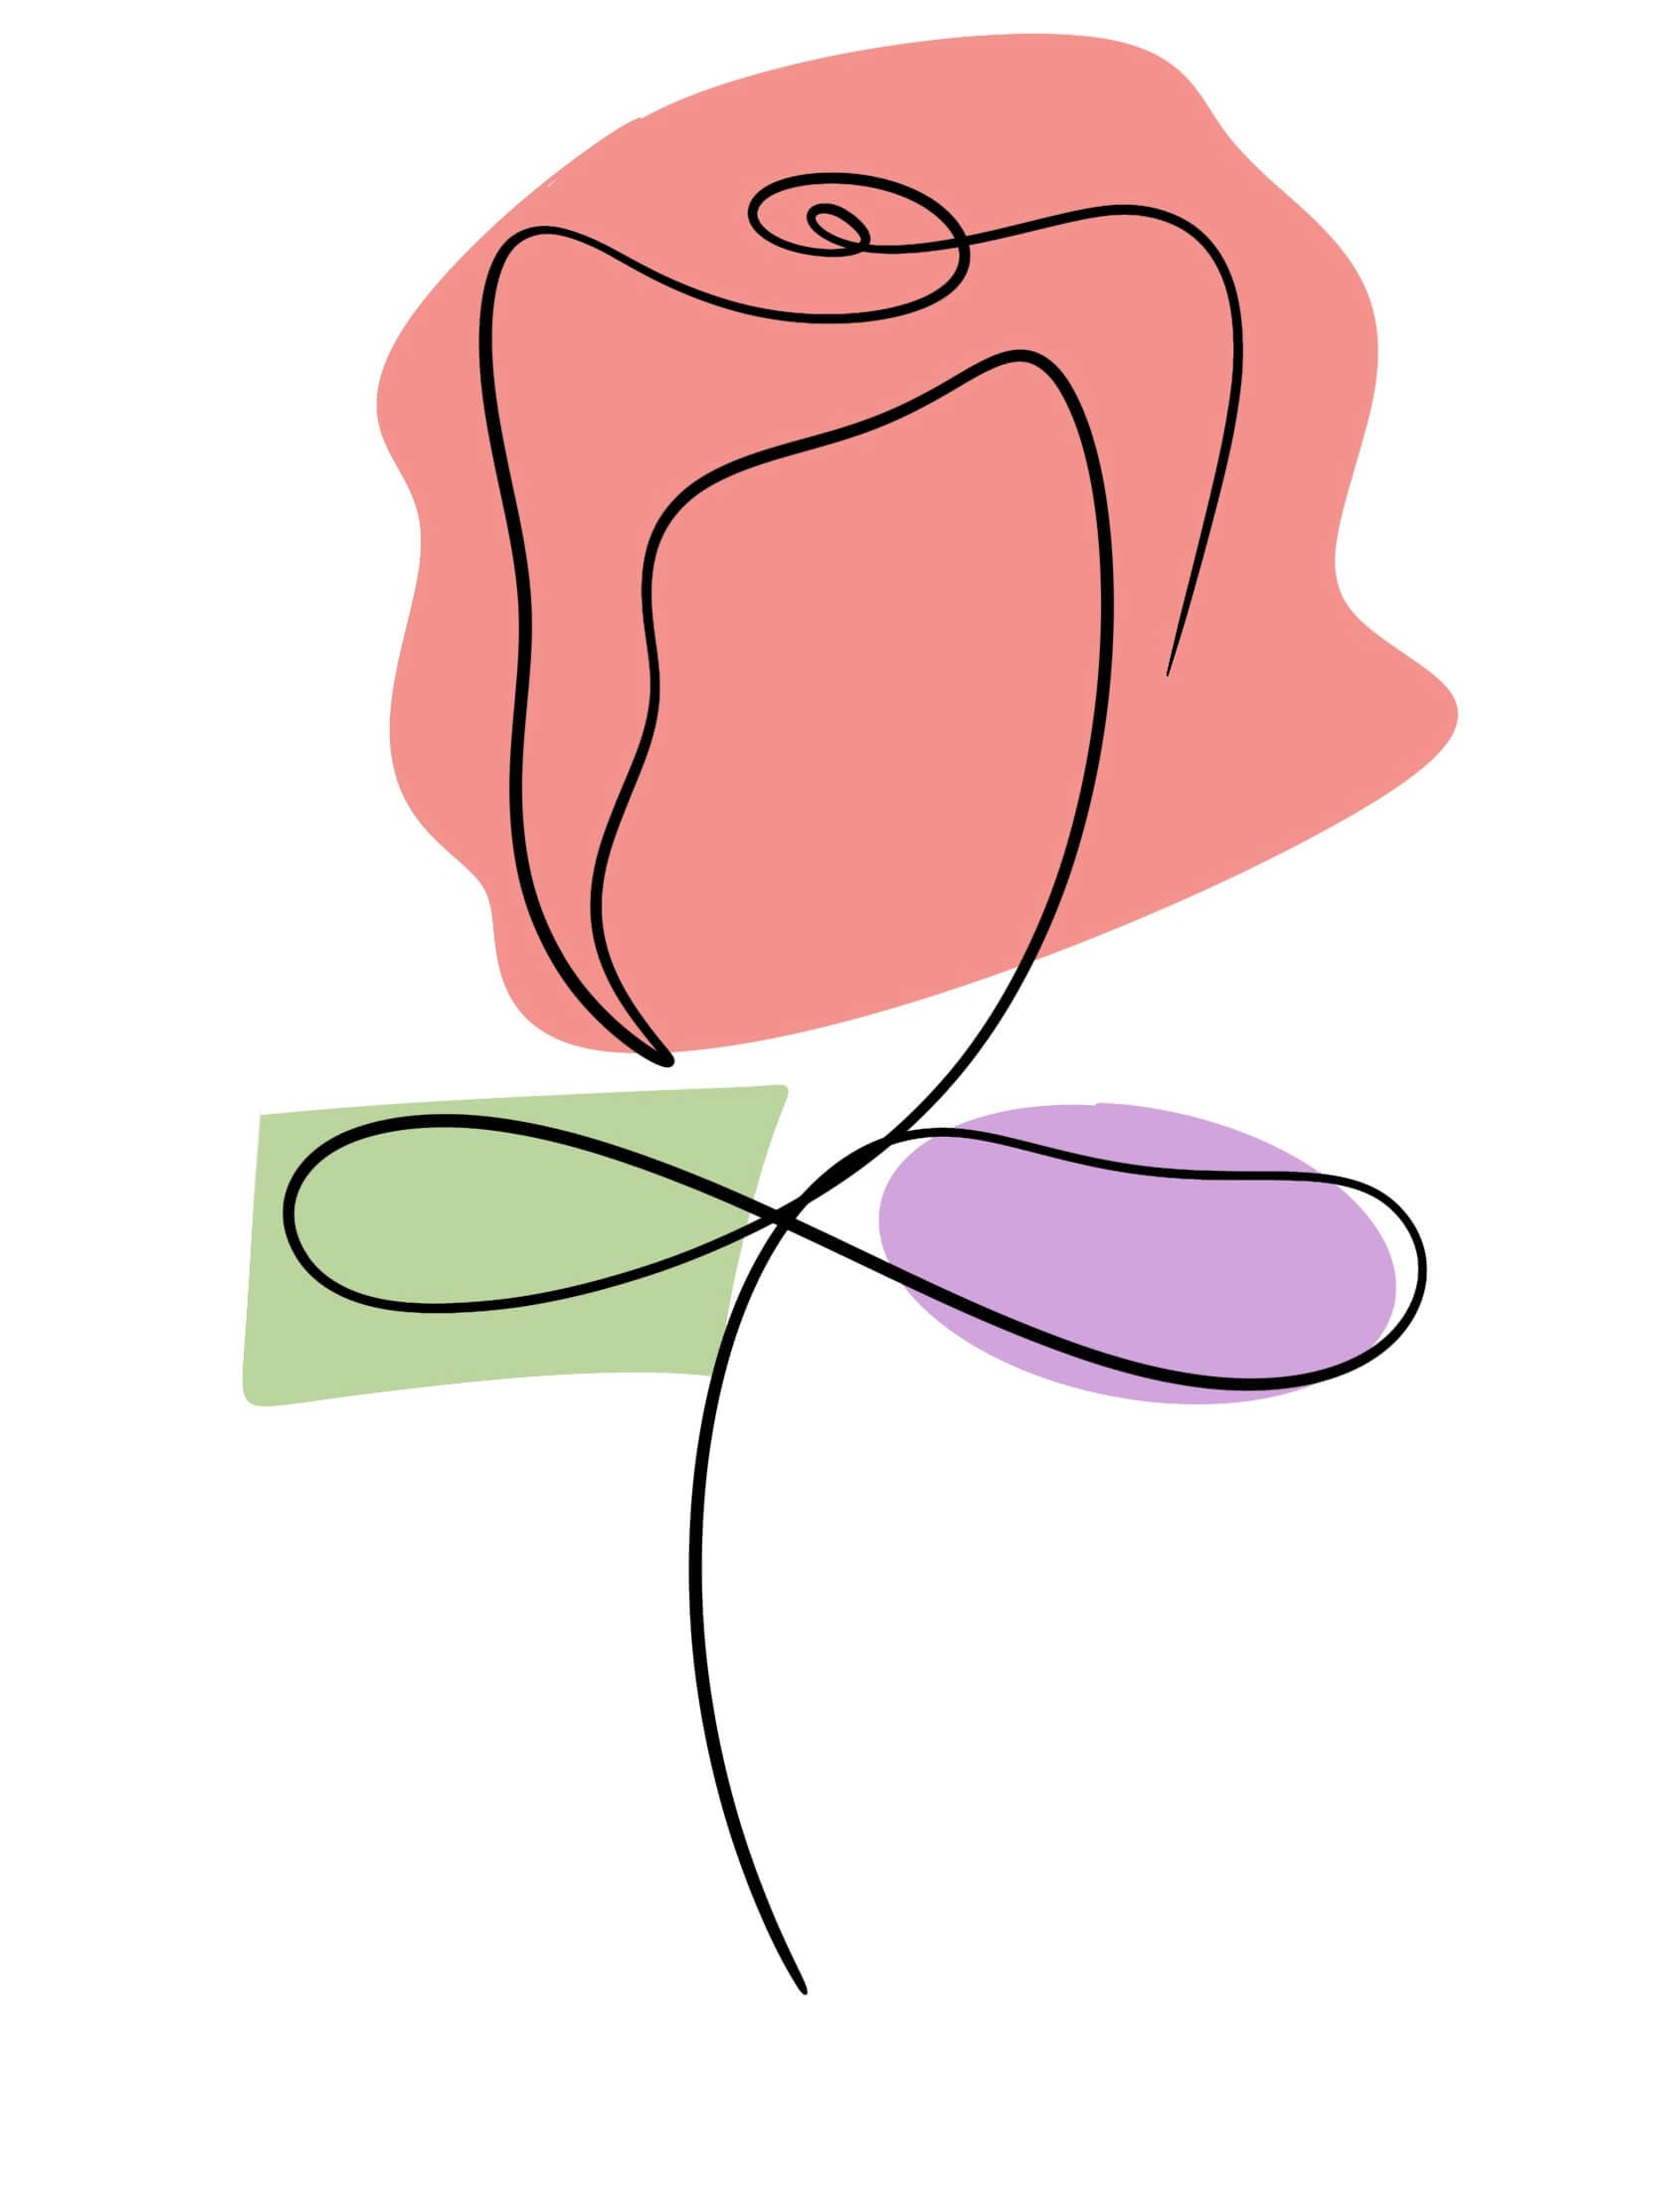
Step 5: Try again, and again, and again!


Drawing various line drawings from a single reference image is surprisingly easy. Once you’ve isolated the most crucial shapes in your design process, you can repeat the steps of refining and elaborating on those shapes to create multiple unique pieces. For instance, I drew three distinct roses using the same reference photo, each with its own character despite sharing the same foundation. The end result is a collection of artworks that showcase the versatility and potential for creativity within a single image.
More one line rose drawings
One of the best things about this technique is its versatility – it’s applicable to a wide range of reference photos. In fact, I encourage you to give it a try with different images to see how it works. Some reference photos may be more conducive to one-line drawing than others, but that doesn’t mean you can’t experiment and find success. If your initial attempts don’t quite turn out as expected, don’t worry – simply switching to a different reference photo might be all you need to get back on track. With practice and experience, you’ll likely become confident enough in your abilities to draw these roses from memory alone. Take a look at the examples below for some additional inspiration and guidance to help take your own one-line rose drawing skills to the next level.
Example #1
Example #2
Example #3

Example #4
Conclusion
While creating a stunning rose with just one stroke may appear straightforward at first glance, it’s astonishingly challenging when put into practice. The key to achieving this lies in utilising a reliable reference image and identifying the most crucial forms that define the flower’s structure. With these elements in place, the technique becomes second nature, allowing you to effortlessly draw an abundance of roses once you’ve mastered the method.