Potted Shrubs: How To Plant A Shrub In Pots (6 Steps)
When it comes to adding a touch of sophistication to your outdoor space, incorporating shrubs in containers can be a game-changer. Larger specimens not only provide height and structure but also create a sense of privacy by acting as a natural screen. Evergreen shrubs, in particular, offer year-round interest, as they continue to thrive even during the winter months when other plants may have faded away.
Some varieties can also provide long-lasting summer interest through vibrant foliage or abundant blooms. These versatile shrubs can be used as a focal point or as part of a backdrop for seasonal bulbs and flowers. Plus, if you’re struggling with soil conditions that are suitable for acid-loving plants like camellias, pieris, or rhododendrons, growing them in pots of ericaceous compost is a great solution.
You Will Need:
To provide the best environment for your shrub’s growth, you’ll need a large pot that meets specific requirements. First, ensure the pot has sufficient drainage holes to accommodate the shrub’s root ball and leave about 3-4 inches of space around it. Next, add a layer of drainage material to prevent waterlogged soil. Then, fill the pot with loam-based potting compost for optimal nutrient absorption.
For added support, incorporate slow-release fertilizer granules that will provide a steady supply of nutrients over time. Finally, consider adding decorative pebbles for a visually appealing touch. Once you’ve prepared your pot, gently place your shrub within its new home and enjoy the beauty it brings to your surroundings.
MORE PLANT OPTIONS
Imagine transforming your shady outdoor space into a Mediterranean oasis with the help of these smart and stylish plants. For a striking feature, consider clipping a Buxus sempervirens (Boxwood) into a ball shape. Alternatively, create a fragrant and long-flowering display with Hydrangea petiolaris ‘Preziosa’, which boasts dark stems and red-tinted foliage, producing pink blooms that deepen to burgundy in the summer and autumn.
For added texture and visual interest, incorporate delicate Japanese maple (Acer palmatum) leaves in shades of deep purple, pale yellow, green, or amber. To ensure the leaves remain healthy, provide shelter from harsh winds. Meanwhile, bring a touch of elegance with the compact evergreen Mexican orange (Choisya x dewitteana ‘Aztec Pearl’), which produces scented white flowers in early summer and may even repeat blooming later on.
Step By Step
Provide drainage
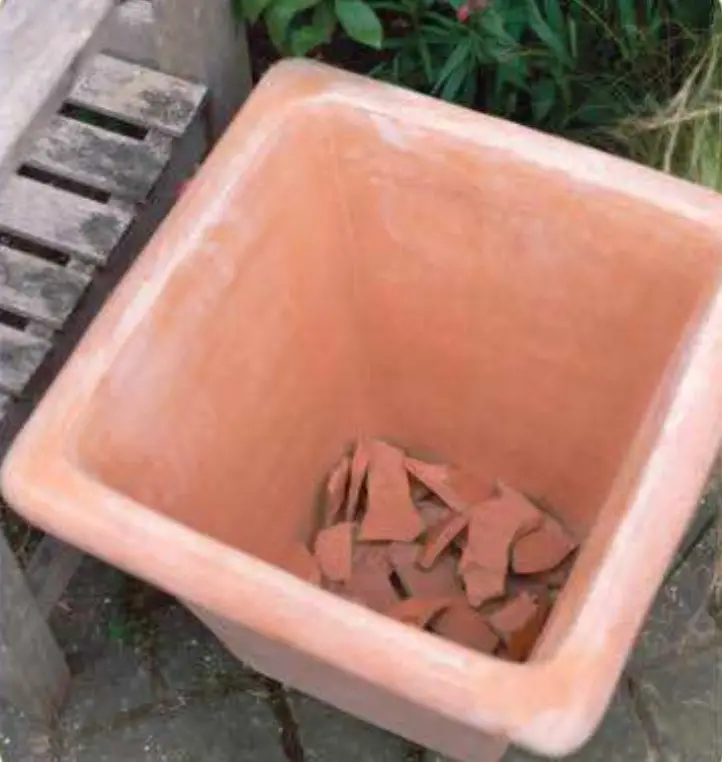
To ensure proper drainage and prevent waterlogging, cover the holes in the base of the pot with a layer of crocks, stone chips, or any other porous material. This simple step not only prevents compost loss through the holes but also maintains the integrity of your pot’s drainage system.
Add some compost

To plant your shrub, start by pouring enough compost into the pot to ensure the root system is at the desired height. Make sure there’s adequate room above the compost for watering. Aim for a minimum of 2½cm (1in) between the top of the compost and the rim of the pot. If you’re planning to add a gravel mulch, consider leaving even more space, approximately double the initial measurement, to accommodate this additional layer.
Examine the roots
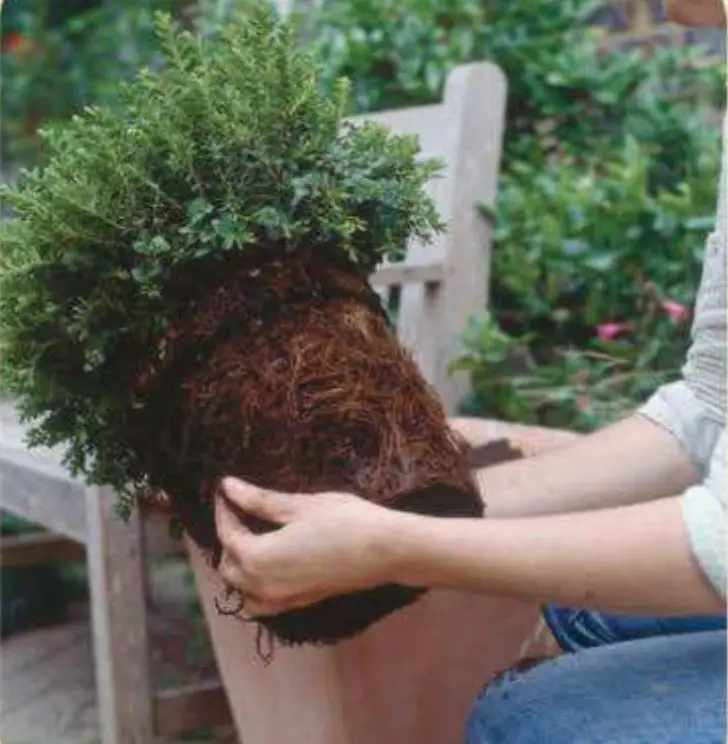
Carefully extract the plant from its container by submerging it in water and then inspecting the root system. For established shrubs with healthy root systems, exercise caution when handling their fine roots. Instead, focus on gently releasing any thicker roots that have become entwined around the base of the plant.
Plant the shrub centrally
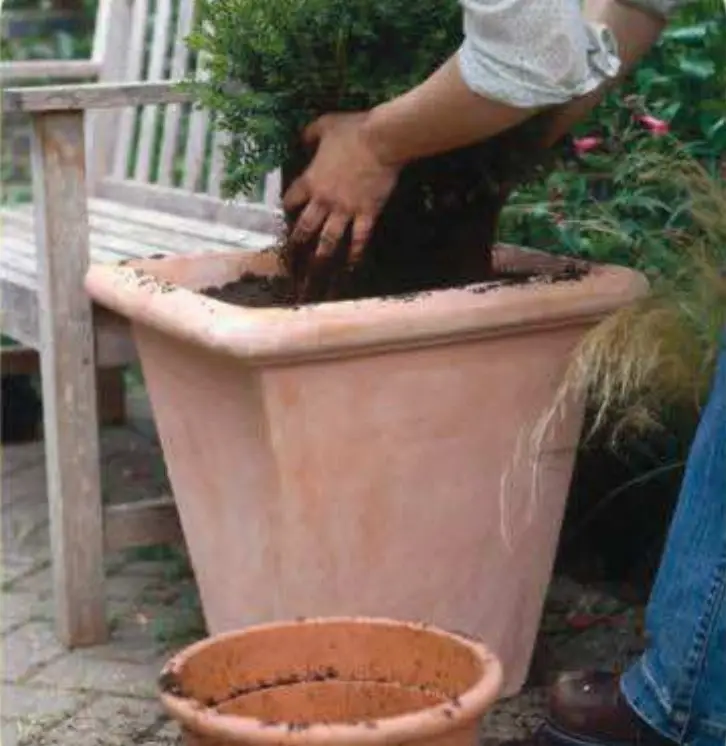
To create a thriving environment for your shrub, begin by incorporating slow-release fertilizer into the compost pile. Next, place the shrub at the center of the container, making sure it’s situated evenly. Then, fill in the gaps around the root system with compost, ensuring that it reaches the same level as its original pot. Finally, gently firm the soil to secure everything in place.
Water the planted pot
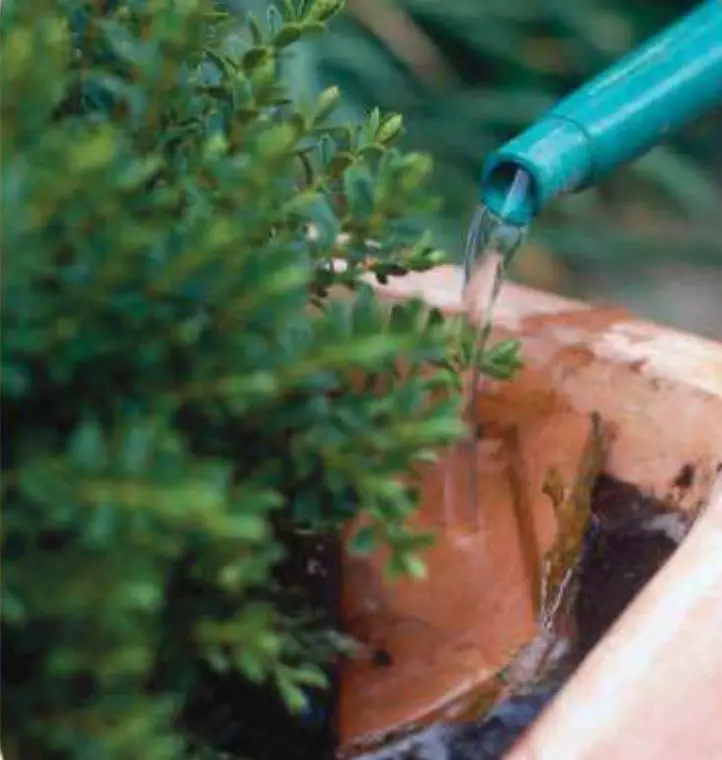
To ensure a seamless integration of new compost with the existing soil, start by carefully watering the pot. This will help settle the compost particles around the roots without disturbing the surrounding soil. A clever trick to achieve this is to pour the water over a piece of broken pottery or a small tray placed on top of the soil.
This will prevent the water from washing away any loose debris and maintain the structural integrity of the soil, allowing it to continue supporting the plant’s growth.
Mulch with gravel
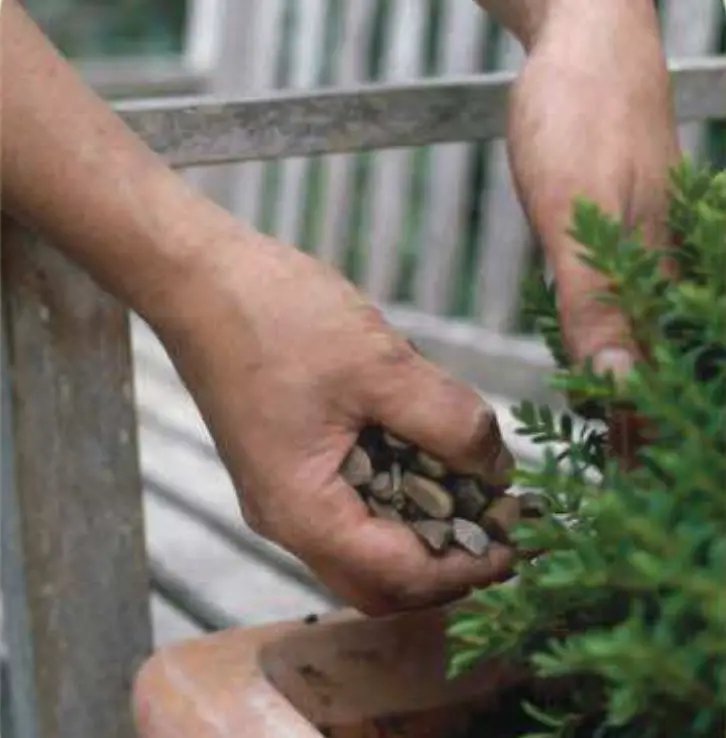
To prevent weed growth and maintain optimal conditions for your plants, apply a thin layer of gravel on top of the compost heap. This barrier will not only suppress unwanted vegetation but also allow for better airflow and drainage within the pile.For plants that thrive in acidic environments, such as woodland species, consider using fine chipped bark as an alternative mulching material. Its natural acidity will create a welcoming environment for these plants to flourish.