15+ Popular Types Of Wall Textures
While neutral and flat walls may be trendy, there’s no reason they can’t also feature interesting textures. By incorporating different textures into your wall design, you can add depth, visual interest, and even create a sense of movement. If you’re looking to DIY the process or simply want to explore your options, it’s helpful to understand the various types of wall textures that are out there.
From simple splatter knockdowns to more complex techniques like Venetian plaster, we’ll delve into 15 popular wall texture options that can help elevate your space.
15 types of wall textures
Wall textures often get reduced to just a few familiar names like orange peel, popcorn, and slap brush, but there’s a whole world beyond these classics. In reality, wall textures play a crucial role in subtly concealing imperfections like cracks and impurities, elevating the overall aesthetic of your space. If you’re looking to explore more options for your next home improvement project, here are some additional types of wall textures worth considering:
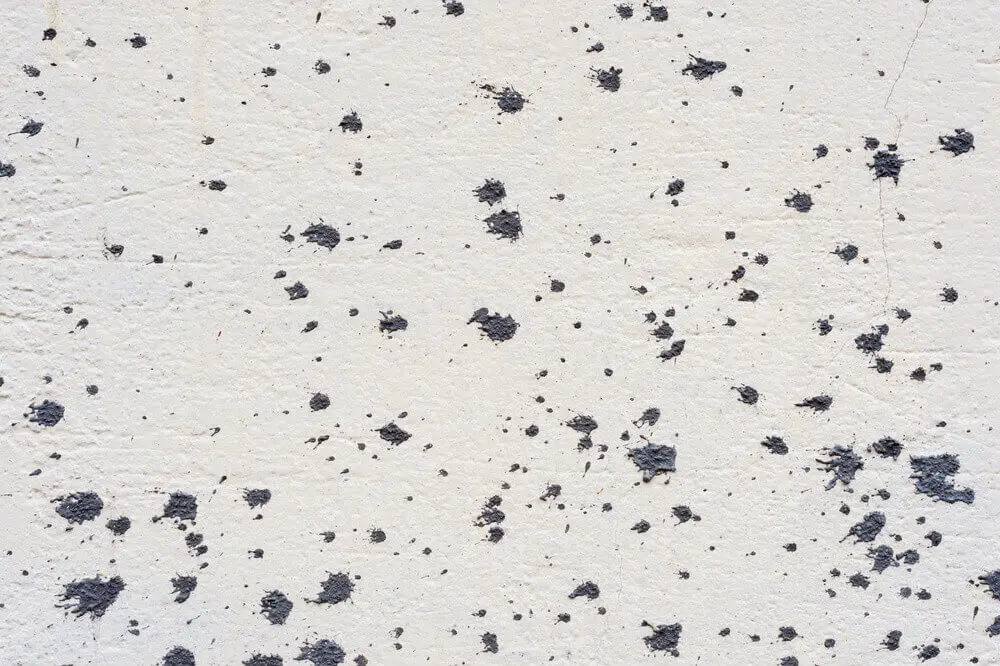
Splatter knockdown
Unlike other types of wall texturing methods, this one requires a higher level of expertise and precision, making it less suitable for DIY enthusiasts. The process involves multiple stages of fine-tuning to achieve the desired splatter effect. To begin with, you’ll need to apply at least two coats of primer before proceeding to spray the texture material. Once the substance has settled, you can shape the splatter using a knife, carefully crafting the final appearance.
Comb
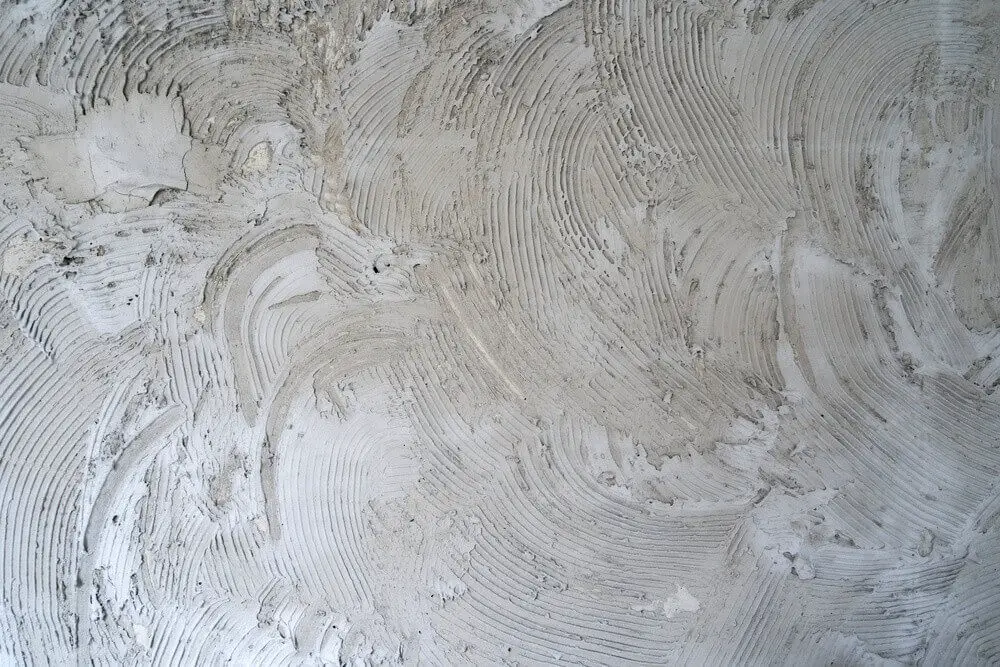
The most sought-after wall texture among interior designers is this stunning finish, which adds an air of sophistication to any room. Its unique feature is the creation of undulating waves and vibrant rainbow hues that dance along the walls. What’s more, achieving this look is surprisingly straightforward. Simply apply a single layer of primer, allowing it to dry completely before using a fork or fine-tipped tool to create multi-dimensional lines that flow seamlessly across the wall.
Popcorn
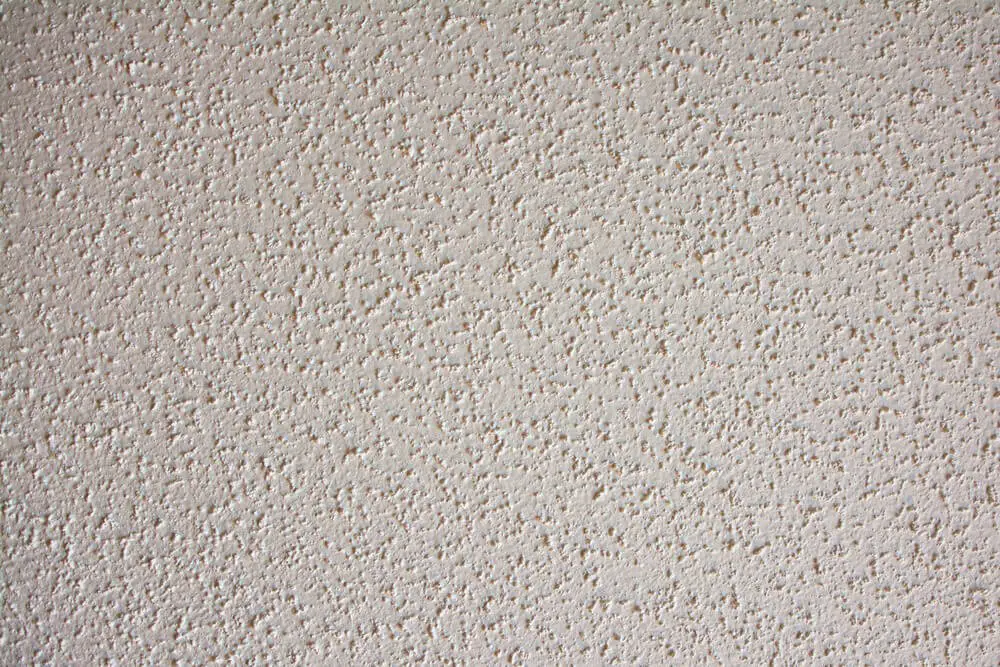
The acoustic ceiling tile is a common choice for ceilings, but it can also be used on walls. Its thickness makes it effective at reducing noise and concealing unevenness in both ceilings and walls. Additionally, it can add a retro touch to your home, reminiscent of the 1970s. While it was initially popular, its popularity waned over time due to its tendency to trap heat, particularly in living areas.
However, despite this drawback, the tile is still relatively easy to install, requiring only a texture sprayer and compressor.
Slap brush
To create this distinctive wall texture, you’ll need either a panda paw or a stomp brush – both of which are ideal for concealing noticeable defects on bathroom walls. The process begins by applying the drywall to the surface in smooth layers, followed by repeated stamping with the stomp brush until you’re satisfied with the desired effect. While this approach can be effective, it’s essential to note that the slap brush requires 24 hours to fully dry, making it a consideration to keep in mind.
Santa Fe
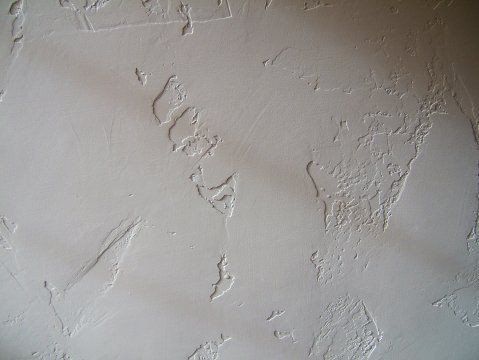
Home Depot’s trendiest wall texture of 2019 is the Santa Fe, characterised by its innovative two-layered drywall design. The top layer boasts a smoother texture compared to the bottom one. To achieve this look, you’ll need to apply the wall texture substance and then quickly create patterns using a large drywall knife. Interestingly, this unique design is best suited for areas like patios, balconies, and mudrooms where its subtle visual impact won’t detract from the overall ambiance.
Conversely, it’s not ideal for living rooms as the pattern may be distracting. The Santa Fe texture also pairs perfectly with contemporary home designs that incorporate neutral color schemes.
Orange peel
The most widely used wall texture type is often referred to as ‘splatter’ due to its resemblance to actual splattered paint. This finish has a finer texture than the traditional splatter method and requires more consistent application. To achieve this look, begin by priming the drywall followed by a spray application of the wall texture substance. Once the first coat is dry, apply two additional coats of primer to ensure a smooth surface.
However, it’s essential to wait until the wall texture paint has dried sufficiently before applying the final coat.
Skip trowel
The hawk and trowel textured bedroom design is a top contender for those seeking this unique style. Its name originates from the two primary tools used to create it – layers of wall texture substance are rolled against each other to achieve the desired outcome. When complemented with strategically placed wall lights, the overall effect is nothing short of stunning.
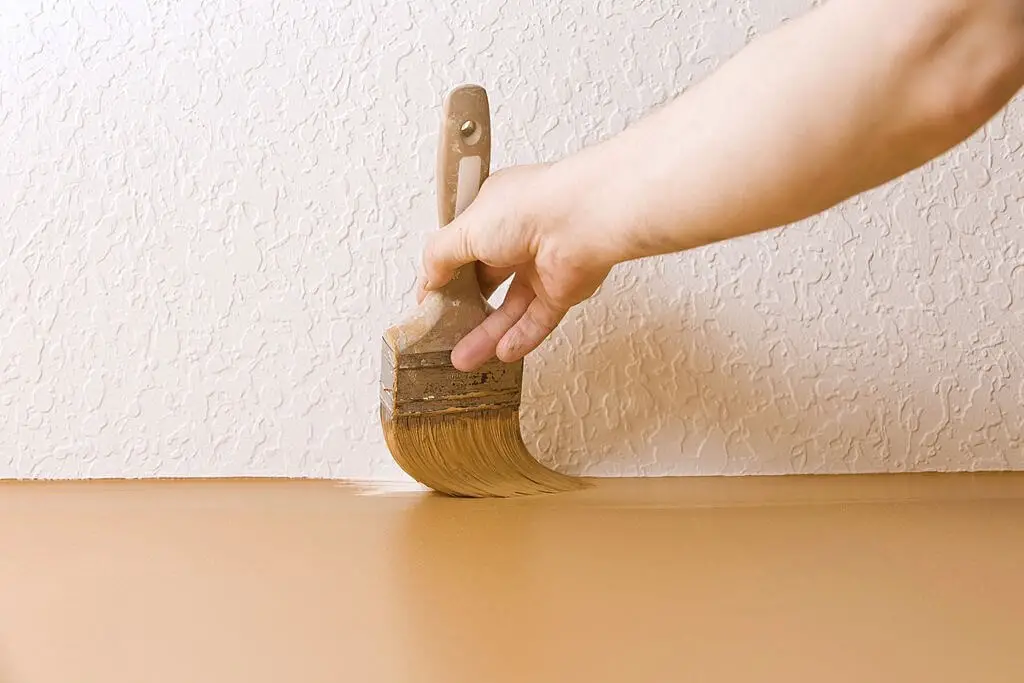
Hand-applied
For those seeking a more hands-on approach to applying wall texture, consider getting your hands dirty by applying the substance manually. While tools like texturing knives will still be necessary for achieving certain effects, this method allows for a more tactile experience. A fine-brush and sprayer will also come in handy for adding those subtle, ragged lines that can help conceal any imperfections.
This technique is particularly well-suited for exterior walls, such as those found in garages or mudrooms, where a deliberately uneven look can be beneficial.
Sand swirl
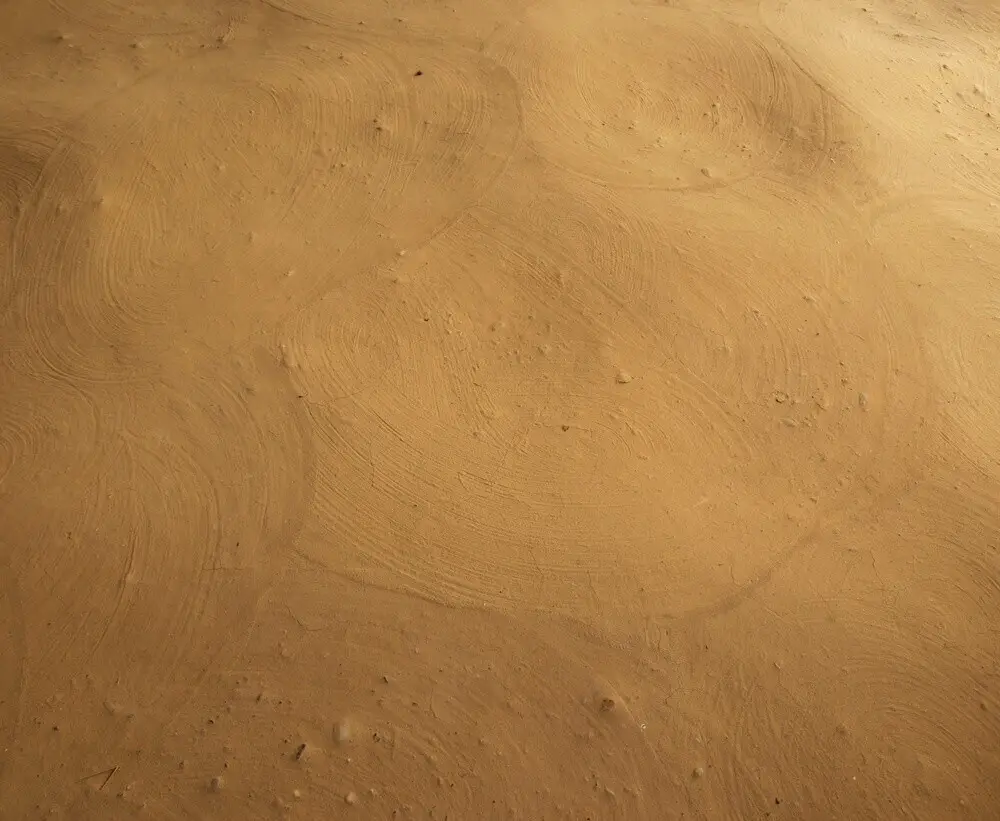
To create this unique texture, combine the sand spray and comb techniques by using a thick bristle brush to create swirling patterns that can be rainbow-shaped, aligned in rows or symmetrical designs. The swirls can be combed before the mud hardens, creating a bumpy surface ideal for exterior walls or children’s bedrooms. However, mastering this technique requires combining various texturing methods, making it more challenging than other DIY projects.
Nonetheless, with the right technique, you can achieve a dramatic and eye-catching effect on your walls.
Rosebud
The rosebud textured finish is a popular choice for exterior walls, where minor imperfections can be easily concealed. The distinctive pattern features intricately designed petals and a central bud, created through a traditional knockdown technique. To achieve this look, you’ll need to apply the mixture in a consistent circular motion, followed by gentle stamping using a rosebud tool.
For novice DIY enthusiasts, it’s essential to practice on an old drywall sample first to ensure even spacing and alignment of the rosebuds.
Crow’s feet
To achieve a rustic, earthy look reminiscent of the slap brush texture, apply wet mud to your drywall using either a stiff-bristled brush or paint roller. Begin by running the tool up and down repeatedly, then twist the pole firmly from left to right. Repeat this process several times to create unique patterns. Be advised that this method can be quite messy, so it’s essential to cover any nearby furniture and floors before applying the muddy substance.
Due to its vulnerability to dust settling, work quickly to ensure the best results. This texture type is particularly well-suited for living rooms and study spaces.
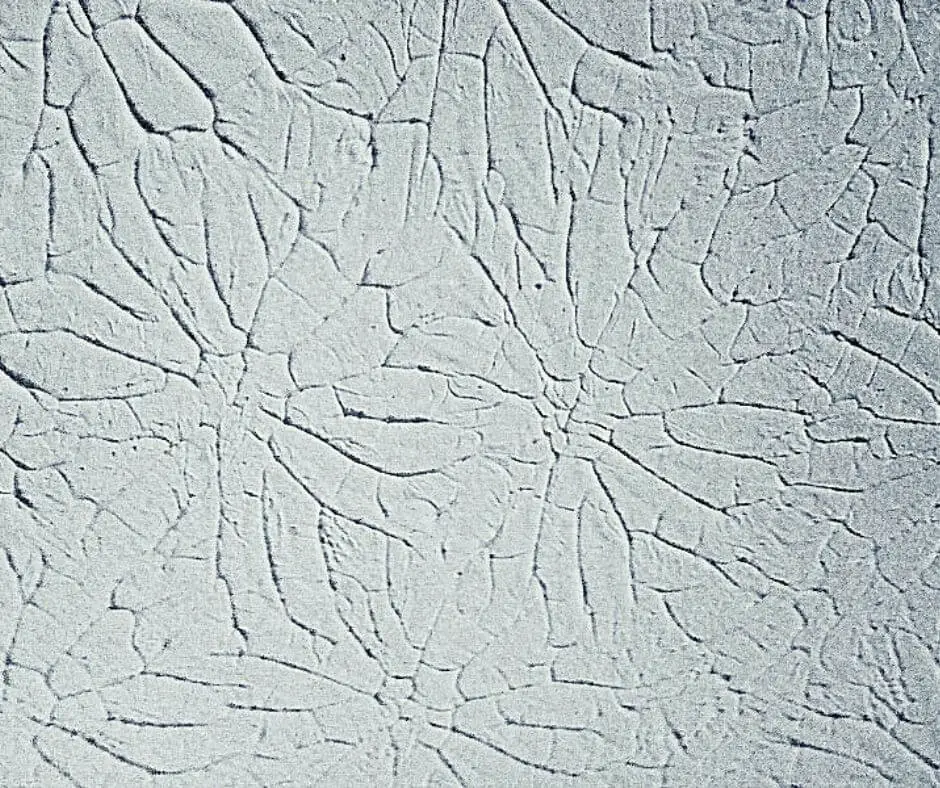
Knockdown
One of the simplest and most versatile wall textures is the popcorn finish. It’s a great choice for homes with stucco-style architecture, as it blends seamlessly into the overall aesthetic. The popcorn finish works well in kitchens, dining rooms, and living spaces, adding a touch of modernity to any room. While it can be messier to apply than some other options, like orange peel, the end result is well worth the extra effort.
To achieve this look, you’ll need to use a similar technique to that used for orange peel. The key difference is that you’ll need to apply the pattern using a drywall knife before the wall texture substance has a chance to fully dry. Once you’ve achieved the desired effect, simply smooth out the surrounding surface with a trowel to create a seamless knockdown finish.
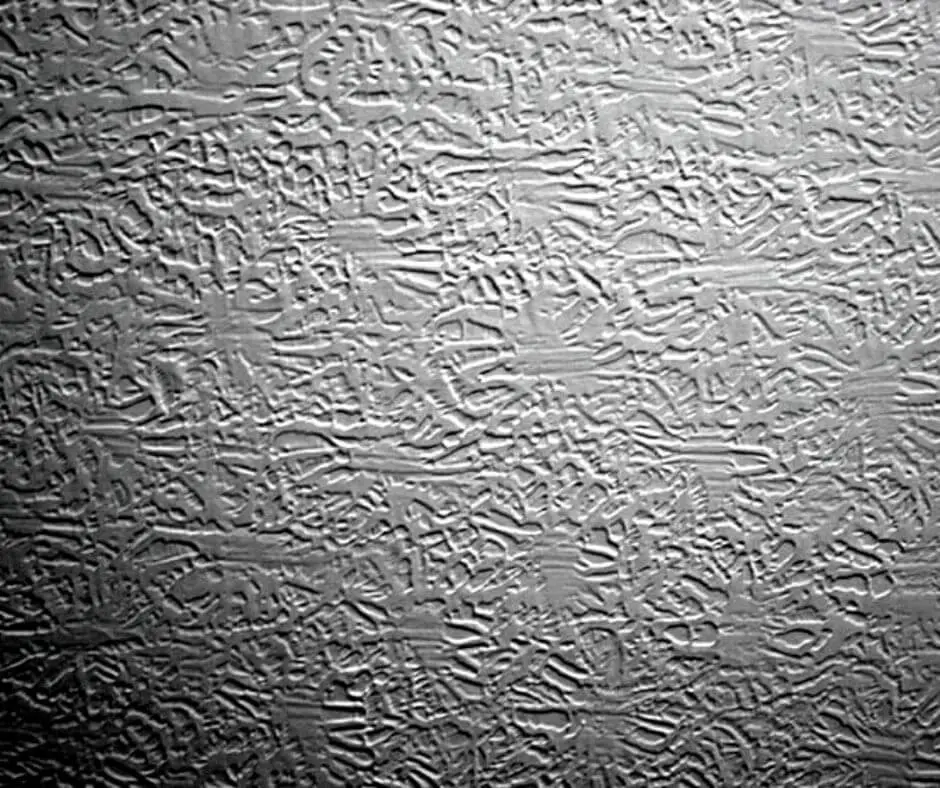
Stomp knockdown

In addition to the traditional knockdown technique, there’s another variation that achieves a similar texture. The process remains largely the same, with one key difference: instead of relying on a drywall knife, you’ll need to employ a paint roller and stomp brush to apply the design. Furthermore, the mud is directly applied to the drywall, setting it apart from the more conventional approach.
As with traditional knockdown types, compound mud proves to be an incredibly versatile material for this variation, offering a wide range of creative possibilities.
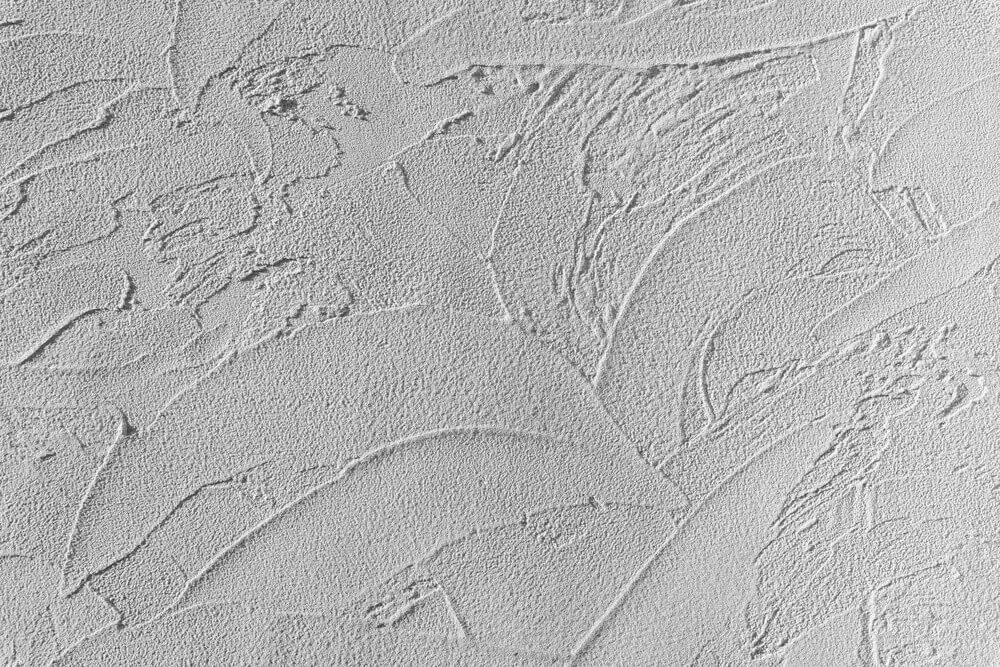
Venetian plaster
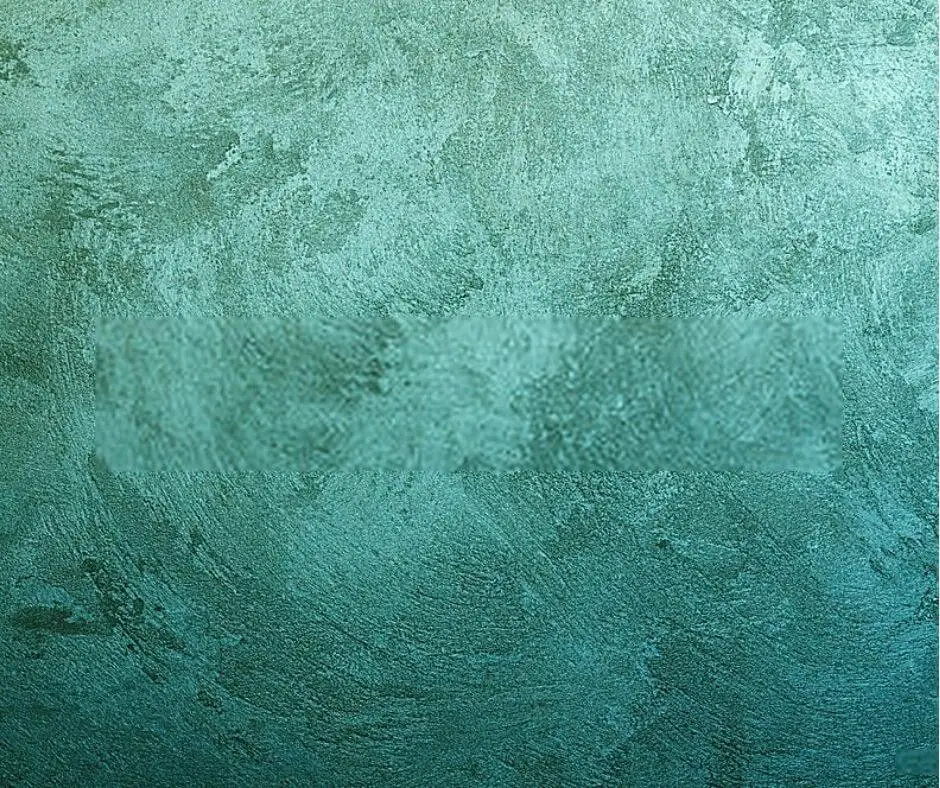
One of the most ancient texturing techniques is the raw concrete finish, which has been around for centuries. This method involves combining marble dust with compound mud or putty to create a plaster mixture. A thin layer of this mixture is then applied to the walls, followed by a buffing and sanding process to achieve the characteristic polished look.
It’s essential to ensure the surface is completely dry before applying a second coat of plaster, which typically takes 5-6 hours after the initial application.
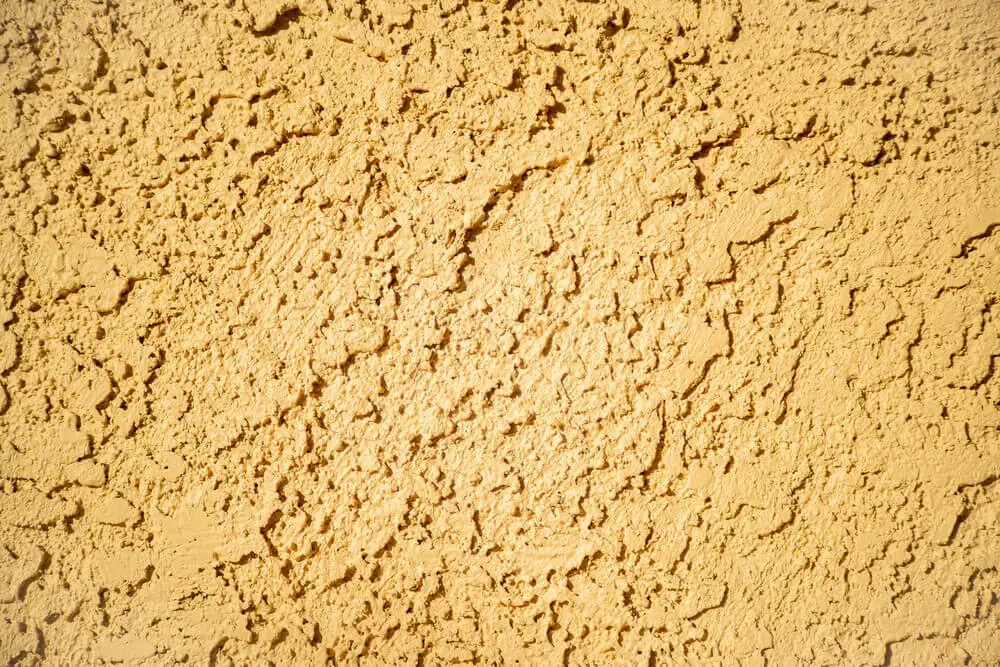
Spray sand
While similar to orange peel textured walls, this application method employs a distinct compound mixture and technique. A combination of primer, water, and sand is left to sit overnight before being applied to the wall. To ensure the sand remains evenly distributed, thoroughly stir the mixture before applying it the following day. This durable wall texture is designed to withstand the test of time without cracking or compromising the surface.
The spray sand finish is particularly well-suited for stucco applications and can enhance any room in your home with its pleasing aesthetic.
Wall textures – FAQs
Comprehending the nuances of wall texture choices is just half the battle. It’s equally crucial to grasp the fundamental reasons behind texturing walls, as well as the financial implications and the broader implications of this design element. To provide a comprehensive understanding, we’ve compiled a set of frequently asked questions (FAQs) about wall texturing that every homeowner or DIY enthusiast should be aware of.
What is wall texture?
While drywall may be the most well-known material for walls and ceilings, a lesser-known yet equally effective option is the wall texture. This thinner-than-drywall but thicker-than-paint substance adds depth and visual interest to interior spaces through its subtle patterns of small shadows and bumps. Prior to application, it’s essential to prime the surface to ensure optimal adhesion.
One of the most popular and straightforward options is the orange peel design, which has been a staple for years. However, as technology and design trends have evolved, so too have the types of wall textures available, offering homeowners and professionals alike an exciting range of possibilities to enhance their spaces.
How much does it cost to have walls textured?
When it comes to allocating a budget for wall texture, there are three key factors to consider that can significantly impact the final cost. Firstly, the existing condition of the walls will influence the overall expense. Are the walls clean, dry and free of cracks or damage? Or do they require additional preparation work before texturing can begin? Secondly, the size of the room itself plays a crucial role in determining the budget.
Larger rooms naturally require more material and labor, driving up costs. Finally, the choice of texturing technique you select will also have an impact on the final bill. From traditional spray-on textures to more complex stucco or plaster finishes, each method has its own unique characteristics and price points. With wall texturing costs ranging from $1-3 per square foot, it’s essential to consider these factors to get a realistic estimate for your project.
What is the point of textured walls?
While textured walls are more commonly associated with exterior facades, they’re also a popular choice for interior design. The various types of wall textures available today offer a range of benefits, from concealing imperfections like drywall seams, dents, and cracks to adding visual interest and depth to a room. By reflecting light in unique ways, textured walls can create a sense of drama and movement that’s hard to achieve with traditional paints.
One key difference between wall textures and paints is the way they interact with color – the pigments used in texturing compounds can produce a distinct tonal effect, especially when working with neutral hues. As such, textured walls have become a staple feature in many home renovation projects. And the best part? Some types of texture can be applied using DIY techniques, allowing you to bring your design ideas to life without breaking the bank.
Does drywall need texture?
The suitability of smooth or textured drywall ultimately depends on the specific area in question. Basements and garages can be good candidates for smooth drywall as they tend to experience low foot traffic, allowing minor imperfections like dents and cracks to remain. In contrast, high-traffic areas such as living rooms, kitchens, and bedrooms may benefit from textured drywall as a means of adding visual interest and hiding imperfections.
While wallpaper, faux finishing, or plain paint are also viable options, textured drywall offers a unique blend of functionality and aesthetic appeal.
Why are walls in California textured?
In the 1970s, textured walls enjoyed widespread popularity in the United States. However, this trend was short-lived due to a decade-long research initiative that shed light on the adverse effects of sanding drywalls in temperate climates like California. Specifically, studies revealed that sanding significantly contributed to increased air pollution rates and posed a cancer risk factor in these areas.
In response, the state of California implemented wall texturing as a cost-effective means of covering drywall without the need for sanding or smoothing. This approach proved a practical solution for homeowners seeking to maintain their properties while minimizing environmental impact.
Conclusion
In conclusion, investing in wall texturing for your home renovation project can yield impressive results. Not only does it elevate the aesthetic appeal of flat drywall surfaces, but it also serves as an effective solution for concealing imperfections such as dents, cracks, and unwanted impurities. The versatility of various wall texture types allows you to experiment with different styles and apply them to multiple areas within your home.
Unlike wall paints, textured finishes can dramatically alter the appearance of your walls, making each room feel unique and inviting. Although its impact may not be as significant as that of outdoor features like patios, decks, or trims, a well-maintained textured finish can still positively influence your home’s real estate value over time. Considering these factors, incorporating wall texturing into your renovation plan is a wise decision.
Related Posts
When it comes to designing a space, the ceiling and walls often play a crucial role in creating a cohesive look. If you’re pairing your ceiling with alabaster walls, there are certain color combinations that can elevate the overall aesthetic. For instance, soft pastels like pale blue or mauve can add a touch of whimsy and charm to the room. Alternatively, if you prefer a more subtle approach, you could opt for a light beige or cream shade that will provide a calming backdrop.
Similarly, when it comes to grey floors, choosing the right wall color is essential. A classic combination is pairing grey with white walls, as this creates a clean and modern look. However, if you want to add some depth and visual interest, consider a warm beige or taupe-colored wall that will provide a nice contrast to the cool tones of the grey flooring.
In terms of curtains, yellow walls can be quite bold, so it’s essential to choose a curtain color that complements this hue without overpowering it. Shades like soft peach or mint green can create a harmonious and inviting atmosphere, while a more neutral option like beige or cream can provide a nice contrast. Ultimately, the key to creating a cohesive design is finding a balance between different elements, including the ceiling, walls, floors, and curtains.