What Are The Different Ways To Glaze Pottery?
Glazing is the process of applying a coating to pottery that forms a glassy surface after firing. The purpose of glazing is to make pottery items impermeable to liquids, strengthen them, and give them an attractive finish.
Glazing pottery originated over 2000 years ago in ancient Egypt and Mesopotamia. Early glazes were made with natural materials like quartz, limestone, and plant ash. The ancient Chinese developed glaze recipes combining clay, quartz, and plant ash that created various colors and effects. Glazes became more advanced during the Song dynasty in China, and new techniques like underglaze painting emerged. In the Islamic world, potters created colorful luster glazes using metallic oxides. In Europe, early medieval pottery had basic glazes made with lead, but more diverse glazes developed later in the Middle Ages. From the 18th century onwards, European potters experimented with ingredients like feldspar, borax, and zinc to create new glazes.
Today, potters have access to a wide variety of glaze materials and techniques to create diverse decorative effects and finishes on pottery.
Types of Glazes
There are several main types of glazes used in pottery, each with their own characteristics and uses.
Raw Glazes
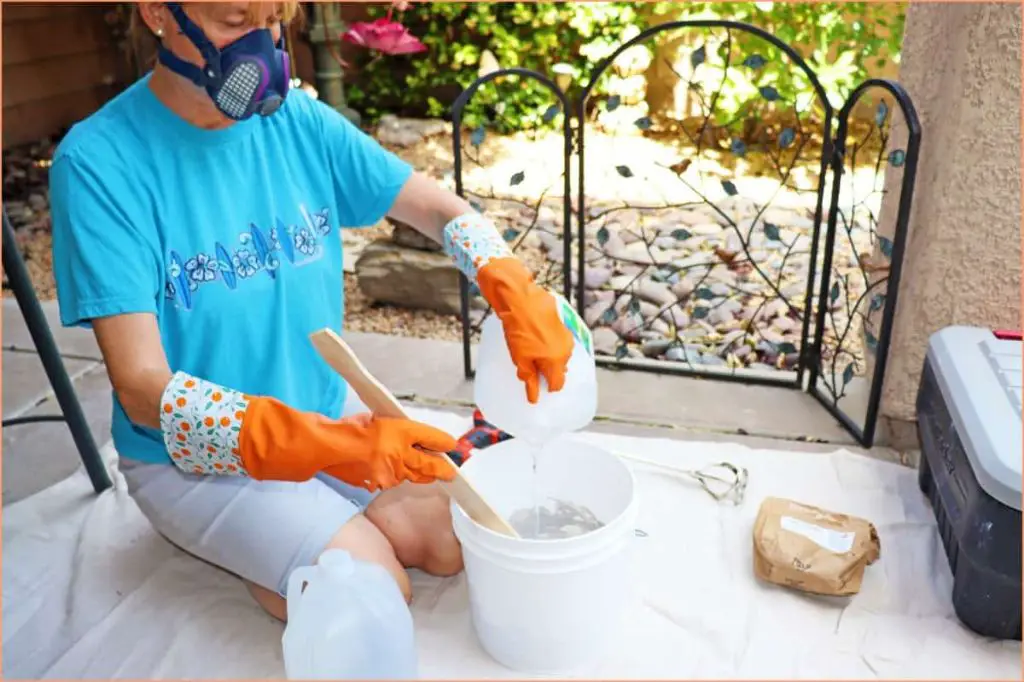
Raw glazes consist of a mixture of raw materials like silica, fluxes, and coloring oxides (Pottery Glaze Types). The components are ground together into a fine powder. Raw glazes require high temperatures – around 2200°F – to mature and become glasslike. They result in a hard, durable glaze. Common types of raw glazes include ash, feldspathic, and lead glazes.
Commercial Glazes
Commercial glazes are pre-made glazes that come in a powder or liquid form and are ready to apply as-is. They are formulated to mature at specific temperatures, often lower than raw glazes. Commercial glazes save time since you don’t have to mix the ingredients yourself. Common types include single-fire, mid-range, and high-fire glazes (Pottery Creative).
Natural Glazes
Natural glazes utilize ingredients found in nature rather than synthetic materials. For example, ash from burned plants, crushed seashells, or sand can be used. Natural glazes result in one-of-a-kind effects and connect to ancient pottery traditions. They are less predictable than raw or commercial glazes (Spinning Pots).
Glaze Ingredients
The three main components that make up ceramic glazes are clay, flux, and colorants. Each serves an important role in creating the desired glaze effect.
Clay acts as a binder in glazes. It helps hold the glaze components together and allows them to adhere to the pottery surface. Common clay materials used in glazes include kaolin, ball clay, and bentonite. The specific type of clay impacts glaze properties like viscosity, shrinkage, and fired appearance.
Flux lowers the melting temperature of glazes so they vitrify at pottery firing temperatures. Common flux materials are feldspar, calcium carbonate, dolomite, and borax. Using the appropriate amounts and types of fluxes is key to achieving a nicely melted glaze after firing.
Colorants introduce color to glazes for aesthetic effects. Oxides of metals like cobalt, copper, manganese, iron, and chromium produce colors ranging from blues and greens to browns, yellows, oranges and reds when fired. Stains can also introduce color, as well as materials like rutile and titanium dioxide.
By carefully selecting and combining the right clay, flux, and colorant ingredients, potters can create glazes with diverse fired appearances from glossy and smooth to matte and textured.
Source: https://www.facebook.com/groups/179145076875676/posts/657552249034954/
Glaze Application Methods
There are several different techniques for applying glaze to pottery pieces. The four main methods are dipping, pouring, brushing, and spraying.
Dipping involves fully submerging the bisqueware piece into a container filled with glaze. This allows the glaze to completely coat the piece evenly. Dipping works best for pieces with simple shapes and no intricate details. It’s important to hold the piece at the right angle and lift it out smoothly to prevent uneven dripping [1].

Pouring glaze directly onto the piece allows it to flow and settle nicely into crevices and details. This gives great coverage for complex shapes. The piece should be propped at an angle over a catch pan or glazing table so excess glaze can run off [2]. Careful pouring technique is needed to control glaze consistency.
Brushing glaze on with a soft brush gives the artist precise control over glaze application. Brushing works well for adding accents, layers, and fine details that other methods may miss. The brush size and shape can be adapted to fit contours and intricacies.
Spraying glaze through an airbrush tool creates a fine mist to achieve a smooth, even coat. Spraying is efficient for covering large areas quickly. It requires some skill to get a consistent coat and avoid overspray. Proper spray equipment and ventilation are essential.
[1] https://spinningpots.com/the-top-tips-for-glazing-your-pottery/
[2] https://www.mudeffects.com/product/weekday-beginners-wheel-throwing-pottery-workshop-level-2/
Firing Glazes
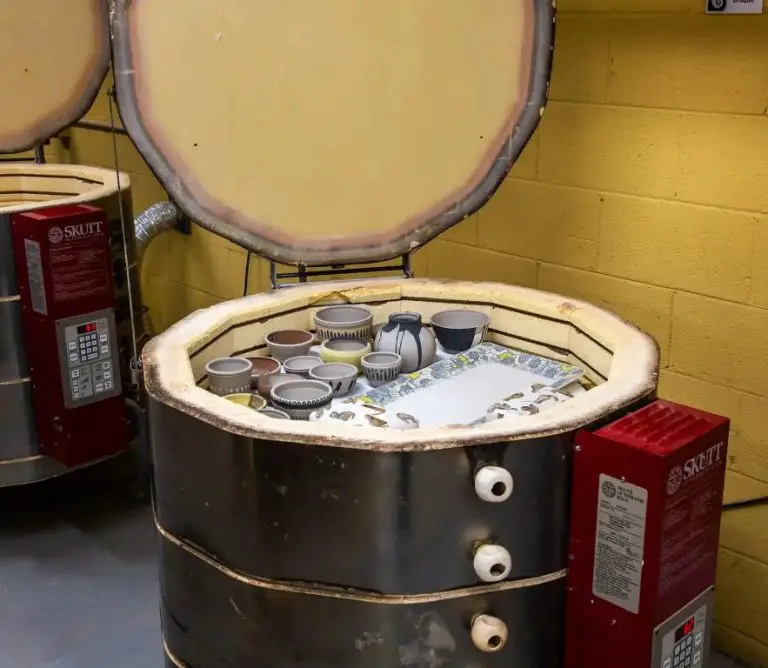
Firing is a critical step in the glazing process. There are two main types of firings when glazing pottery:
Bisque Firing
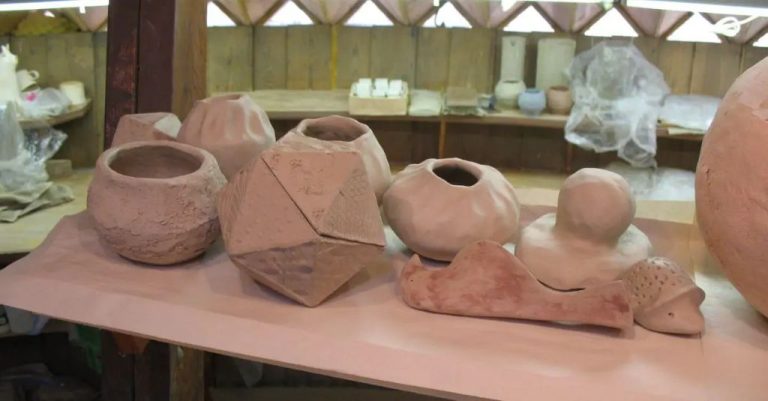
Bisque firing refers to the initial firing of the unfired clay work. According to the Oxford Clay blog, “Bisque firing pottery is the first time you fire your pottery or clay ware. During the bisque firing, any water that was still left in or on the clay evaporates through the heat of the kiln” (source). Bisque firing strengthens the physical structure of the clay and prepares it to accept glazes.
Glaze Firing
After the bisque firing, glazes are applied to the pottery. The pottery then undergoes a second firing called the glaze firing. As the Oxford Clay blog explains, “During the glaze firing, pottery glazes melt in the high temperature of the kiln and sometimes run down the pot. It is often, therefore, a little unpredictable” (source). Glaze firing allows the glazes to melt, fuse with the clay, and create the final surface effects on the pottery.
Kiln Types
There are various types of kilns used for firing pottery, including electric kilns, gas kilns, wood-fired kilns, and raku kilns. The type of kiln impacts the firing effects and glaze results. For example, wood-fired kilns create unique pottery surfaces like flashing and wood ash effects (source).
Achieving Different Effects
Glazes can produce a variety of beautiful effects that add interest and character to pottery. Some popular effects to achieve include:
Crackle Glazes
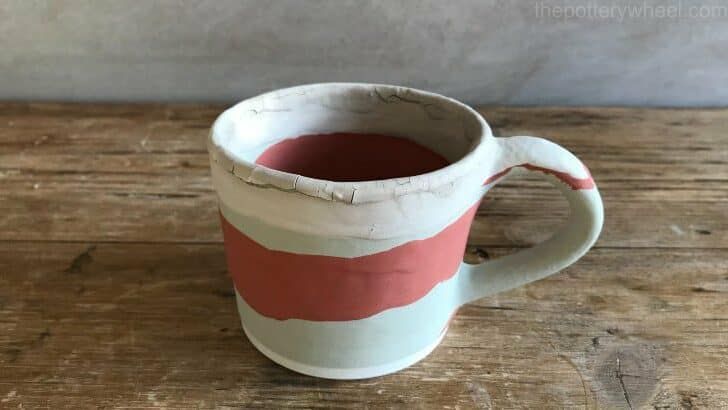
Crackle glazes create a network of cracks on the surface of the pottery, resembling crazing but done intentionally for effect. They are created by layers of glaze that have different thermal expansion rates, causing the glaze to crack apart during firing. Adding materials like vinegar, salt, or underglazes to the top layer glaze can help promote crackling. Crackle glazes add an aged or rustic look to pottery.
Metallic Glazes
Metallic glazes incorporate metals like copper, silver, or gold to create a shiny, metallic sheen. The metals are usually added in the form of oxides, sulfides, carbonates, or chlorides. Metallic glazes are prone to crawling, so the pottery surface and glaze thickness must be very smooth and even. When fired at low temperatures, metallic glazes take on a brushed metal effect. When fired at higher temperatures, they become smooth and reflective.
Matte vs. Glossy
The amount of flux in a glaze determines whether a matte or glossy finish is achieved. Glazes with low flux content result in a matte, non-reflective surface. Glazes with higher flux content melt more completely in the kiln, creating a smooth, glassy surface. Altering the firing temperature can also affect surface shine. The highest gloss occurs between cone 6 and 10 firing temperatures for most glazes. To intentionally create a matte look, materials like zinc, dolomite, kaolin, or alumina can be added.
Common Glazing Techniques
There are several common techniques that potters use for glazing their pieces. Three of the most popular are single dipping, layering colors, and overglazing.
Single dipping involves submerging the bisqueware into a single glaze and allowing it to soak in order to fully coat the piece. This technique provides an even, uniform glaze surface. Single dipping is beginner-friendly and allows the natural colors and textures of the clay body and glaze to shine through 1.
Layering colors involves using multiple glazes on a piece to create effects. The pottery is dipped into or painted with one glaze first and allowed to dry. Then a second or third glaze can be added on top. The interaction between the different layered glazes results in colorful variations like crawling, bleeding, and pooling effects. Layering requires planning regarding glaze compatibility and firing requirements 2.
Overglazing refers to adding decorative glaze effects over an already fired and glazed piece. The pottery is glazed and fired first, then overglazes are applied by brushing, sponging, pouring or splattering to create designs. Overglazing allows the artist to achieve more control and creativity. Both underglazes and clear glazes can be used as overglazes 2.
Glaze Recipes
There are limitless glaze recipes and combinations to achieve different effects and colors. Here are some sample recipes and tips for common glaze results:
For a classic crackle glaze effect, try mixing 1 part calcium carbonate, 1 part kaolin, 1 part frit, and 1 part silica. Apply heavily in thicker layers for more prominent cracking. According to Ceramic Arts Network, adding oxides like cobalt, copper, or iron can create different colored crackle effects.
For wood-fired results in an electric kiln, check out recipes on Pinterest using materials like red iron oxide, dolomite, and various frits. Wood-fired effects often have drips, crawls, and textural variations from ash and flame effects.
To make your own matte glaze, try a simple recipe of 1 part clay, 2 parts calcium carbonate, and 1 part silica. For colored matte glazes, add 3-5% stains or oxides like chromium oxide for pale green or cobalt oxide for blue.
For brighter gloss results, increase the amount of fundants like soda ash, feldspar, or frit in your glaze recipe. Typical ratios are 30% clay, 35% silica, 10% fluxes, and 25% various fundants for brighter glazes.
Troubleshooting Glazing Issues
Glazing problems are common for beginner and experienced potters alike. Three of the most frequent issues are bubbles, crawling, and crazing in the finished glaze. Here’s an overview of these glazing problems and potential solutions:
Bubbles
Bubbles form when gases get trapped in the glaze during firing. Possible causes include:[1]
- Firing too quickly without allowing gases to escape
- Using glazes with high water content or organic materials
- Applying too thick a layer of glaze
- Underfiring the glaze
To minimize bubbles: fire slowly, use pure glaze materials, apply thinner glaze coats, and fire to proper temperatures.
Crawling
Crawling happens when the glaze pulls away from sections of the pottery piece during firing. Common reasons are:[2]
- Too thick a glaze layer
- Incompatible glaze and clay body
- Insufficient fusion between glaze and clay
- Dirty or greasy clay surface
Solutions include thinning the glaze, testing glaze/clay compatibility, cleaning the clay thoroughly, and firing at optimal temperatures.
Crazing
Crazing refers to fine crack lines in the glazed surface. Common reasons are:[3]
- Clay and glaze expand/contract at different rates during firing
- Glaze is underfired or cooled too rapidly after firing
- Clay body is too porous
To prevent crazing, use compatible clay/glaze combinations, fire at proper temperatures, and allow gradual cooling.
Innovations in Glazing
Glazing techniques and materials have evolved greatly over the centuries. Modern potters are constantly pushing the boundaries and finding new ways to glaze their pottery.
Some key innovations in glazing include:
New materials – Potters today have access to a huge array of man-made materials that can be used in glazes, beyond just natural ingredients. Materials like frits, stains, and commercial glaze mixes open up many new creative possibilities.[1]
Creative techniques – Potters are finding innovative ways to manipulate and apply glazes to create striking visual effects. Techniques like feathering, trailing, printing with glazes expand the creative possibilities.[2]
Technological advances – New technologies like digital glaze calculation, computer-controlled spray guns, and advanced kilns allow greater precision and consistency in glaze results.


