What Are The Methods Of Hand Building Pottery?
Hand building is a pottery technique that involves shaping clay by hand rather than using a potter’s wheel. It encompasses a variety of methods including pinch pots, coil building, slab building, sculpting, and combining techniques (Source). Hand building allows for asymmetrical and organic forms that can be challenging on the wheel. It gives the artist more control over the clay and final product.
Some of the main hand building techniques include pinch pots, coils, slabs, and sculpting. Pinch pots involve pinching and shaping the clay into a simple pot form. Coils are rolled pieces of clay that are stacked to build taller vessels. Slabs are flat pieces of clay that can be cut, shaped, and joined. Sculpting uses the clay like any other sculpting material to create free-standing sculptures. Hand builders also often combine techniques, like adding coils to a pinch pot or sculpting slabs of clay (Source).
The benefits of hand building include direct contact with the clay, asymmetry, organic shapes, and control. Hand building allows potters to work at their own pace without the need for a potter’s wheel.
Pinch Pots
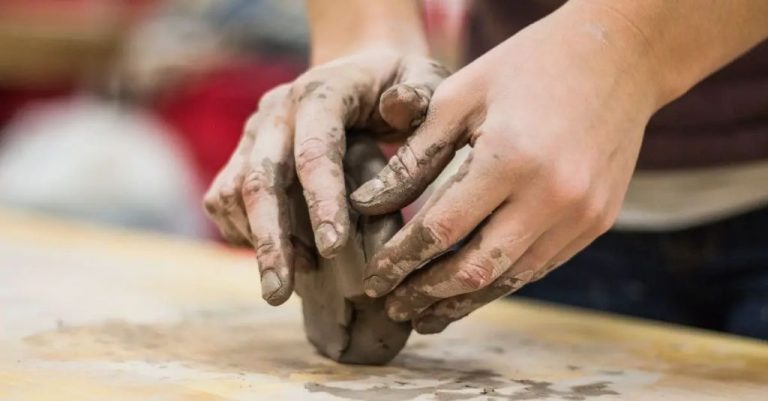
Pinch pots are one of the most basic and versatile hand building techniques for working with clay. They are an excellent starting project for beginners because they require no tools beyond your own two hands. Pinch pots are made by taking a ball of clay and pinching the sides up between your fingers and thumb to form the walls of the pot.
Pinch pots can be useful for making small bowls, cups, vases, or other simple container forms. Their organic, handmade look gives them a charming, rustic aesthetic. Pinching is also great for making small sculptural forms like animals or figures. The process allows you to gradually shape the form using touch alone, giving you close control over the details.
To make a successful pinch pot:[1] Start with a ball of clay about the size of a lime or orange. Use a consistent pinching pressure as you work – too soft and the walls will be weak, too firm and you risk tearing the clay. Turn the ball continuously as you pinch to maintain an even thickness. Leave the rim thicker by avoiding pinching at the top. Add interest by altering the shape, pushing in parts to create indents, or combining pinched areas with smooth ones. Let the clay firm up slightly between pinches to avoid distortions.
Pinch pots are extremely versatile, portable, and require no special tools. They allow beginners to quickly grasp the fundamentals of handbuilding. More experienced potters can also enjoy their simplicity and rustic aesthetic. With practice, impressive vessels can be quickly shaped using just your fingers.
[1] https://www.classpop.com/magazine/pinch-pot
Coil Building
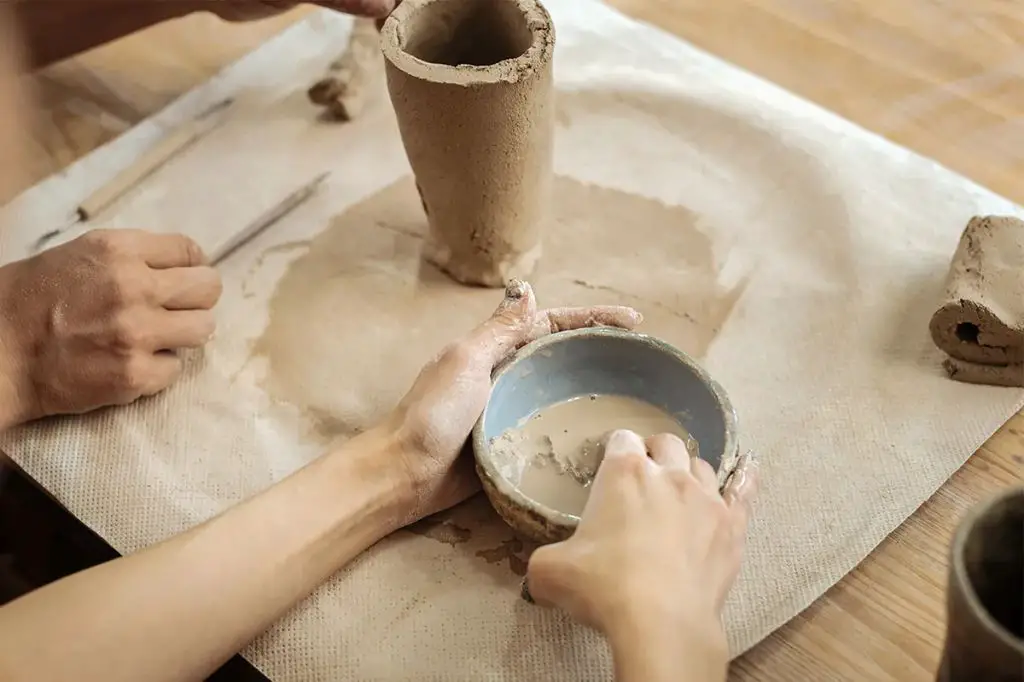
Coil building is a hand building technique that involves rolling out coils or ropes of clay and joining them together to build up the form. The coils can be any diameter, although thicker coils are easier to handle and join. Coils are rolled by hand on a flat surface or extruded using a clay extruder.
There are a few different types of coils used in coil building:
- Solid coils – these are compressed, smooth coils with no air trapped inside. Solid coils are strong and less prone to cracking.
- Hollow coils – hollow coils are formed around a stick or dowel, leaving an air space inside. Removing the core after joining leaves a hollow form.
- Pinch coils – narrow coils that are pinched into shape rather than rolled out evenly. Pinch coils create an organic, handmade look.
Coil building allows potters to build relatively tall, upright forms like vases and jars that can’t easily be made using slabs. It is also excellent for making shapes with contours and curves. Pots made from coils have a very distinctive surface texture and seam lines where the coils are joined.
To join coils, the potter scores and slips the surfaces, then blends the coils together from the inside, smoothing the seam. Well joined coils should bond securely without any cracks between them. The form can be refined by paddling and burnishing once the clay has stiffened adequately.
Sources:
https://issuu.com/newnewenglandhomemagazinellc/docs/142neh_ct-win22
Slab Building
Slab building is one of the most versatile hand building techniques. It involves rolling out slabs of clay that can then be cut, shaped, and joined to create pottery. Here are the key steps involved in slab building:
Making the Slabs – Slabs are made by flattening out balls of clay using a rolling pin on a flat work surface. The slabs should be rolled to an even thickness, usually 1/4 inch to 1/2 inch thick. The slab can be any shape, but square or rectangular slabs are most common.
Cutting/Shaping – Once the slab is rolled out, it can be cut using fettling knives, pottery wires, or cookie cutters. The slab can be cut into geometric shapes or free-form shapes. Smooth, rounded edges can be achieved by beveling the cut edges with a metal rib.
Uses – Slab building allows for making open forms like trays, plates, and bowls by shaping the slab. Closed, box-like forms like canisters, urns, and vases can be made by joining multiple cut slabs.
Joining – Slabs can be joined using slip and scoring, or clay “glue.” The edges to be joined are scored with a knife, wetted with slip, and then pressed together. The seam can be smoothed by gently rubbing. Extra slabs can be added to build more complex forms.
With slab building, the possibilities for both functional and decorative hand built pottery are endless. It is an accessible technique for beginners but can also be used by advanced potters for intricate forms.
Sculpting
Sculpting with clay allows artists to create detailed 3D works and figures. It involves shaping, molding, and carving clay to bring an image or design to life. Sculpting can be done by hand or using basic tools like loop tools, ribs, or wire.
Sculptures can depict anything from human forms and faces to abstract shapes and designs. The applications are endless. Sculptors often create maquettes or small models when planning larger works. Sculpting is also commonly used for pottery, toys, collectibles like figurines, and more.
Some tips for effective sculpting include:
- Use an armature or frame for support when sculpting figures.
- Work from reference images to capture realistic proportions.
- Use basic shapes as a starting point, then add detail.
- Be patient. Sculpting takes time and practice.
- Keep tools and hands damp while smoothing the clay.
- Let your sculpture dry thoroughly before moving to avoid cracking.
With practice, sculpting allows artists to bring their imaginations to life in 3D. It provides a very hands-on, tactile experience compared to other art forms.
Combining Techniques
Handbuilding lends itself well to combining different techniques to create unique forms and textures. According to this article, some ways to combine handbuilding techniques include:
– Pinching the bottom of a pot and adding coils around the sides
– Using slabs for the walls of a box and coils for the lid
– Sculpting details like handles or spouts and attaching them to a thrown vessel
– Cutting shapes out of slabs and joining them together
Combining techniques allows more creativity and control compared to relying on just one technique. Complex or asymmetric forms can be constructed by combining the structure of coils or slabs with the flexibility of pinch pots and sculpture. Textures and patterns can also be integrated through techniques like sgraffito on slabs or decorative pinch marks. According to this guide, combining wheel throwing and handbuilding allows altering thrown forms in ways not possible on the wheel alone.
Overall, combining handbuilding techniques creates opportunities for innovation and lets potters utilize the unique advantages of pinching, coiling, slabs, and sculpture.
Texturing & Decorating
Texturing and decorating add visual interest to handbuilt pottery pieces. There are many techniques that can be used:
Types of Textures
Textures can be created by adding lines, dots, shapes, or patterns. Common textures include:
– Dot patterns created with a variety of tools
– Crosshatching using a sharp tool to incise lines
– Pressing objects into the clay to create imprints
Incising
Incising involves using a sharp tool to scratch lines or patterns into leather-hard clay. Sharp tools like skewers, knitting needles, or even butter knives can be used. The lines can vary in width and depth for different effects. Geometric patterns are common, but you can incise free-form designs as well.
See examples of incising patterns: https://www.thecrucible.org/guides/ceramics/handbuilding/
Stamping
Stamping makes use of tools with shaped ends to imprint textures onto the clay surface. Homemade or purchased clay stamps can create repetitive patterns or borders. Everyday objects like bottle caps, buttons, citrus fruit, or cut vegetables make great improvised stamps. Press the stamps into the leather-hard clay, rolling to ensure full contact if needed.
Drying & Firing
Proper drying is essential before firing clay pieces. If moisture gets trapped, it can cause cracks or even explosions in the kiln. Here are some tips for drying handbuilt pottery:
Allow proper drying time. The thicker the clay, the longer it needs to dry. A good rule of thumb is 1 week per 1/4 inch thickness (Source: https://www.soulceramics.com/pages/how-to-dry-pottery).
Dry pieces slowly and evenly. Avoid quick drying that could warp the piece. Prop pieces on soft surfaces and move them to drier areas gradually.
Pierce or cut holes in thicker pieces to allow moisture to escape. Plug holes before firing.
Bisque fire before glazing. Firing at around 1800°F evaporates any remaining moisture before applying glazes and doing a higher-temp final firing (Source: https://ceramicartsnetwork.org/pottery-making-illustrated/pottery-making-illustrated-article/drying-and-firing).
Take firing slowly, about 200°F per hour. Rapid rises in temperature can cause breaks or cracks. Use kiln cones to determine when pieces have fully fired.
Firing temperatures vary based on the clay body, but are typically around 2100-2300°F. Follow manufacturer recommendations for best results.
Troubleshooting
Hand building pottery can be tricky at first, but with practice, you’ll gain the skills needed to avoid common issues.
Cracks
Cracks often occur when clay is not properly compressed. To prevent cracks, be sure to wedging your clay thoroughly and compress each piece added during the building process. Moist clay is also less prone to cracking than dry clay. Avoid letting unfinished pieces dry out by wrapping them in plastic if you need to pause working. According to The Crucible, cracks can also form if the clay wall is too thin or uneven.
Drooping or Slumping
If your hand built piece starts to slump or droop, the clay likely needs more support. Add ribs or extra thickness to sagging areas. If slumping occurs during drying, it may help to turn the piece over so it can dry evenly. Don’t let pieces dry too quickly. According to Pottery Crafters, draping plastic over pieces as they dry can prevent excess moisture loss.
Breakage
Fragile areas that may be prone to breakage can be reinforced by adding extra clay or scoring and slipping seams. Avoid making any section too thin. Let pieces dry slowly and fire properly to maximize strength. Handle pieces gently, supporting walls evenly.
Conclusion
In summary, hand building is an excellent way to create unique pottery using just your hands and simple tools. Some of the key benefits of hand building versus wheel throwing include:
More organic, handcrafted look – Hand building allows for asymmetry and imperfections that give pieces a rustic, artistic feel. Wheel throwing produces more uniform pieces.
Creative freedom – With hand building, you aren’t constrained to round shapes and can sculpt abstract and intricate forms.
Easier to learn – Hand building has a gentler learning curve than mastering the potter’s wheel.
Less equipment needed – You don’t need a costly wheel and can start with just clay and basic tools.
Allows combining techniques – Hand building methods like coils and slabs can be combined for unique effects.
With some practice and creativity, hand building allows anyone to create beautiful, one-of-a-kind pottery to be cherished for years to come.