What Are The Three Steps In Making A Pinch Pot?
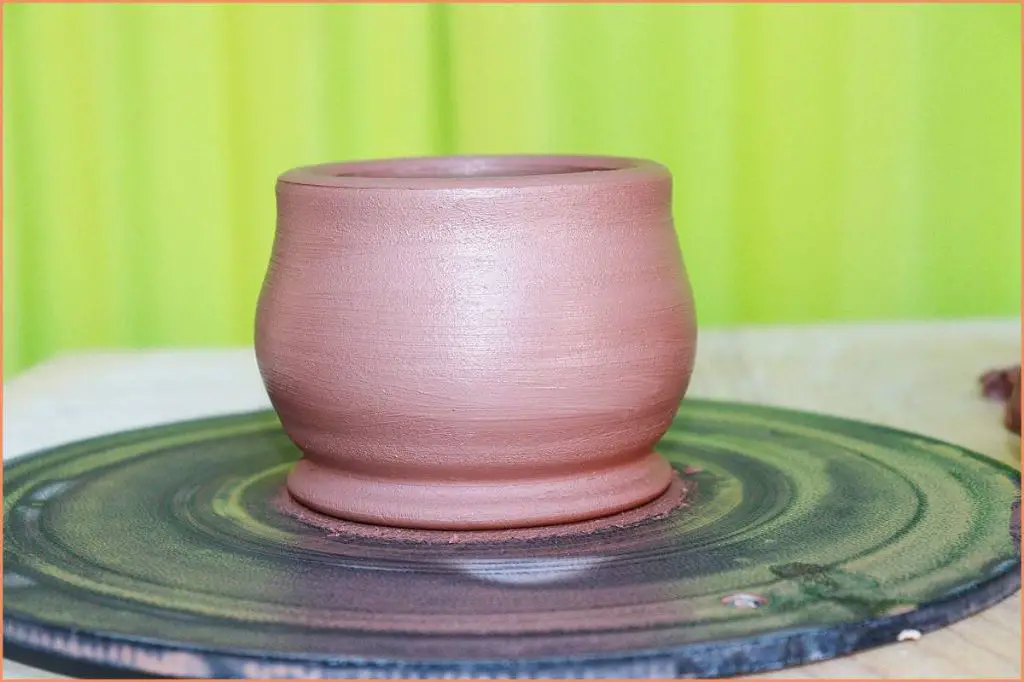
A pinch pot is a basic form of handmade pottery created from a ball of clay. The clay is pinched and pressed to form the walls and shape of a simple pot or bowl.
Pinch pots have a long history dating back thousands of years. The earliest known examples have been found in China and date back over 17,000 years. Since prehistoric times, pinch pots have been used for utilitarian purposes like cooking, storage, and serving food and water [1].
To make a pinch pot, the clay is first formed into a smooth ball. The clay is then pushed in with the thumbs or fingers to create the base. The walls are shaped by pinching and pulling the clay outward while rotating the form. The basic movements of pinching and creating thickness in the clay construct the pot.
Gather Materials
To make a basic pinch pot you will need the following materials:
- Clay – For beginners, an air-drying clay like Crayola Model Magic works best. You’ll need about 1/4 lb of clay per pot.
- Rolling pin and work surface – This helps roll the clay into a ball to start. Cover your work surface with parchment paper.
- Container of water – To keep the clay from drying out as you work.
While polymer clays that require baking may allow for more detailed pots, air-drying clays are easiest to work with for beginners, especially children. They don’t require any special tools or baking.
Prepare the Clay
The first step in preparing your clay is wedging or kneading it. Wedging involves folding and pressing the clay to remove any air bubbles and evenly distribute moisture. Start by cutting off a workable amount of clay from your larger supply. Then, slam the clay down onto your work surface to flatten it into a thick slab. Fold the clay slab in half and press down firmly again. Repeat this process, flipping and re-folding the clay in different directions each time, for 5-10 minutes until the clay feels soft and uniform (source).
Check that your clay has the right moisture content. It should feel cool and smooth, not sticky or crumbly. If it feels too wet, allow it to air dry slightly. If too dry, add a few drops of water and wedge again. The clay should be soft and pliable without cracking as you work it into your pinch pot shape (source). Allow any freshly kneaded clay to rest for 10-15 minutes before sculpting so the moisture equilibrates.
Form the Base
The next step is to form the base of the pinch pot. Start by flattening the clay into a disk shape. Make sure to flatten and smooth the clay so the base has an even thickness throughout. According to The Pottery Wheel, the base should be about 1⁄4 inch thick. Having an even base is important for stability when building up the walls in the next steps.
To flatten the clay, you can gently press down on the ball of clay against your work surface. Rotate the clay and continue pressing to form the disk shape. Use your fingers and palms to smooth out the edges and ensure there are no cracks or uneven spots. Check the thickness by measuring with a ruler. Adjust as needed until you have a nice even base approximately 1⁄4 inch thick.
Take your time forming the base as this step creates the foundation for a successful pinch pot. Don’t rush through it or make the base too thin. A sturdy, smoothed base will make the next steps much easier.
Create the Walls
After forming the base, the next step is to create the walls of the pinch pot by pinching up the sides. Use your thumb on the inside and fingers on the outside to gently pinch the clay upwards. Apply even pressure as you work your way around the pot, pulling the clay upwards to create walls of uniform thickness.
Be careful not to pinch too hard or the walls will be too thin. Aim for around 1⁄4 inch thickness. Pinch evenly all the way around, turning the pot in your hand as you work. You can pinch straight walls or flair the pot outward gradually. The pinching motion should be gentle yet firm enough to thin and elevate the clay.
Take your time pinching up the sides until you achieve the desired height for your pinch pot, usually 2-4 inches high. Check periodically that the thickness remains even all around. If any areas get too thin, reinforce them by pinching in more clay. The key is using your fingers to slowly shape and thin the clay into an enclosed form.
Refine the Shape
Once the basic shape of the pinch pot is formed, it’s time to refine the shape by smoothing any cracks or seams. As the clay dries, it can develop small cracks, especially around the rim or where two pieces of clay meet. To smooth these out, use a metal rib tool, wooden rib tool, or even just your fingers to gently rub the cracked areas until they blend together smoothly. Work slowly and carefully to avoid tearing the clay. According to this Reddit comment, using a serrated rib can help take down any high spots before switching to a regular rib for overall smoothing:[https://www.reddit.com/r/Pottery/comments/agostg/how_do_i_make_pinch_pots_smooth/]
Next, refine the rim by gently pinching and smoothing it into the desired shape and thickness. The rim can be made thinner to create a delicate look or left thicker for stability. Add any decorative elements like lines, textures, or designs to the outside of the pot. Simple lines can be made by pressing fingers, a dull tool, or a wooden skewer into the clay. More complex patterns can be created by stamping the clay with rubber stamps, natural items like leaves or seashells, or improvised tools like the wrong end of a paintbrush.
Take time during this step to perfect the overall shape and proportions of the pinch pot. Stand back periodically to evaluate and make any necessary adjustments. The goal is to achieve a symmetrical, visually appealing piece.
Allow Drying Time
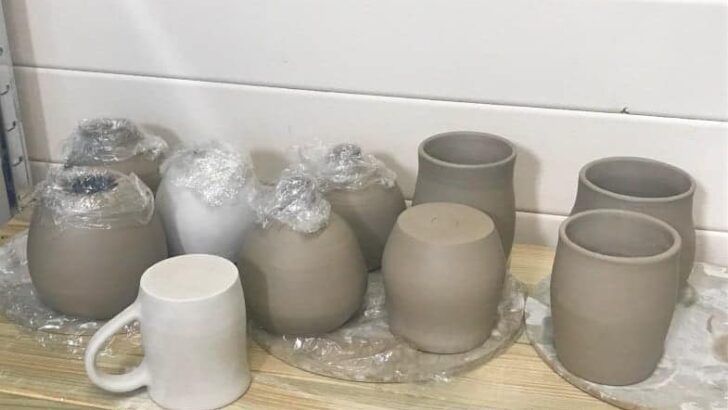
After shaping your pinch pot, it’s crucial to let it dry properly before firing to avoid cracks. Air dry clays shrink as they dry, so drying too quickly can cause stress fractures. Allow the pot to dry slowly at room temperature for 24-48 hours. Thicker areas may require longer.

To slow the drying time, place the pot in a loosely closed plastic bag or Tupperware container to retain moisture. You can also set it on a damp paper towel or cloth. Checking the pot daily, leave it in the protected environment until it is dry to the touch with no cool or damp areas. According to Jennylemons.com, letting it dry properly before firing is key to avoiding cracks.
Bisque Fire the Pot
The next step is to bisque fire the dried pinch pot. Bisque firing involves heating the clay pot to a lower temperature first before applying glaze and doing a higher temperature final firing. This initial bisque firing hardens the clay body and prepares it to accept glaze.
It’s important to follow the instructions for your specific kiln when bisque firing. Kilns often have a recommended ramp speed for increasing the temperature, as well as a target temperature and hold time. Going too fast can risk cracking or exploding the pot. Most electric kilns bisque fire around cone 08 which is about 1,751°F to 1,879°F (954°C to 1,027°C). The clay needs to be heated all the way through, so firing times are usually several hours.
Allow the kiln to cool completely before removing the bisque fired pot. The pinch pot is now ready for glazing and the final firing.
Source: https://becker-intermediate-art.weebly.com/school-blog/clay-pinch-pots
Apply Glaze
One of the final steps in pinch pottery is applying a glaze to the dried clay pot. Choosing an appropriate glaze type and color can enhance your finished pottery piece.
Select a glaze that fits the overall design you want for your pot. Do you want bright, vivid colors or more neutral earthy tones? Considercomplementary colors that work well together. Test out glaze colors on sample pots or tiles first to see how they turn out after firing.
When applying the glaze, you can either brush it on or dip the pot. Dipping fully immerses the piece and provides an even coating, while brushing allows you to paint on accents or patterns. Use a soft brush and apply the glaze in long, smooth strokes. Let the pot dry fully before a final firing.
The glazing process adds a decorative finish and makes the clay non-porous. It transforms the pottery into a finished work of art ready for display and use.
Final Firing
The final firing is done at a higher temperature, usually around cone 06 which is about 2,015°F (1,101°C). This allows the glaze to melt and fuse to the clay body of the pinch pot. It is important to follow the temperature guidelines for the specific glaze you are using. Firing too hot or too cold can cause issues like pinholes in the glaze surface or the glaze not bonding properly.
Here are some tips for firing success:
– Make sure the kiln has been calibrated recently and fires evenly. This ensures it reaches the proper peak temperature.
– Place pinch pots with their open tops facing down on the kiln shelf so glaze does not pool inside.
– Allow plenty of space between pieces for airflow and to prevent glaze from sticking pots together.
– Heat slowly at first, no more than 200°F per hour. A slow preheat prevents cracking.
– Soak at peak temperature for the recommended time to mature the glaze.
– Cool kiln slowly. No more than 200°F per hour. Faster cooling risks cracking the ware.
With proper firing, your finished pinch pots will have a beautiful glossy glazed surface and be ready to use. Handle them carefully after firing since the glaze can chip if dropped or banged against hard surfaces.


