What Can I Decorate Air Dry Clay With?
Air dry clay, also known as modeling clay, is a non-fired modeling material that dries naturally through evaporation. It is made from a variety of materials such as cellulose compounds, glue, and natural materials like starches. Air dry clay does not require firing in a kiln or oven. Once molded, it will harden and dry at ambient room temperature. This makes it an accessible and versatile material for crafters and artists.
There are many creative ways to decorate dried air dry clay to create beautiful and unique pieces. Popular techniques include painting with acrylics or craft paints, drawing on the surface with markers or pencils, adding embellishments like beads or sequins, impressing textures, and more. The finished dried clay can be left natural or painted in any number of colors. With simple tools and materials, you can create an endless variety of decorative or functional items out of air dry clay.
Paints
Acrylic paint is one of the most popular and recommended types of paint to use on air dry clay. Acrylics provide good coverage and last well (source). When using acrylics, it’s best to apply in thin layers and allow each coat to dry fully before adding another layer. This prevents cracking or peeling. Acrylic works on both baked and unbaked clay.
Poster paints and tempera paint are also suitable for air dry clay. They are similar to acrylics but with larger pigments. These paints go on smoothly and provide vivid color. However, they may start to flake over time if not sealed properly.
Fabric and textile paints are sometimes used, as they flex well with the clay material. But they don’t offer as much durability or colorfastness as acrylics. Use fabric paints sparingly and seal thoroughly for best results.
Markers
Markers like Sharpies and other permanent markers are a popular choice for decorating air dry clay. The key benefits of using markers are that they are readily available, affordable, and come in a wide variety of colors (source). Sharpies in particular work well on cured clay because they are permanent, opaque markers that provide vivid color.
Some tips when using Sharpies and permanent markers on clay:
- Make sure the clay has dried completely first. Markers work best on cured clay.
- Heavy application can cause some smearing, so use a light touch.
- While Sharpies are permanent on cured clay, avoid using them on light or white clays as staining may occur.
- For best results, use oil-based Sharpies as they adhere better than standard markers.
The main limitations with permanent markers is that the colors tend to be more primary and opaque. They lack the nuance and graduated effects that can be achieved with other mediums like paints. But their ease of use makes them a go-to choice for quick and colorful clay decorating.
Glitter and Glaze
Glitter and glaze are great ways to add some sparkle and shine to your air dry clay projects. Here are some of the most popular options:
Glitter
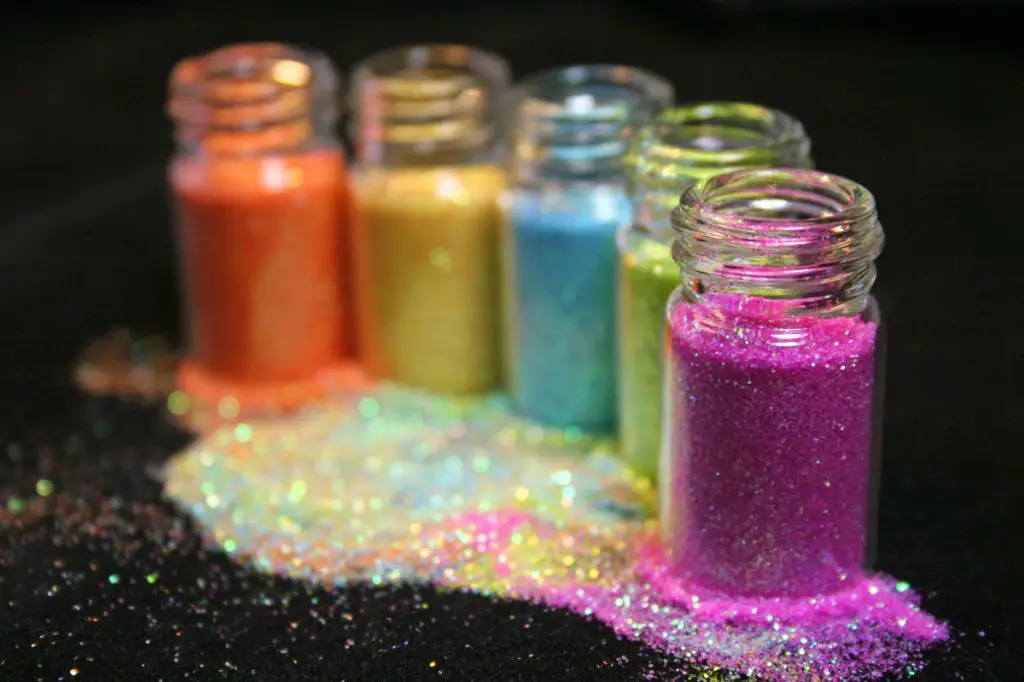
Fine glitter comes in a huge variety of colors and can be mixed into air dry clay or painted on top as a finishing touch. Be sure to get craft glitter instead of cosmetic glitter, as cosmetic glitter tends to have larger pieces that don’t stick as well.This tutorial shows how to roll air dry clay balls in glitter to create beautiful sparkly ornaments.

Coarse glitter provides more texture and dimension. Use a paint brush to coat the surface of the clay with glue or varnish, then sprinkle on coarse glitter while the glue is still wet. Let it dry fully before handling.
Gel pens with glitter ink are great for adding accents and details. Draw dots, stripes, or doodles before sealing the surface.
Glaze
Liquid glazes come in gloss, satin, and matte finishes. Brush glaze over cured clay and let dry. Multiple coats can deepen the finish. Metallic glazes add a hint of shiny color.
Glitter glaze offers the best of both worlds – it contains tiny flecks of glitter suspended in a clear glaze. Flow it over the surface for instant sparkle.
Glaze is best applied to refined details and smoother clay surfaces, as any imperfections and fingerprints will show through. For covering up flaws, paint is a better choice.
Embellishments
One of the most popular ways to decorate air dry clay is by adding embellishments like sequins, beads, buttons, and more. These types of embellishments can add a fun pop of color, texture, and personality to air dry clay projects. When adding embellishments, it’s important to make sure they are properly secured so they don’t fall off when the clay is dry. Here are some tips for working with common embellishments:
Sequins come in a variety of sizes and colors, making them a versatile embellishment for air dry clay. To add sequins, first impress them into the clay slightly so they don’t sit flat on the surface. Next, add a dab of liquid clay or clear glue underneath each sequin to hold it in place as the clay dries. Larger sequins tend to adhere better than tiny sequins.
Beads are another great embellishment for air dry clay. Make sure to press them into the clay so the bottom of the bead makes good contact with the surface. Then add liquid clay or glue around the base of each bead, being careful not to get any on the visible parts. Wooden beads, ceramic beads, and plastic pony beads all work well.
Buttons can be used functionally or decoratively on air dry clay pieces. Sew them on securely by piercing a hole through the clay with a needle tool, then threading elastic, string, or cord through the button and knotting it at the back. Buttons with shanks can be pressed into the clay so the shank inserts securely into the material. Applying liquid clay or glue around the base provides extra holding power.
Securing embellishments properly ensures they won’t fall off over time. This allows you to embellish air dry clay creatively while maintaining the structural integrity of the finished pieces.
Source: https://theshabbytree.com/air-dry-clay-embellishments/
Natural Materials
Natural materials like seeds, dried leaves and flowers can be used to decorate air dry clay ornaments and figures. These natural elements add interest and texture. Just press them gently into the surface of the clay, making sure they are secure. Some good options include:
Small seeds, coffee beans or lentils https://www.firstdayofhome.com/air-dry-clay-ornaments/
Dried flowers and leaves https://eatplaypaint.com/2020/07/15/coloring-air-dry-clay-with-natural-pigments/
Pinecones, acorns, nuts, twigs or bark
Sand or fine glitter
Attach organics securely by pressing gently into the clay. Allow ornaments or figures to dry fully before handling to prevent breakage. Natural materials add lovely rustic texture and seasonal charm to air dry clay decor.
Found Objects
One fun way to decorate air dry clay is by pressing found objects into the surface while the clay is still wet. This creates an imprint and interesting texture. Some commonly used found objects include:
Coins – Old pennies, dimes, nickels, etc. can make great imprints. Make sure the coins are clean first. Press them firmly into the clay, then carefully pull them out to leave the imprint behind.
Sticks – Look for interesting sticks, twigs or pieces of bark outside. These add lovely organic, natural textures. Press them in at angles for more dynamic designs.
Shells – Seashells collected from the beach make beautiful embossed designs. Press the ridged side of shells like scallops into the clay for their pattern.
When choosing found objects, select those with interesting shapes, textures or patterns. Clean them first to remove dirt. Press firmly but carefully to get a good imprint without distorting the shape. Let the clay fully dry before removing the object. Found objects add diversity, nature themes, and personalization to clay decor.
Sources:
https://www.firstdayofhome.com/air-dry-clay-ornaments/
Add Interesting Textures
One easy way to decorate air dry clay is by adding texture. Imprinting designs is a simple technique to create beautiful patterns. Rollers, stamps, stencils, and found objects can press designs into the surface.
Texture rollers come in different patterns like diamonds, dots, waves, etc. Roll them across the clay gently before it dries to imprint the design. Lines can be crossed over one another to make grids or other geometric shapes.
Rubber stamps for clay emboss shapes when pressed into the surface. Stars, circles, letters, and more options allow you to customize the design. Press straight down so the image leaves a clear imprint.
Household objects can also be used to texture clay. Press in seashells, gears, lace, leaves, or anything with an interesting pattern. Get creative with items around your home to make one-of-a-kind designs.
Adding texture gives depth and interest to clay decorations. The designs will hold properly as long as the impressions are made before the clay dries and hardens. It’s an easy way to create beautiful, personalized projects.
Stencils
Using stencils is an easy way to add shapes, patterns, letters, and more to air dry clay projects. Stencils allow you to quickly imprint designs onto clay without needing to hand-draw them. Some ideas for using stencils on clay include:
- Cutting basic shapes like circles, squares, hearts, stars, etc. to decorate clay jewelry, figurines, and more.
- Using letter and number stencils to add names, words, or phrases to clay pieces.
- Creating patterns and textures like polka dots, stripes, brick, wood grain, etc.
- Imprinting complex designs like animals, flowers, landscapes for a detailed look.
When working with stencils on clay, be sure to firmly press the stencil onto the clay’s surface. You can use a rubbing motion with your fingers or a blunt tool to transfer the design. Lift the stencil straight up to reveal the imprinted design.
You can find a wide variety of ready-made stencils, or create your own by cutting shapes out of cardstock, plastic sheets, thin metal, etc. Get creative with stencils by layering designs or using paints or inks to add color after imprinting the patterns.
For inspiration, see how this clay jewelry project uses a vine stencil and metallic rub-ons to create a beautiful nature-inspired design.
Finishing
After your air dry clay creation is complete, you’ll want to seal and protect it with a finish. This is an important final step, as it will help make the piece more durable, water-resistant, and give it a nice sheen.
The best sealants for air dry clay are polyurethane or acrylic sealers. These provide a protective barrier against moisture and handling. Polyurethane has excellent durability, while acrylic dries fast with a crystal clear finish.
Apply 2-3 thin coats of your sealant with a soft brush, allowing it to fully dry between coats. Too much sealer or applying it too thick can cause cracking. Make sure the clay is clean and free of dust before sealing.
Other options like varnish, Mod Podge, or craft glazes also work to seal air dry clay. But polyurethane and acrylic tend to hold up the best over time. Whichever sealer you use, read the manufacturer’s instructions carefully.
Sealing is the final step to “lock in” your creation so it will last for years to come. It’s worth taking the time to properly seal air dry clay pieces after putting in all that work!


