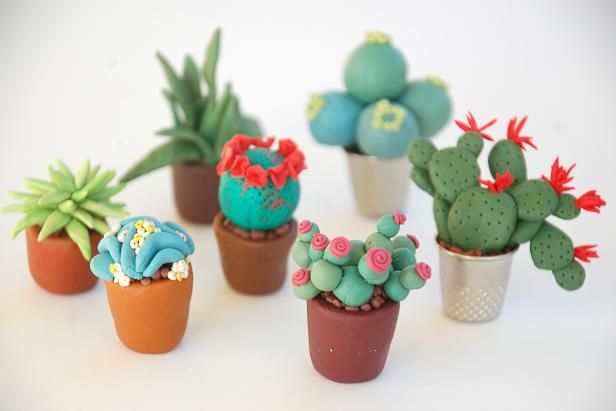
What Do You Use To Stick Clay Together?
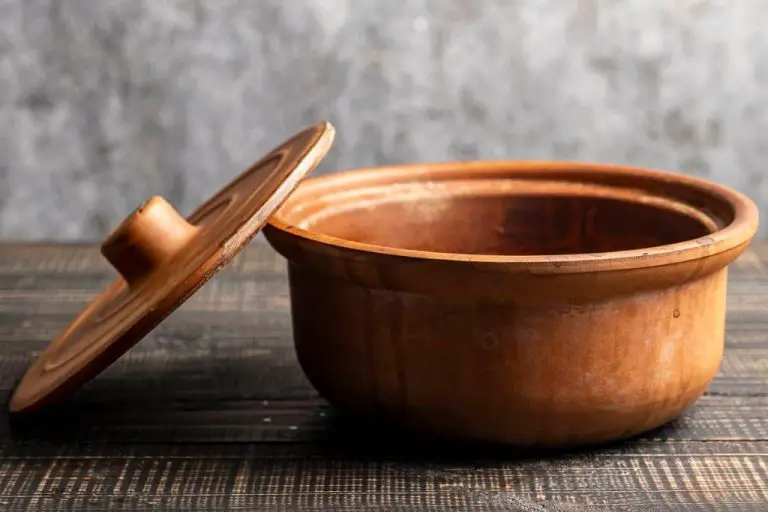
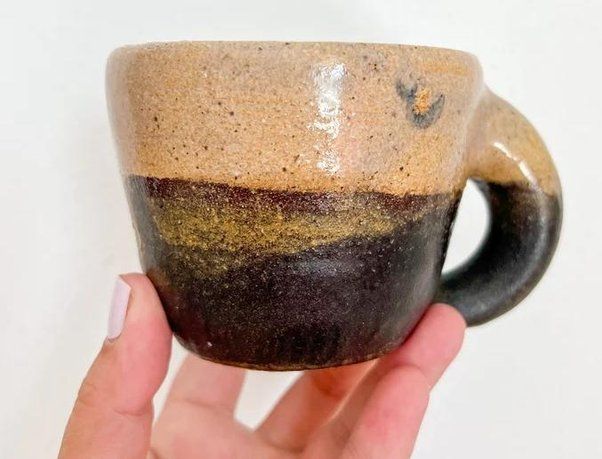
Clay is an earthy material made up of fine-grained minerals such as kaolinite that can be molded when wet, and then hardens when dried or fired. It has unique properties that make it ideal for pottery, sculpture, and a variety of other arts and crafts. However, one of the challenges of working with clay is joining separate pieces together.
Clay’s plasticity allows it to be shaped and molded when wet, but as it dries it becomes more rigid and brittle. At the same time, unfired clay is porous and prone to cracking and warping. Successfully bonding wet clay or holding fired ceramics together requires choosing the right adhesive for the job.
This article will explore different options for sticking clay pieces together, from common household glues to specialized clay products. We’ll look at pros and cons of various adhesives, proper application techniques, and troubleshooting for less-than-ideal bonds.
Common Household Glues
Many hobbyists already have suitable household glues on hand that can be used when working with clay. White glue, tacky glue, and wood glue are among the most versatile options.
White glue, also known as school glue, is a PVA-based adhesive that dries transparent. It creates a strong, flexible bond between porous materials like paper, cardboard, and clay. White glue has a smooth, liquid consistency that allows for easy spreading.
Tacky glue is a thicker formulation of white glue that contains additives to make it “tackier.” The thicker viscosity allows it to bond vertical surfaces and fill small gaps. Like white glue, tacky glue dries clear and flexible.
Wood glue is another type of PVA glue designed for bonding wood. Some formulas also work for clay. Wood glue creates a hard, rigid bond when dry, which makes it suitable for clay pieces that need more structure. It may dry slightly yellowish.
The key difference between PVA glues and non-PVA options like super glue is that PVA glues remain flexible when dry. This prevents clay pieces from cracking under stress. PVA glues also take longer to fully cure, allowing more working time.
Specialized Clay Glues
Along with common household glues, there are specialty adhesives made specifically for bonding and assembling clay pieces. These provide strong structural integrity when joining unfired clay components.
Liquid clay is a popular choice, consisting of clay particles suspended in a liquid medium. It has a smooth, pourable consistency that allows for seamless bonds. Liquid clay hardens as it dries but remains slightly flexible when cured. It’s water-soluble when wet, making excess glue easy to wipe away.
Tile mastic is another specialized clay adhesive. It has a thick, toothpaste-like texture, often containing latex polymers and fillers. Tile mastic adheres firmly and dries solid. It resists cracking or crumbling.
The pros of specialty clay glues are their superior strength and flexibility. They are designed to tolerate the stresses of clay’s shifting and drying process. Specialty glues also blend smoothly into clay surfaces. The cons are they can be more expensive and may require a trip to art supply stores.
Overall, liquid clay and tile mastic offer powerful structural reinforcement when assembling unfired clay components. Their composition and performance are optimized for pottery and ceramic arts.
Natural Adhesives
When you want an eco-friendly option for joining clay pieces, look to natural ingredients you likely already have in your kitchen. Here are some of the most common household items that can substitute for traditional glues when working with clay:
Flour – One of the most readily available natural adhesives is regular wheat or rice flour. Simply mix the flour with a bit of water to form a paste. The starch in the flour acts as the binding agent. The paste dries hard and forms a strong bond. Best for dry clay projects.
Cornstarch – Like flour, cornstarch can be transformed into an adhesive paste when mixed with water. Cornstarch makes a smooth, easy-to-apply paste. It dries hard and shiny. Good for joining unfired clay pieces.
Sugar water – A simple syrup made by dissolving sugar in hot water creates a sticky solution that works well as a clay adhesive. The sugar crystallizes as it dries, cementing clay surfaces together. Best for dry, baked clay.
Gelatin – The same gelatin used to make Jell-O can also glue clay. Simply dissolve unflavored gelatin powder in hot water as directed on the package. Allow to cool and thicken before using. Gelatin remains somewhat flexible when dry, making it useful for bonding pieces that will bend.
Natural adhesives work best for dry or baked clay pieces. For moist clay, they can become overly sticky. Be sure surfaces are clean and dry before applying. Let glue fully dry/cure before handling.
Mechanical Bonding
Mechanical bonding techniques use physical manipulation rather than chemical adhesion to join clay pieces together. These techniques create a strong structural join by interlocking the clay’s surface textures. Popular methods of mechanical bonding for clay include:
Scoring
This involves using a knife, needle tool, or other sharp object to cut lines or patterns into the clay surface. The grooves give the clay more grip and traction when pressed together, preventing slipping. Scoring is best for flat clay surfaces.
Slipping and Scoring
Apply watered-down clay slip to the scored surfaces before joining. The slip fills in the scratches and grooves even further, creating a stronger bond when the clay dries.
Using Water
Water acts as a lubricant, allowing scored clay surfaces to mesh and adhere together easily. A small amount of water added during assembly can improve the bond. Ensure the clay is dry before firing.
Benefits
Mechanical bonding is fast, convenient, and non-toxic. No additional adhesives are required. The bond is often stronger than clay dried using glue. Pieces can be easily readjusted or pulled apart shortly after assembly if needed. The techniques work for moist or leather-hard clay.
Choosing the Right Glue
When deciding which adhesive to use for your clay project, there are several factors to consider:
Clay Type
The type of clay you are using can affect what glue works best. Porcelain and stoneware clays require adhesives that can withstand high firing temperatures, while low-fire earthenware clays allow for more options. Air-dry clays also have specific glues tailored to their properties.
Project Type
Certain adhesives work better for particular clay projects. For instance, liquid adhesives allow more open drying time for complex multi-piece assemblies. Tacky glues provide quicker bonds for simple repairs or attachments. The scale and structure of your project impacts the ideal adhesive choice.
Glaze Needs
Consider if the glue will remain visible or need to be hidden after firing. Some adhesives burn away cleanly, while others can influence glaze effects. Using the same manufacturer’s clay and glue optimizes compatibility.
Test different adhesive options to determine which provides the strongest, most flexible bond for your specific clay type and project. Consider dry time, workability, firing characteristics, and visibility of the glue line after firing.
Glue Application Tips
Proper application of clay glue is crucial for creating strong bonds between pieces. Here are some tips for getting the best results:
Allow Proper Drying Time
Don’t rush the drying process. Give your glue adequate time to fully cure based on the product instructions, usually 24-48 hours. If pieces are bonded before the glue has dried, the connection will be weak.
Use the Right Amount of Glue
Too little glue won’t create a sufficient bond, while too much will make connections messy and can cause glue to squish out from between pieces. Add a thin layer of glue evenly across the surface according to product directions.
Choose Your Applicator
Small paintbrushes allow you to precisely control glue application. Foam brushes quickly and evenly cover larger areas. Test applicators first to find the best tool for your project’s needs.
Press Joints Firmly
Once glue has been applied, press clay pieces firmly together along the joint and hold for 30-60 seconds. This ensures maximum surface contact so the glue can form a tight bond between the clay surfaces.
Common Mistakes
When gluing parts together, it’s easy to make mistakes that lead to a poor bond or visible glue residue. Here are some of the most common mistakes to avoid:
Using Too Much Glue
It’s tempting to glob on the glue, but too much can lead to oozing and cracking. Use a toothpick, brush, or syringe to apply a thin, even layer.
Not Securing Parts While Drying
Don’t just place glued parts together – hold or brace them so they stay immobile as the glue dries. Clamps, rubber bands, tape, or slipping over a dowel can all help secure pieces.
Glue Showing After Firing
Some glues burn or melt away, while others leave behind color or residue after firing. Choose a glue suitable for high temperatures. Wipe away excess glue before firing and test fire scrap pieces first.
Following best practices for clay glue application will help avoid messy mistakes and create strong, clean bonds.
Troubleshooting
Sometimes clay pieces may come apart or excess glue remains visible after bonding. Fortunately, there are some techniques to remedy these issues:
Repairing Bonds
If two clay pieces come apart, first clean the surfaces with a damp cloth or paper towel to remove any glue residue. Reapply fresh glue to both surfaces and press firmly back together, holding for 30-60 seconds. Let dry completely. For better adhesion, you may also lightly score or roughen the surfaces first before re-gluing.
Removing Excess Glue
If glue squeezes out of joints or leaves smears on the clay surface, let it fully dry first. Then gently scrape away excess glue with a dull knife or sand it away with fine grit sandpaper. Be careful not to scratch the clay surface. You can also use toothpicks, cotton swabs, or a damp cloth to remove wet glue.
Fixing Cracks
Hairline cracks can form as clay pieces dry and shrink slightly. Fill small cracks with watered-down glue, then smooth over. For larger cracks, moisten the surfaces slightly with water first to allow fresh glue to absorb better, then fill the gap and let dry completely. Sand any dried excess glue gently to smooth.
Conclusion
There are many options for adhesives when working with clay. Common household glues like white glue, wood glue, and super glue can provide adequate adhesion for basic projects. However, specialized clay glues offer superior bonding power for more detailed sculptures. Clay glues like Slip, liquid clay, and polymer clay glues are designed specifically to integrate seamlessly with the clay medium.
Choosing the right clay glue depends on the needs of the project and the types of clay being used. Test different adhesives to find one that provides the best bond strength, flexibility, and aesthetic result. Apply glue sparingly and allow adequate drying time for maximum effectiveness.
With the proper adhesive, clay artists can create intricate sculpts, seamless joints, and lasting works of art. Approach each new project with creative inspiration, choosing a glue that enables your unique clay vision.