What Is Diy Clay?
What is DIY Clay?
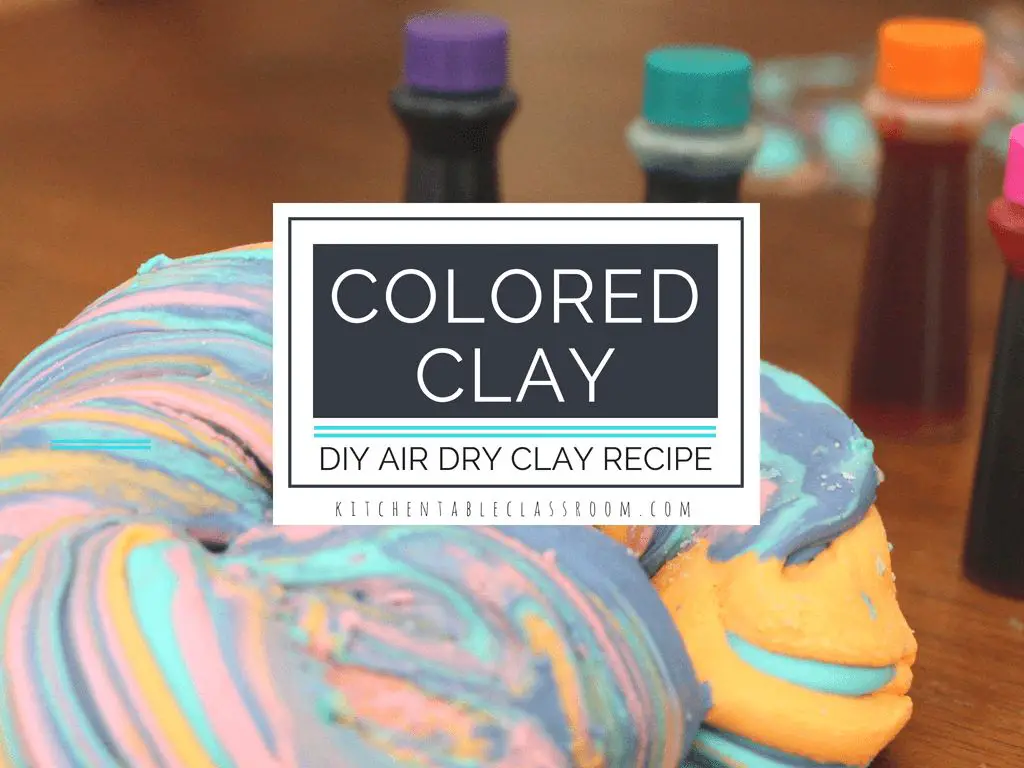
DIY clay is clay that you can easily make at home using common household ingredients like flour, salt, water, and sometimes materials like cornstarch or glue. It is an air-drying modeling clay that hardens as it dries without needing heat from an oven or kiln. DIY clay is popular for art projects, crafts, sensory play and educational activities (Amaco).
Unlike ceramic clays that require high heat to permanently harden, DIY clay will dry and harden at room temperature. The different recipes allow you to create clay with slightly different properties and textures. DIY clay is an affordable, accessible alternative to store-bought modeling clay. It can be customized using food coloring, essential oils, or other add-ins. While DIY clay may be less durable than ceramic clay, its low cost and ease of use make it great for kids’ projects, temporary sculptures, and crafts.
History of DIY Clay
The history of DIY clay dates back thousands of years to ancient cultures that shaped clay into pottery and sculptures. However, DIY clay as we know it today emerged in the 20th century with the development of polymer clay. Polymer clay was invented in Germany in the 1930s, but it wasn’t widely available until the 1960s when Fimo imported it to the United States [1].
Polymer clay revolutionized DIY and crafting because it could be hardened at low temperatures in a home oven rather than requiring a pottery kiln. By the 1970s, many American companies started producing their own brands of polymer clay like Sculpey and Kato Polyclay [2]. These clays came in a variety of colors, allowing artists to mix custom blends. Over the decades, polymer clay became more versatile and accessible to hobbyists.
Today, polymer clay remains the most popular type of DIY clay due to its ease of use, affordability, and ability to make durable pieces without firing. However, air-dry clays made from natural ingredients are also common DIY clays for crafting and kids’ projects. The DIY clay community continues to grow as people discover how rewarding it is to shape clay with their own hands.
Benefits of DIY Clay
Making your own DIY clay offers many benefits compared to buying premade clay. Some key advantages include:
Creativity – With DIY clay, you can customize the color, texture, and properties like no premade clay allows. Mix colors, add scents or ingredients like oatmeal for a unique sensory experience, and create exactly the clay you want.
Customization – Tailor DIY clay to your specific needs. Adjust the flexibility, dryness, or thickness. Make clay better suited for sculpting, jewelry, slimes, or face masks.
Cost Savings – Buying premade clay can get expensive, especially for large projects. DIY clay only requires a few inexpensive ingredients like flour, cornstarch, glue, and water. The large quantities you can make save significant money.
Overall, DIY clay opens up creative possibilities that no commercial clay can offer. The ability to fully customize it for your needs and the cost savings make it an excellent option for crafters and artists alike.
Types of DIY Clay

At its most basic, DIY clay is made from simple household ingredients like flour, cornstarch, and salt. By manipulating the ratio of ingredients, you can create clay formulas with different properties. Some of the most common types include:
Playdough – This classic DIY clay is made by cooking flour, salt, water, and sometimes oil or cream of tartar. It creates a smooth, easy to mold clay that air dries. Playdough is lightweight and malleable.
Salt dough – Made from flour, salt, and water, salt dough dries hard and can be sanded, drilled, or painted when dry. It’s easy to make but not as smooth or flexible as playdough.
Paper clay – By adding paper pulp like recycled paper towels or newspaper to the salt dough recipe, you can create strong paper clay. As it dries, the paper pulp shrinks slightly to create a dense, sturdy clay.
Cornstarch clay – Mixing cornstarch and water produces a smooth, pliable clay. For more strength, add a bit of flour or wood glue. Cornstarch clay dries hard and can be brittle.
Making DIY Clay
Making your own DIY clay at home is easy and fun. The basic recipe only requires a few simple ingredients that you likely already have on hand. Here are step-by-step instructions for a simple DIY clay recipe:
Simple DIY Clay Recipe:
- In a pot, mix together 1 cup flour, 1/2 cup salt, and 1/3 cup warm water. Stir until well combined.
- Cook the mixture over medium heat, stirring frequently, until it forms into a ball. This should take 3-5 minutes.
- Allow the clay to cool slightly and then knead it for a few minutes until smooth and elastic.
- Store the finished clay in an airtight container or plastic bag.
You can customize this basic recipe by adding food coloring, essential oils for scent, or other materials like glue, cornstarch, or cream of tartar. Some recipes also use materials like paper, sawdust, or baby oil. Experiment to find the perfect DIY clay texture and consistency for your projects.
Here are a few other easy DIY clay recipes to try:
2-Ingredient Clay:
- 1 cup cornstarch
- 1 cup hair conditioner
Mix ingredients together in a pot over low heat until a dough forms. Knead until smooth. Let cool completely before using.
No-Cook Clay:
- 1 cup flour
- 1/2 cup salt
- 1 tsp oil
- 1 Tbsp cream of tartar
- 3/4 cup warm water
Mix all ingredients together in a large bowl until a firm dough forms. Knead for a few minutes. Store in an airtight container.
With a few basic ingredients, you can easily make your own DIY clay at home for fun crafts and projects.
Working with DIY Clay
Working with DIY clay requires some basic techniques for sculpting, molding, baking, painting, and drying the clay properly. When sculpting with clay, it’s important to keep your tools and hands lubricated with water so the clay doesn’t stick. Slowly shape the clay by pressing, carving, smoothing, and blending the material. Let gravity help stretch and elongate forms. For more intricate details, use clay sculpting tools like loop tools, ribs, or rubber tipped tools.
When molding clay, press the clay firmly into the mold cavities to pick up all of the detail. Tap the mold gently to release air bubbles. Carefully unmold the clay once it becomes stiff enough to retain its shape. Allow molded pieces to dry completely before baking.
Before baking, allow the clay to air dry fully to prevent cracking. Bake clay at the temperature and duration recommended for the clay recipe. Cool baked clay slowly in the oven or at room temperature. Avoid exposing hot clay to water or moisture too quickly.
Acrylic paints work well for painting air dry clay. Apply paint in thin layers and allow each coat to dry fully before adding another layer. Use a sealant like polyurethane over painted pieces to protect the paint.
To help clay dry properly, allow for air circulation by avoiding tight enclosures. Drying clay too quickly can cause cracking. Store unused clay in an airtight container to prevent premature drying.
For more tips on working with homemade clay, check out this article from Clover Lee: https://www.clover-lee.com/single-post/2020/03/30/working-with-clay-at-home-what-you-need-to-know
DIY Clay Projects
DIY clay is a popular choice for many craft and art projects. Its pliability allows crafters to shape it into endless creations. Some ideas for DIY clay crafts include:
Jewelry – Clay can be rolled, cut, molded, stamped, etc. to make custom beads, pendants, earrings, rings, and more. It air dries durably, making it suitable for wearable art. Clay jewelry can be embellished with paints, glazes, or left natural.(1)
Figurines – Sculpting animal, humanoid, or abstract figurines out of clay allows for creative expression. Figurines make great gifts, collectibles, or home decor accents when painted. Clay is an affordable material for beginner sculptors to practice shaping figures.(2)
Ornaments – Lightweight DIY clay is perfect for making ornaments. Handmade clay ornaments can be created with simple shapes, intricate patterns, or bas relief designs. These make thoughtful holiday gifts and tree decorations.
With DIY clay, crafters have the flexibility to create an array of unique handmade items. It’s an engaging medium for artistic hobbyists and DIYers.
Tips for Using DIY Clay
When working with DIY clay, there are some helpful tips to keep in mind for storage, tools, and troubleshooting common issues:
For storage, keep clay in an airtight container or plastic bag. This prevents it from drying out. Letting clay fully dry out makes it difficult or impossible to condition again. Store different colors of clay separately so they don’t bleed into each other.
Having the right tools can make working with clay easier. Useful items include a rolling pin, clay sculpting tools, and acrylic roller. Smooth acrylic rollers help prevent sticking. Wood and metal sculpting tools shape details. A rolling pin flattens clay evenly. Texture mats or stamps add interest.
Some common clay troubleshooting issues involve cracking, sticking, and breakage. Cracking happens if clay dries too fast. Prevent this by sealing unused clay. Sticking occurs when clay is under-conditioned. Knead it more to increase pliability. Fragile areas can be fixed with slip, a clay and water paste. Let slip fully dry before continuing to avoid weak spots.
Source: https://www.gatheringbeauty.com/blog/air-dry-clay-tips-tricks
Safety Considerations
When working with DIY clay, it’s important to keep safety in mind. Here are some key considerations:
Avoid contamination. Make sure to use clean tools and work surfaces when making DIY clay. Bacteria and mold can grow in clay, so don’t mix clay with your hands if you have any open cuts or scratches. Store unused clay in an airtight container in the refrigerator (Source: https://xtrema.com/blogs/blog/how-to-make-non-toxic-homemade-clay).
Watch out for allergies. Some people may have allergic reactions to ingredients in DIY clay, like flour or cornstarch. Do a small test batch first to make sure you don’t have any sensitivities (Source: https://xtrema.com/blogs/blog/how-to-make-non-toxic-homemade-clay).
Use proper ventilation. Working with dry clay ingredients can create dust that could irritate lungs. Make DIY clay in a well-ventilated area and wear a dust mask if needed.
Clean up thoroughly. Always wash hands after working with clay. Clean all tools and surfaces to avoid cross-contamination with food or other materials.
Supervise children. DIY clay is often used for kids’ projects. Closely supervise children when making or playing with clay and ensure they follow all safety precautions.
Why Make Your Own Clay?
There are several great reasons to make your own clay rather than buying pre-made clay:
Customization – By making your own clay, you can customize the ingredients to achieve the exact consistency, texture, and colors you want. You have full control over the clay properties.
Learning – The process of making DIY clay lets you learn about how clay is formed from basic ingredients. Understanding the chemistry behind clay gives you a better grasp of how to work with it.
Creativity – With homemade clay, you aren’t limited by the clay products available for purchase. You can make exactly what you need for any project or creation you have in mind.
Cost Savings – Buying clay, especially high-quality clay, can get expensive. Making your own allows you to produce clay in bulk for a fraction of the cost.
Availability – Rather than relying on trips to the craft store or waiting for clay orders to arrive, you can make clay anytime with common household ingredients.
Overall, creating your own DIY clay encourages experimentation, innovation, and imagination. The ability to completely control the clay medium can be both educational and inspirational.


