What Is It Called When You Make Your Own Pottery?
Pottery making refers to the process of forming vessels and other objects made out of clay and then hardening them with heat. The history of pottery making dates back thousands of years, with some of the earliest known pottery pieces found in China and dating back over 20,000 years. The Evolution of Pottery From Ancient Times to Modern Day.
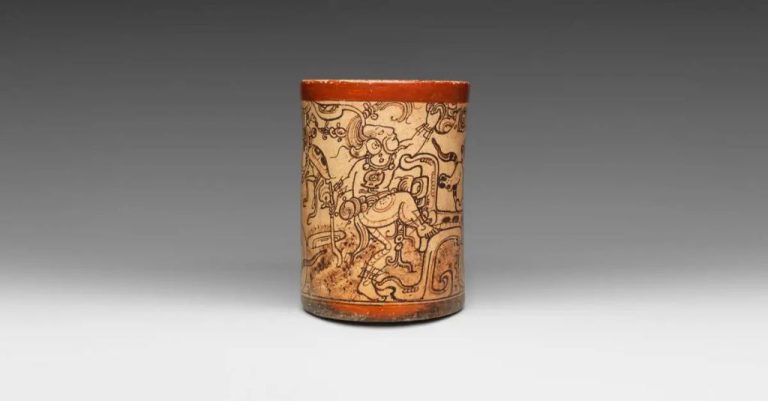
Pottery was developed independently by various cultures beginning in the Neolithic period and was important to early human civilizations. As early humans began to settle in one area, they needed vessels for storing and cooking food. Clay was abundant, versatile, and could be worked into various shapes and then hardened with fire. As civilizations developed, decorative techniques emerged and pottery evolved into higher quality pieces.
Types of Clay
There are three main types of clay used in pottery making: earthenware, stoneware, and porcelain. Each type of clay has different properties and is used for different purposes.
Earthenware is a low-fire clay that is porous when fired. It can be left natural reddish brown or glazed to create color. Earthenware clays are easier to work with and are often used by beginner potters. Examples of earthenware clays include terracotta and red clay (How to Make Pottery at Home: Ultimate Guide).
Stoneware clays are denser and non-porous when fired at high temperatures. They can be used to create functional pottery like mugs, plates, and bowls. Stoneware has excellent thermal properties and holds heat well. Common stoneware clays include buff stoneware and gray stoneware (Top 5 Types of Clay for Pottery Making 2022).
Porcelain is a high-fire white clay that becomes glass-like when fired at extremely high temperatures. It is smooth, non-porous, and delicate. Porcelain is commonly used for decorative pottery and tableware. When fired, porcelain becomes translucent and takes on a bright white color.
Pottery Making Tools
Having the proper pottery making tools is essential for beginning and experienced potters alike. Some of the most common and important tools include:
Pottery Wheel – The pottery wheel is used for throwing and shaping clay into symmetrical forms. Wheels may be powered or kick wheels. Powered wheels are operated using electricity or a foot pedal. Kick wheels require the potter to keep the wheel in motion by kicking a lever with their foot.
Kiln – Kilns are used to fire clay and ceramics to harden and set them. Kilns heat pieces to very high temperatures like 1800°F – 2300°F. Common kiln types are electric, gas, wood-fired, and raku kilns. Kilns must be able to reach and maintain proper heat levels.
Clay Cutting Wire – Cutting wire tools have thin, taut metal wires used to slice clay. The clay can be either leather hard or dry. Cutting wire is great for trimming excess clay off bases, splitting large pieces, or cutting shapes.
Ribs and Metal Scrapers – Ribs are handheld slab tools used to compress, smooth, shape, or add texture to clay surfaces. Metal scrapers help remove excess clay and smooth seams and joints.
Sponges – Natural and synthetic sponges are essential for cleaning clay residue off tools and smoothing clay surfaces. A damp sponge can be used to add water when clay becomes too dry and brittle.
Other helpful tools are calipers, loops and ribbon tools, archeological tools, stamps and rollers, molds, modeling tools, appliqué cutters, and more. Having a range of quality tools suitable for different applications helps potters be more productive and creative.
References:
https://www.sliceproducts.com/pages/best-pottery-tools
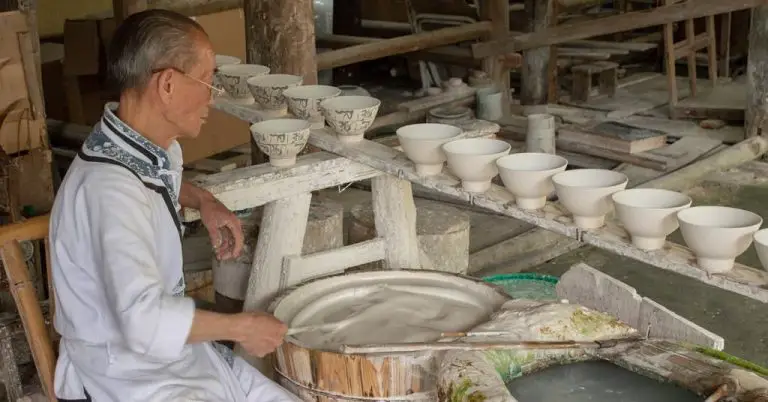
Pottery Making Techniques
There are several key techniques used in making pottery:
Wheel throwing: This is the process of using a potter’s wheel to shape clay into symmetric pottery forms like bowls, cups, and vases. The clay is centered on the wheel and then formed by the potter’s hands as the wheel spins (Ceramic Arts Network). Wheel throwing allows creating uniform thicknesses and smooth surfaces.
Handbuilding: This covers techniques like pinch pots, coil building, and slab construction to manually form pottery from clay without a wheel. The clay is shaped by hand using fingers, simple tools, molds, or support structures. Handbuilding allows creating asymmetric or unusually shaped pieces (Classpop).
Molding: This involves pressing soft clay into pre-shaped molds to create pottery forms like plates, cups, or figures. The clay hardens inside the mold and is then removed. Molds can be made from plaster, wood, earthenware, etc. Molding allows efficient mass production of identical pieces.
Slip casting: This uses liquid clay slip poured into porous plaster molds. As the slip contacts the mold it forms a clay shell inside, while excess slips drains away. The solid clay form is removed from the mold after hardening. Slip casting enables high volume production.
Glazing and Decorating
Glazing and decorating are important final steps when making pottery that allow you to add color, texture, and design to your finished pieces. There are several techniques for glazing and decorating pottery:
Underglazes are glazes that are applied to bisqueware or greenware before a final transparent glaze is added. Common types of underglaze include underglaze pencils, underglaze paints, and underglaze transfers. Underglazes allow you to hand paint designs, draw, or transfer images which will show through the final glaze after firing. Learn more about working with underglazes at Nan Rothwell Pottery.
Overglazes are glazes applied on top of an already fired glazed piece. They are often used for adding accents, color or decorative details like gold gilt detailing. Overglazes must be formulated for use over an already fired piece.
Sgraffito involves using tools like knives, brushes or sticks to scratch through a glazed surface to reveal the clay color underneath. It is one of the oldest decoration techniques and creates beautiful etched designs. Sgraffito allows you to carve words, patterns or drawings through a colored slip trailing or single color glaze to reveal the light clay color underneath. This video shows how to use resist techniques for sgraffito.
Slip trailing involves using liquid clay in a applicator bottle to hand “draw” designs on pottery. Slip trailing can be done on bare clay before firing, or over an already fired glazed piece. The slip dries and becomes part of the permanent surface after firing. Learn more tips for slip trailing in this article.
Firing Pottery
Firing is an essential step in the pottery making process. It hardens and stabilizes the clay by heating it to high temperatures. There are various firing methods used by potters:
Kiln firing involves heating pottery to temperatures between 1800-2300°F in an electric or gas kiln. The high heat hardens the clay and fuses any glazes applied. Kilns allow firing under controlled conditions and uniform heating for consistent results. According to research on Pinterest electric kilns are commonly used by hobby potters for bisque and glaze firings.
Raku firing is a type of pit firing originating from Japan. The pottery is removed from the hot kiln at 1600-1800°F and placed into containers with combustible materials that create effects through reduction firing. Raku pottery has unique crackled and metallic finishes. According to Hot Clay, raku firings are typically done outdoors due to the smoke produced.
Pit firing involves placing pottery in a pit dug into the ground and building a fire over it. Various organic materials like sawdust, leaves, or dung are burnt to produce effects through reduction. Pit firing results in natural, earthy finishes. The firing process can take 6-48 hours depending on the size of the kiln.
The firing process hardens the clay, sets any glazes or decoration, and gives the finished pottery its unique characteristics. Firing is a critical step that transforms soft clay into a hardened, finished ceramic object.
Setting up a Home Pottery Studio
Setting up a pottery studio at home allows you to have a creative space to make pottery in the comfort of your own home. While it does require some investment in equipment and supplies, a basic home pottery studio can be created even on a budget.
The main equipment you will need includes:
- A pottery wheel – This allows you to throw and form pots. Look for one with variable speed control and a wide wheel head.
- A work table – This provides workspace for handbuilding and decorating pottery. Get a large table that can accommodate projects.
- Shelving – Wall mounted shelves above the work table give you storage space for tools, glazes, etc. Install shelves you can easily reach.
- A kiln – To fire pottery, you need a kiln suited to the size of pieces you plan to make. Small tabletop kilns work for a starter studio.
Make sure you have adequate space in your home studio for these main stations – wheel throwing, handbuilding, glazing, and kiln firing. Having enough room to move around comfortably is key. Also factor in ventilation, electricity requirements, and water access when planning out your studio.
In addition to equipment, stock up on pottery making tools and supplies like clay, glazes, kiln furniture, etc. Buy quality clay formulated for your desired techniques. Organize tools neatly on racks and shelves. Store clay properly to maintain its workability.
Setting up a home pottery studio takes research and planning. But with the right equipment, supplies, and space, you can create an inspiring creative space to make pottery!
Safety Precautions
Working with clay, glazes, and kilns requires taking proper safety precautions. Here are some important tips:
Wear a respirator mask when mixing dry clay or glazes to avoid breathing in silica dust, which can damage the lungs. Work in a well-ventilated area. Wear rubber gloves and an apron to protect skin and clothes from stains.
When using a pottery wheel, secure long hair and avoid wearing loose clothing or jewelry that could get caught in the wheel. Keep floors clean and dry to prevent slipping while working at the wheel.
Handle wet clay carefully, as it can strain muscles and joints. Take regular breaks and stretch while working to avoid repetitive stress injuries. Let pieces dry completely before handling to prevent cracks or breakage.
Follow glaze manufacturer instructions carefully and never apply toxic materials to clay surfaces that will touch food or drink. Test new glazes on test tiles before finished pieces. Use tongs and gloves when dipping glazed ware in kilns to avoid burns.
Allow kilns to ventilate fully before removing fired pieces. Kiln surfaces remain extremely hot long after firing. Use heat-resistant gloves when loading/unloading kilns. Place kilns in well-ventilated areas away from flammable materials.
Never leave kilns unattended while firing. Ensure electrical equipment and kiln wires are in good condition to prevent shocks or fire hazards. Install fire extinguishers and smoke alarms when working with kilns.
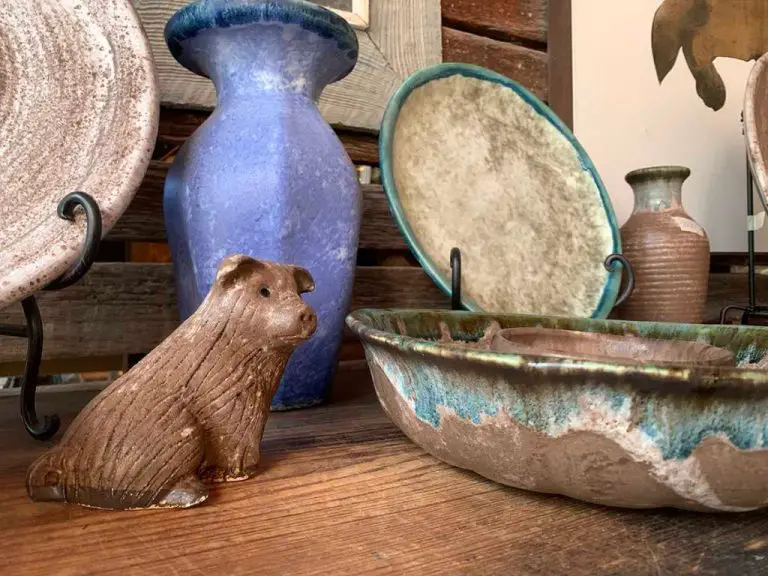
Getting Inspired
Seeing stunning examples of pottery pieces and artists can provide wonderful inspiration when starting your own pottery journey. Some beautiful, unique pottery pieces and artists to find inspiration from include:
Edmund de Waal creates minimalist porcelain vessels often displayed in installations. His work balances refined beauty with raw simplicity (Source: https://www.singulart.com/en/blog/2023/10/24/famous-ceramics-artist/).
Shio Kusaka’s pottery features abstract organic forms with white crackled glazing. Her pieces feel simultaneously ancient and modern. (Source: https://www.artvilla.com/famous-ceramic-artists/).
Grayson Perry creates intricate, colorful pots in irreverent shapes depicting taboo subjects in societal commentary. His striking pots combine traditional craft with boundary pushing themes. (Source: https://www.singulart.com/en/blog/2023/10/24/famous-ceramics-artist/).
Magdalene Odundo’s pots have sleek, sensual forms made with coiled and pinched hand-built techniques. Her works connect to her Kenyan heritage through shapes and surface markings. (Source: https://www.singulart.com/en/blog/2023/10/24/famous-ceramics-artist/).
Getting Started
For beginners interested in starting pottery as a hobby, there are some helpful tips to keep in mind. According to The Pottery Wheel, you can begin pottery at home using simple hand-building techniques and basic equipment like clay and tools. Focus on making simple items like cups, bowls and vases to start. Consider taking a beginner pottery class at a local studio, community college or recreation center to learn fundamentals from an experienced potter. Many offer wheel throwing and hand-building instruction in a structured environment. Check for classes in your area by searching “pottery classes near me.” Having an instructor provide guidance and feedback can help you improve your skills more quickly. You may also want to find a pottery studio that offers open studio hours so you can work independently once you’ve gotten the basics down. Be sure to set up a dedicated space at home to practice pottery, keep tools organized, and allow projects to dry properly. Look for inexpensive second-hand equipment and supplies like wheels and kilns to set up your own beginner studio on a budget.