What Is Making Bowls Out Of Clay Called?
Pottery, also called ceramics, is the process of forming vessels and other objects with clay and other ceramic materials, which are then hardened with heat. The earliest pottery vessels have been traced back over 20,000 years to cultures in East Asia and other regions. Pottery was independently developed in many places around the world over thousands of years.1
The term “pottery” refers to objects made of clay that have been shaped or molded into a desired form, dried to remove the water content, and then fired at high temperatures in a kiln to harden the clay through sintering. This process hardens and sets the clay shape and can change the color and texture.2
Pottery is one of the oldest human inventions, originating before the Neolithic period, with ceramic objects like the Gravettian culture Venus of Dolní Věstonice figurine discovered in the Czech Republic dating back to 29,000–25,000 BC.
Tools and Materials Needed
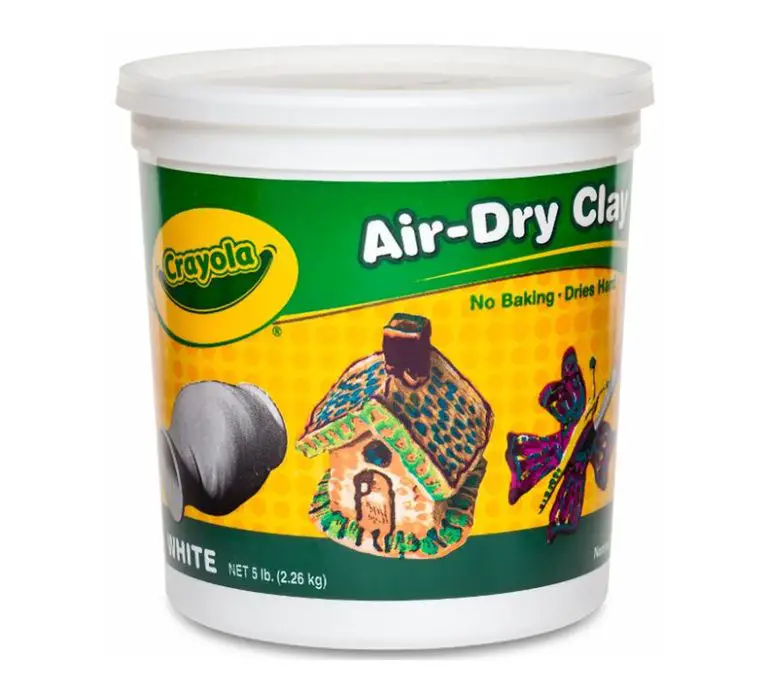
Making pottery requires a few key tools and materials. The most fundamental material is clay. There are several types of clays that are commonly used by potters, including earthenware, stoneware, porcelain, and terra cotta. Earthenware is a porous clay that is fired at lower temperatures, while stoneware is less porous and fired at higher temperatures for increased durability. Porcelain is a delicate, white clay that becomes translucent when fired at very high temperatures. Terra cotta is an unglazed, natural clay.
In addition to clay, a potter’s wheel is an essential tool for throwing and shaping pottery. Modern wheels are powered, but traditional kick wheels can also be used. Other key tools include rib tools for smoothing surfaces, loop tools for carving details, and modeling tools like kidney tools or wooden ribs for shaping bowls and vessels.[1][2]
Finally, a kiln is required for firing and hardening the clay. Kilns can be electric or gas-fired. Common types of kilns used by potters include top-loading kilns, front-loading kilns, and raku kilns. The firing process vitrifies the clay and provides the finished strength and hardness.[3]
Preparing the Clay
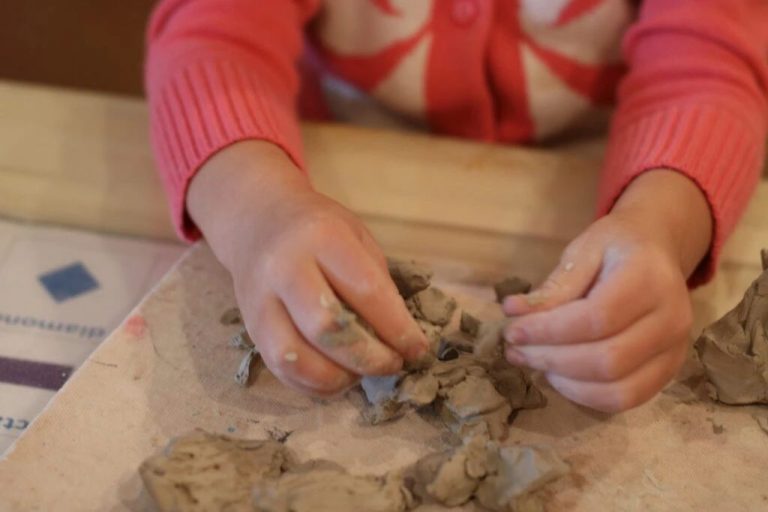
Properly preparing the clay is an important first step before beginning any pottery project. The goal is to make sure the clay is ready to be shaped without air pockets or cracks. There are several techniques potters use to prepare clay:
Wedging involves cutting the clay in half, slamming it back together, and repeating. This process squeezes out air bubbles and makes the clay one solid lump. Wedging by hand takes practice, but is essential for preparing clay without using modern tools. It can be done on a wedging table or board for support.
Another method is kneading, which is working and folding the clay by hand on a flat surface. Kneading squeezes out air bubbles and makes the clay more uniform. Adding water as needed helps soften stiff clay during kneading.
Using a pug mill is a mechanical way to prepare clay. A pug mill is an electrically powered machine that mimics wedging and kneading to extract air. Clay is fed into the pug mill and comes out the other side uniform and ready for throwing. However, access to a pug mill is not always feasible.
Letting clay soak in water is another good way to soften and plasticize clay. Dry or stiff clay can be cut into chunks and soaked overnight to make it workable again. Soaking ensures moisture penetrates fully into the clay before throwing.
Proper clay preparation sets potters up for success before beginning the fun part – shaping the clay into bowls, pots, and other creations. Taking the time to wedge, knead, or soak clay prevents flaws and results in smooth pottery free of cracks (Source: https://thepotterywheel.com/how-to-prepare-clay-for-pottery/).
Shaping the Clay
There are several techniques for shaping clay into pottery and ceramic works. The main methods are pinching, slab building, coil building, and wheel throwing.1 Each technique allows the potter to create unique forms and shapes.
Pinched pots are made by pinching and pulling the clay with fingers and hands to form simple shapes like bowls and cups. This is one of the most basic and ancient clay shaping techniques. Pinch pots allow direct contact with the clay and can create organic, handmade looking pieces.2
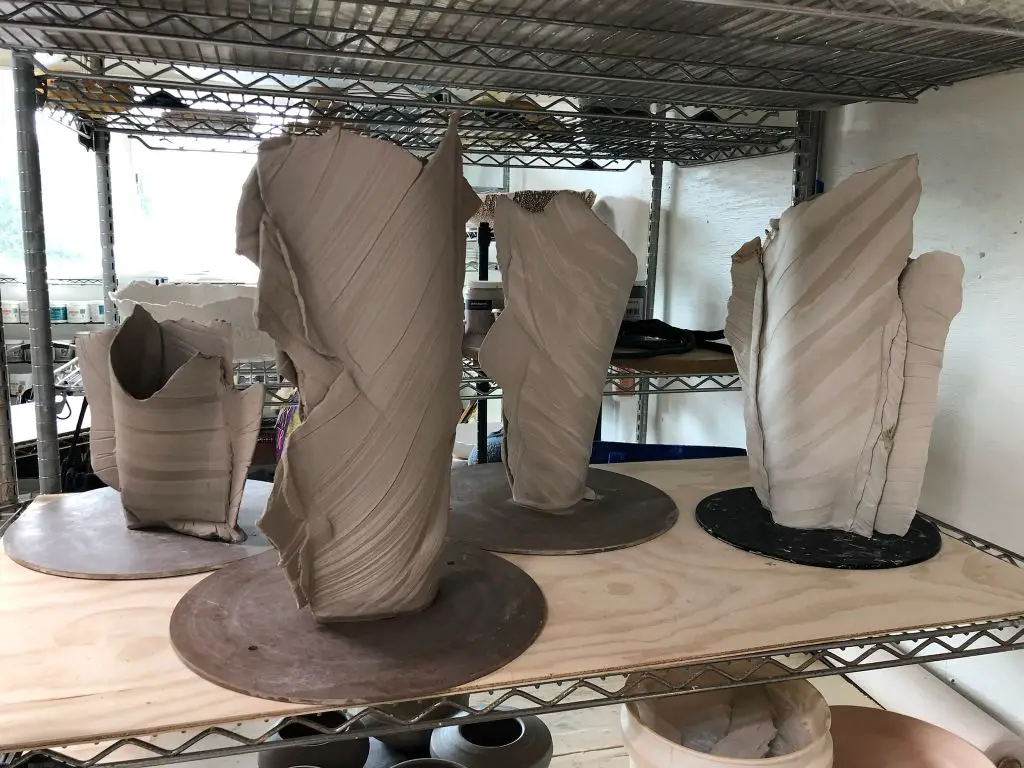
Slab building involves rolling out flat “slabs” of clay and assembling them to create planters, boxes, cups, and more. The seams between slabs can be smoothed out or left visible as part of the design. Slab built objects can have straight sides and sharp angles, unlike pinch pots. Cut out shapes can be applied to the surface for decoration.
Coil building uses rope-like coils of clay stacked on top of each other and blended together to make the vessel walls. This technique can create large pots or sculptural forms not possible with other methods. The outline of coils can be left visible or be smoothed into the surface to hide them.
Wheel throwing is shaping clay rapidly on a spinning pottery wheel. This takes practice but allows symmetrical pots to be made with thin, even walls. Wheel throwing can make multiple similar vessels efficiently. Complex shapes like handles and spouts can be added after basic forms are thrown on the wheel.
Drying and Firing
After shaping the clay, the piece needs to dry slowly and evenly to prevent cracking before it is fired in the kiln. Proper drying can take anywhere from a few days to several weeks depending on the size and thickness of the clay piece. The clay must be bone-dry before firing. There are a few ways to safely dry clay pieces:
- Let pieces air-dry on a flat, clean surface out of direct sunlight
- Place pieces in a warm, ventilated area on drying racks or porous surfaces
- Mist clay with water to aid even drying and prevent cracking
- Avoid drying too fast near direct heat sources
Once fully dry, the clay goes through an initial bisque firing in the kiln at a lower temperature around 1100-1200°F. This transforms the clay into ceramic material. An optional step is glazing – coating the bisque ware with colored glazes and then firing again at around 2200°F. The higher temperature melts the glazes into a smooth, glassy coating. “Turning is the process of finishing the greenware (unfired ware) after it has dried to leather hardness. The technique is used to smooth and finish footrings on bowls and vases as well as for final refinements before firing.”
Decorating Techniques
There are many methods for decorating finished pottery pieces. Some of the most common techniques include:
Glazing – Glazes are glass-like coatings applied to bisqueware pottery before firing. They create a glossy surface and hard, non-porous finish. Glazes come in many colors and effects. They can be brushed, poured, or sprayed onto pottery. Sources like Ceramic Arts Network provide guidance on mixing and applying glazes.
Painting – Pottery paints like underglazes, slips, and engobes can be used to hand-paint designs onto greenware or bisque. These are then sealed in by firing a transparent glaze over the top. Brushes, sponges, and stamps are useful for painting. As noted by Pottery Making Info, underglazes and mason stains allow for vibrant colored artwork.
Staining – Metal oxide stains can be applied by brushing, sponging, or spraying to create flowing, blurred effects reminiscent of watercolor paintings. Stains sink into porous clay and become permanent after firing.
Burning – Combustible materials like leaves, wood, paper, or rope can be placed on raw clay and burned away during firing, leaving behind delicate imprinted patterns.
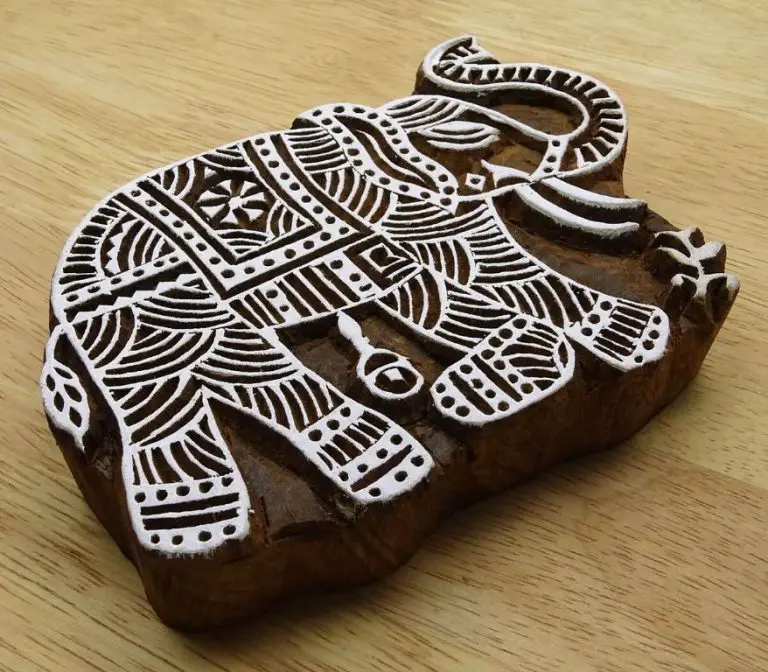
Carving – Leather-hard clay can be incised with tools to cut decorative patterns, textures, and images that remain after firing. Sgraffito involves scratching through a layer of colored slip to reveal the clay color underneath.
Notable Pottery Styles
Some of the most well-known pottery styles come from Asia and Europe. Here are a few of the most notable:
Japanese Pottery
Japanese pottery has a long history stretching back over 10,000 years. Some notable styles include Kutani ware, Satsuma ware, Seto ware, and Raku ware. Kutani ware dates back to the 17th century and features bold colors and designs. Satsuma ware was produced in southern Japan in the 19th century and was known for its crackled glaze. Seto ware originated in central Japan and was valued for its simple, functional shapes. Raku ware involves removing pottery from the kiln while still glowing hot.
Chinese Pottery
Chinese pottery also has ancient origins, with early pieces dating back 20,000 years. Some major styles include Longquan celadon, Jun ware, and Qingbai ware. Longquan celadon is known for its pale green glaze and was produced starting in the 9th century. Jun ware was created during the Song dynasty and valued for its simple shapes and subtle purple-blue glaze. Qingbai ware originated in the 9th century and was an elegant white porcelain.
Greek Pottery
Ancient Greek pottery spanned centuries and included painted vases, amphoras, kraters, and other vessels. Some popular styles were black-figure pottery, which featured black figures on a red clay ground, and red-figure pottery, with black backgrounds and red figures. Greek pottery often depicted mythological or historical scenes.
Majolica
Majolica is a style that originated in Spain in the Middle Ages and later spread to Italy. It features brightly colored glazes and decorative patterns on an earthenware body. Traditional majolica designs include fruits, flowers, animals, and geometric motifs.
Delftware
Delftware originated in the Netherlands and was inspired by Chinese porcelain. It is known for its hand-painted blue and white designs depicting biblical, mythological, or everyday scenes. Delftware was produced starting in the 16th century and remains popular today.
Contemporary Potters
Contemporary ceramic artists continue to push the boundaries of clay, innovating both functionally and artistically. Some notable contemporary potters and ceramic artists include:
Berenice Hernández’s (https://www.ceramicsnow.org/artists/berenice-hernandez/) pottery focuses on symmetry and imperfection using white slip and natural clays. Her clean forms explore minimalism and modern design.
British ceramicist Jasmine Pradissitto (https://www.artsy.net/artist/jasmine-pradissitto) creates vivid glazes ranging from glossy to matte finishes. Her pottery combines ancient and contemporary techniques for uniquely modern pieces.
Acclaimed for his political pottery, Roberto Lugo (https://www.robertolugo.com/) aims to diversify and expand ceramic art. His work confronts race, identity, and inequality through both traditional and graffiti-inspired imagery.
Known for combining technology and craft, Jonathan Keep (http://www.keep-art.co.uk/) pioneers 3D printed ceramics with computer generated shapes. His innovative approach brings digital fabrication to the ancient art of pottery.
Getting Started
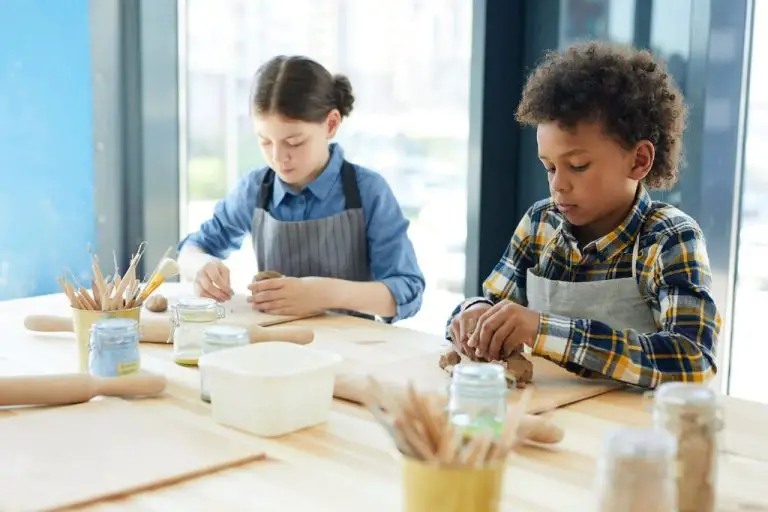
For beginners looking to get into pottery making, taking a class can be extremely beneficial. Local community colleges, art centers, and pottery studios often offer introductory wheel throwing and handbuilding classes that provide guidance on foundational techniques. Seek out classes that keep the student-to-teacher ratio low for more individualized instruction. If in-person classes are not an option, online tutorials and video workshops offer a flexible way to gain an overview of the pottery making process.
Investing in a few key supplies can set you up for success when starting out. An introductory pottery wheel, modeling tools, clay, slip, glazes, and a kiln or access to one are fundamentals. Beginners may want to purchase a pottery wheel starter kit that contains the essentials like clay, tools, bats, and slip. Refer to guides like The Pottery Wheel’s beginner tips for setting up a budget pottery studio at home.
When beginning any new craft, having detailed references available can be invaluable. Seek out pottery books that provide visual step-by-step processes for handbuilding techniques like pinch, coil, and slab construction. As skills progress, more advanced guides on throwing on the wheel and decorating can take your pottery to the next level. Online video tutorials are another great on-demand resource.
Starting pottery as a hobby allows for making mistakes and learning through experimentation at your own pace. Be patient with yourself as you develop muscle memory and skill. Embrace imperfection. Beginning potters should not seek perfection, but enjoyment of the process.
Conclusion
In summary, making pottery by shaping clay into bowls and other vessels by hand is an ancient tradition that continues to thrive today.
Pottery serves many important purposes, both historically and in the present day. Archaeologists have learned much about past cultures from pottery fragments and complete vessels found during excavations. Pottery has been used in ceremonies, for decoration, and as a canvas for artistic expression across many cultures. The various pottery techniques and distinctive styles also represent cultural identities.
In today’s world, pottery remains an engaging hobby, creative outlet, and even profession for many people. Both traditional and contemporary ceramic artists keep ancient pottery traditions alive by creating functional and decorative works from clay. While pottery styles and techniques have evolved tremendously, the timeless medium of clay continues to captivate artists and art lovers around the globe.
Learning the processes involved in making pottery can provide a hands-on connection to history and world cultures. Shaping clay into bowls, vases, tiles, and sculptures with one’s own hands is a rewarding experience that develops artistic skills and an appreciation for the history of pottery.