What Is Moulding With Clay?
What is Clay?
Clay is an abundant natural material composed primarily of fine-grained minerals like kaolinite, montmorillonite and illite that have developed through the chemical weathering of rocks over long periods of time. The word clay refers to a family of hydrous aluminum phyllosilicate minerals that make up over 50% of the composition. Clays exhibit plasticity when mixed with water in certain proportions, meaning they can be molded into different shapes, a property that has made them valuable materials throughout history for making pottery, bricks, figurines and more.
There are many different types of clay, classified based on their mineral content and geological origins, that have varying properties and characteristics when wet. Some common clays include kaolin, smectite, illite and bentonite. The key properties of clay that make it so useful include its plasticity, shrinkage and cohesion when wet, its ability to absorb water and ions, and its hardening properties when dried or fired at high temperatures.
Clays develop through the chemical weathering and erosion of rocks over time. They are composed of extremely small particles, typically less than 2 micrometers in size, which gives them a very high surface area to volume ratio. The plate-like and sheet-structure of clay minerals, and their attraction to water and other molecules, is what gives clay its malleable and adhesive properties. Clays are found abundantly in nature across the world in sediments and soil.
History of Clay Moulding
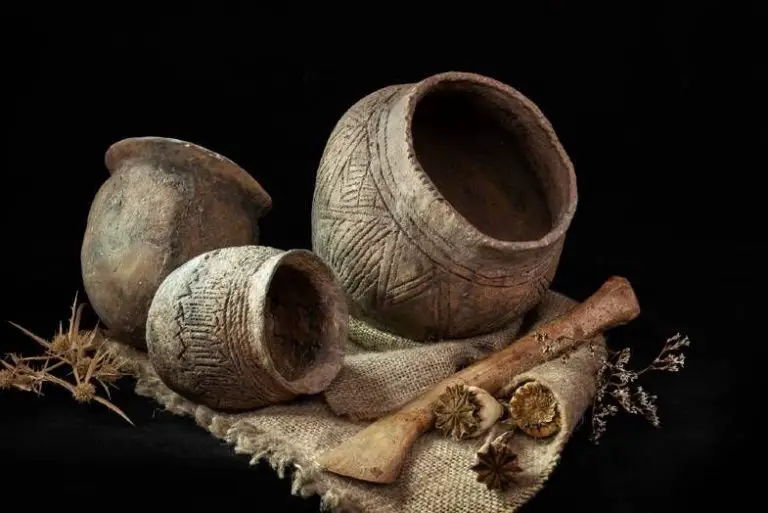
The history of clay moulding can be traced back to some of the earliest civilizations. According to this article, evidence of clay art has been found dating back as far as 25,000 BCE. Ancient peoples discovered that clay could be dug up, mixed with water, and molded into various shapes and forms.
Some of the earliest known clay moulding has been found in China and Japan dating back to around 14,000 BCE according to this source. Pieces of fired clay pottery and simple clay figurines have been uncovered, suggesting early civilizations quickly realized the versitility and durability of clay as an art medium.
Ancient Mesopotamian cultures are also known for early clay moulding traditions, as well as ancient Mediterranean civilizations like Greece and Rome. Clay moulding allowed early artists to shape both functional pottery pieces as well as decorative sculptures and figurines.
Tools and Equipment
There are a variety of tools and equipment used in clay moulding and sculpting. Some of the most essential include:
Potter’s Wheel
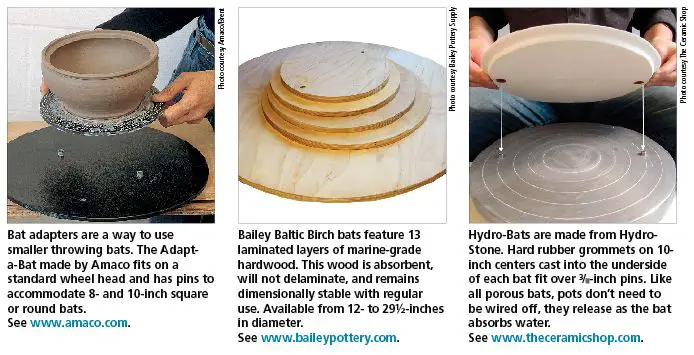
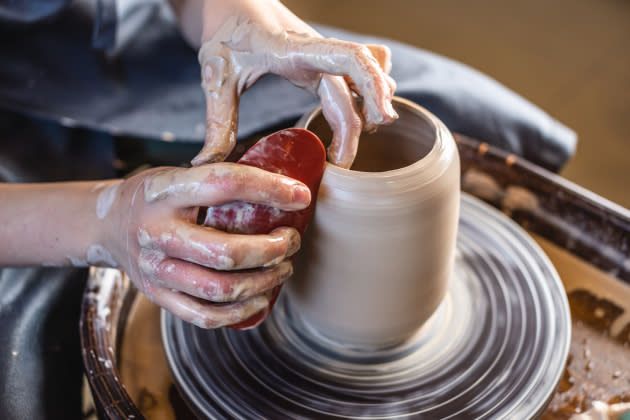
The potter’s wheel is used for throwing and shaping clay vessels and forms. It consists of a spinning disk that allows the clay to be smoothly shaped and modeled as it spins. Potter’s wheels enable symmetrical pieces to be created and are commonly used for making pots, vases, bowls, and other round objects. Modern potter’s wheels are powered by electricity, while traditional wheels are foot operated (Source).
Sculpting Tools
Sculpting tools like loop tools, ribs, cutters, and wire allow clay to be precisely shaped and modeled for sculptural work. Common sculpting tools include:(Source)
- Loop tools – for smoothing and shaping
- Ribs – for scraping and smoothing surfaces
- Cutters – for cutting and trimming clay
- Wire – for cutting through and joining clay
Clay Extruder
A clay extruder allows clay to be pushed through a die to create a continuous, standardized shape and length. This enables the creation of evenly sized clay coils and strips.
Techniques
There are several main techniques for working with clay: handbuilding, wheel throwing, and slip casting. Handbuilding involves creating forms by pinching, coiling, or using slabs of clay. This allows artists to make both functional pottery as well as freeform sculptures. Some common handbuilding techniques include:
– Pinch pots: Pinching clay into a basic pot form(Source)
– Coil building: Rolling and stacking coils or ropes of clay on top of each other
– Slab construction: Cutting flattened slabs of clay and joining them together
– Pulling and pinching: Manipulating the clay into shapes by pulling, squeezing and pinching(Source)
Wheel throwing involves using a pottery wheel to center and shape clay into symmetrical forms. Slip casting uses liquid clay poured into plaster molds to form shapes.
Clay Bodies
There are three main types of clay bodies used in clay moulding and pottery: earthenware, stoneware, and porcelain. Each type has distinct characteristics that impact their suitability for different applications.
Earthenware is the most common and basic type of clay body. It is fired at lower temperatures, typically between 1000-1200°F. Earthenware clay contains high amounts of iron and other impurities, giving it an earthy red-brown color. It absorbs water easily, making it porous. Earthenware is best for items like flower pots, decorative pieces, and tiles. It is not suitable for functional ware exposed to liquids. 1
Stoneware clay is fired between 2200-2400°F, resulting in a denser, less porous clay body. The higher firing temperature causes the clay particles to fuse together tightly. Stoneware has very low absorption, making it ideal for mugs, plates, bowls and other functional pieces. It has a grayish color before glazing. 1
Porcelain is the purest clay body, fired between 2200-2400°F. It is white in color and has almost zero porosity. Porcelain is extremely fine and smooth, but also brittle. It is well-suited to creating delicate tableware and sculptures. Porcelain has high shrinkage during drying and firing that must be accounted for when moulding. 1
Firing and Glazing
Firing clay is an essential step in the clay moulding process. It transforms soft, wet clay into a hard, durable material. Firing is done in a kiln, which heats the clay at high temperatures. There are typically three stages of firing:
- Bisque firing – The initial firing process which dries and hardens the clay. Bisque firing is done at lower temperatures, typically around 1800°F.
- Glaze firing – The second firing process where glaze is melted onto the surface of the bisque ware. Glaze firing uses higher temperatures, usually between 2200-2400°F.
- Additional specialty firings – Some techniques like raku involve additional firings for aesthetic effects.
Glazes are vitreous coatings applied to clay before the glaze firing. The glaze melts during firing, coating the clay in a glossy surface. Glazes come in various colors and textures. They serve both decorative and functional purposes like making the clay waterproof. Choosing the right glaze and firing it at the optimal temperature is key for good results.
Kilns used for firing clay are specially designed ovens that can reach very high temperatures evenly. Popular types include electric and gas kilns. Knowing how to properly operate a kiln is important for successful firing. Factors like heating rate, target temperature, and hold time need to be controlled.
With the right clay, glaze, kiln, and firing process, beautiful and functional ceramic pieces can be created. Understanding firing and glazing is essential knowledge for potters and ceramic artists. For more details on ceramic firing visit this article and this resource.
Safety Concerns
Working with clay can pose some health and safety risks that are important to be aware of. Some of the main concerns when working with clay include:
Clay Dust – Clay dust can irritate eyes, nose, throat, and lungs. Prolonged exposure to clay dust may cause lung disease like silicosis. Wearing a respirator mask and proper ventilation can help reduce exposure. Work surfaces should be wiped down regularly.
Kiln Hazards – Kilns reach extremely high temperatures and pose burn risks. Proper kiln ventilation is crucial to avoid dangerous fume buildup. Never open or reach inside a hot kiln. Allow sufficient cool down time before handling fired items. Locate kilns away from flammable materials.
Other safety tips include: wearing gloves when handling hot items, tying back long hair, wearing protective eyewear, and keeping a fire extinguisher nearby. Following proper safety procedures helps mitigate risks when working with clay.
Sources:
https://kathyoconnellsart.wordpress.com/safety-with-clay/
Creating Functional Pieces
Functional pottery refers to pieces that serve a practical purpose, such as bowls, cups, plates, and vases. When creating functional ware, potters must consider aspects like form, weight, balance, durability, and decoration.
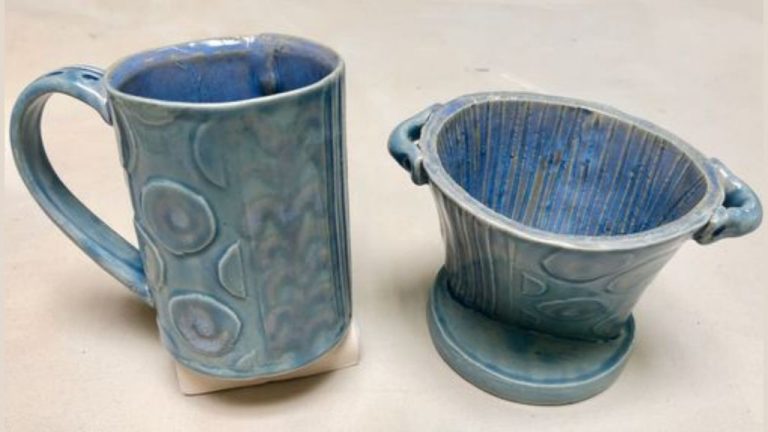
Bowls, cups, and plates need to feel comfortable when held and used. Their forms should fit naturally in the hand. Wall thickness, weight, curves, and handles impact comfort. Bowls and plates must have flat, level bases so they don’t wobble on tables. Cups need sturdy handles that attach securely.
Clay choice affects durability. Porcelain is extremely strong but can crack under thermal shock. Stoneware resists chipping and stands up to frequent use. Earthenware fires at lower temperatures but is prone to breaking. Glazes make pieces non-porous so they don’t stain or absorb odors.
Decoration on functional ware is often minimal. Simple glazes allow the natural color and texture of the clay to show. Some potters add subtle designs like carving, embossing, or stamping. The goal is to enhance, not overwhelm, the form and purpose of the piece.
When designing functional pottery, every choice should serve the ultimate function. With careful planning and practice, potters can create beautiful, useful pieces for everyday life.
Creating Decorative Sculptures
Clay is a popular medium for creating decorative sculptures and figurines. Decorative clay sculptures allow artists to express their creativity while producing beautiful works of art for the home. Some common types of decorative clay sculptures include:
- Figurines – Small statuettes depicting animals, people, mythical creatures, etc.
- Busts – Sculptures depicting a person’s head and shoulders.
- Wall plaques and hangings – Bas relief sculptures designed to mount on walls.
- Bowls, vases, and pots – Sculptural versions of traditional functional pottery.
- Boxes, bookends, and objets d’art – Novelty sculptures like trinket boxes.
When creating decorative clay sculptures, artists use various techniques including:
- Handbuilding – Shaping clay by hand using methods like pinch pots, slabs, and coils.
- Sculpting – Carefully molding forms using specialized sculpting tools.
- Molds – Pressing clay into pre-made molds to achieve specific shapes.
- Carving – Removing clay from a solid block using knives, gouges, and other tools.
Artists must plan decorative sculptures with care, considering the size, subject matter, level of detail, and how the piece will be supported. Understanding the technical process for drying, firing, and finishing a clay sculpture is also important. With practice and creativity, clay can become stunning unique art for the home.
For inspiration, see the imaginative clay sculptures artists around the world produce and sell.
Clay Moulding for Beginners
Getting started with clay moulding can be an exciting yet daunting endeavor for beginners. With the right approach, tools, and techniques, sculpting with clay can be an accessible and gratifying experience.
When first starting out, focus on acquiring a few basic tools and materials. An essential starter kit consists of clay (polymer or air-dry are good choices for beginners), sculpting tools like loop tools and rib tools, a work surface like a canvas sheet or wooden board, and water for smoothing. Acrylic paints, varnish, and clay cutters can be handy additions but are not imperative in the beginning. https://www.wikihow.com/Mold-Clay has a comprehensive list of must-have beginner clay moulding supplies.
As a novice, it’s best to start with basic hand-building techniques like pinching, coiling, and slab building before moving on to more advanced methods like wheel-throwing. Focus on experimenting with clay properties, getting a feel for the medium. Simple projects like cups, bowls, tiles, and small figures are great practice. Let the clay be your teacher – don’t worry about perfection at first. With time and practice, skills will improve. Pat Catan’s guide on https://www.sculpey.com/blogs/blog/a-beginners-guide-to-sculpting-in-clay provides clear instructions for fundamental techniques like pinch pots, coils, slabs, smoothing, joining, cutting, and hollowing.
Above all, maintain patience and enjoy the meditative process of shaping clay. Creativity and confidence will grow with each attempt. Don’t be afraid to make mistakes – any unsuccessful pieces can be reused and become learning opportunities.

